
Container Gardening Summer Squash: Imagine harvesting plump, juicy summer squash right from your own patio! No sprawling garden needed. For centuries, humans have cultivated food in limited spaces, from ancient rooftop gardens in Babylon to the modern-day balcony farms of urban dwellers. This enduring practice speaks to our innate desire to connect with nature and nourish ourselves, regardless of our living situation.
But let’s be honest, growing summer squash can feel intimidating, especially if you’re short on space. That’s where the magic of container gardening comes in! I’m here to share some simple, yet effective, DIY tricks and hacks that will transform your container gardening experience. Forget the frustration of stunted growth or pest infestations.
This article is your go-to guide for successfully growing summer squash in containers. We’ll cover everything from choosing the right pot and soil to providing optimal sunlight and tackling common problems. Why struggle with traditional gardening methods when you can enjoy a bountiful harvest with minimal effort? Let’s unlock the secrets to thriving container gardening summer squash and bring the taste of summer right to your doorstep!
Container Gardening: Grow Your Own Summer Squash!
Hey there, fellow gardening enthusiasts! I’m so excited to share my experience with growing summer squash in containers. It’s easier than you might think, and nothing beats the taste of fresh, homegrown squash. Even if you don’t have a sprawling backyard, you can still enjoy the bounty of summer squash right on your patio or balcony. Let’s dive in!
Choosing the Right Squash Variety
First things first, you need to pick the right squash variety. Not all squash are created equal when it comes to container gardening. Bush varieties are your best bet because they stay compact and don’t require a ton of space to sprawl. Here are a few of my favorites:
* Zucchini: ‘Black Beauty’ and ‘Spacemiser’ are reliable choices.
* Yellow Squash: ‘Early Crookneck’ and ‘Sunburst’ are great for containers.
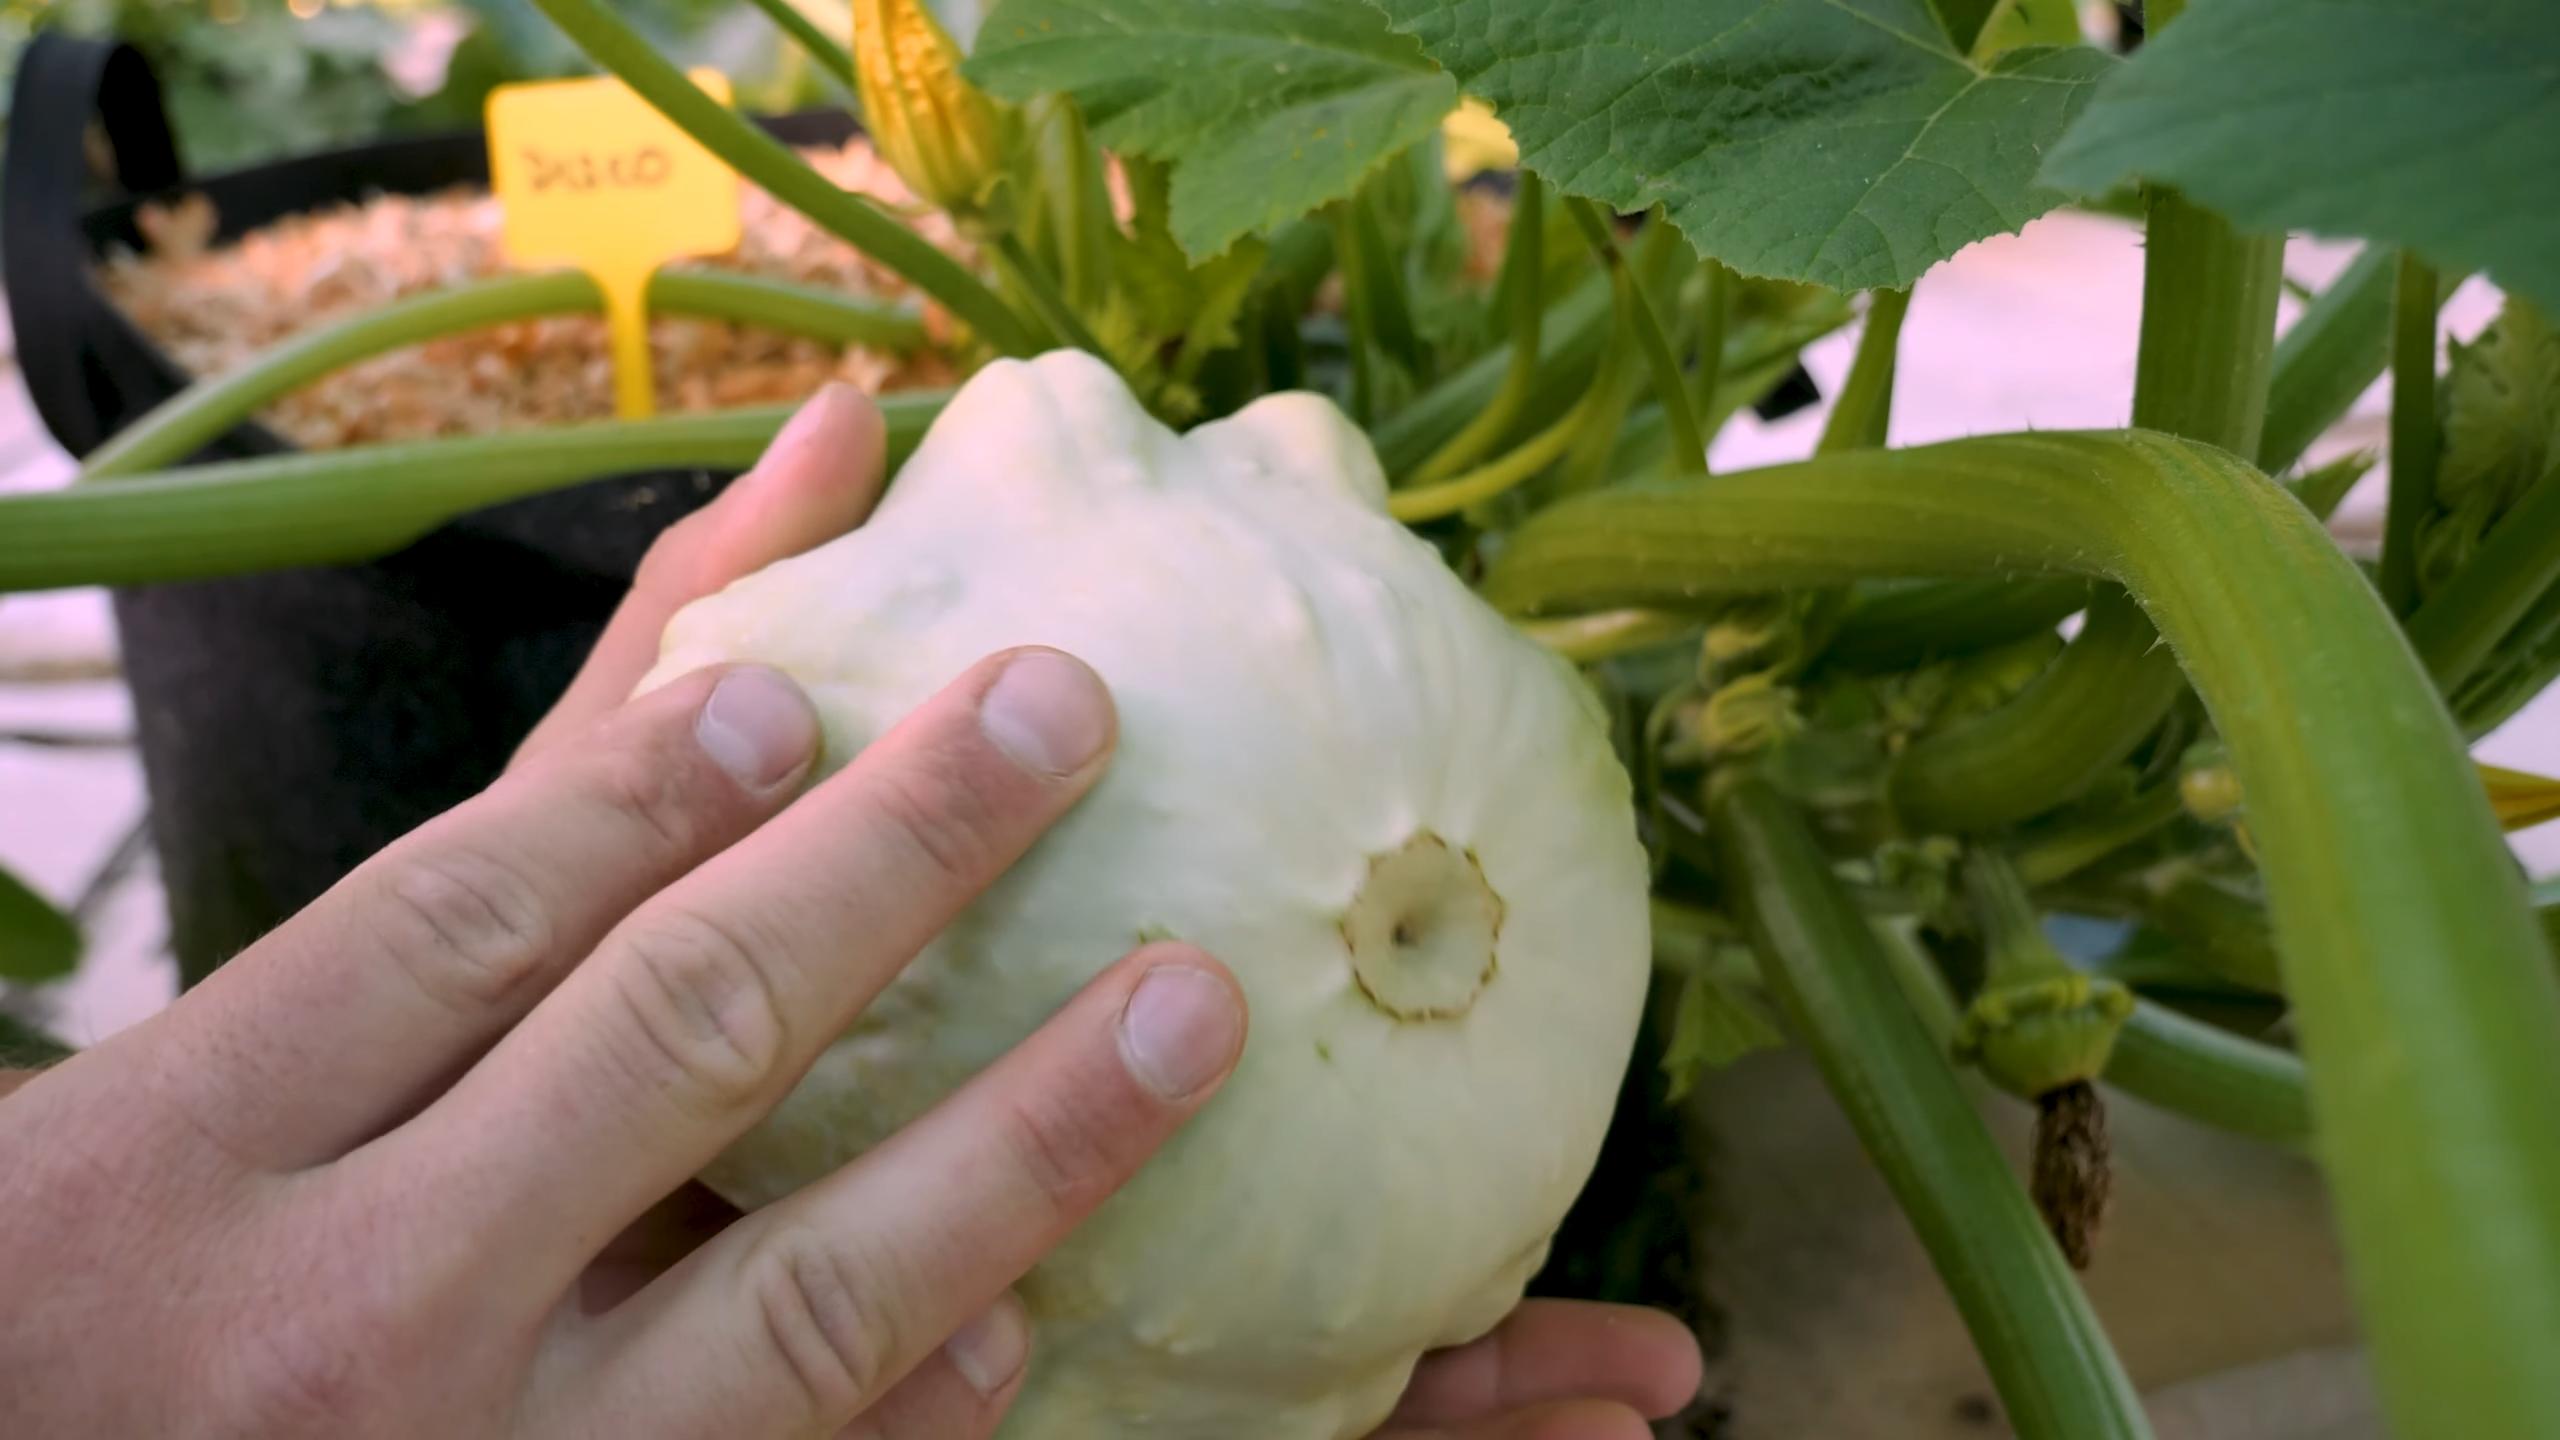
* Patty Pan Squash: These are super cute and come in various colors. ‘Scallopini’ is a popular option.
Gathering Your Supplies
Before we get our hands dirty, let’s make sure we have everything we need. Here’s a checklist:
* Large Container: At least 24 inches in diameter and 12 inches deep. Bigger is always better!
* Potting Mix: Use a high-quality, well-draining potting mix. Avoid garden soil, as it can compact in containers.
* Squash Seeds or Seedlings: Choose your favorite variety!
* Slow-Release Fertilizer: This will provide your squash with nutrients throughout the growing season.
* Watering Can or Hose: For keeping your squash hydrated.
* Trowel: For planting and transplanting.
* Mulch: To help retain moisture and suppress weeds. (Optional, but recommended)
* Gardening Gloves: To keep your hands clean. (Optional)
Step-by-Step Planting Guide
Okay, let’s get planting! I’ll walk you through each step.
1. Prepare the Container: Start by making sure your container has drainage holes. If not, drill some! Good drainage is crucial for preventing root rot. Then, fill the container with your potting mix, leaving a few inches of space at the top.
2. Add Fertilizer: Mix in the slow-release fertilizer according to the package instructions. This will give your squash a good start.
3. Plant the Seeds or Seedlings:
* From Seed: Sow the seeds directly into the potting mix, about 1 inch deep and 2-3 inches apart. I usually plant a few extra seeds to ensure germination and then thin them out later.
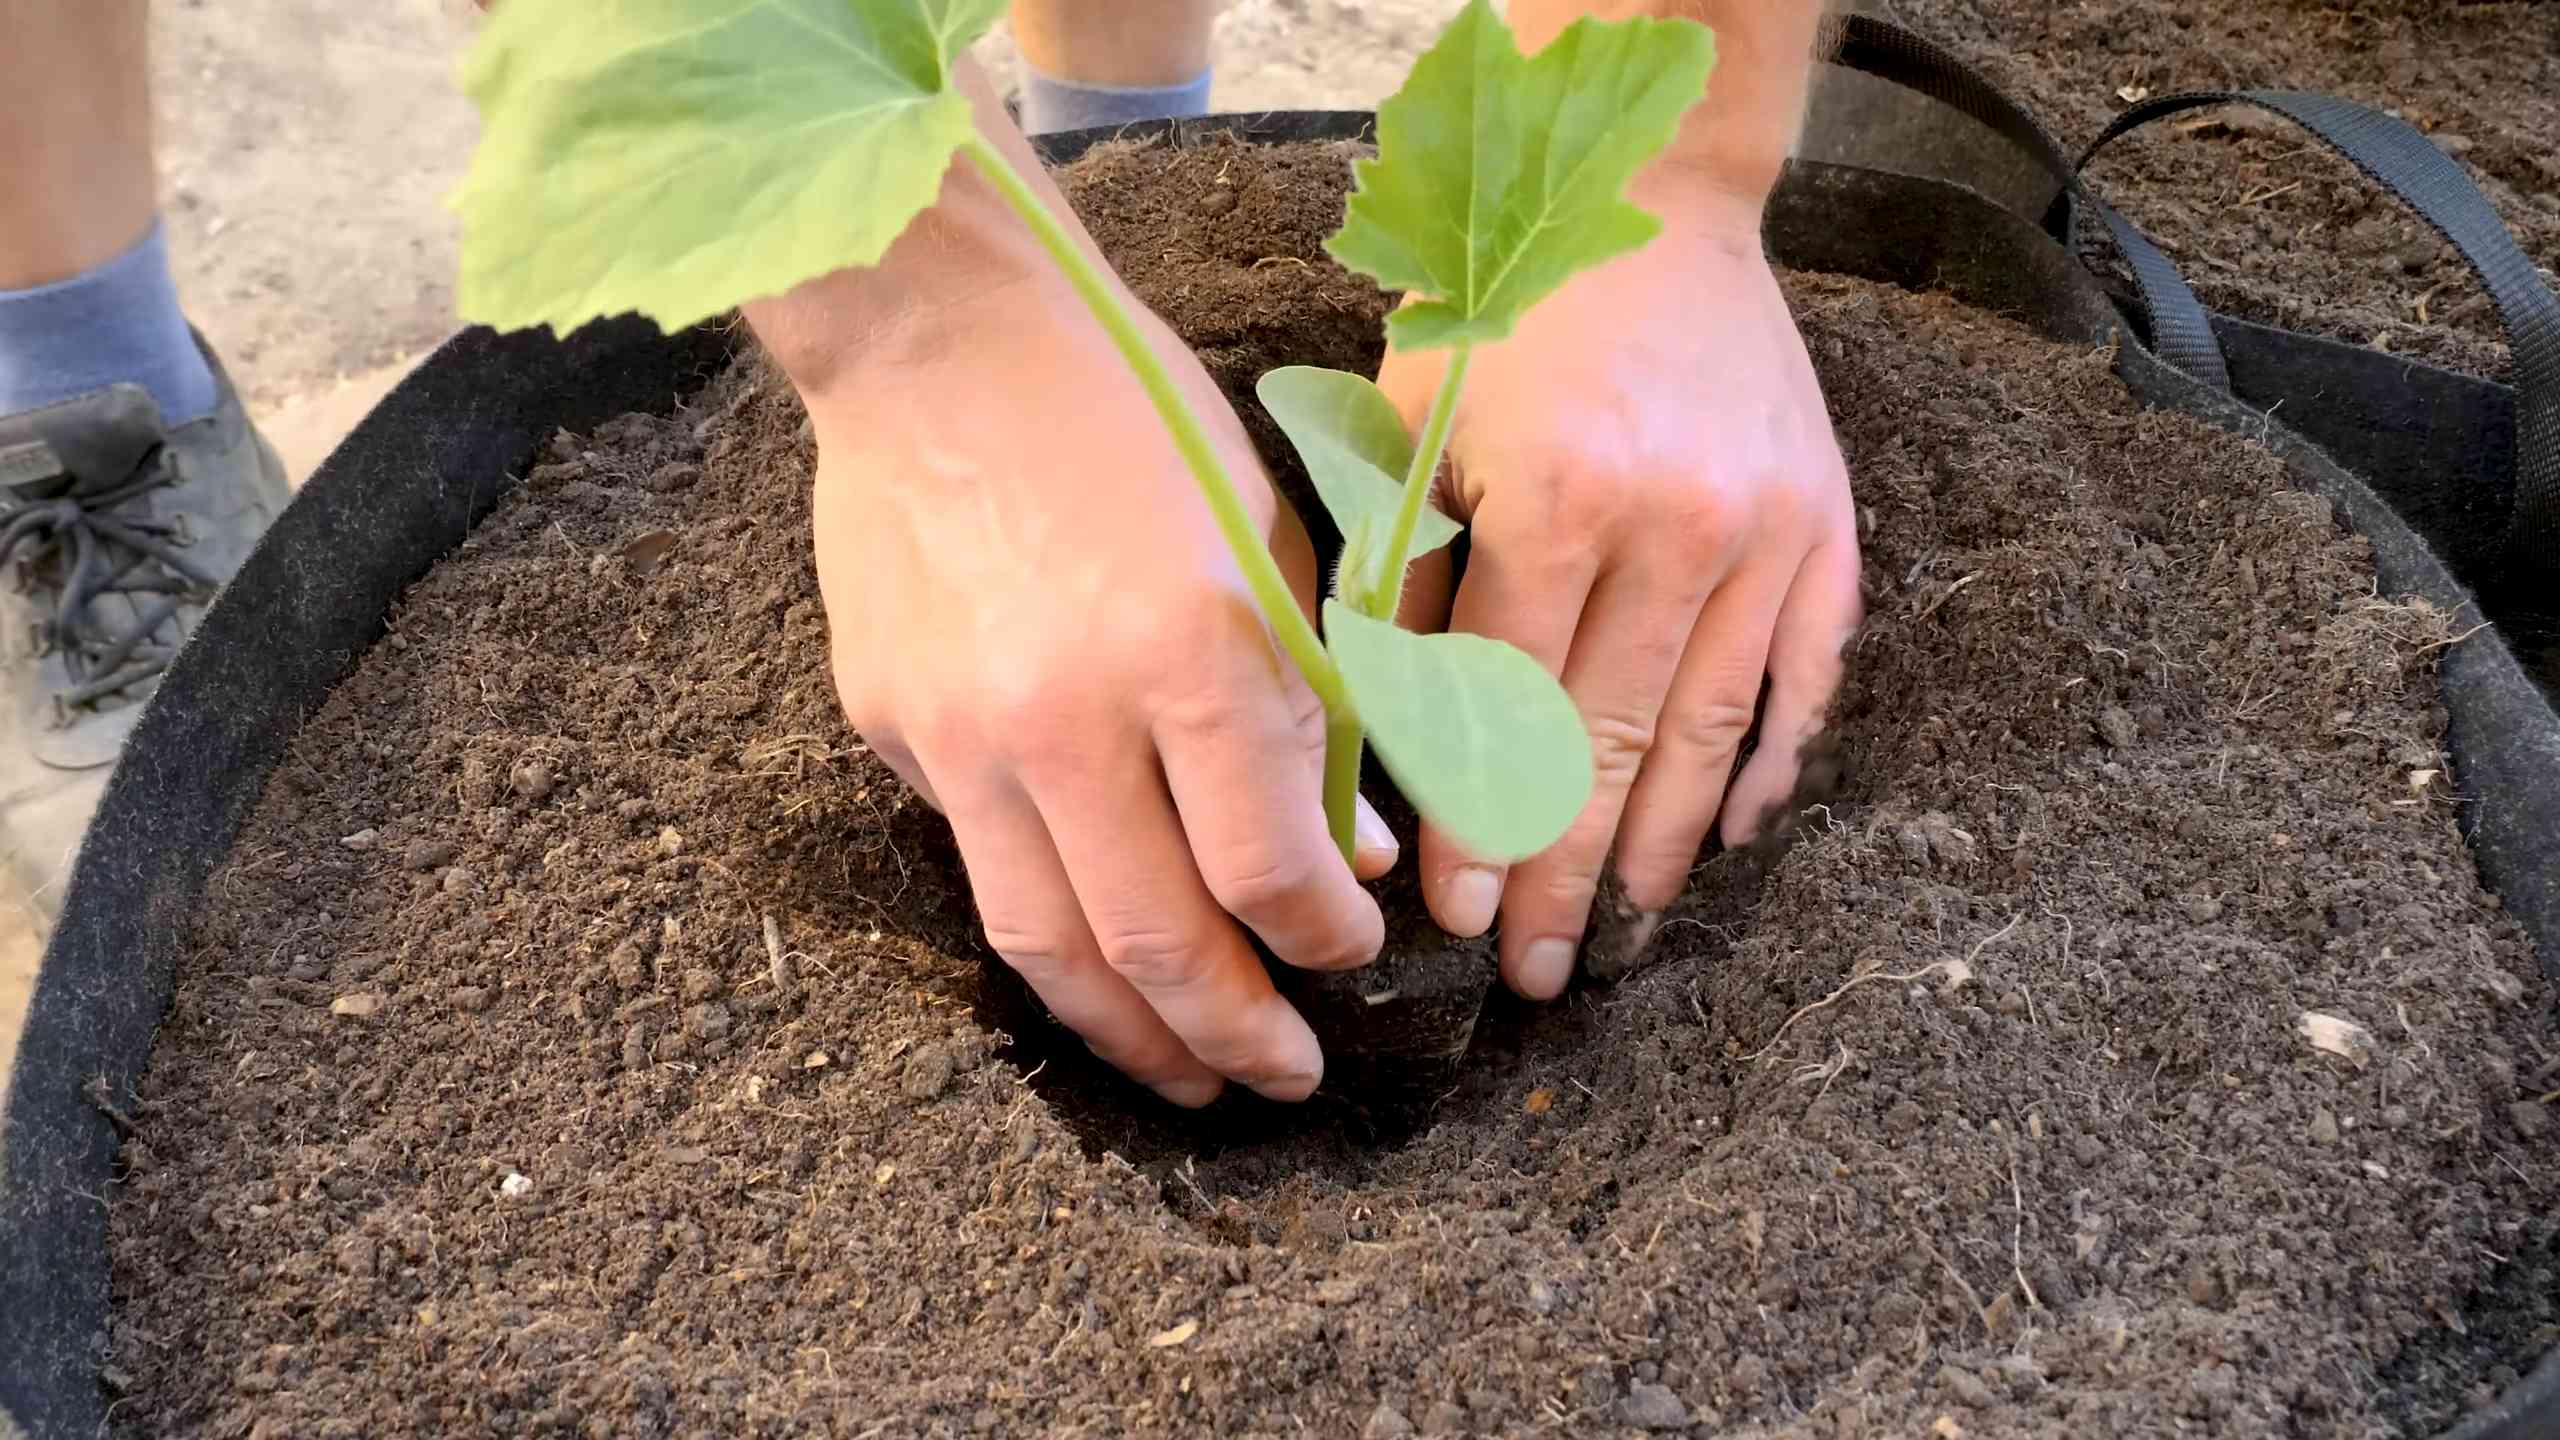
* From Seedlings: Gently remove the seedlings from their nursery pots. Loosen the roots a bit and plant them in the container, spacing them according to the variety’s recommendations (usually 12-18 inches apart). Make sure the top of the root ball is level with the soil surface.
4. Water Thoroughly: After planting, water the container thoroughly until water drains out of the bottom. This helps settle the soil and gets the seeds or seedlings off to a good start.
5. Mulch (Optional): Add a layer of mulch around the base of the plants. This will help retain moisture, suppress weeds, and regulate soil temperature.
6. Choose a Sunny Location: Summer squash needs at least 6-8 hours of sunlight per day. Place your container in a sunny spot where it will get plenty of light.
Caring for Your Container Squash
Now that your squash is planted, it’s time to take care of it. Here’s what you need to do:
1. Watering: Water your squash regularly, especially during hot, dry weather. The soil should be consistently moist but not waterlogged. I usually check the soil moisture by sticking my finger in it. If the top inch feels dry, it’s time to water.
2. Fertilizing: Even with slow-release fertilizer, your squash might need a little extra boost. I like to use a liquid fertilizer every few weeks, especially when the plants start to flower and produce fruit. Follow the instructions on the fertilizer label.
3. Pollination: Squash plants have separate male and female flowers. Bees and other pollinators are essential for transferring pollen from the male flowers to the female flowers, which then develop into squash. If you’re not seeing a lot of bees in your garden, you might need to hand-pollinate.
* How to Hand-Pollinate: Use a small paintbrush to collect pollen from the male flowers (they have a long, thin stem) and transfer it to the female flowers (they have a small squash-like structure at the base). Do this in the morning, when the flowers are open.
4. Pest Control: Keep an eye out for pests like squash bugs, squash vine borers, and aphids.
* Squash Bugs: Handpick them off the plants or use insecticidal soap.
* Squash Vine Borers: These can be tricky. Look for small holes in the stems and frass (sawdust-like material). You can try to remove the borers by slitting the stem open, but it’s not always successful. Prevention is key! Wrap the base of the stems with aluminum foil to deter the moths from laying eggs.
* Aphids: Spray them off with a strong stream of water or use insecticidal soap.
5. Weed Control: Keep the container free of weeds. Weeds compete with your squash for nutrients and water.
6. Support (Optional): If your squash plants start to get too heavy, you can provide them with some support. A tomato cage or trellis can help keep the plants upright.
Harvesting Your Summer Squash
The best part! Summer squash is typically ready to harvest about 50-60 days after planting. Here’s how to tell when it’s time:
* Size: Harvest your squash when it’s young and tender. Zucchini should be about 6-8 inches long, yellow squash about 4-6 inches long, and patty pan squash about 3-4 inches in diameter.
* Skin: The skin should be smooth and glossy.
* Fingernail Test: Gently press your fingernail into the skin. If it pierces easily, the squash is ready to harvest.
To harvest, simply cut the squash from the plant with a sharp knife or pruning shears, leaving a short stem attached.
Troubleshooting
Even with the best care, you might encounter some problems. Here are a few common issues and how to deal with them:
* Yellowing Leaves: This could be a sign of overwatering, underwatering, nutrient deficiency, or pest infestation. Check the soil moisture, fertilize if needed, and inspect the plants for pests.
* Blossom End Rot: This is a calcium deficiency that causes the blossom end of the squash to rot. Make sure your soil has enough calcium and water consistently. You can also add calcium to the soil by mixing in some crushed eggshells or bone meal.
* Lack of Fruit: This could be due to poor pollination, lack of sunlight, or nutrient deficiency. Hand-pollinate if needed, move the container to a sunnier location, and fertilize regularly.
Enjoying Your Harvest
Now that you’ve harvested your delicious summer squash, it’s time to enjoy it! There are so many ways to cook and eat summer squash. Here are a few of my favorites:
* Grilled: Slice the squash lengthwise, brush with olive oil, and grill until tender.
* Sautéed: Dice the squash and sauté it with onions, garlic, and other vegetables.
* Roasted: Toss the squash with olive oil, herbs, and spices, and roast it in the oven until tender.
* Zucchini Bread: Grate the zucchini and use it to make a delicious zucchini bread.
* Squash Soup: Puree the squash with broth and spices to make a creamy and comforting soup.
Extending the Season
Want to keep your squash plants producing for as long as possible? Here are a few tips:
* Succession Planting: Plant new seeds or seedlings every few weeks to ensure a continuous harvest.
* Deadheading: Remove any dead or dying leaves and flowers to encourage new growth.
* Fertilizing: Continue to fertilize your plants regularly to keep them healthy and productive.
Growing summer squash in containers is a rewarding experience. With a little bit of care and attention, you can enjoy a bountiful harvest of fresh, delicious squash right on your patio or balcony. Happy gardening!
Conclusion
So, there you have it! Growing summer squash in containers isn’t just possible; it’s surprisingly rewarding. We’ve walked through the steps, addressed the potential challenges, and armed you with the knowledge to cultivate your own bountiful harvest, even without a traditional garden. This DIY container gardening trick is a must-try for anyone craving fresh, homegrown summer squash, regardless of their space limitations.
Why is this a must-try? Because it democratizes gardening. It empowers apartment dwellers, balcony enthusiasts, and anyone with limited yard space to enjoy the unparalleled flavor and satisfaction of harvesting their own vegetables. Imagine stepping outside your door and picking a perfectly ripe zucchini for tonight’s dinner. That’s the power of container gardening.
But the beauty of this method lies not just in its accessibility but also in its adaptability. Feel free to experiment with different varieties of summer squash. While we’ve focused on zucchini and yellow squash, consider trying pattypan squash for a unique shape and flavor, or even a bush variety of butternut squash for a fall harvest. The possibilities are endless!
Don’t be afraid to get creative with your container choices, too. While a 20-gallon container is ideal, you can explore using repurposed materials like large buckets or even sturdy grow bags. Just ensure proper drainage and adequate space for the roots to thrive.
Consider companion planting to further enhance your container garden. Marigolds can deter pests, while basil can improve the flavor of your squash. Research compatible plants and create a thriving ecosystem within your container.
And remember, success in container gardening often comes down to observation and adaptation. Pay close attention to your plants’ needs. Are the leaves wilting? Adjust your watering schedule. Are pests becoming a problem? Implement organic pest control methods. The more attuned you are to your plants, the more successful you’ll be.
We’re confident that with a little effort and attention, you’ll be enjoying delicious, homegrown summer squash in no time. This DIY container gardening trick is more than just a gardening method; it’s an invitation to connect with nature, cultivate your own food, and experience the joy of growing.
So, what are you waiting for? Grab your seeds, soil, and containers, and get started! We encourage you to try this DIY container gardening trick and share your experiences with us. Let us know what varieties you’re growing, what challenges you’ve overcome, and what delicious dishes you’re creating with your homegrown summer squash. Share your photos and stories in the comments below – we can’t wait to see your container gardens flourish! Happy gardening!
Frequently Asked Questions (FAQ)
What is the best type of container to use for summer squash?
The ideal container size for summer squash is at least 20 gallons. This provides ample space for the roots to develop and support the plant’s growth. Choose a container made of durable material like plastic, resin, or terracotta. Ensure the container has adequate drainage holes to prevent waterlogging, which can lead to root rot. You can also use grow bags, which are lightweight and allow for good air circulation.
How often should I water my container-grown summer squash?
Watering frequency depends on several factors, including the weather, the size of the container, and the type of soil. Generally, you should water your summer squash when the top inch of soil feels dry to the touch. During hot, dry weather, you may need to water daily, or even twice a day. Water deeply, ensuring the entire root ball is moistened. Avoid overhead watering, as this can promote fungal diseases. Instead, water at the base of the plant.
What kind of soil should I use for container gardening summer squash?
Use a high-quality potting mix specifically formulated for containers. Avoid using garden soil, as it can become compacted in containers and hinder drainage. A good potting mix should be lightweight, well-draining, and rich in organic matter. You can also amend your potting mix with compost or other organic materials to improve its fertility and water-holding capacity.
How much sunlight does summer squash need?
Summer squash requires at least 6-8 hours of direct sunlight per day to thrive. Choose a location for your container garden that receives ample sunlight. If you live in a particularly hot climate, you may need to provide some afternoon shade to prevent the plants from overheating.
How do I fertilize my container-grown summer squash?
Summer squash are heavy feeders and require regular fertilization. Start by incorporating a slow-release fertilizer into the potting mix at planting time. Then, supplement with a liquid fertilizer every 2-3 weeks throughout the growing season. Choose a fertilizer that is high in phosphorus and potassium, which are essential for fruit production. Follow the instructions on the fertilizer label carefully to avoid over-fertilizing, which can damage the plants.
What are some common pests and diseases that affect summer squash?
Common pests that affect summer squash include squash bugs, squash vine borers, aphids, and cucumber beetles. Diseases include powdery mildew, downy mildew, and blossom-end rot. Regularly inspect your plants for signs of pests or diseases. Implement organic pest control methods, such as hand-picking pests, using insecticidal soap, or introducing beneficial insects. To prevent diseases, ensure good air circulation, avoid overhead watering, and remove any infected leaves promptly. Blossom-end rot is often caused by calcium deficiency, so ensure your soil is rich in calcium or supplement with a calcium-rich fertilizer.
How do I harvest summer squash?
Harvest summer squash when the fruits are young and tender, typically when they are 6-8 inches long. Use a sharp knife or pruning shears to cut the squash from the vine, leaving a short stem attached. Regular harvesting encourages the plant to produce more fruit. Overripe squash can become tough and seedy.
Can I grow different varieties of summer squash in the same container?
While it’s technically possible to grow different varieties of summer squash in the same container, it’s generally not recommended. Different varieties may have different growth habits and nutrient requirements, which can make it challenging to manage them effectively. It’s best to grow only one variety of summer squash per container.
What if my summer squash plant is producing flowers but no fruit?
This is a common problem known as blossom drop. It can be caused by several factors, including high temperatures, lack of pollination, and nutrient deficiencies. To improve pollination, you can hand-pollinate the flowers by transferring pollen from the male flowers to the female flowers using a small brush. Ensure your plants are receiving adequate water and nutrients. If temperatures are consistently high, provide some afternoon shade.
Can I save seeds from my container-grown summer squash?
Yes, you can save seeds from your container-grown summer squash, but keep in mind that if you grew hybrid varieties, the seeds may not produce plants that are true to type. To save seeds, allow a few fruits to mature fully on the vine. Once the fruits are ripe, scoop out the seeds and rinse them thoroughly. Spread the seeds out on a paper towel to dry completely. Store the dried seeds in an airtight container in a cool, dry place.
Leave a Comment