
Scrub Daddy Dishwashing Tips: Who knew a smiley-faced sponge could revolutionize your kitchen cleaning routine? I certainly didn’t, until I discovered the magic of the Scrub Daddy! For years, I struggled with stubborn food residue and grimy dishes, feeling like I was constantly battling a losing war against the mess. But trust me, these aren’t your grandma’s sponges.
While the Scrub Daddy might seem like a relatively new invention, the quest for the perfect dishwashing tool is as old as kitchens themselves! From rudimentary scouring pads made of natural fibers to the modern marvels we have today, people have always sought efficient and effective ways to keep their dishes sparkling. The Scrub Daddy, with its unique FlexTexture material, takes this pursuit to a whole new level.
Why do you need these Scrub Daddy dishwashing tips? Because let’s face it, nobody enjoys spending hours scrubbing dishes! These simple hacks will not only save you time and effort but also help you get the most out of your Scrub Daddy, extending its lifespan and ensuring your dishes are always squeaky clean. I’m going to share my favorite DIY tricks and hacks that will transform your dishwashing experience from a chore into a breeze. Get ready to unlock the full potential of your smiley-faced friend!
Unlock the Scrub Daddy’s Full Potential: Amazing Cleaning Hacks You Need to Know!
Okay, friends, let’s talk Scrub Daddy! You probably already know and love this smiley-faced sponge for its temperature-controlled scrubbing power. But did you know it can do SO much more than just dishes? I’m going to share some of my favorite Scrub Daddy cleaning hacks that will seriously level up your cleaning game. Get ready to be amazed!
Hack #1: The Microwave Miracle
Tired of scrubbing baked-on food splatters in your microwave? This hack is a game-changer!
What you’ll need:
* Scrub Daddy
* Microwave-safe bowl
* Water
* Lemon juice or vinegar (optional, but recommended)
Step-by-step instructions:
1. Prepare the Cleaning Solution: Fill the microwave-safe bowl with about a cup of water. Add a tablespoon of lemon juice or vinegar. This helps loosen the grime and deodorize the microwave. I personally prefer lemon juice for the fresh scent!
2. Soak the Scrub Daddy: Thoroughly wet your Scrub Daddy with the lemon-water mixture. Squeeze out the excess water, but leave it damp.
3. Microwave Magic: Place the damp Scrub Daddy inside the bowl of water in the microwave. Microwave on high for 1-2 minutes. The steam will work its magic, loosening all the stuck-on food.
4. Let it Cool (Slightly!): Carefully remove the bowl and Scrub Daddy from the microwave. Be cautious, as they will be hot! Let them cool for a minute or two so you don’t burn yourself.
5. Wipe Away the Mess: Use the Scrub Daddy to wipe down the inside of the microwave. The loosened grime should come off easily. The Scrub Daddy’s texture is perfect for scrubbing without scratching.
6. Final Touches: For any stubborn spots, use a little extra pressure with the Scrub Daddy. Once you’ve wiped everything down, use a clean, damp cloth to remove any remaining residue.
Hack #2: Revive Your Grout
Grimey grout lines can make even the cleanest tiles look dirty. Here’s how to use your Scrub Daddy to bring them back to life!
What you’ll need:
* Scrub Daddy
* Baking soda
* White vinegar
* Old toothbrush (optional, for extra stubborn areas)
* Spray bottle
Step-by-step instructions:
1. Create the Cleaning Paste: In a small bowl, mix baking soda and white vinegar to form a paste. The mixture will fizz, which is perfectly normal! I usually aim for a consistency similar to toothpaste.
2. Apply the Paste: Using your fingers or a small spoon, apply the baking soda paste to the grout lines. Make sure to cover them completely.
3. Let it Sit: Allow the paste to sit on the grout for at least 5-10 minutes. This gives the baking soda and vinegar time to work their magic and break down the grime.
4. Scrub-a-dub-dub: Wet your Scrub Daddy and use it to scrub the grout lines. The Scrub Daddy’s firm texture is ideal for getting into those narrow spaces. For particularly stubborn areas, you can use an old toothbrush to scrub before using the Scrub Daddy.
5. Rinse Thoroughly: Use a spray bottle filled with water to rinse away the baking soda paste. Make sure to remove all traces of the paste to prevent any residue buildup.
6. Dry and Admire: Use a clean towel to dry the grout lines. Step back and admire your sparkling clean grout!
Hack #3: Sparkling Shower Doors
Soap scum on shower doors is the bane of my existence! But the Scrub Daddy makes tackling this chore so much easier.
What you’ll need:
* Scrub Daddy
* White vinegar
* Dish soap
* Spray bottle
* Squeegee (optional, but recommended)
Step-by-step instructions:
1. Prepare the Cleaning Solution: In a spray bottle, mix equal parts white vinegar and dish soap. I usually use about half a cup of each. Shake well to combine.
2. Spray the Shower Doors: Generously spray the shower doors with the vinegar and dish soap mixture. Make sure to cover all areas affected by soap scum.
3. Let it Sit: Allow the solution to sit on the shower doors for about 10-15 minutes. This will give the vinegar and dish soap time to loosen the soap scum.
4. Scrub with the Scrub Daddy: Wet your Scrub Daddy and use it to scrub the shower doors. Apply firm pressure, especially on areas with heavy soap scum buildup. The Scrub Daddy’s texture will help break down the soap scum without scratching the glass.
5. Rinse Thoroughly: Rinse the shower doors thoroughly with water. Make sure to remove all traces of the cleaning solution and soap scum.
6. Squeegee for a Streak-Free Finish: Use a squeegee to remove excess water from the shower doors. This will help prevent water spots and streaks. If you don’t have a squeegee, you can use a clean, dry towel to wipe down the doors.
Hack #4: Clean Your Blinds Like a Pro
Cleaning blinds can be a tedious task, but the Scrub Daddy makes it much faster and easier!
What you’ll need:
* Scrub Daddy
* Warm water
* Dish soap
* Old sock or microfiber cloth
Step-by-step instructions:
1. Prepare the Cleaning Solution: Fill a bowl with warm water and add a squirt of dish soap. Mix well to create a soapy solution.
2. Wet the Scrub Daddy: Dip the Scrub Daddy into the soapy water and squeeze out the excess. You want it to be damp, not dripping.
3. Cover the Scrub Daddy: Slide the Scrub Daddy into an old sock or wrap it with a microfiber cloth. This will help prevent scratches and distribute the cleaning solution evenly.
4. Clean the Blinds: Gently clamp the Scrub Daddy (covered in the sock/cloth) around each slat of the blind and slide it across. The sock/cloth will trap the dust and dirt.
5. Rinse and Repeat: Rinse the sock/cloth frequently in the soapy water and wring it out. Repeat the cleaning process until all the blinds are clean.
6. Dry the Blinds: Allow the blinds to air dry completely before closing them. You can also use a clean, dry cloth to wipe them down for a faster drying time.
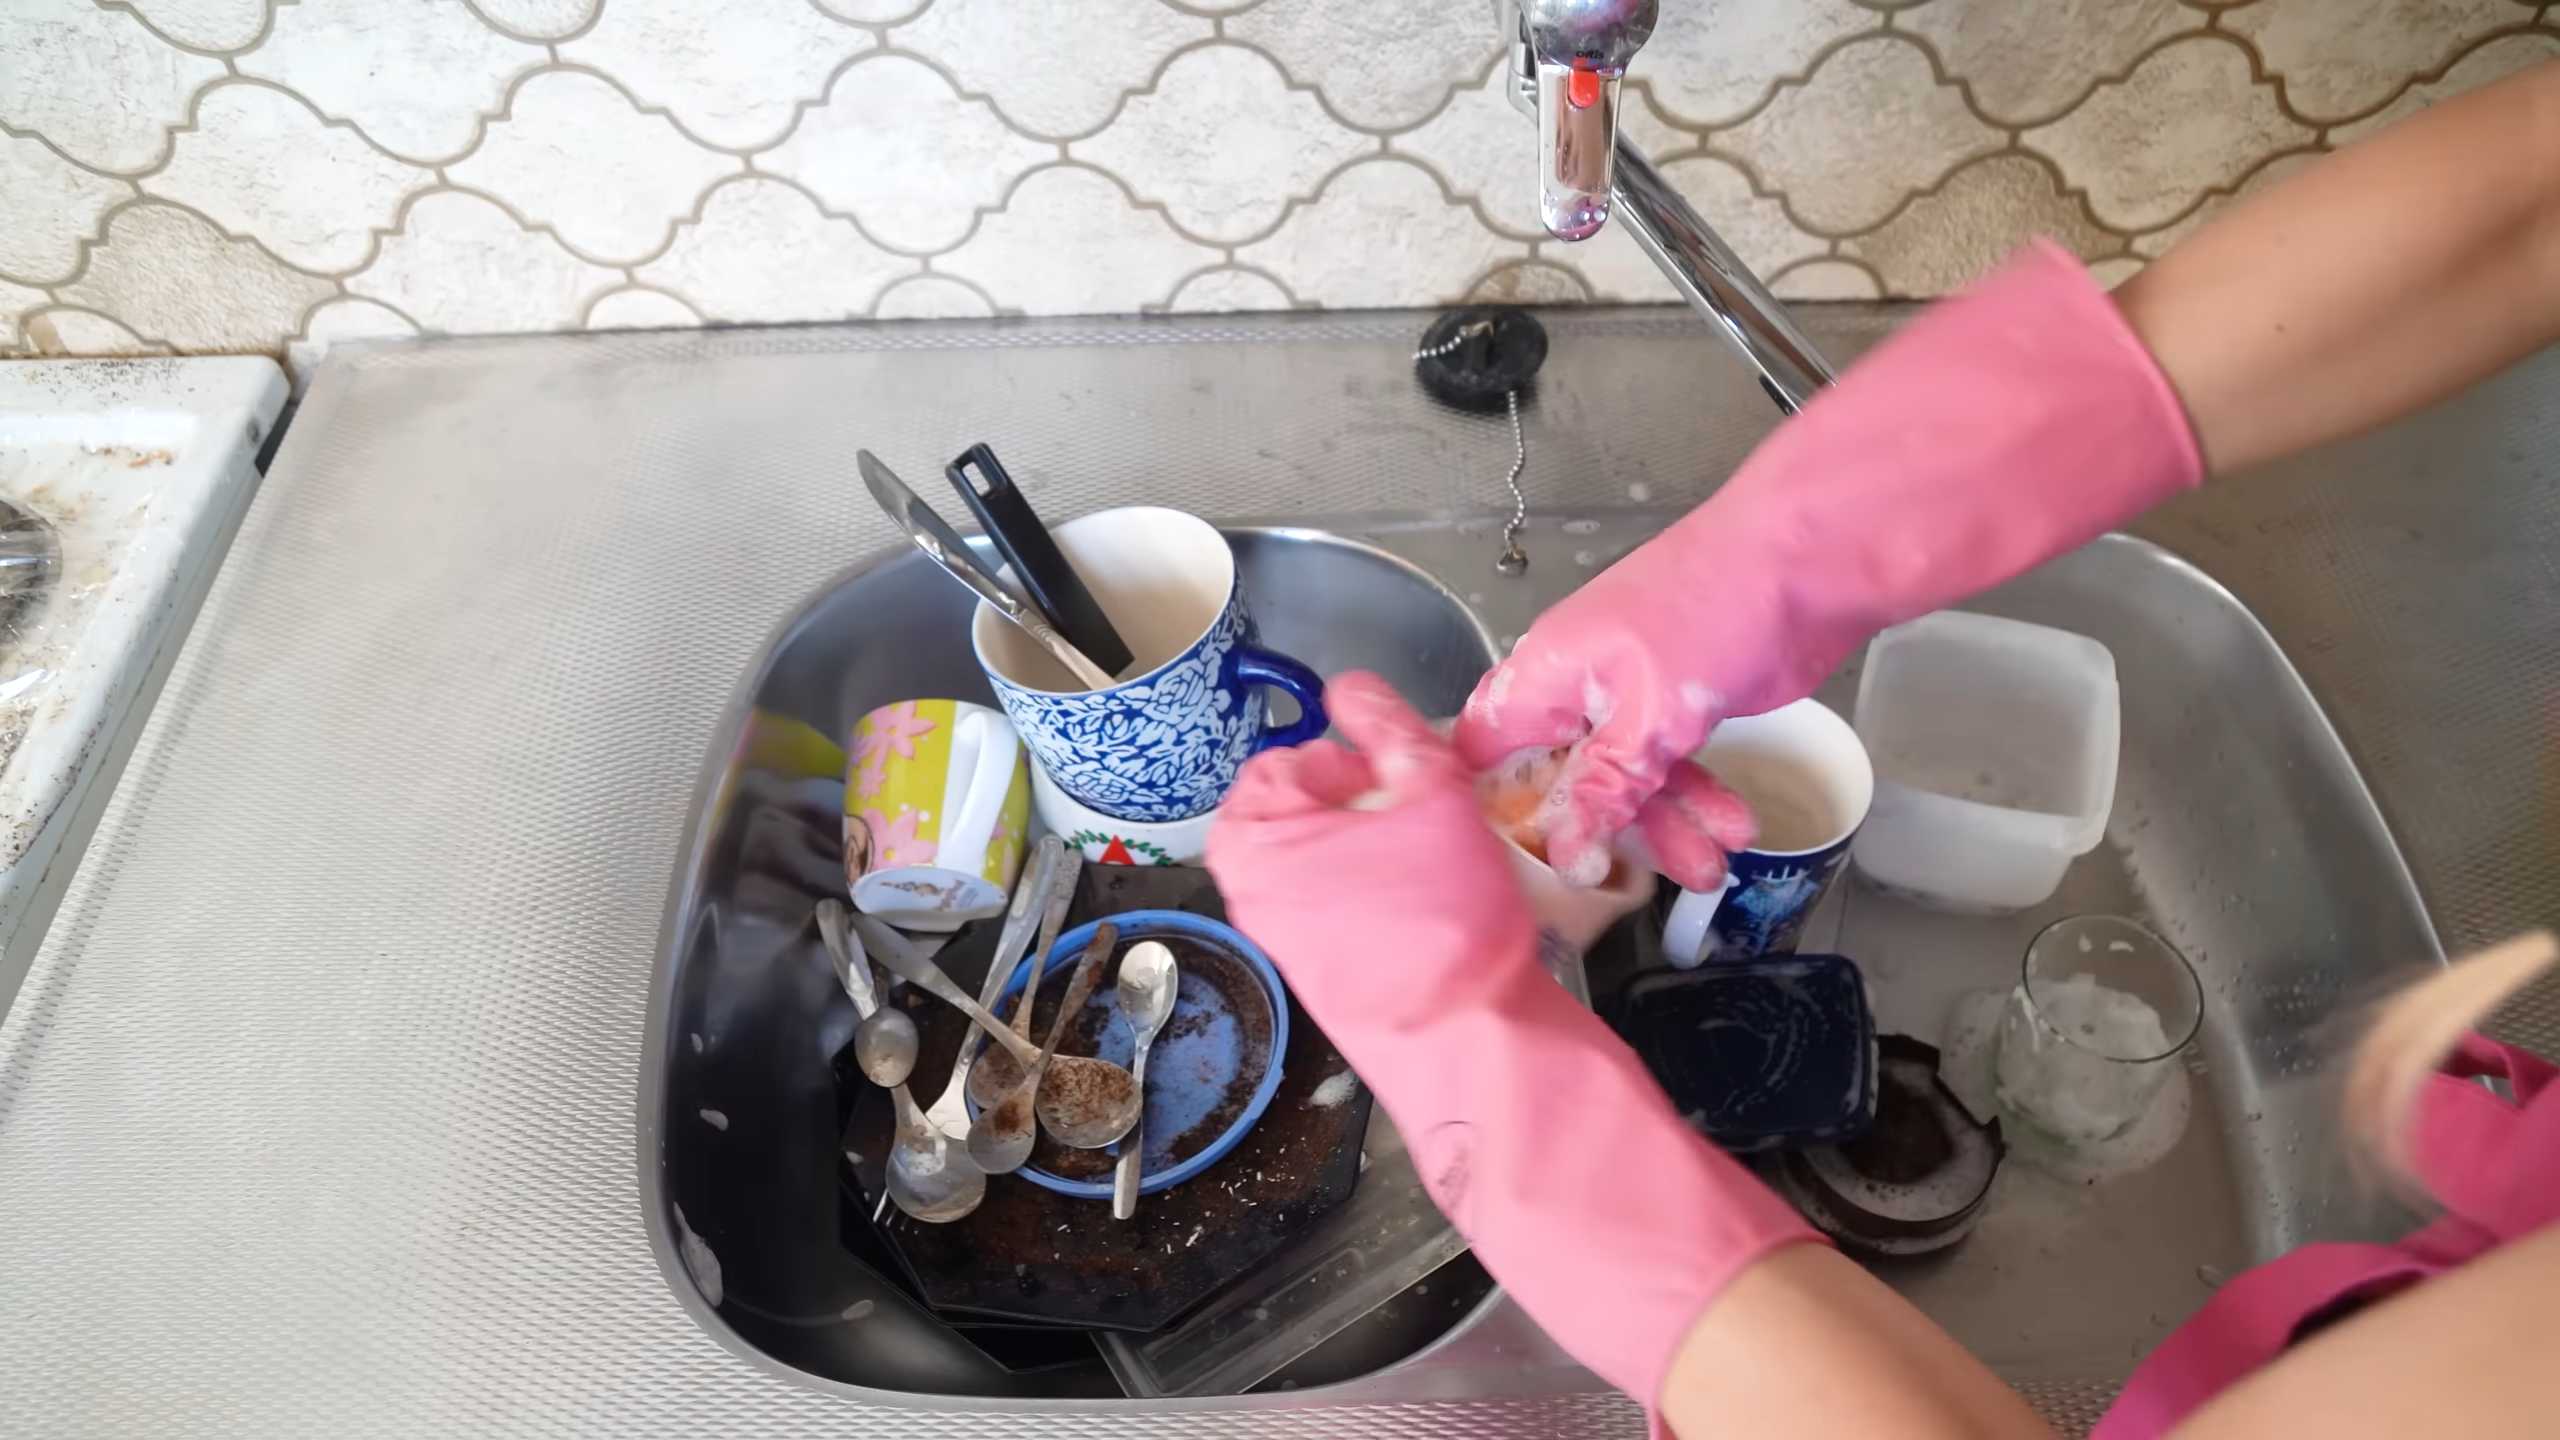
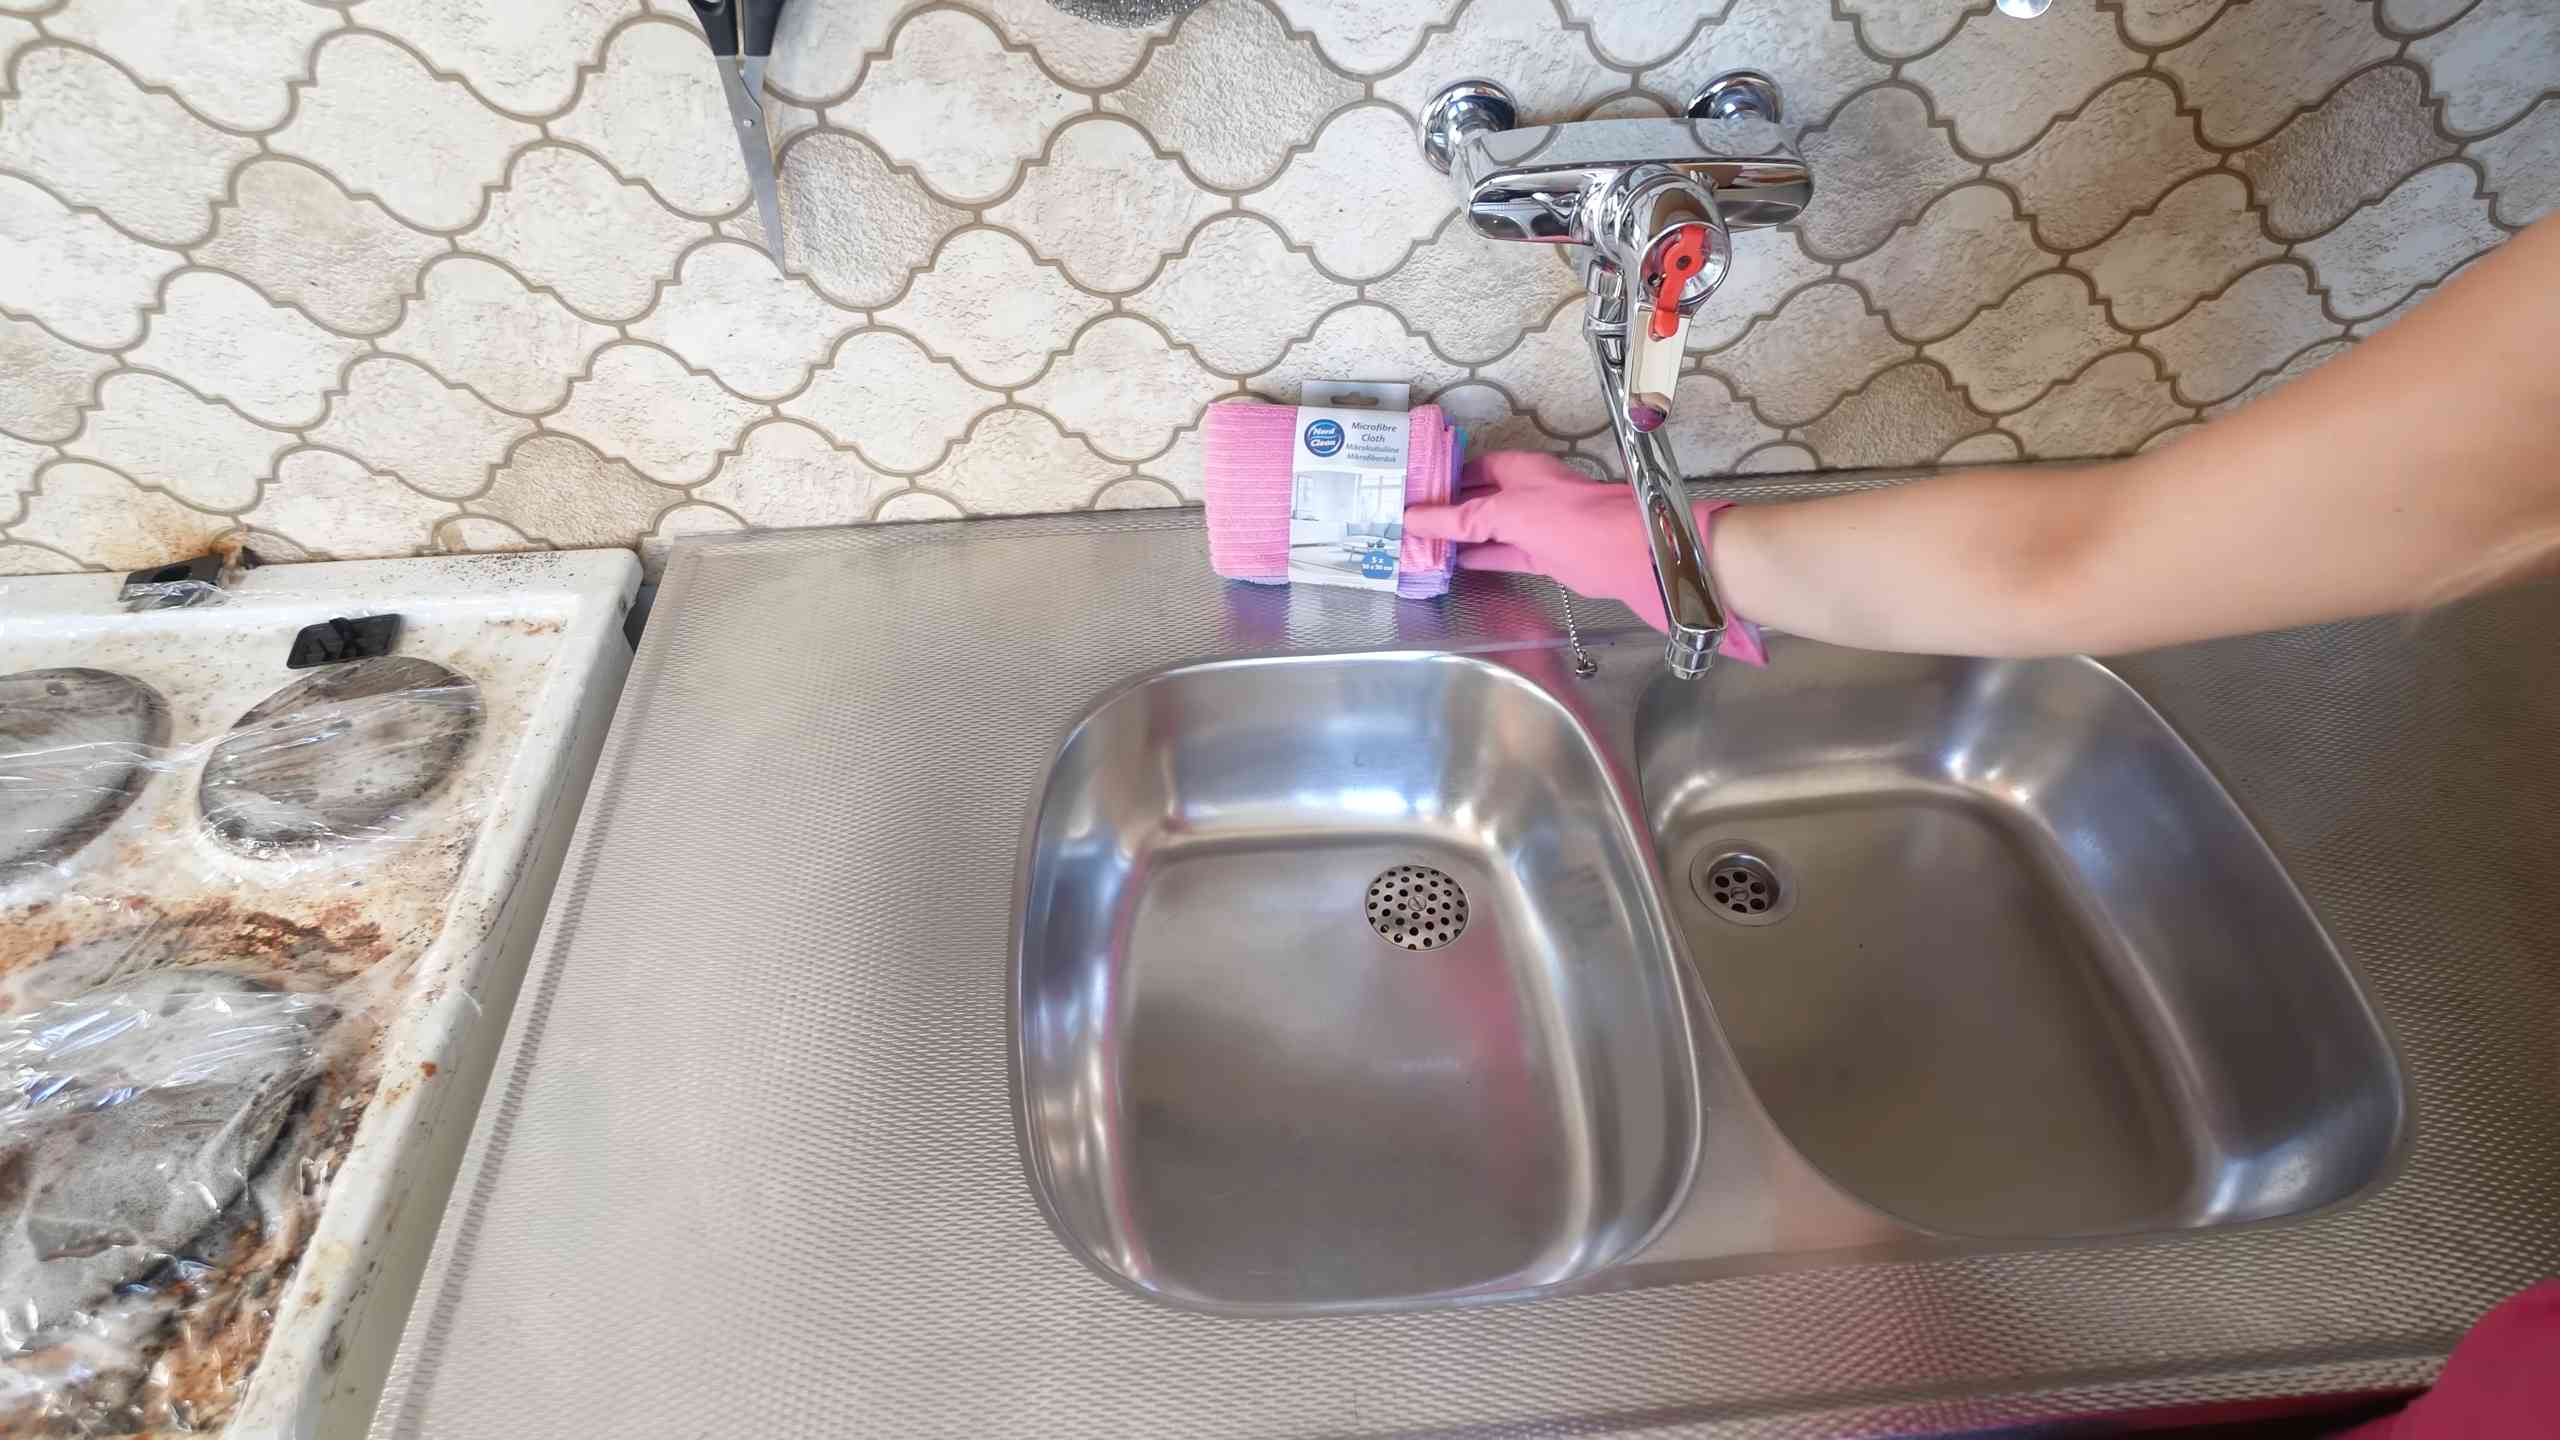
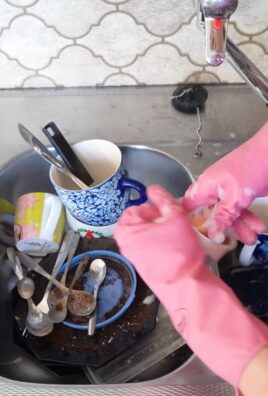
Hack #5: De-Gunk Your Kitchen Sink
Kitchen sinks can get pretty gross, especially around the drain. The Scrub Daddy is perfect for tackling this grime!
What you’ll need:
* Scrub Daddy
* Baking soda
* White vinegar
* Hot water
Step-by-step instructions:
1. Sprinkle Baking Soda: Sprinkle a generous amount of baking soda around the drain and the surrounding area of the sink.
2. Pour Vinegar: Pour about a cup of white vinegar over the baking soda. The mixture will fizz, which is normal.
3. Let it Sit: Allow the mixture to sit for about 5-10 minutes. This will help loosen the grime and break down any buildup.
4. Scrub with the Scrub Daddy: Wet your Scrub Daddy and use it to scrub the drain and the surrounding area of the sink. Pay special attention to any areas with stubborn grime. The Scrub Daddy’s texture is perfect for getting into those hard-to-reach spots.
5. Rinse with Hot Water: Rinse the sink thoroughly with hot water. This will help flush away any remaining baking soda, vinegar, and grime.
6. Repeat if Necessary: If there are still areas with grime, repeat the process.
Hack #6: Clean Your Car’s Interior
Believe it or not, your Scrub Daddy can even help you clean your car’s interior!
What you’ll need:
* Scrub Daddy
* Warm water
* Mild car interior cleaner
* Microfiber cloths
Step-by-step instructions:
1. Prepare the Cleaning Solution: Mix warm water with a small amount of mild car interior cleaner according to the product’s instructions.
2. Wet the Scrub Daddy: Dip the Scrub Daddy into the cleaning solution and squeeze out the excess. You want it to be damp, not dripping.
3. Wipe Down Surfaces: Use the damp Scrub Daddy to wipe down the dashboard, door panels, console, and other interior surfaces of your car. The Scrub Daddy’s texture is gentle enough to clean without scratching.
4. Wipe Away Residue: Use a clean, damp microfiber cloth to wipe away any remaining cleaning solution.
5.
Conclusion
So, there you have it! Transforming your everyday Scrub Daddy into a multi-purpose cleaning powerhouse is not just a clever hack; it’s a game-changer for your cleaning routine. We’ve explored how simple modifications can unlock a whole new level of cleaning efficiency and versatility. From tackling stubborn grime on your stovetop to gently scrubbing delicate surfaces, the possibilities are truly endless.
Why is this DIY Scrub Daddy transformation a must-try? Because it saves you time, money, and storage space. Instead of cluttering your cabinets with a dozen different cleaning tools, you can rely on your trusty Scrub Daddy, customized to handle a wide range of tasks. Think about it: no more searching for the right brush or sponge – your perfectly adapted Scrub Daddy is always ready to go.
But the best part? The customization! Feel free to experiment with different cuts, shapes, and attachments to create the ultimate cleaning tool tailored to your specific needs. For instance, if you frequently clean narrow spaces like grout lines or window tracks, consider cutting a pointed edge into your Scrub Daddy for precision cleaning. Or, if you need extra scrubbing power for baked-on food, try attaching a small scouring pad to the back with a strong adhesive.
Here are a few more suggestions to get your creative juices flowing:
* For delicate surfaces: Use a softer, more pliable Scrub Daddy and avoid applying too much pressure. You can even wrap it in a microfiber cloth for extra protection.
* For cleaning car interiors: A slightly dampened Scrub Daddy can work wonders on dashboards and upholstery. Be sure to test it in an inconspicuous area first.
* For outdoor cleaning: Use a tougher Scrub Daddy with a textured surface to scrub patio furniture or garden tools.
We’re confident that once you try these DIY Scrub Daddy tips, you’ll wonder how you ever cleaned without them. The ability to adapt and modify your cleaning tools to suit your specific needs is incredibly empowering, and it makes the chore of cleaning feel less like a burden and more like a satisfying accomplishment.
Don’t just take our word for it – give it a try! We encourage you to experiment with these techniques and discover your own unique ways to enhance your Scrub Daddy’s cleaning capabilities. And most importantly, share your experiences with us! We’d love to hear about your favorite DIY Scrub Daddy hacks and see how you’re using them to make your cleaning routine easier and more effective. Post your photos and tips on social media using #DIYScrubDaddy and let’s create a community of cleaning enthusiasts who are passionate about finding innovative solutions to everyday cleaning challenges. Embrace the power of the DIY Scrub Daddy and transform your cleaning game today!
Frequently Asked Questions (FAQ)
Q: Will modifying my Scrub Daddy affect its durability?
A: It depends on the type of modifications you make. Simple cuts and shapes are unlikely to significantly impact the Scrub Daddy’s lifespan. However, attaching abrasive materials or using harsh chemicals could potentially shorten its durability. Always test your modifications in a small, inconspicuous area first and avoid using excessive force when cleaning. Also, remember to rinse your Scrub Daddy thoroughly after each use to remove any lingering cleaning solutions.
Q: What’s the best way to clean my Scrub Daddy after using it for DIY cleaning projects?
A: Cleaning your Scrub Daddy is crucial for maintaining its hygiene and preventing the spread of bacteria. After each use, rinse it thoroughly under running water to remove any debris or cleaning solutions. You can also squeeze it to help remove excess water. For a deeper clean, you can microwave your Scrub Daddy for about one minute (make sure it’s damp) or run it through the dishwasher on the top rack. Avoid using bleach, as it can damage the material. Allow your Scrub Daddy to air dry completely before storing it.
Q: Can I use these DIY Scrub Daddy tips on other types of sponges?
A: While these tips are specifically tailored for the Scrub Daddy due to its unique FlexTexture material, some of the principles can be applied to other types of sponges. However, the results may vary. For example, cutting shapes into a regular sponge might cause it to tear more easily. Always consider the material and construction of the sponge before attempting any modifications. The Scrub Daddy’s ability to change texture based on water temperature makes it particularly well-suited for these DIY projects.
Q: Are there any surfaces I should avoid cleaning with a modified Scrub Daddy?
A: Yes, there are certain surfaces that are best avoided when using a modified Scrub Daddy. Avoid using abrasive modifications on delicate surfaces like polished wood, painted walls, or stainless steel appliances, as they can scratch or damage the finish. Always test your modified Scrub Daddy in an inconspicuous area first to ensure it doesn’t cause any harm. When in doubt, err on the side of caution and use a gentler cleaning method.
Q: What kind of adhesive should I use to attach scouring pads or other materials to my Scrub Daddy?
A: When attaching scouring pads or other materials to your Scrub Daddy, it’s important to use a strong, waterproof adhesive that can withstand repeated use and exposure to water and cleaning solutions. Look for adhesives specifically designed for bonding porous materials like foam and plastic. Epoxy resins and certain types of construction adhesives can also work well. Be sure to follow the manufacturer’s instructions carefully and allow the adhesive to cure completely before using your modified Scrub Daddy.
Q: How often should I replace my Scrub Daddy, even with these DIY cleaning tips?
A: Even with proper care and cleaning, your Scrub Daddy will eventually wear out and need to be replaced. The lifespan of your Scrub Daddy depends on how frequently you use it and the types of cleaning tasks you perform. As a general guideline, it’s recommended to replace your Scrub Daddy every two to three weeks, or sooner if it starts to show signs of wear and tear, such as tearing, discoloration, or a foul odor. Regularly replacing your Scrub Daddy ensures that you’re always cleaning with a fresh, hygienic tool.
Q: Can I use these DIY tips to create a Scrub Daddy for specific cleaning tasks, like cleaning my oven?
A: Absolutely! That’s the beauty of these DIY tips – you can customize your Scrub Daddy to tackle specific cleaning challenges. For cleaning your oven, you could attach a heavy-duty scouring pad to one side for scrubbing baked-on food and grease. Just be sure to wear gloves and eye protection when cleaning your oven, and always follow the manufacturer’s instructions for your oven cleaner. Remember to rinse your modified Scrub Daddy thoroughly after cleaning your oven to remove any lingering chemicals.
Q: Where can I find inspiration for more DIY Scrub Daddy cleaning hacks?
A: The internet is a treasure trove of inspiration for DIY Scrub Daddy cleaning hacks! Search online for tutorials, videos, and blog posts featuring creative ways to modify and use your Scrub Daddy. Social media platforms like Pinterest and YouTube are also great resources for finding new ideas and inspiration. Don’t be afraid to experiment and try out different techniques to discover what works best for you. And remember to share your own DIY Scrub Daddy creations with the online community!
Leave a Comment