
Growing Okra in Containers: Unlock the secrets to a bountiful harvest, even without a sprawling garden! Have you ever dreamt of plucking fresh, vibrant okra right from your patio? I know I have! It’s easier than you think, and this guide is packed with DIY tricks to help you succeed.
Okra, also known as “lady’s fingers,” has a rich history, tracing back to ancient Ethiopia and Egypt. It traveled across continents, becoming a staple in Southern cuisine and beyond. For generations, okra has been cherished for its unique flavor and nutritional benefits. But what if you don’t have acres of land to cultivate this Southern gem?
That’s where container gardening comes in! Many people are turning to container gardening because of limited space, apartment living, or simply wanting a more manageable gardening experience. Growing Okra in Containers allows you to enjoy fresh, homegrown produce regardless of your living situation. Plus, it’s a fantastic way to control the soil quality, sunlight exposure, and watering, leading to healthier and more productive plants. I’m excited to share my favorite DIY hacks and tips to help you grow a thriving okra crop right on your balcony or patio. Let’s get started!
Growing Asparagus at Home: A Complete DIY Guide
Asparagus, that delicious and slightly fancy vegetable, might seem intimidating to grow at home. But trust me, with a little patience and the right approach, you can harvest your own fresh asparagus spears for years to come! It’s a long-term investment, but the reward of homegrown asparagus is absolutely worth it. This guide will walk you through everything you need to know, from choosing the right spot to harvesting your first crop.
Choosing the Right Location and Preparing the Soil
Asparagus is a perennial, meaning it comes back year after year. So, picking the perfect spot is crucial. You’ll want to choose wisely because you’ll be committed to that location for a long time!
* Sunlight: Asparagus needs at least 6-8 hours of direct sunlight per day. The more sun, the better the yield.
* Soil: Well-drained soil is essential. Asparagus crowns will rot in soggy soil. Aim for a sandy loam soil that’s rich in organic matter.
* Space: Asparagus plants can get quite large, so give them plenty of room. Allow at least 4 feet between rows and 12-18 inches between plants within a row.
* Avoid Shady Areas: Don’t plant near trees or large shrubs that will compete for sunlight and nutrients.
Now, let’s get that soil ready! This is arguably the most important step, so don’t skimp on the preparation.
1. Test Your Soil: Before you do anything, get your soil tested. You can buy a soil testing kit at most garden centers or send a sample to your local agricultural extension office. This will tell you the pH level and nutrient content of your soil. Asparagus prefers a soil pH between 6.5 and 7.5.
2. Amend the Soil: Based on your soil test results, amend the soil accordingly.
* For acidic soil (pH below 6.5): Add lime to raise the pH. Follow the instructions on the lime packaging for the correct amount to use.
* For alkaline soil (pH above 7.5): Add sulfur to lower the pH. Again, follow the instructions on the sulfur packaging.
* For poor soil: Add plenty of organic matter, such as compost, well-rotted manure, or peat moss. This will improve drainage, aeration, and nutrient content. I usually add a generous layer (4-6 inches) of compost and till it into the soil.
3. Dig a Trench: Dig a trench that is about 12 inches wide and 6-8 inches deep. This is where you’ll plant your asparagus crowns.
4. Add Fertilizer: Mix a slow-release fertilizer into the bottom of the trench. Choose a fertilizer that is high in phosphorus, which promotes root growth. A 5-10-10 fertilizer is a good option. Follow the instructions on the fertilizer packaging for the correct amount to use.
5. Create a Mound: Create a small mound of soil in the bottom of the trench. This is where you’ll place the asparagus crown.
Choosing and Planting Asparagus Crowns
You have two options when it comes to starting asparagus: seeds or crowns. While you can grow asparagus from seed, it takes much longer (about 3 years) to harvest. Crowns, which are one-year-old plants, will give you a head start. I highly recommend starting with crowns for faster results.
* Choosing Crowns: Look for healthy, one-year-old crowns. They should be plump and firm, with plenty of roots. Avoid crowns that are dry, shriveled, or moldy.
* Popular Varieties: Some popular asparagus varieties include ‘Jersey Knight’ (a male hybrid that produces high yields), ‘Mary Washington’ (a classic heirloom variety), and ‘Purple Passion’ (a unique variety with purple spears).
Now, let’s get those crowns in the ground!
1. Soak the Crowns: Before planting, soak the asparagus crowns in water for about an hour. This will help rehydrate them and encourage root growth.
2. Place the Crowns: Place the asparagus crowns on top of the mounds in the trench, spacing them 12-18 inches apart. Spread the roots out around the mound.
3. Cover with Soil: Gently cover the crowns with about 2 inches of soil.
4. Water Thoroughly: Water the newly planted crowns thoroughly.
5. Gradually Fill the Trench: As the asparagus spears emerge, gradually fill in the trench with soil. This will encourage the crowns to develop a strong root system. Over the growing season, you’ll completely fill the trench.
Caring for Your Asparagus Patch
Asparagus requires consistent care to thrive. Here’s what you need to do:
* Watering: Asparagus needs consistent moisture, especially during dry periods. Water deeply and regularly, especially during the first year. Aim for about 1 inch of water per week.
* Weeding: Keep the asparagus patch free of weeds. Weeds compete with asparagus for nutrients and water. Hand-pull weeds regularly or use a hoe to cultivate the soil. Be careful not to damage the asparagus crowns.
* Fertilizing: Fertilize your asparagus patch in early spring and again after the harvest season. Use a balanced fertilizer, such as 10-10-10, or a fertilizer specifically formulated for asparagus. Follow the instructions on the fertilizer packaging.
* Mulching: Apply a layer of mulch around the asparagus plants. Mulch helps retain moisture, suppress weeds, and regulate soil temperature. Organic mulches, such as straw, wood chips, or shredded leaves, are a good choice.
* Pest and Disease Control: Asparagus is relatively pest-resistant, but it can be susceptible to asparagus beetles and crown rot.
* Asparagus Beetles: Hand-pick asparagus beetles and their larvae off the plants. You can also use an insecticidal soap or neem oil to control them.
* Crown Rot: Crown rot is a fungal disease that can cause the asparagus crowns to rot. To prevent crown rot, ensure good drainage and avoid overwatering. If you suspect crown rot, remove the affected plants and dispose of them properly.
Harvesting Your Asparagus
Patience is key when it comes to harvesting asparagus. Do not harvest any spears during the first year after planting. This allows the plants to establish a strong root system. You can harvest lightly during the second year, but only for a few weeks. In the third year and beyond, you can harvest for a longer period, typically 6-8 weeks.
1. Harvesting Time: Harvest asparagus spears when they are 6-8 inches tall and about as thick as your finger.
2. Harvesting Method: Use a sharp knife to cut the spears at ground level. Be careful not to damage the surrounding spears or the crown.
3. Harvesting Frequency: Harvest asparagus spears every day or every other day during the harvest season. The more you harvest, the more the plants will produce.
4. Stop Harvesting: Stop harvesting asparagus spears when the spears become thin and spindly. This indicates that the plants are starting to exhaust their energy reserves.
5. Let it Fern: After the harvest season, allow the asparagus plants to fern out. The ferns will photosynthesize and store energy for the next year’s crop.
Winterizing Your Asparagus Patch
As winter approaches, it’s important to prepare your asparagus patch for the cold weather.
1. Cut Back the Ferns: After the ferns have turned brown and died back, cut them back to ground level. This will help prevent disease and pests from overwintering in the patch.
2. Apply Mulch: Apply a thick layer of mulch around the asparagus plants. This will help protect the crowns from freezing temperatures and prevent soil erosion.
3. Fertilize (Optional): You can apply a light application of fertilizer in the fall to help replenish the soil nutrients.
Enjoying Your Homegrown Asparagus
Now that you’ve successfully grown your own asparagus, it’s time to enjoy the fruits (or vegetables!) of your labor. Freshly harvested asparagus is incredibly delicious and versatile.
* Storage: Store asparagus spears in the refrigerator, wrapped in a damp paper towel. They will keep for about a week.
* Cooking Methods: Asparagus can be cooked in a variety of ways, including steaming, roasting, grilling, sautéing, and blanching.
* Recipes: There are countless asparagus recipes available online and in cookbooks. Some popular dishes include roasted asparagus with parmesan cheese, asparagus soup, asparagus frittata, and asparagus salad.
Growing asparagus at home is a rewarding experience. With a little patience and effort, you can enjoy fresh, delicious asparagus for years to come. Happy gardening!
Conclusion
So, there you have it! Growing okra in containers isn’t just a possibility; it’s a rewarding and surprisingly simple way to enjoy fresh, homegrown okra, even without a sprawling garden. We’ve walked through the essential steps, from selecting the right container and soil to nurturing your okra plants and harvesting those delectable pods. But why should you actually *do* it?
The answer is multifaceted. First and foremost, the taste of homegrown okra is simply superior. It’s fresher, more tender, and bursting with flavor that you just can’t replicate with store-bought varieties. Beyond the taste, growing your own okra offers a unique connection to your food. You’ll witness the entire life cycle of the plant, from tiny seedling to bountiful producer, and gain a deeper appreciation for the effort that goes into bringing food to our tables.
Furthermore, container gardening provides unparalleled flexibility. You can move your okra plants to chase the sun, protect them from unexpected frosts, or simply relocate them to create a more visually appealing patio arrangement. This is especially beneficial if you live in an area with unpredictable weather patterns or limited sunlight.
But the real magic lies in the control you have over the growing environment. By using high-quality potting mix and providing consistent watering and fertilization, you can create the ideal conditions for your okra plants to thrive. This often translates to higher yields and healthier, more robust plants compared to growing okra directly in the ground, especially if your native soil is less than ideal.
Ready to take your okra game to the next level? Consider experimenting with different okra varieties. ‘Clemson Spineless’ is a classic choice, but ‘Burgundy’ offers beautiful red pods, and ‘Emerald’ is known for its exceptional tenderness. You can also try companion planting. Basil, marigolds, and nasturtiums are all excellent choices for deterring pests and attracting beneficial insects to your okra plants.
Don’t be afraid to get creative with your container selection, too. While a standard plastic pot will certainly do the trick, you can also use repurposed containers like old buckets, wooden crates, or even grow bags. Just make sure that whatever you choose has adequate drainage.
Finally, remember that growing okra in containers is a learning process. Don’t be discouraged if you encounter challenges along the way. Every gardener faces setbacks, and the key is to learn from your mistakes and keep experimenting. The satisfaction of harvesting your own homegrown okra is well worth the effort.
We wholeheartedly encourage you to give this DIY trick a try. It’s a fun, rewarding, and delicious way to connect with nature and enjoy the fruits (or rather, pods) of your labor. And most importantly, we want to hear about your experience! Share your photos, tips, and challenges in the comments below. Let’s build a community of container okra growers and learn from each other. Happy gardening!
Frequently Asked Questions (FAQ)
What is the best size container for growing okra?
Okra plants need plenty of room for their roots to develop. A container that is at least 10-12 inches in diameter and 12 inches deep is generally recommended. However, larger is always better! A 5-gallon container is a good starting point, but a 10-gallon container will provide even more space for the roots to spread, resulting in a healthier and more productive plant. If you plan on growing multiple okra plants in the same container, choose a very large container, such as a half whiskey barrel, to ensure that each plant has enough space.
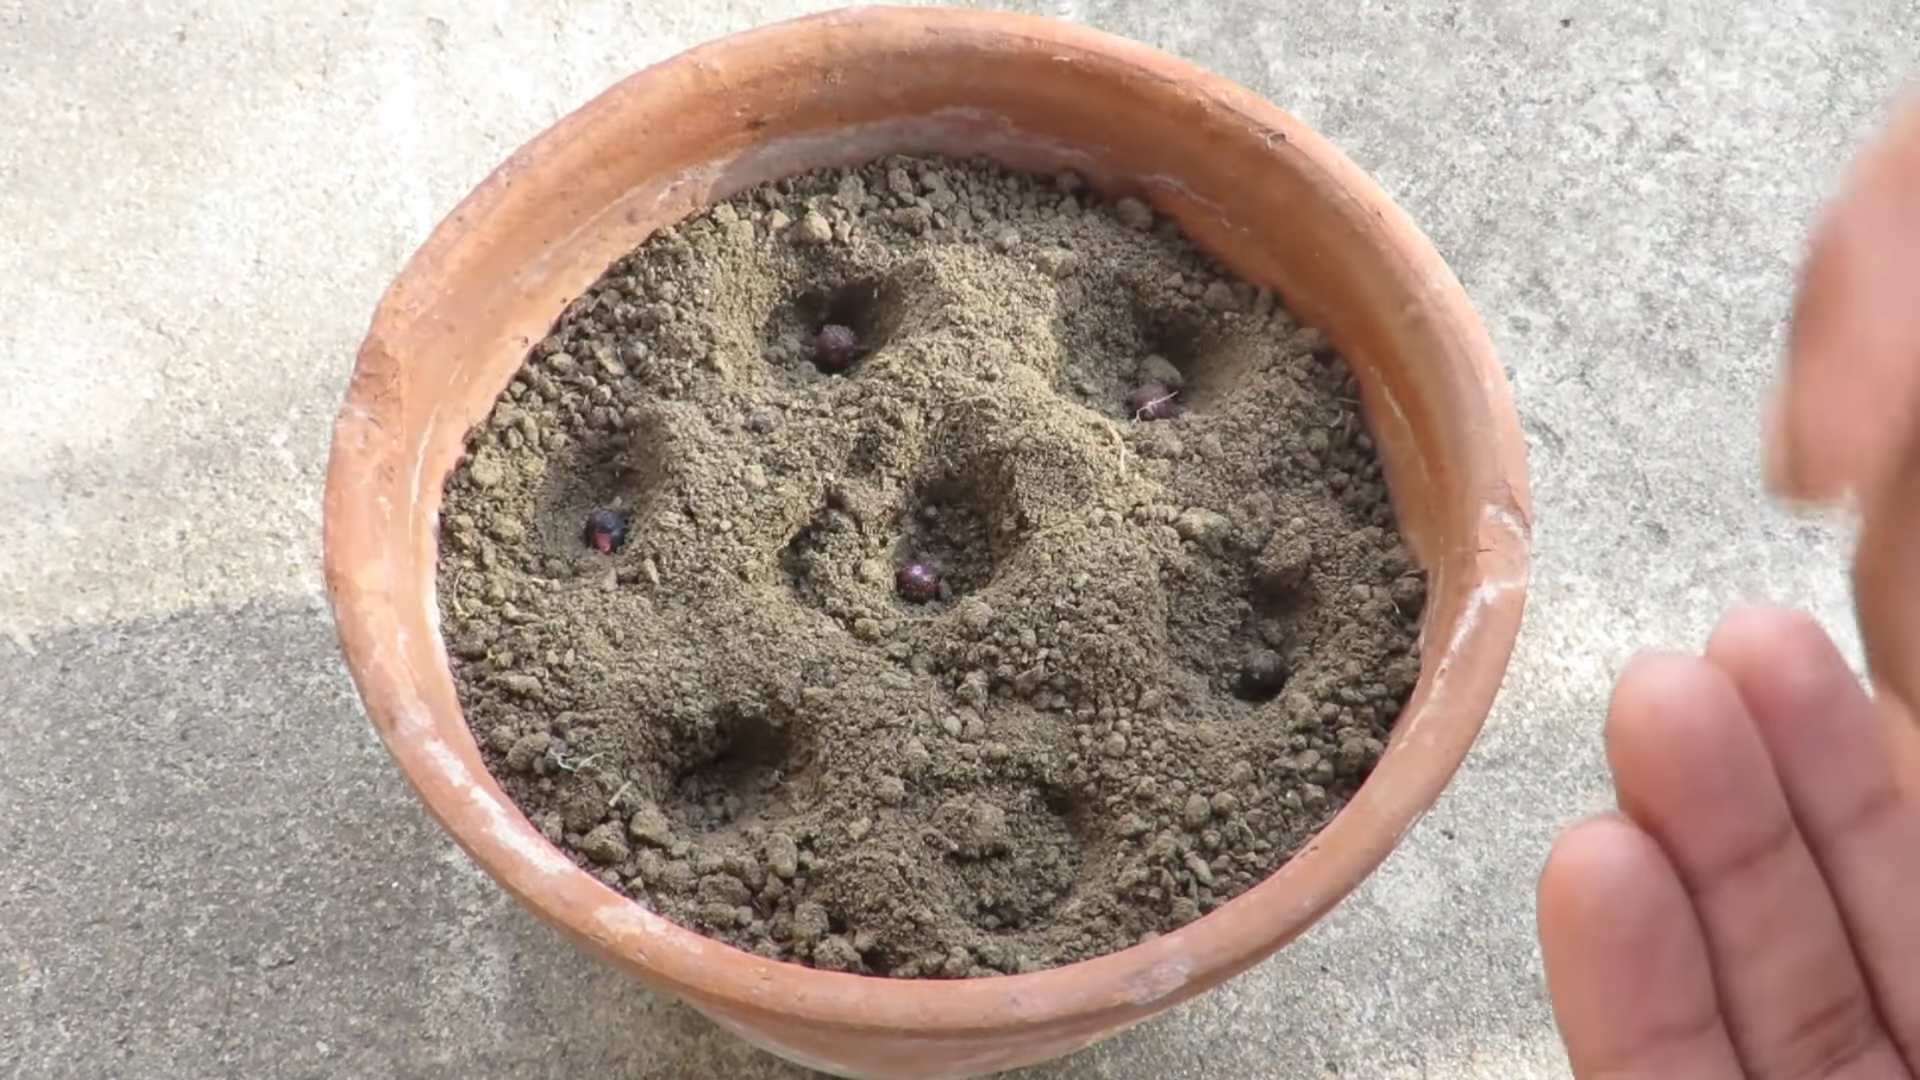
What type of soil is best for growing okra in containers?
Okra thrives in well-draining, fertile soil. Avoid using garden soil directly in your containers, as it can become compacted and prevent proper drainage. Instead, opt for a high-quality potting mix that is specifically formulated for container gardening. Look for a mix that contains ingredients like peat moss, perlite, and vermiculite, which will help to retain moisture while also providing good drainage. You can also amend your potting mix with compost or other organic matter to boost its fertility.
How often should I water my okra plants in containers?
Okra plants need consistent moisture, especially during hot weather. Water your plants deeply whenever the top inch of soil feels dry to the touch. Avoid overwatering, as this can lead to root rot. The frequency of watering will depend on factors such as the size of your container, the weather conditions, and the type of potting mix you are using. As a general rule, you may need to water your okra plants daily during the hottest part of the summer. Check the soil moisture regularly and adjust your watering schedule accordingly.
How much sunlight do okra plants need?
Okra plants are sun-loving vegetables and require at least 6-8 hours of direct sunlight per day to thrive. Choose a location for your containers that receives plenty of sunlight throughout the day. If you live in an area with intense summer heat, you may need to provide some afternoon shade to prevent the plants from scorching. You can also use grow lights to supplement natural sunlight if needed.
How often should I fertilize my okra plants in containers?
Okra plants are heavy feeders and benefit from regular fertilization. Start fertilizing your plants about two weeks after they emerge from the soil. Use a balanced fertilizer that is specifically formulated for vegetables. Follow the instructions on the fertilizer package for application rates. You can also use organic fertilizers, such as compost tea or fish emulsion. Fertilize your okra plants every 2-3 weeks throughout the growing season.
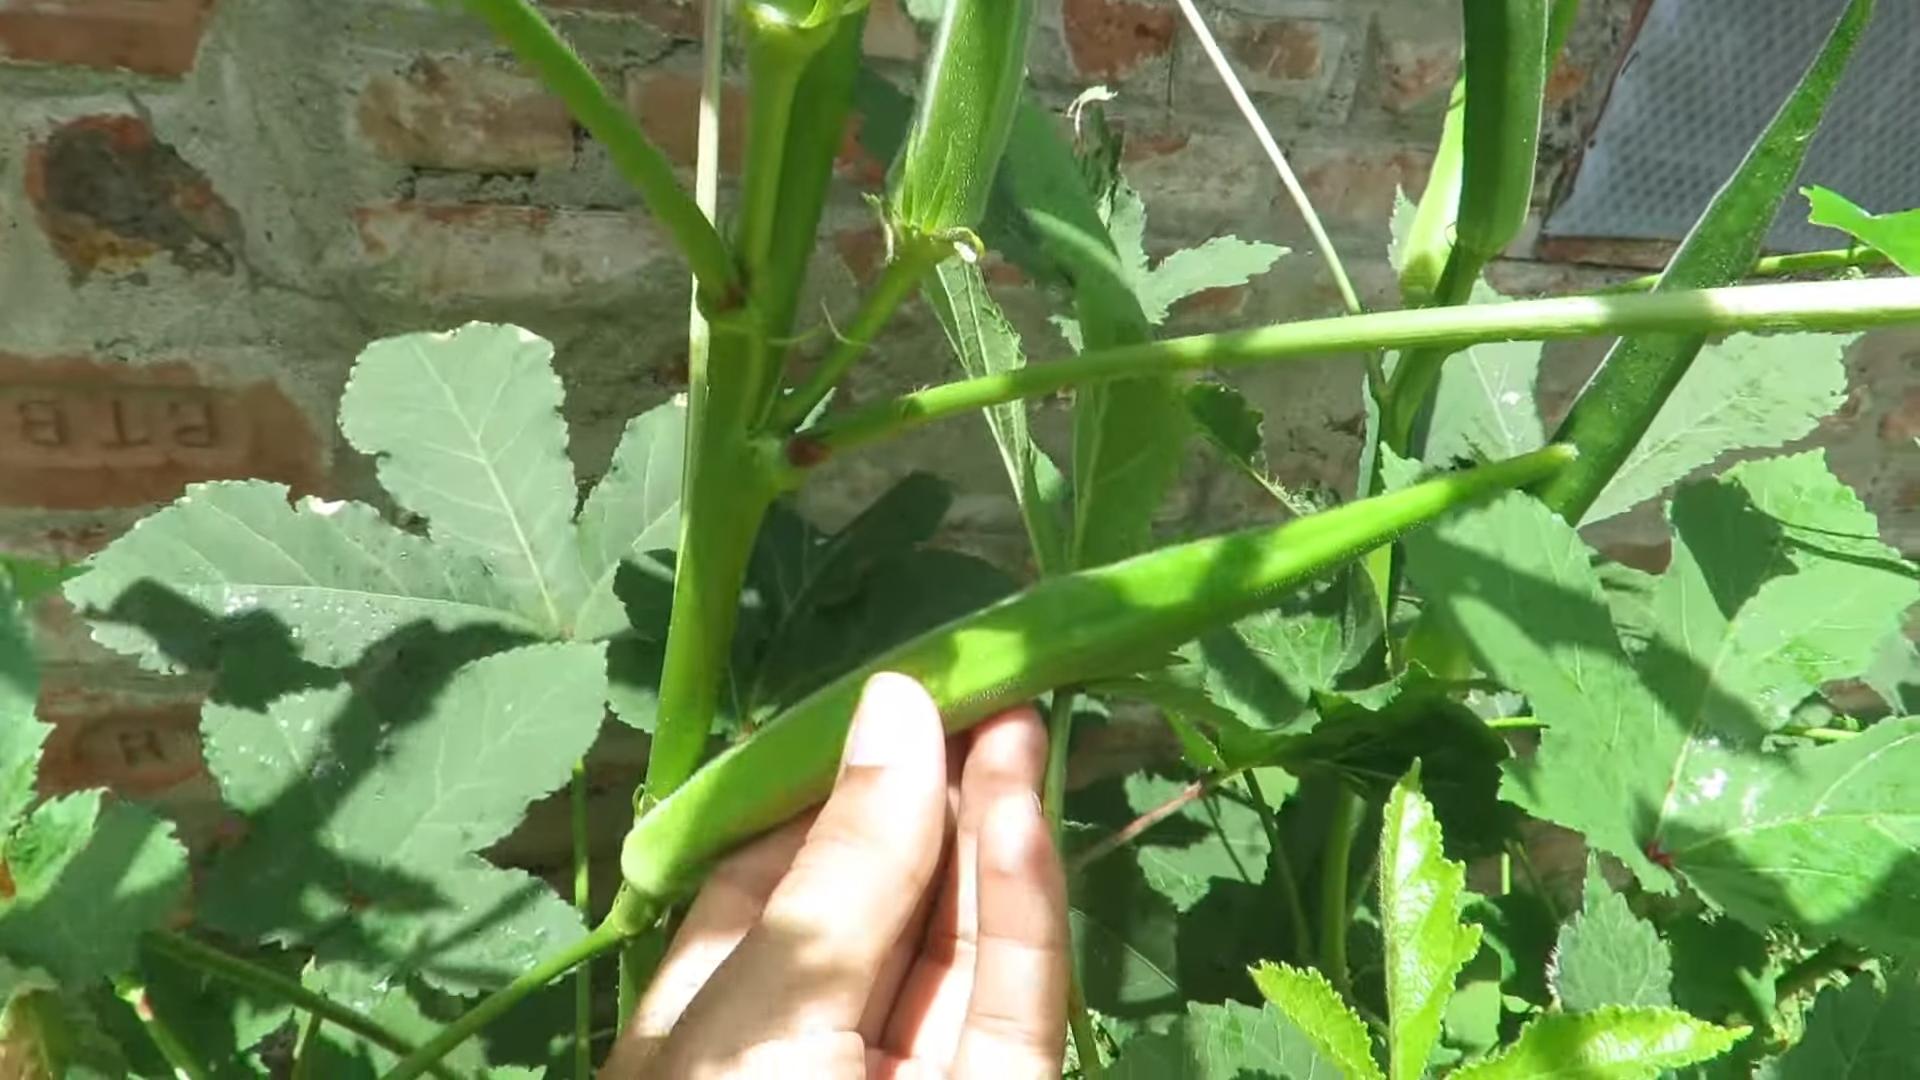
When should I harvest my okra pods?
Okra pods are best harvested when they are young and tender, typically 2-4 inches in length. Overripe pods become tough and fibrous. Check your plants daily and harvest the pods as they reach the desired size. Use a sharp knife or pruning shears to cut the pods from the plant. Wear gloves when harvesting okra, as the pods can be prickly and irritating to the skin.
What are some common pests and diseases that affect okra plants?
Okra plants can be susceptible to a variety of pests and diseases, including aphids, spider mites, flea beetles, and fungal diseases. Inspect your plants regularly for signs of infestation or disease. If you notice any problems, take action immediately to prevent them from spreading. You can use insecticidal soap or neem oil to control pests. For fungal diseases, use a fungicide that is specifically formulated for vegetables. Proper watering and good air circulation can also help to prevent diseases.
Can I grow okra indoors?
While it is possible to grow okra indoors, it can be challenging. Okra plants require a lot of sunlight, so you will need to provide supplemental lighting if you are growing them indoors. You will also need to ensure that your plants have adequate space to grow. Choose a large container and provide a sturdy support for the plants to climb. Indoor okra plants may not produce as many pods as those grown outdoors.
What are some good companion plants for okra?
Companion planting can help to improve the health and productivity of your okra plants. Some good companion plants for okra include basil, marigolds, nasturtiums, peppers, and tomatoes. Basil helps to repel pests, while marigolds attract beneficial insects. Nasturtiums act as a trap crop for aphids. Peppers and tomatoes can benefit from the shade provided by okra plants.
How do I save seeds from my okra plants?
If you want to save seeds from your okra plants, allow some of the pods to mature fully on the plant. The pods will become dry and brown. Once the pods are completely dry, harvest them and remove the seeds. Store the seeds in a cool, dry place until you are ready to plant them. Note that if you are growing hybrid okra varieties, the seeds may not produce plants that are true to type.
Leave a Comment