
Grow Okra at Home? Absolutely! Imagine stepping into your backyard and harvesting fresh, vibrant okra, ready to be transformed into a delicious gumbo or a crispy, fried delight. It’s easier than you think, and I’m here to share some simple DIY tricks that will have you enjoying homegrown okra in no time.
Okra, also known as “lady’s fingers,” has a rich history, tracing back to ancient Ethiopia and Egypt. It traveled across continents, becoming a staple in Southern cuisine and a beloved ingredient worldwide. For generations, gardeners have cherished okra for its unique flavor and nutritional benefits.
But why should you bother to grow okra at home? Well, store-bought okra often lacks the freshness and tenderness of homegrown varieties. Plus, growing your own food is incredibly rewarding! You control the growing process, ensuring it’s free from harmful pesticides and bursting with flavor. In this article, I’ll walk you through easy-to-follow DIY hacks that will help you cultivate a thriving okra patch, even if you’re a beginner gardener. Get ready to enjoy the satisfaction of harvesting your own delicious okra – let’s get started!
Grow Your Own Delicious Okra: A Beginner’s Guide
Hey there, fellow gardening enthusiasts! I’m so excited to share my experience with growing okra at home. It’s surprisingly easy, and nothing beats the taste of fresh, homegrown okra. This guide will walk you through every step, from choosing the right variety to harvesting your bounty. Let’s get started!
Choosing the Right Okra Variety
Before you even think about planting, you need to pick the perfect okra variety for your garden. Here are a few popular choices:
* Clemson Spineless: This is a classic for a reason! It’s known for its high yields and relatively spineless pods, making harvesting a breeze.
* Burgundy: If you want to add a pop of color to your garden, Burgundy okra is the way to go. It has beautiful red pods that turn green when cooked.
* Emerald: This variety produces long, slender, and very tender pods. It’s a great choice if you prefer a milder flavor.
* Dwarf Green Long Pod: Perfect for smaller gardens or containers, this variety produces shorter plants with good yields.
Consider your climate and the amount of space you have when making your decision. I personally love Clemson Spineless because it’s so reliable.
Preparing Your Garden Bed
Okra loves sunshine and well-drained soil. Here’s how to get your garden bed ready:
* Sunlight: Okra needs at least 6-8 hours of direct sunlight per day. Choose a spot in your garden that gets plenty of sun.
* Soil: Okra prefers well-drained, sandy loam soil with a pH between 6.0 and 7.0. If your soil is heavy clay, amend it with compost or other organic matter to improve drainage.
* Soil Testing: I highly recommend getting your soil tested. It’s the best way to know exactly what nutrients your soil is lacking. You can usually get a soil test done through your local agricultural extension office.
* Amending the Soil: Based on your soil test results, amend your soil with the necessary nutrients. Okra benefits from a balanced fertilizer with nitrogen, phosphorus, and potassium. I like to use a slow-release fertilizer to provide a steady supply of nutrients throughout the growing season.
* Tilling or Digging: Loosen the soil to a depth of at least 12 inches. This will allow the okra roots to penetrate deeply and establish themselves. Remove any rocks, weeds, or other debris.
* Creating Raised Beds (Optional): If you have poor drainage, consider creating raised beds. This will help to improve drainage and warm the soil more quickly in the spring.
Planting Okra Seeds
Okra is a warm-weather crop, so you’ll need to wait until the soil has warmed up to at least 65°F (18°C) before planting. Here’s how to plant your okra seeds:
1. Soaking the Seeds: To speed up germination, soak the okra seeds in water for 12-24 hours before planting. This will help to soften the seed coat and make it easier for the seedlings to emerge.
2. Planting Depth: Plant the seeds about 1/2 inch to 1 inch deep.
3. Spacing: Space the seeds about 6-12 inches apart in rows that are 3-4 feet apart. If you’re planting in containers, use a container that is at least 12 inches in diameter and 12 inches deep.
4. Watering: Water the seeds thoroughly after planting. Keep the soil moist but not soggy until the seedlings emerge.
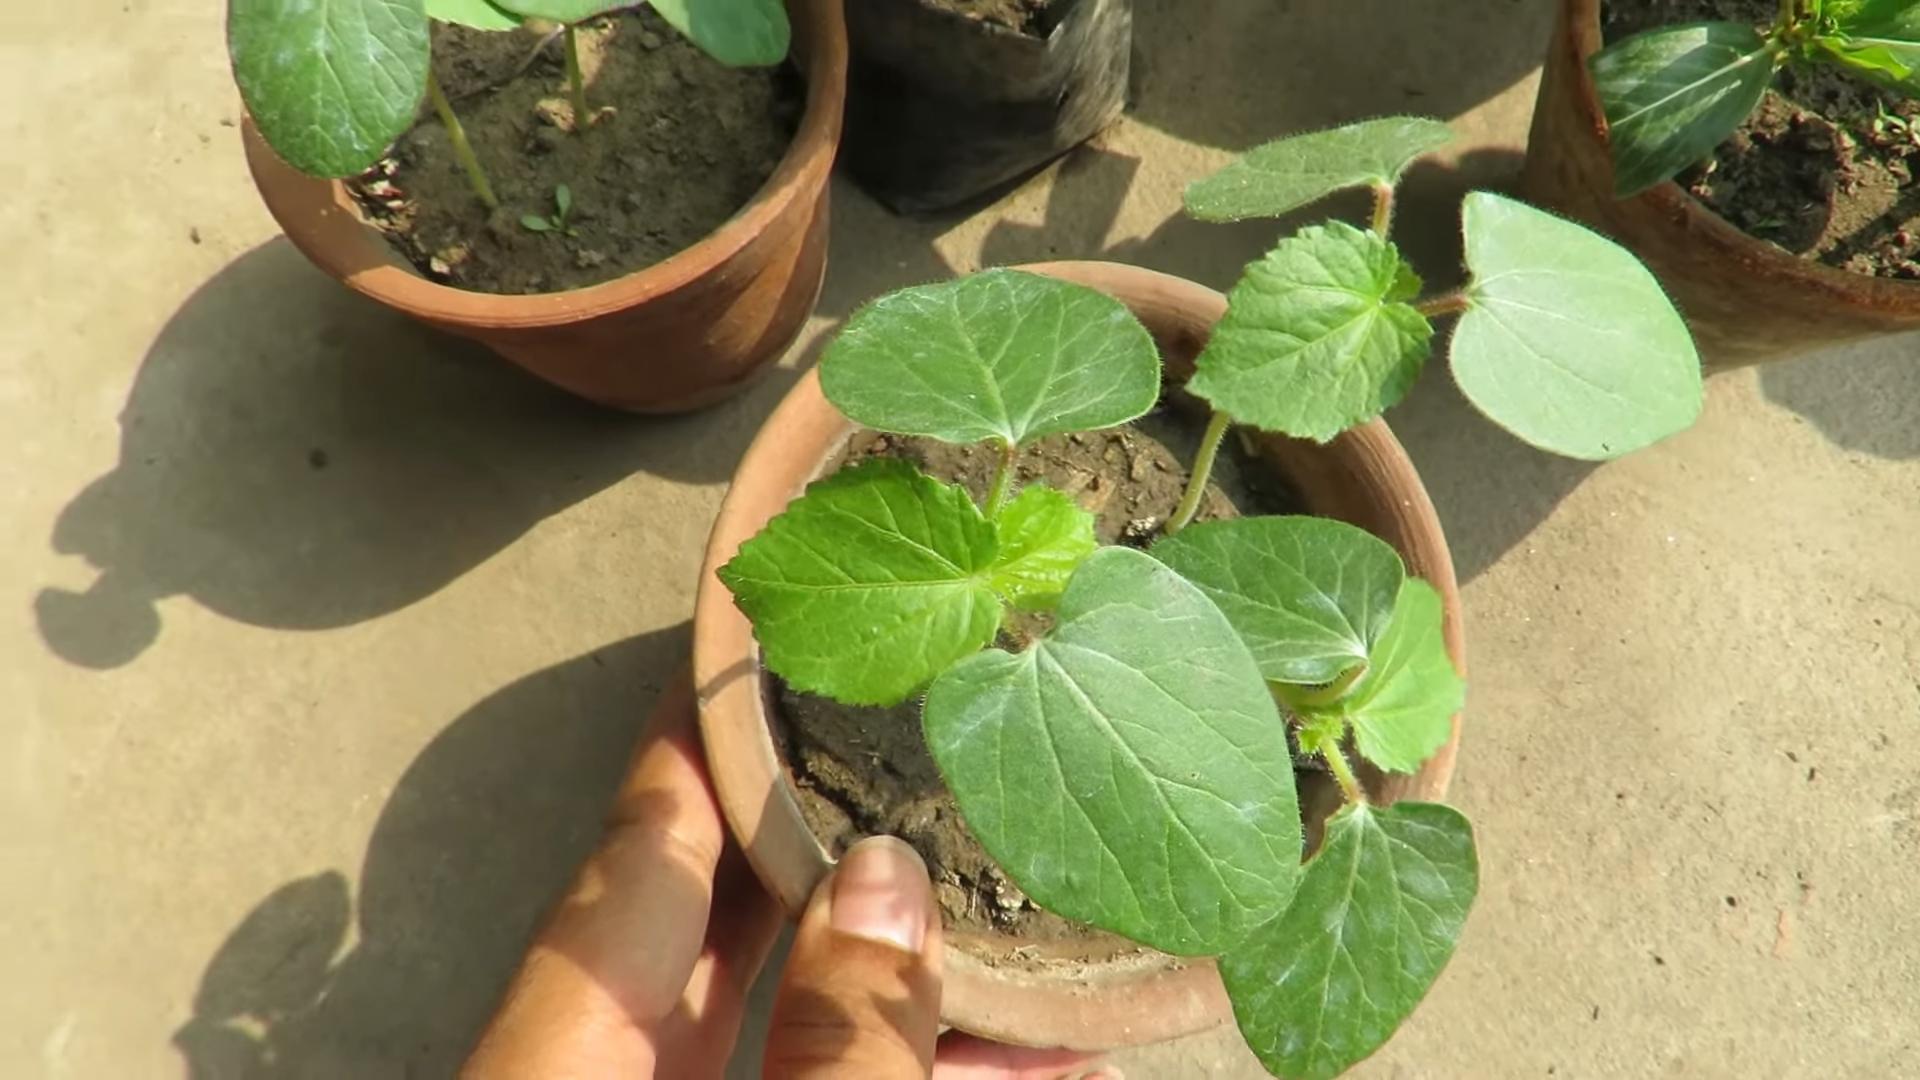
5. Thinning: Once the seedlings are a few inches tall, thin them to 12-18 inches apart. This will give the plants enough room to grow and prevent overcrowding.
Caring for Your Okra Plants
Okra is relatively low-maintenance, but there are a few things you can do to help your plants thrive:
* Watering: Water your okra plants regularly, especially during hot, dry weather. Aim to water deeply and infrequently, rather than shallowly and frequently. Okra needs about 1 inch of water per week.
* Fertilizing: Fertilize your okra plants every 4-6 weeks with a balanced fertilizer. You can also side-dress the plants with compost or manure.
* Weeding: Keep your garden bed free of weeds. Weeds compete with okra plants for water and nutrients.
* Mulching: Apply a layer of mulch around your okra plants to help retain moisture, suppress weeds, and regulate soil temperature. I like to use straw or wood chips.
* Pest Control: Okra can be susceptible to a few pests, such as aphids, flea beetles, and corn earworms. Inspect your plants regularly for signs of pests and take action if necessary. You can use insecticidal soap, neem oil, or other organic pest control methods.
* Disease Control: Okra can also be susceptible to a few diseases, such as powdery mildew and root rot. To prevent diseases, make sure your plants have good air circulation and avoid overwatering. If you notice any signs of disease, treat the plants with a fungicide.
Harvesting Okra
This is the most rewarding part! Okra pods are ready to harvest about 50-60 days after planting.
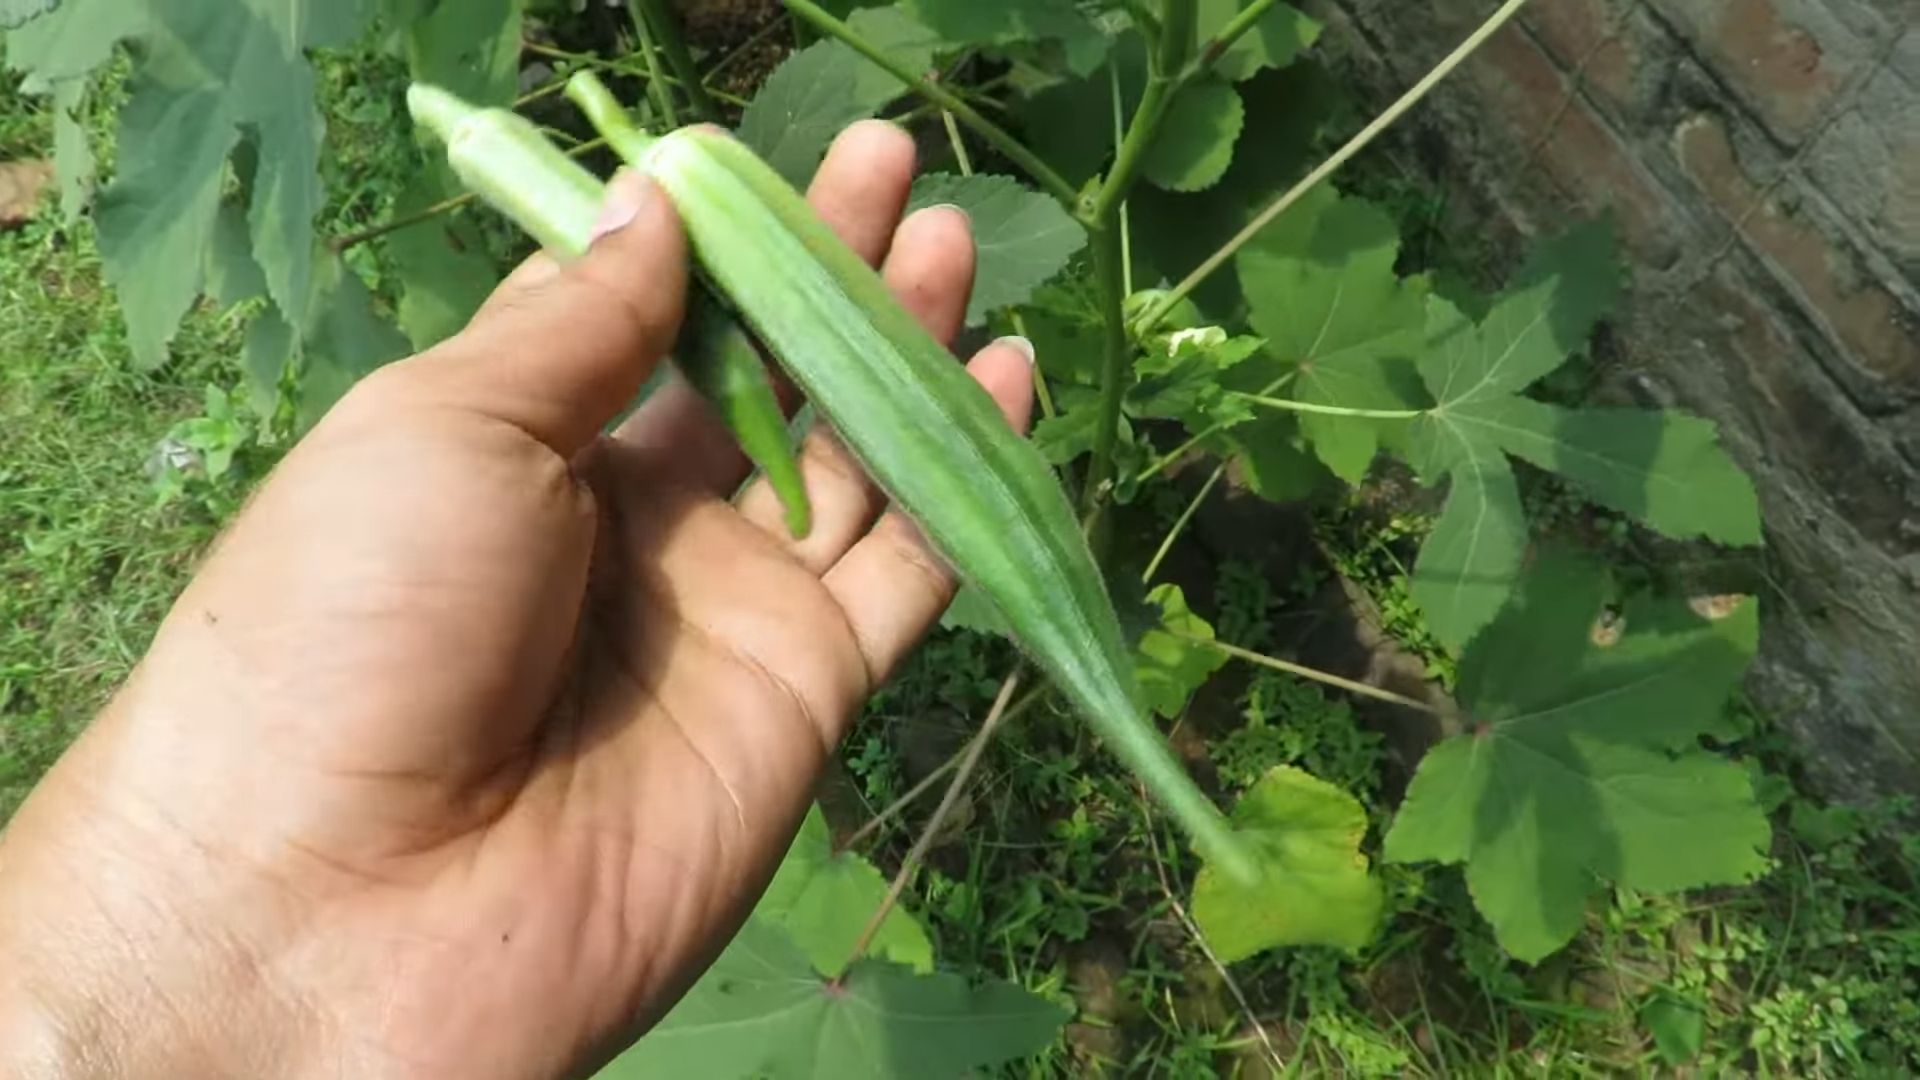
1. Harvesting Time: Harvest the pods when they are 2-4 inches long. They should be tender and easy to snap off the plant.
2. Harvesting Frequency: Harvest the pods every 1-2 days. If you let the pods get too large, they will become tough and fibrous.
3. Harvesting Technique: Use a sharp knife or pruners to cut the pods off the plant. Wear gloves to protect your hands from the prickly hairs on the pods.
4. Handling the Plants: Okra plants can be irritating to the skin, so wear long sleeves and gloves when harvesting.
5. Post-Harvest Care: Store the harvested pods in the refrigerator for up to a week. You can also freeze or can okra for longer storage.
Troubleshooting Common Okra Problems
Even with the best care, you might encounter a few problems while growing okra. Here are some common issues and how to address them:
* Yellowing Leaves: This could be a sign of nutrient deficiency, overwatering, or disease. Check your soil pH and nutrient levels, and adjust your watering schedule accordingly.
* Stunted Growth: This could be caused by poor soil, lack of sunlight, or pests. Make sure your plants are getting enough sunlight and nutrients, and check for pests.
* Lack of Pod Production: This could be due to lack of pollination, hot weather, or nutrient deficiency. Make sure your plants are getting enough water and fertilizer, and consider hand-pollinating the flowers if necessary.
* Tough Pods: This is usually caused by letting the pods get too large before harvesting. Harvest the pods more frequently to ensure they are tender.
Saving Okra Seeds
If you want to save seeds from your okra plants for next year, here’s how:
1. Selecting Plants: Choose healthy, vigorous plants with desirable traits.
2. Allowing Pods to Mature: Allow a few pods to mature fully on the plant. They will turn brown and dry out.
3. Harvesting the Pods: Harvest the dried pods and remove the seeds.
4. Drying the Seeds: Dry the seeds thoroughly in a cool, dry place.
5. Storing the Seeds: Store the dried seeds in an airtight container in a cool, dark place.
Enjoying Your Homegrown Okra
Now that you’ve harvested your okra, it’s time to enjoy it! There are so many delicious ways to cook okra. Here are a few of my favorites:
* Fried Okra: This is a classic Southern dish. Simply dredge the okra pods in cornmeal and fry them until golden brown.
* Okra Gumbo: Okra is a key ingredient in gumbo. It adds a unique flavor and texture to this hearty stew.
* Roasted Okra: Roasting okra brings out its natural sweetness. Toss the pods with olive oil, salt, and pepper, and roast them in the oven until tender.
* Pickled Okra: Pickled okra is a tangy and delicious snack.
Growing okra at home is a rewarding experience. With a little bit of care and attention, you can enjoy a bountiful harvest of this delicious and nutritious vegetable. Happy gardening!
Conclusion
So, there you have it! Growing okra at home is not only achievable, but it’s also incredibly rewarding. Forget those bland, overpriced okra pods from the grocery store. Imagine stepping into your own backyard and harvesting plump, vibrant okra, bursting with fresh flavor. This DIY approach puts you in control, allowing you to cultivate a crop that’s free from unwanted pesticides and tailored to your specific taste preferences.
This isn’t just about saving money; it’s about connecting with your food source and experiencing the satisfaction of nurturing something from seed to table. The process is surprisingly simple, even for novice gardeners. With a little patience and the right conditions, you’ll be amazed at the abundance of okra your garden can produce.
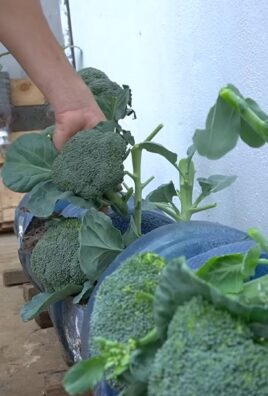
Beyond the basic method outlined, there’s plenty of room for experimentation. Consider trying different okra varieties, such as ‘Clemson Spineless’ for its smooth pods or ‘Burgundy’ for its striking red color. You can also explore companion planting, pairing your okra with beneficial herbs and vegetables like basil, peppers, or cucumbers to deter pests and enhance growth. Another variation is to try container gardening if you have limited space. Dwarf varieties of okra are particularly well-suited for pots.
Growing okra at home offers a unique opportunity to enjoy this Southern staple at its peak freshness. The taste difference between homegrown and store-bought okra is truly remarkable. Plus, you’ll have the satisfaction of knowing exactly where your food comes from and how it was grown.
We wholeheartedly encourage you to give this DIY trick a try. Don’t be intimidated by the prospect of gardening; okra is a relatively low-maintenance plant that thrives in warm climates. Start small, follow our guidelines, and watch your okra plants flourish.
Once you’ve harvested your first crop, we’d love to hear about your experience! Share your tips, tricks, and photos in the comments below. Let’s build a community of home gardeners who are passionate about growing their own delicious okra. What variety did you choose? What challenges did you face, and how did you overcome them? Your insights could be invaluable to other aspiring okra growers. So, grab your seeds, get your hands dirty, and embark on this exciting gardening adventure. Happy growing!
Frequently Asked Questions (FAQ)
What is the best time to plant okra?
The ideal time to plant okra is in late spring or early summer, after the last frost has passed and the soil has warmed up to at least 65 degrees Fahrenheit (18 degrees Celsius). Okra thrives in warm weather and needs plenty of sunshine to grow properly. Planting too early in the season can result in stunted growth or even death of the seedlings. In warmer climates with longer growing seasons, you may even be able to get a second crop by planting again in mid-summer. Check your local frost dates to determine the optimal planting window for your region.
How much sunlight does okra need?
Okra requires at least 6-8 hours of direct sunlight per day to thrive. Choose a planting location that receives full sun throughout the day. If you’re growing okra in containers, make sure to place them in a sunny spot. Insufficient sunlight can lead to weak, leggy plants with reduced yields. If you live in an area with particularly intense sunlight, especially during the hottest part of the day, some afternoon shade might be beneficial to prevent scorching of the leaves.
What kind of soil is best for growing okra?
Okra prefers well-drained, fertile soil with a slightly acidic to neutral pH (between 6.0 and 7.0). Amend your soil with compost or other organic matter to improve drainage and nutrient content. Avoid heavy clay soils, as they can become waterlogged and hinder root growth. If you have clay soil, consider planting okra in raised beds or containers. A soil test can help you determine the pH and nutrient levels of your soil and guide you in making necessary amendments.
How often should I water okra plants?
Okra needs consistent watering, especially during hot, dry weather. Water deeply and regularly, aiming to keep the soil consistently moist but not waterlogged. Avoid overhead watering, as this can promote fungal diseases. Instead, water at the base of the plants. A good rule of thumb is to water when the top inch of soil feels dry to the touch. Mulching around the plants can help retain moisture and suppress weeds. During periods of heavy rainfall, you may need to reduce watering frequency.
How often should I fertilize okra plants?
Okra benefits from regular fertilization to support healthy growth and abundant yields. Apply a balanced fertilizer (e.g., 10-10-10) at planting time and then side-dress with a nitrogen-rich fertilizer every 4-6 weeks during the growing season. Follow the instructions on the fertilizer package carefully to avoid over-fertilizing, which can damage the plants. Organic fertilizers, such as compost tea or fish emulsion, are also excellent options.
When is okra ready to harvest?
Okra pods are typically ready to harvest 50-65 days after planting. Harvest the pods when they are young and tender, usually 2-4 inches long. Overripe pods become tough and fibrous. Check your plants daily during the harvest season, as okra pods grow quickly. Use a sharp knife or pruning shears to cut the pods from the plant, leaving a short stem attached. Regular harvesting encourages the plant to produce more pods.
What are some common pests and diseases that affect okra?
Common pests that can affect okra include aphids, flea beetles, corn earworms, and stink bugs. Diseases that can affect okra include powdery mildew, Fusarium wilt, and root-knot nematodes. Monitor your plants regularly for signs of pests or diseases and take appropriate action promptly. Organic pest control methods, such as insecticidal soap or neem oil, can be effective for controlling many pests. Crop rotation and choosing disease-resistant varieties can help prevent diseases.
Can I grow okra in containers?
Yes, you can grow okra in containers, especially if you have limited space. Choose a large container (at least 10-12 inches in diameter) with good drainage holes. Use a high-quality potting mix and provide adequate sunlight and water. Dwarf varieties of okra are particularly well-suited for container gardening. Be sure to fertilize regularly, as nutrients can leach out of the soil more quickly in containers.
How do I save okra seeds for next year?
To save okra seeds, allow some of the pods to mature fully on the plant. The pods will become dry and brown. Once the pods are completely dry, harvest them and remove the seeds. Store the seeds in a cool, dry place in an airtight container. Okra seeds can remain viable for several years if stored properly. Be sure to label the seeds with the variety and date of harvest.
Why is my okra plant not producing pods?
There are several reasons why your okra plant might not be producing pods. Common causes include insufficient sunlight, poor soil fertility, inadequate watering, and pest or disease problems. Make sure your plant is receiving at least 6-8 hours of direct sunlight per day, and that the soil is well-drained and fertile. Water regularly, especially during hot, dry weather. Monitor your plants for signs of pests or diseases and take appropriate action promptly. Also, ensure that the plant has reached maturity (50-65 days after planting) before expecting it to produce pods.

Leave a Comment