
Shiny kitchen sink hack, who doesn’t dream of a sparkling, spotless kitchen sink? I know I do! But let’s be honest, keeping that stainless steel beauty gleaming can feel like a never-ending battle against water spots, food residue, and the dreaded dull film. For generations, a clean and well-maintained kitchen sink has been a symbol of a tidy and welcoming home. Think about it – from our grandmothers scrubbing away with homemade concoctions to the modern-day obsession with cleaning influencers, the quest for a pristine sink is a timeless pursuit.
But what if I told you that achieving that showroom shine doesn’t require harsh chemicals or hours of elbow grease? That’s right! This DIY article is packed with simple, effective, and budget-friendly tricks to transform your sink from drab to dazzling. We’ll explore a shiny kitchen sink hack that uses ingredients you probably already have in your pantry. Forget expensive cleaners and complicated routines; I’m here to share my secrets for a sink so shiny, you’ll be able to see your reflection in it! So, ditch the frustration and get ready to unlock the secrets to a perpetually gleaming kitchen sink. Let’s get started!
DIY Hack: Transforming Your Dull Kitchen Sink into a Sparkling Showstopper
Okay, let’s face it, the kitchen sink is the unsung hero (or maybe the perpetually abused victim) of the kitchen. It sees everything from greasy pans to coffee grounds, and all too often, it ends up looking dull and grimy. But fear not! I’m going to share my tried-and-true method for bringing back that showroom shine to your stainless steel sink. This isn’t just a quick wipe-down; this is a deep clean and polish that will leave your sink looking brand new.
What You’ll Need: Your Arsenal of Cleaning Supplies
Before we dive in, let’s gather our supplies. You probably have most of these already lurking in your cleaning cabinet.
* Baking Soda: This is our gentle abrasive. It’s fantastic for scrubbing away grime without scratching.
* White Vinegar: The acid in vinegar cuts through hard water stains and soap scum like a champ.
* Dish Soap: A good degreasing dish soap is essential for removing oily residues.
* Lemon (Optional): For an extra boost of freshness and cleaning power.
* Olive Oil: Yes, you read that right! Olive oil is the secret to a brilliant, protective shine.
* Soft Sponges or Microfiber Cloths: Avoid abrasive scrubbers that can scratch the stainless steel.
* Spray Bottle: For easy application of the vinegar solution.
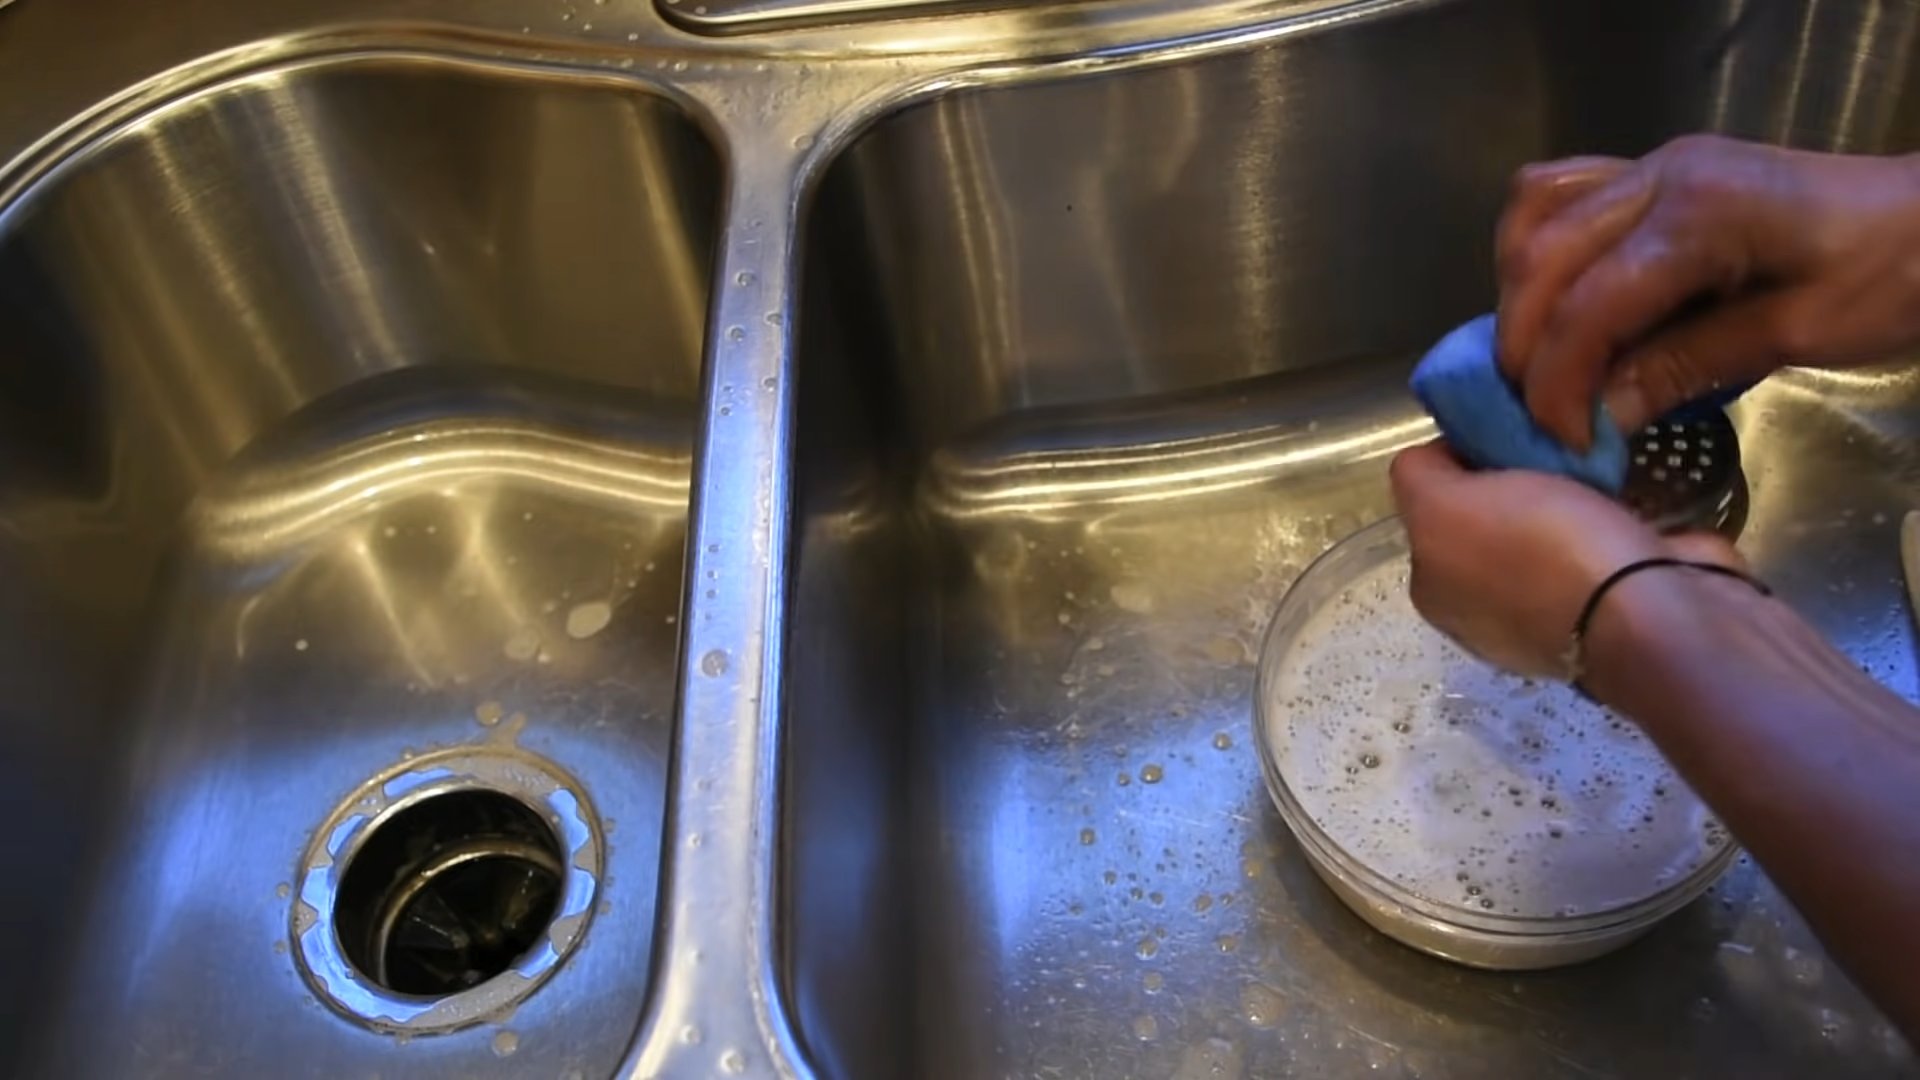
* Old Toothbrush: Perfect for getting into those hard-to-reach corners and around the drain.
* Rubber Gloves: To protect your hands from the cleaning solutions.
* Paper Towels: For drying and polishing.
Step-by-Step Guide: From Grimy to Gleaming
Alright, let’s get started! Follow these steps, and you’ll be amazed at the transformation.
1. Rinse and Remove Debris: First things first, give your sink a good rinse with warm water to remove any loose food particles or debris. Make sure the drain is clear.
2. Dish Soap Wash: Squirt a generous amount of dish soap onto a sponge or microfiber cloth and thoroughly wash the entire sink, including the sides, bottom, and around the faucet. This will remove any grease and surface dirt. Rinse well with warm water.
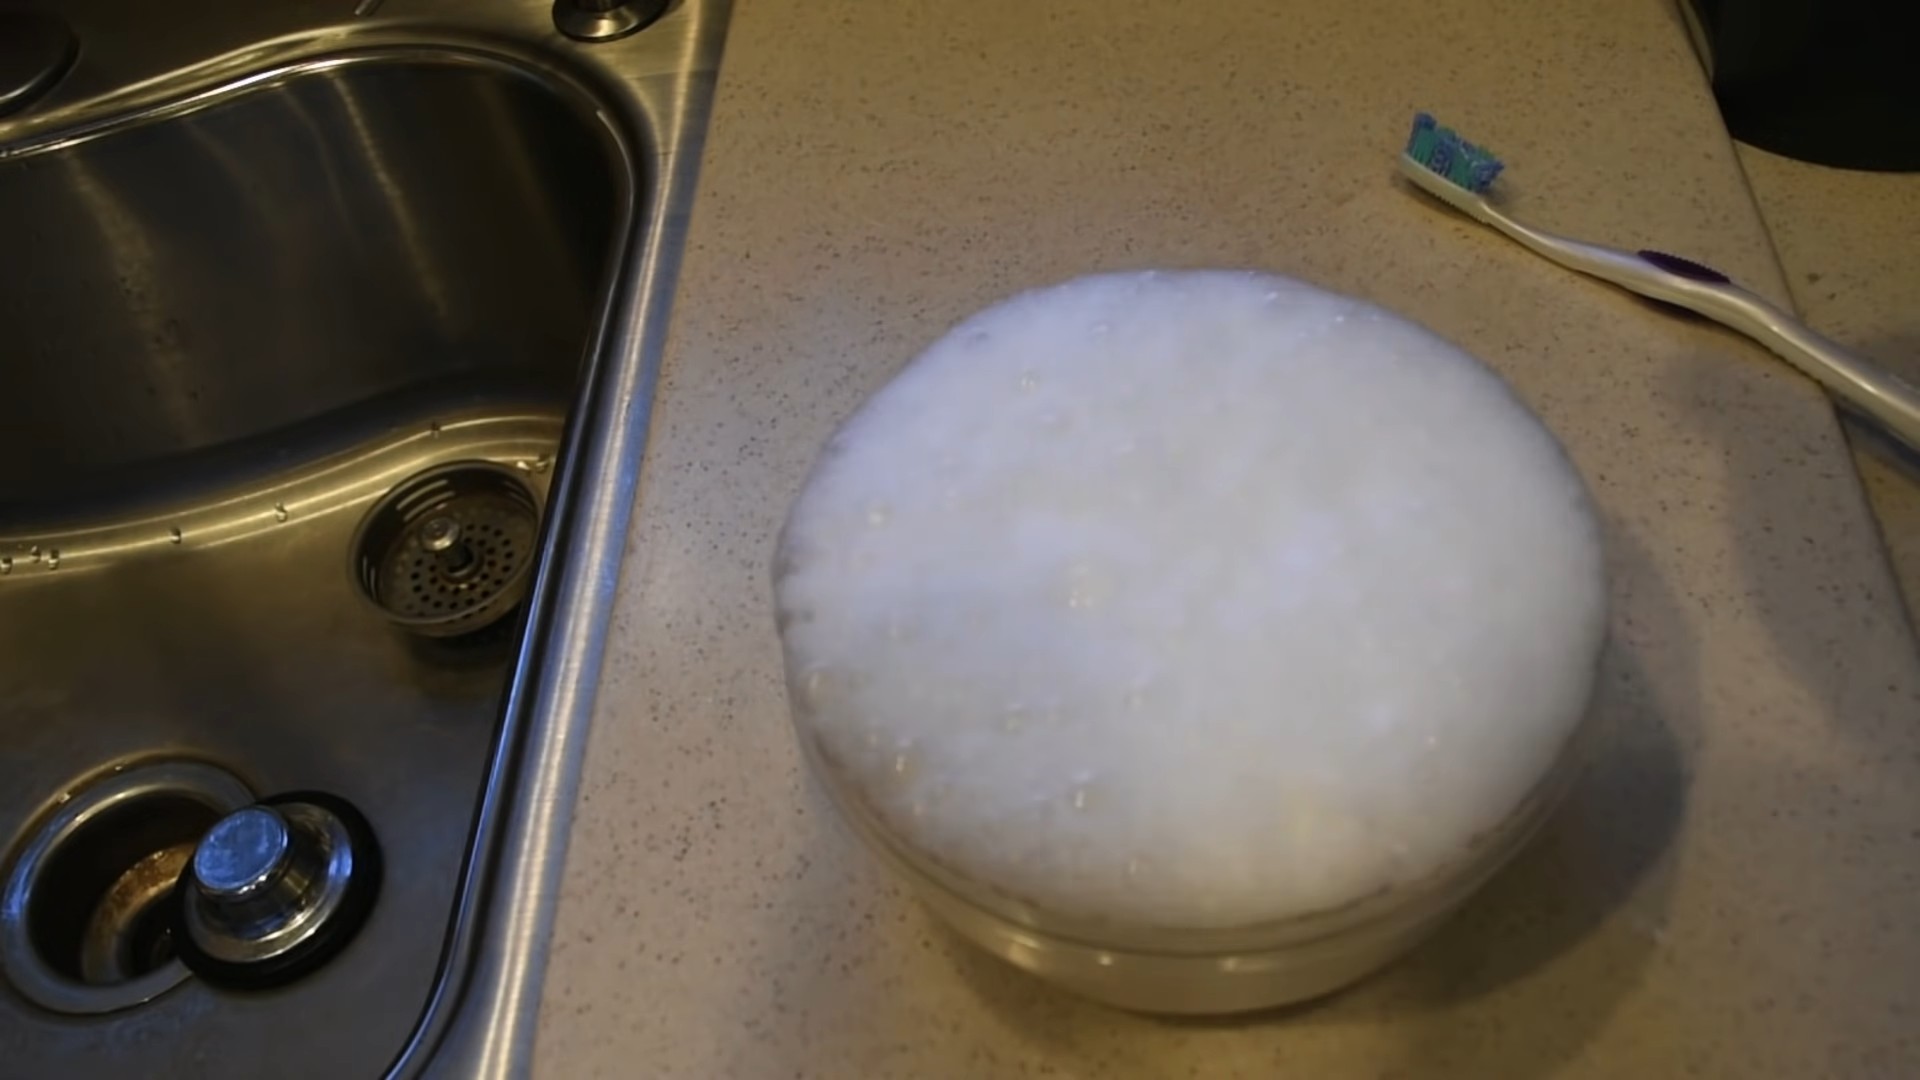
3. Baking Soda Scrub: Now for the magic ingredient! Sprinkle a generous amount of baking soda all over the damp sink. Don’t be shy!
4. Gentle Scrubbing: Using a soft sponge or microfiber cloth, gently scrub the baking soda into the sink in a circular motion. Pay extra attention to any stubborn stains or areas with buildup. For those tricky corners and around the drain, use your old toothbrush. The baking soda will act as a mild abrasive, lifting away dirt and grime without scratching the surface.
5. Vinegar Power: Fill your spray bottle with white vinegar. Now, spray the vinegar all over the baking soda-covered sink. You’ll notice a fizzing reaction – that’s the vinegar reacting with the baking soda, helping to loosen even more dirt and grime. Let this mixture sit for about 5-10 minutes. This gives the vinegar time to work its magic on hard water stains and soap scum.
6. Rinse Thoroughly: After the vinegar has had its time to shine (pun intended!), rinse the sink thoroughly with warm water. Make sure to remove all traces of baking soda and vinegar.
7. Lemon Boost (Optional): If you want an extra boost of freshness and cleaning power, cut a lemon in half and rub it all over the sink. The citric acid in the lemon will help to further break down any remaining stains and leave a fresh, clean scent. Rinse well with warm water.
8. Dry Completely: This is a crucial step! Use paper towels or a clean, dry microfiber cloth to completely dry the sink. Water spots can ruin the shine, so make sure every surface is dry.
9. Olive Oil Polish: Here’s the secret weapon for that showroom shine! Pour a small amount of olive oil onto a clean paper towel. A little goes a long way!
10. Buff to Brilliance: Gently buff the olive oil into the entire sink surface, using circular motions. This will create a protective layer and leave a beautiful, glossy shine. Use a clean section of the paper towel to buff away any excess oil.
Tackling Stubborn Stains: When Extra Help is Needed
Sometimes, you might encounter stubborn stains that require a little extra attention. Here are a few tips for dealing with those pesky spots:
* Hard Water Stains: For persistent hard water stains, try making a paste of baking soda and water. Apply the paste to the stain, let it sit for 15-20 minutes, and then scrub gently with a soft sponge. Rinse thoroughly.
* Rust Stains: For rust stains, you can try using a commercial rust remover specifically designed for stainless steel. Follow the instructions on the product label carefully. Alternatively, you can try making a paste of lemon juice and salt. Apply the paste to the rust stain, let it sit for 30 minutes, and then scrub gently with a soft sponge. Rinse thoroughly.
* Scratches: While this method won’t completely remove deep scratches, it can help to minimize their appearance. You can try using a stainless steel polish specifically designed for removing scratches. Follow the instructions on the product label carefully.
Maintaining Your Sparkling Sink: Tips for Long-Lasting Shine
Now that you’ve got your sink looking its best, here are a few tips to help maintain that shine and prevent future buildup:
* Rinse After Each Use: Make it a habit to rinse your sink after each use to prevent food particles and soap scum from building up.
* Dry Regularly: Drying your sink after each use will prevent water spots and hard water stains.
* Avoid Abrasive Cleaners: Stick to gentle cleaners like baking soda and vinegar. Avoid abrasive scrubbers and harsh chemicals that can scratch the stainless steel.
* Protect from Scratches: Be careful when placing heavy pots and pans in the sink to avoid scratching the surface. You can use a sink protector mat to provide a cushion.
* Regular Cleaning: Repeat this deep cleaning process every few weeks to keep your sink looking its best.
Troubleshooting: Common Sink Cleaning Issues and Solutions
Even with the best methods, you might encounter a few hiccups along the way. Here are some common issues and how to address them:
* Streaky Finish: If you’re left with a streaky finish after cleaning, it’s likely due to residue from the cleaning products. Make sure you rinse the sink thoroughly after each step. You can also try wiping the sink down with a clean, damp microfiber cloth to remove any remaining residue.
* Dull Spots: If you notice dull spots on your sink, it could be due to hard water buildup. Try using a vinegar solution to dissolve the mineral deposits. You can also try using a commercial stainless steel cleaner specifically designed for removing hard water stains.
* Lingering Odors: If your sink has a lingering odor, it could be due to food particles trapped in the drain. Try pouring a cup of baking soda down the drain, followed by a cup of vinegar. Let it fizz for 30 minutes, and then flush with hot water. You can also try using a commercial drain cleaner to remove any stubborn blockages.
Alternative Cleaning Solutions: Exploring Other Options
While baking soda and vinegar are my go-to cleaning solutions, there are other options you can try:
* Cream of Tartar: Cream of tartar is a mild abrasive that can be used to remove stains and polish stainless steel. Make a paste of cream of tartar and water, apply it to the sink, and scrub gently with a soft sponge. Rinse thoroughly.
* Club Soda: Club soda can be used to remove water spots and add shine to stainless steel. Simply pour club soda onto a soft cloth and wipe down the sink.
* Stainless Steel Cleaners: There are many commercial stainless steel cleaners available on the market. Choose a cleaner that is specifically designed for stainless steel and follow the instructions on the product label carefully.
Safety First: Important Precautions to Keep in Mind
While cleaning your sink is a relatively safe task, it’s important to take a few precautions:
* Wear Rubber Gloves: Protect your hands from the cleaning solutions by wearing rubber gloves.
* Avoid Mixing Chemicals: Never mix different cleaning chemicals together, as this can create dangerous fumes.
* Ventilate the Area: Make sure the area is well-ventilated when using cleaning solutions.
* Keep Out of Reach of Children and Pets: Store cleaning solutions out of reach of children and pets.
And there you have it! A sparkling clean sink that you can be proud of. Remember, consistency is key. Regular cleaning and maintenance will keep your sink looking its best for years to come. Happy cleaning!
Conclusion
So, there you have it! This simple, yet incredibly effective, DIY trick for achieving a shiny kitchen sink is a game-changer. Forget expensive cleaners filled with harsh chemicals. This method utilizes ingredients you likely already have in your pantry, making it not only budget-friendly but also a more sustainable choice for your home.
Why is this a must-try? Because it delivers results! We’re talking about a sparkling, gleaming sink that will instantly elevate the look of your entire kitchen. It’s about more than just aesthetics, though. A clean sink is a hygienic sink, and this method effectively removes grime, water spots, and even those stubborn stains that seem impossible to get rid of. Plus, the natural ingredients leave behind a fresh, clean scent without the overpowering chemical odor of commercial cleaners.
But the best part? It’s incredibly easy! The process is straightforward and requires minimal effort. You don’t need any special skills or tools. Just a few minutes of your time and you’ll be amazed at the transformation.
Looking for variations? Absolutely! For stainless steel sinks, consider adding a few drops of lemon essential oil to your cleaning solution for an extra boost of shine and a refreshing citrus scent. If you have a particularly stubborn stain, create a paste of baking soda and water and let it sit on the stain for a few minutes before scrubbing. For porcelain sinks, be gentle with your scrubbing to avoid scratching the surface. You can also use a soft cloth instead of a sponge.
Another variation involves using vinegar. While baking soda is great for scrubbing, vinegar is a fantastic descaler. After the baking soda step, you can pour a cup of white vinegar down the drain and let it fizz for a few minutes. This will help to break down any buildup in your pipes and leave your sink smelling fresh. Just be sure not to mix vinegar and baking soda directly in a closed container, as the reaction can create pressure.
We’re confident that this DIY trick will become a staple in your cleaning routine. It’s effective, affordable, and environmentally friendly. But don’t just take our word for it! We encourage you to try it out for yourself and see the amazing results firsthand.
Once you’ve given it a go, we’d love to hear about your experience! Share your before-and-after photos and tips in the comments below. Let us know what variations you tried and how they worked for you. Your feedback will help other readers discover the best ways to achieve a shiny kitchen sink and create a cleaner, more beautiful home. Let’s start a conversation and share our cleaning secrets! We are excited to see your results and learn from your experiences. Happy cleaning!
Frequently Asked Questions (FAQs)
1. What ingredients do I need for this DIY shiny kitchen sink trick?
You’ll typically need baking soda, dish soap, and a sponge or soft cloth. White vinegar and lemon essential oil are optional but can enhance the cleaning power and scent. The exact proportions will depend on the severity of the grime and the size of your sink. A good starting point is a tablespoon of baking soda, a squirt of dish soap, and a cup of white vinegar (used separately after the baking soda).
2. Is this method safe for all types of kitchen sinks?
This method is generally safe for most common kitchen sink materials, including stainless steel and porcelain. However, it’s always a good idea to test a small, inconspicuous area first, especially if you have a more delicate or unusual sink material like copper or enamel. Avoid using abrasive scrubbers on porcelain sinks, as they can scratch the surface. For sensitive materials, dilute the vinegar with water before using it.
3. How often should I use this DIY cleaning method?
The frequency depends on how often you use your sink and how quickly it gets dirty. For most households, cleaning your sink with this method once or twice a week is sufficient to maintain its shine and cleanliness. If you notice buildup or stains more frequently, you may need to clean it more often. Regular maintenance will prevent grime from accumulating and make cleaning easier in the long run.
4. Can I use other types of vinegar besides white vinegar?
While white vinegar is the most commonly recommended type for cleaning due to its acidity and lack of color, you can technically use other types of vinegar, such as apple cider vinegar. However, be aware that apple cider vinegar may leave a slight residue or odor, so it’s best to test it in a small area first. White vinegar is generally the most effective and safest option for achieving a shiny kitchen sink.
5. What if I don’t have baking soda? Can I use something else?
Baking soda is a key ingredient in this method due to its mild abrasive properties and ability to neutralize odors. If you don’t have baking soda, you could try using a paste of salt and water as a substitute, but it may not be as effective. Cream of tartar is another possible alternative, but it’s generally more expensive than baking soda. For best results, stick with baking soda whenever possible.
6. How do I prevent water spots from forming on my sink after cleaning?
Water spots are a common problem, especially with stainless steel sinks. To prevent them, dry your sink thoroughly with a clean, dry cloth after each use. You can also apply a thin layer of mineral oil or stainless steel polish to create a protective barrier that repels water. Regularly drying your sink is the most effective way to prevent water spots from forming and maintain its shine.
7. My sink has a lot of stubborn stains. Will this method work for those?
This method is effective for removing many types of stains, but for particularly stubborn stains, you may need to take extra steps. Create a paste of baking soda and water and apply it directly to the stain. Let it sit for 15-30 minutes before scrubbing gently. You can also try using a commercial stain remover specifically designed for your sink material, but always test it in a small area first. For rust stains, a paste of lemon juice and salt can be effective.
8. Is this DIY cleaning method environmentally friendly?
Yes, this DIY cleaning method is generally considered more environmentally friendly than using commercial cleaners. It utilizes natural ingredients like baking soda and vinegar, which are biodegradable and less harmful to the environment. By making your own cleaning solutions, you can reduce your reliance on plastic bottles and harsh chemicals that can pollute waterways.
9. Can I use this method to clean other areas of my kitchen?
Absolutely! The ingredients used in this DIY cleaning method are versatile and can be used to clean other areas of your kitchen, such as countertops, stovetops, and even appliances. Baking soda is a great all-purpose cleaner and deodorizer, while vinegar is effective for removing grease and grime. Just be sure to test any cleaning solution in a small, inconspicuous area first to ensure it doesn’t damage the surface.
10. What if I have a garbage disposal in my sink? How does this affect the cleaning process?
If you have a garbage disposal, it’s a good idea to clean it regularly to prevent odors and buildup. After cleaning your sink with the baking soda and dish soap method, you can pour a cup of white vinegar down the disposal and let it sit for a few minutes. Then, run the disposal with cold water for a minute or two to flush out any debris. You can also toss in a few lemon or orange peels to freshen the disposal.

Leave a Comment