
Garlic cooking tips and tricks are essential knowledge for anyone who loves to cook! Let’s be honest, who doesn’t love the pungent, savory aroma of garlic sizzling in a pan? From ancient civilizations to modern kitchens, garlic has been a culinary staple for centuries. Did you know that garlic was even found in the tomb of Tutankhamun? That’s how important it was!
But mastering garlic isn’t just about throwing it into a dish. It’s about understanding how to unlock its full potential. Have you ever accidentally burned garlic, turning your delicious meal bitter? Or struggled to peel those tiny cloves without making a mess? I know I have! That’s where these DIY garlic hacks come in.
In this article, I’m going to share my favorite garlic cooking tips and tricks that will transform your cooking. We’ll cover everything from easy peeling methods to preventing that dreaded garlic burn, and even explore some creative ways to infuse garlic flavor into your dishes. Get ready to elevate your culinary game and become a garlic guru!
DIY: Grow Delicious Melons Like a Pro (Even If You’re a Beginner!)
Okay, so you want to grow melons? Awesome! There’s nothing quite like biting into a juicy, homegrown melon on a hot summer day. It might seem intimidating, but trust me, with a little planning and effort, you can absolutely do it. I’m going to walk you through everything you need to know to grow amazing melons, even if you’ve never grown anything before.
Choosing Your Melon Variety
First things first, let’s talk about melon varieties. There are so many to choose from! Watermelons, cantaloupes, honeydews… the possibilities are endless. Here’s a quick rundown to help you decide:
* Watermelons: These are the classic summer melon. They need a lot of space and sunshine. Consider smaller “icebox” varieties like Sugar Baby if you have limited space.
* Cantaloupes: These are known for their sweet, orange flesh and netted skin. They’re a bit easier to grow than watermelons and don’t need quite as much space.
* Honeydews: These have smooth, pale green skin and a mild, sweet flavor. They’re similar to cantaloupes in terms of growing requirements.
* Other Melons: Don’t be afraid to experiment! There are also Galia melons, Casaba melons, and even specialty melons like Korean melons.
When choosing a variety, consider your climate, the amount of space you have, and your personal preferences. Look for varieties that are known to perform well in your region. Local nurseries are a great resource for this!
Preparing Your Melon Patch
Melons are sun-loving plants, so you’ll need to choose a spot that gets at least 6-8 hours of direct sunlight per day. They also need well-drained soil that’s rich in organic matter. Here’s how to prepare your melon patch:
* Timing is Key: Melons are warm-season crops, so you’ll need to wait until after the last frost to plant them. Check your local frost dates to be sure.
* Soil Preparation: This is super important! Melons need nutrient-rich soil.
* Amend the Soil: Dig in plenty of compost or well-rotted manure to improve drainage and fertility. I usually add a few inches of compost to my melon patch.
* Check the pH: Melons prefer a slightly acidic soil pH of around 6.0 to 6.8. You can test your soil pH with a home test kit or send a sample to your local extension office. If your soil is too alkaline, you can amend it with sulfur.
* Raised Beds (Optional): If you have heavy clay soil, consider growing your melons in raised beds. This will improve drainage and prevent root rot.
* Spacing: Melons need plenty of space to spread out.
* Watermelons: Allow at least 3-4 feet between plants and 6-8 feet between rows.
* Cantaloupes and Honeydews: Allow at least 2-3 feet between plants and 4-6 feet between rows.
* Mulching: Mulching is your friend! It helps to retain moisture, suppress weeds, and keep the soil warm.
* Organic Mulch: Use straw, hay, or wood chips as mulch.
* Black Plastic Mulch: This is a great option for warming the soil quickly, especially in cooler climates.
Starting Your Melon Seeds (Indoors or Outdoors?)
You can either start your melon seeds indoors or direct sow them in the garden. Starting them indoors gives you a head start, especially in areas with short growing seasons.
Starting Seeds Indoors:
1. Timing: Start your seeds about 4-6 weeks before the last frost.
2. Containers: Use peat pots or biodegradable pots to avoid disturbing the roots when transplanting.
3. Soil: Use a seed-starting mix.
4. Planting: Plant the seeds about 1 inch deep.
5. Watering: Keep the soil moist but not soggy.
6. Warmth: Melons need warmth to germinate. Use a heat mat to keep the soil temperature around 80-85°F.
7. Light: Once the seeds germinate, provide them with plenty of light. Use grow lights or place them in a sunny window.
8. Hardening Off: Before transplanting your seedlings outdoors, you’ll need to harden them off. This means gradually exposing them to outdoor conditions over a period of 7-10 days. Start by placing them in a sheltered spot for a few hours each day, gradually increasing the amount of time they spend outdoors.
Direct Sowing Seeds Outdoors:
1. Timing: Wait until the soil has warmed up to at least 70°F.
2. Planting: Plant the seeds about 1 inch deep.
3. Watering: Keep the soil moist until the seeds germinate.
4. Protection: Protect the seedlings from pests and cold weather with row covers.
Transplanting Your Melon Seedlings
Once your seedlings have developed a few true leaves and the weather has warmed up, it’s time to transplant them into the garden.
1. Choose a Cloudy Day: Transplanting on a cloudy day will help to reduce stress on the seedlings.
2. Dig Holes: Dig holes that are slightly larger than the root balls of your seedlings.
3. Planting: Gently remove the seedlings from their pots and place them in the holes.
4. Watering: Water the seedlings thoroughly after planting.
5. Mulching: Apply a layer of mulch around the seedlings to help retain moisture and suppress weeds.
Caring for Your Melon Plants
Once your melon plants are established, they’ll need regular care to thrive.
* Watering: Melons need consistent watering, especially during hot, dry weather. Water deeply and regularly, aiming for about 1-2 inches of water per week. Avoid overhead watering, as this can lead to fungal diseases. Drip irrigation is a great option for watering melons.
* Fertilizing: Melons are heavy feeders, so they’ll need regular fertilization.
* Early Season: Use a balanced fertilizer (e.g., 10-10-10) to promote healthy growth.
* Flowering and Fruiting: Switch to a fertilizer that’s higher in phosphorus and potassium (e.g., 5-10-10) to encourage flowering and fruit development.
* Organic Options: Fish emulsion and seaweed extract are great organic options for fertilizing melons.
* Weeding: Keep your melon patch free of weeds. Weeds compete with melons for water and nutrients.
* Pruning (Optional): Some gardeners prune their melon plants to improve air circulation and encourage fruit production. You can remove some of the side shoots and leaves to allow more sunlight to reach the developing fruits.
* Pollination: Melons need to be pollinated in order to produce fruit. Bees are the primary pollinators of melons.
* Attract Pollinators: Plant flowers near your melon patch to attract bees and other pollinators.
* Hand Pollination: If you’re not seeing a lot of bees, you can hand-pollinate your melons. Use a small paintbrush to transfer pollen from the male flowers to the female flowers. Female flowers have a small fruit at the base of the flower.
* Supporting the Fruit: As your melons grow, they may need support to prevent them from rotting on the ground.
* Slings: Use slings made of fabric or netting to support the fruits.
* Boards: Place boards under the fruits to keep them off the ground.
Dealing with Pests and Diseases
Melons are susceptible to a variety of pests and diseases. Here are some common problems and how to deal with them:
* Squash Bugs: These pests can suck the sap from melon plants, causing them to wilt and die.
* Handpicking: Pick off the bugs and their eggs by hand.
* Insecticidal Soap: Spray the plants with insecticidal soap.
* Cucumber Beetles: These beetles can transmit diseases to melon plants.
* Row Covers: Use row covers to protect the plants from beetles.
* Neem Oil: Spray the plants with neem oil.
* Aphids: These small insects can suck the sap from melon plants.
* Water Spray: Spray the plants with a strong stream of water.
* Insecticidal Soap: Spray the plants with insecticidal soap.
* Powdery Mildew: This fungal disease can
Conclusion
So, there you have it! Mastering these garlic cooking tips and tricks is more than just about avoiding burnt garlic or maximizing flavor; it’s about unlocking a whole new dimension in your cooking. It’s about transforming ordinary dishes into culinary masterpieces with that unmistakable, pungent, and utterly irresistible garlic essence.
Why is this a must-try? Because these techniques are simple, effective, and, frankly, game-changing. No more bitter aftertastes ruining your pasta sauce, no more unevenly cooked garlic in your stir-fries. Just perfectly cooked, intensely flavorful garlic every single time. Think of the possibilities! Imagine the compliments you’ll receive!
But don’t just take my word for it. The real magic happens when you put these tips into practice. Experiment with different methods. Try roasting whole heads of garlic for a sweet, caramelized spread. Infuse olive oil with garlic for a fragrant drizzle over salads and grilled vegetables. Create a garlic confit for a luxurious addition to sandwiches and charcuterie boards. The options are endless!
Variations and Suggestions:
* Garlic-Infused Oils: Gently heat garlic cloves in olive oil over low heat until fragrant. Strain the oil and store it in the refrigerator for up to a week. Use it to sauté vegetables, drizzle over pasta, or as a base for salad dressings. Be sure to store it properly to avoid botulism.
* Roasted Garlic Paste: Roast whole heads of garlic until soft and caramelized. Squeeze out the cloves and mash them into a paste. Use it as a spread, add it to sauces, or mix it into mashed potatoes.
* Garlic Butter: Combine softened butter with minced garlic, herbs (like parsley or chives), and a pinch of salt. Use it to top steaks, spread on bread, or toss with pasta.
* Garlic Confit: Submerge garlic cloves in olive oil and cook them over very low heat until they are soft and tender. The garlic will become sweet and mellow. Store it in the refrigerator and use the garlic and the infused oil in various dishes.
* Garlic Powder Alternative: Dehydrate thinly sliced garlic in a low oven until crispy. Grind it into a powder for a homemade garlic powder with a more intense flavor.
Don’t be afraid to experiment with different types of garlic. Elephant garlic is milder and sweeter, while hardneck garlic varieties tend to be more pungent. Adjust the cooking time and temperature based on the size and type of garlic you’re using.
Remember, fresh garlic is always best. But if you’re using pre-minced garlic, be sure to use it within a day or two, as it can quickly lose its flavor and become bitter.
So, go ahead, embrace the power of garlic! Try these DIY tricks, and elevate your cooking to a whole new level. And most importantly, share your experiences! Let me know in the comments below which tips worked best for you, what variations you tried, and what delicious dishes you created. I can’t wait to hear about your garlic-infused adventures! Mastering these **garlic cooking tips** will undoubtedly transform your culinary creations.
Frequently Asked Questions (FAQ)
Q1: How do I prevent garlic from burning?
A1: Burning garlic is a common problem, but easily avoidable. The key is to use moderate heat and avoid cooking garlic for too long over high heat. Garlic contains sugars that caramelize and burn quickly. When sautéing, add garlic towards the end of the cooking process, after other vegetables have had a chance to cook down. If you’re using garlic in a sauce, add it after the base of the sauce has simmered for a while. Another trick is to use minced garlic instead of chopped garlic, as it cooks more evenly and is less likely to burn. You can also use garlic-infused oil instead of raw garlic to impart flavor without the risk of burning.
Q2: What’s the best way to mince garlic?
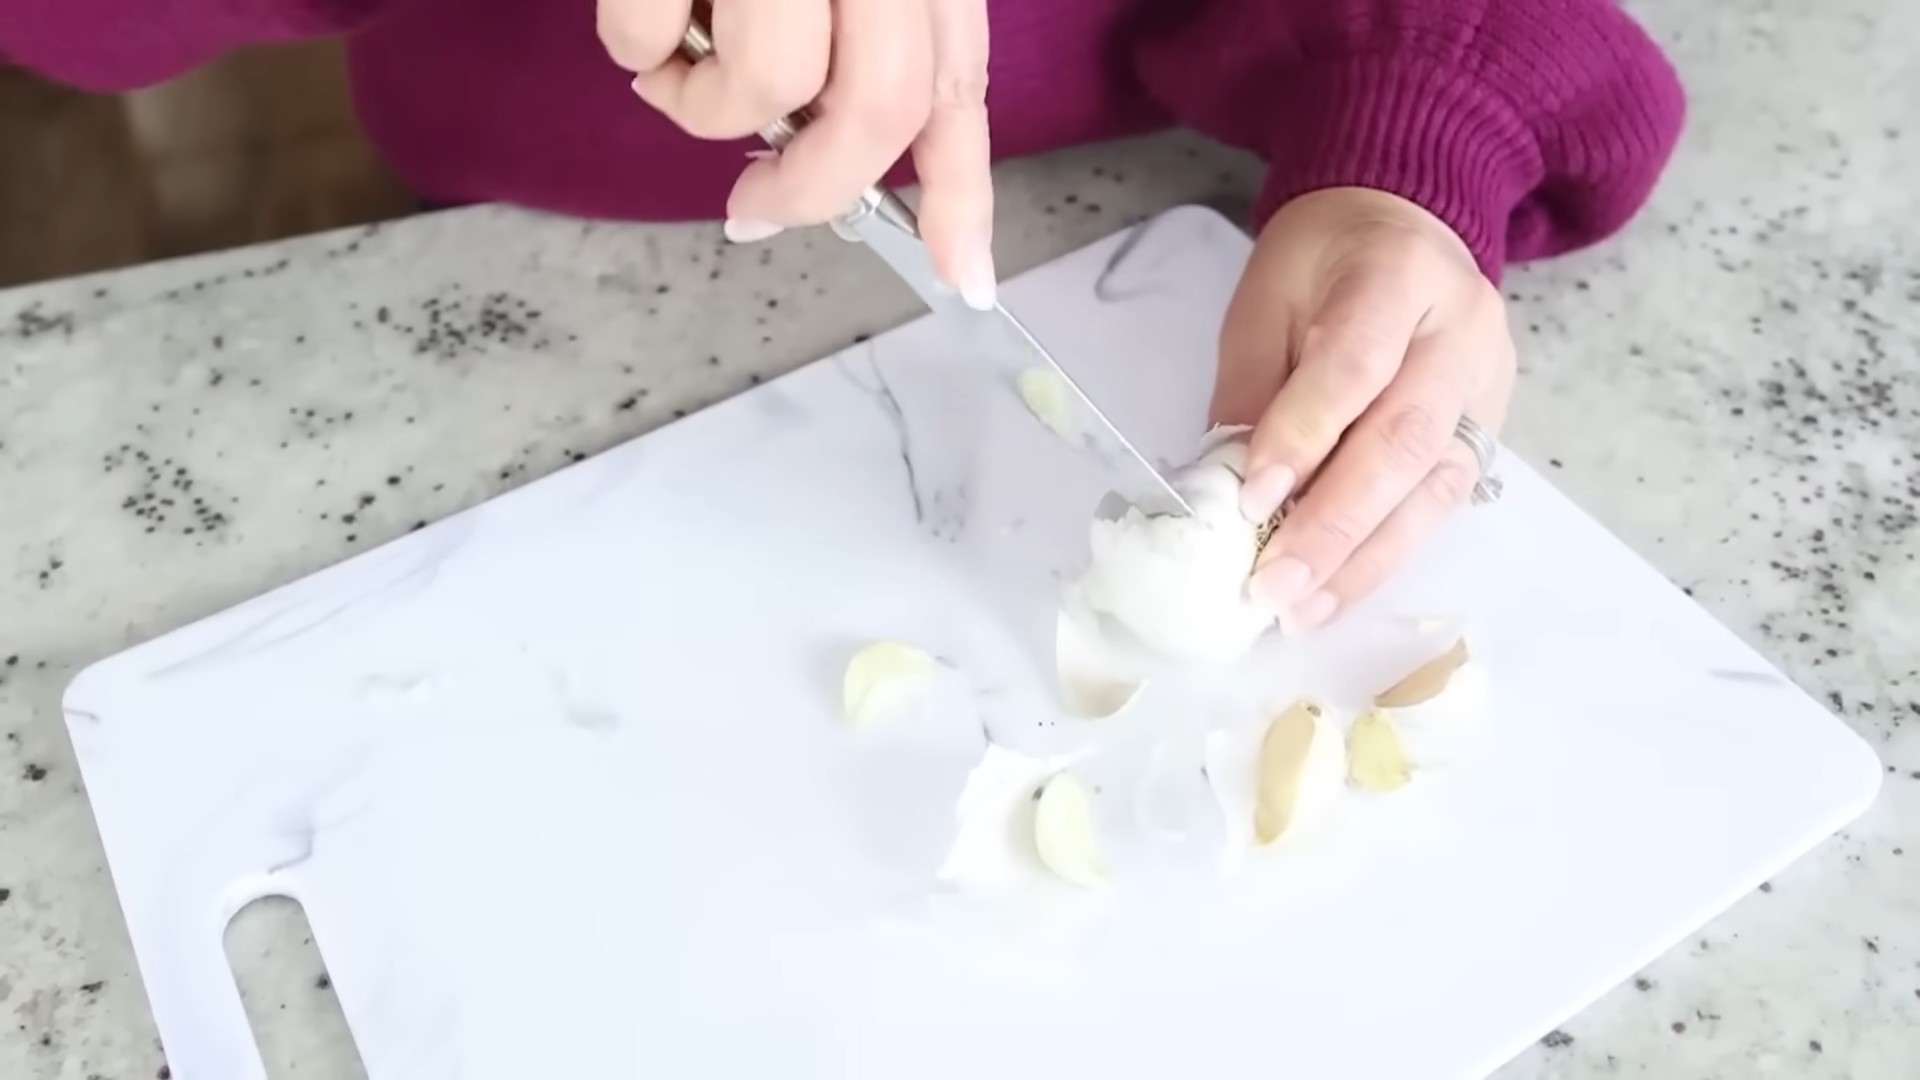
A2: There are several ways to mince garlic effectively. A garlic press is a convenient option, but it can sometimes result in a slightly bitter taste due to the crushing action. A chef’s knife is a great alternative. First, smash the garlic clove with the flat side of the knife to loosen the skin. Then, peel off the skin and finely chop the garlic. Rock the knife back and forth over the garlic to mince it evenly. You can also use a microplane grater for a very fine mince, which is ideal for sauces and dressings.
Q3: How can I store garlic properly?
A3: Whole heads of garlic should be stored in a cool, dry, and dark place with good ventilation. A pantry or cupboard is ideal. Avoid storing garlic in the refrigerator, as it can sprout and become bitter. Properly stored whole garlic can last for several months. Peeled garlic cloves can be stored in an airtight container in the refrigerator for up to a week. You can also freeze peeled garlic cloves for longer storage. Just be aware that the texture may change slightly after freezing. Garlic-infused oil should always be stored in the refrigerator to prevent the growth of botulism bacteria.
Q4: Can I use garlic powder instead of fresh garlic?
A4: While garlic powder can be a convenient substitute for fresh garlic, it doesn’t offer the same depth of flavor. Fresh garlic has a more complex and nuanced taste that is difficult to replicate with garlic powder. However, if you don’t have fresh garlic on hand, garlic powder can be used in a pinch. As a general rule, use about 1/8 teaspoon of garlic powder for every clove of fresh garlic. Keep in mind that garlic powder has a more concentrated flavor, so start with a small amount and add more to taste.
Q5: How do I get rid of garlic smell on my hands?
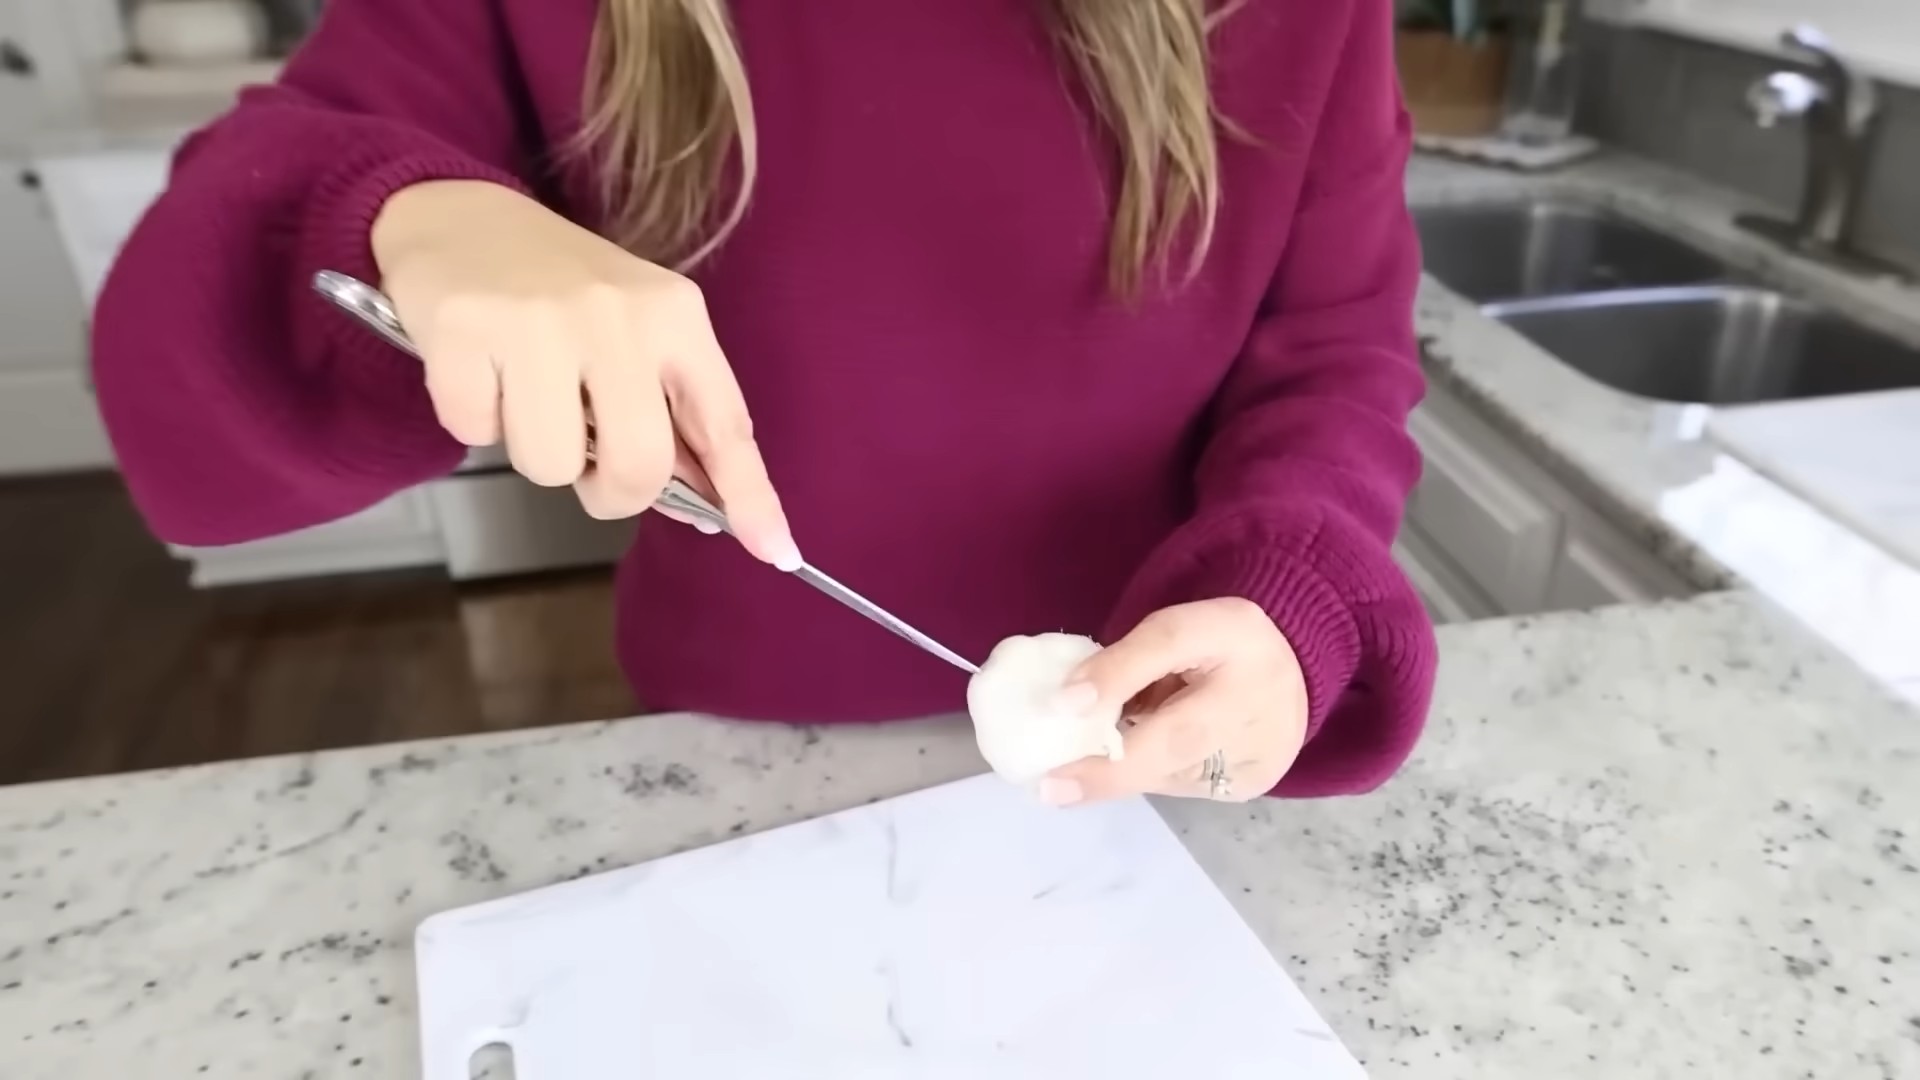
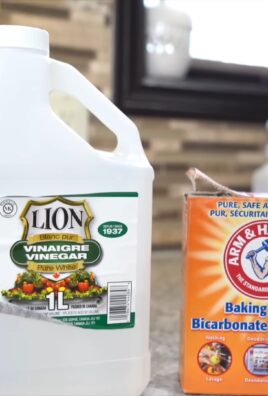
A5: The lingering smell of garlic on your hands can be persistent, but there are several effective ways to remove it. One popular method is to rub your hands on a stainless steel object, such as a sink or spoon, under cold running water. The sulfur compounds in garlic bind to the stainless steel, neutralizing the odor. You can also try washing your hands with lemon juice or a mixture of baking soda and water. Another option is to use a commercial hand soap specifically designed to remove food odors.
Q6: What are the health benefits of garlic?
A6: Garlic is a nutritional powerhouse with a wide range of health benefits. It contains allicin, a compound that has been shown to have antibacterial, antiviral, and antifungal properties. Garlic can help boost the immune system, lower blood pressure, and reduce cholesterol levels. It also contains antioxidants that protect against cell damage. Regular consumption of garlic has been linked to a reduced risk of heart disease, cancer, and other chronic diseases.
Q7: Can I grow my own garlic?
A7: Yes, growing your own garlic is relatively easy and rewarding. Garlic is typically planted in the fall, a few weeks before the first frost. Choose a sunny location with well-drained soil. Plant the individual cloves, pointy side up, about 2 inches deep and 6 inches apart. Water regularly and mulch to suppress weeds and retain moisture. Garlic will typically be ready to harvest in the summer, when the leaves start to turn yellow and brown.
Q8: What are some creative ways to use garlic?
A8: Beyond the usual suspects like pasta sauces and stir-fries, there are many creative ways to incorporate garlic into your cooking. Try adding roasted garlic to mashed potatoes, spreading garlic confit on sandwiches, or making a garlic-infused vinaigrette for salads. You can also use garlic to flavor homemade bread, crackers, or dips. Experiment with different types of garlic, such as black garlic, which has a sweet and balsamic-like flavor. Don’t be afraid to get creative and explore the endless possibilities of garlic!


Leave a Comment