
Indoor Malabar Spinach: Your Guide to Year-Round Greens
I’ve always loved the vibrant, slightly peppery taste of Malabar spinach, but finding fresh, high-quality leaves in the supermarket can be a challenge, especially during colder months. That’s why I decided to take matters into my own hands and explore the wonderful world of indoor Malabar spinach cultivation. This article is your ultimate guide to growing this nutritious leafy green right in your home, regardless of the season or climate. It’s a journey I’ve personally undertaken, filled with both successes and a few learning curves, and I’m excited to share my tips and tricks with you.
While Malabar spinach (Basella alba) is native to tropical regions of Asia and Africa, its cultivation has spread globally due to its adaptability and nutritional value. Historically, it’s been a staple in many cultures, prized not only for its delicious taste but also for its medicinal properties. But you don’t need to be a seasoned gardener to enjoy the benefits of homegrown Malabar spinach. This article is designed for everyone, from complete beginners to experienced home growers, offering simple, effective techniques for achieving a bountiful harvest.
Why bother with indoor Malabar spinach? Because fresh, homegrown greens are simply unbeatable! You’ll know exactly where your food comes from, avoiding pesticides and other potentially harmful chemicals. Plus, the satisfaction of nurturing a plant from seed to plate is incredibly rewarding. You’ll be amazed at how easy it is to grow your own supply of this nutritious and versatile vegetable, enjoying its delicious leaves in salads, stir-fries, and more, all year round. Let’s dive into my favorite indoor Malabar spinach growing techniques and DIY solutions!
Growing Carrots From Seed: A Complete DIY Guide
I love fresh carrots, and nothing beats the taste of homegrown ones. This guide will walk you through everything you need to know to successfully grow your own carrots from seed, even if you’ve never gardened before. Let’s get started!
Phase 1: Planning and Preparation
- Choose the right time: Carrots need cool weather to thrive. The best time to plant is usually in early spring or late summer/early fall, depending on your climate. Check your local frost dates to avoid planting too early.
- Select your location: Carrots need at least six hours of sunlight per day. Choose a sunny spot in your garden with well-drained soil. Poor drainage leads to misshapen, cracked carrots.
- Prepare the soil: Carrots need loose, sandy loam soil. If your soil is heavy clay, amend it with plenty of compost or other organic matter to improve drainage and aeration. This is crucial for long, straight carrots.
- Consider soil testing: A soil test can help you determine the pH level and nutrient content of your soil. Carrots prefer a slightly acidic to neutral pH (6.0-7.0). Adjust accordingly with lime (to raise pH) or sulfur (to lower pH).
- Gather your supplies: You’ll need carrot seeds, a garden trowel or hoe, a watering can, and possibly some row covers (to protect seedlings from frost or pests).
Phase 2: Sowing the Seeds
- Prepare the seedbed: Loosen the soil to a depth of about 12 inches. Remove any rocks or debris that could interfere with root growth. For a larger area, use a garden tiller or cultivator. For smaller areas, a garden fork and trowel will do the job.
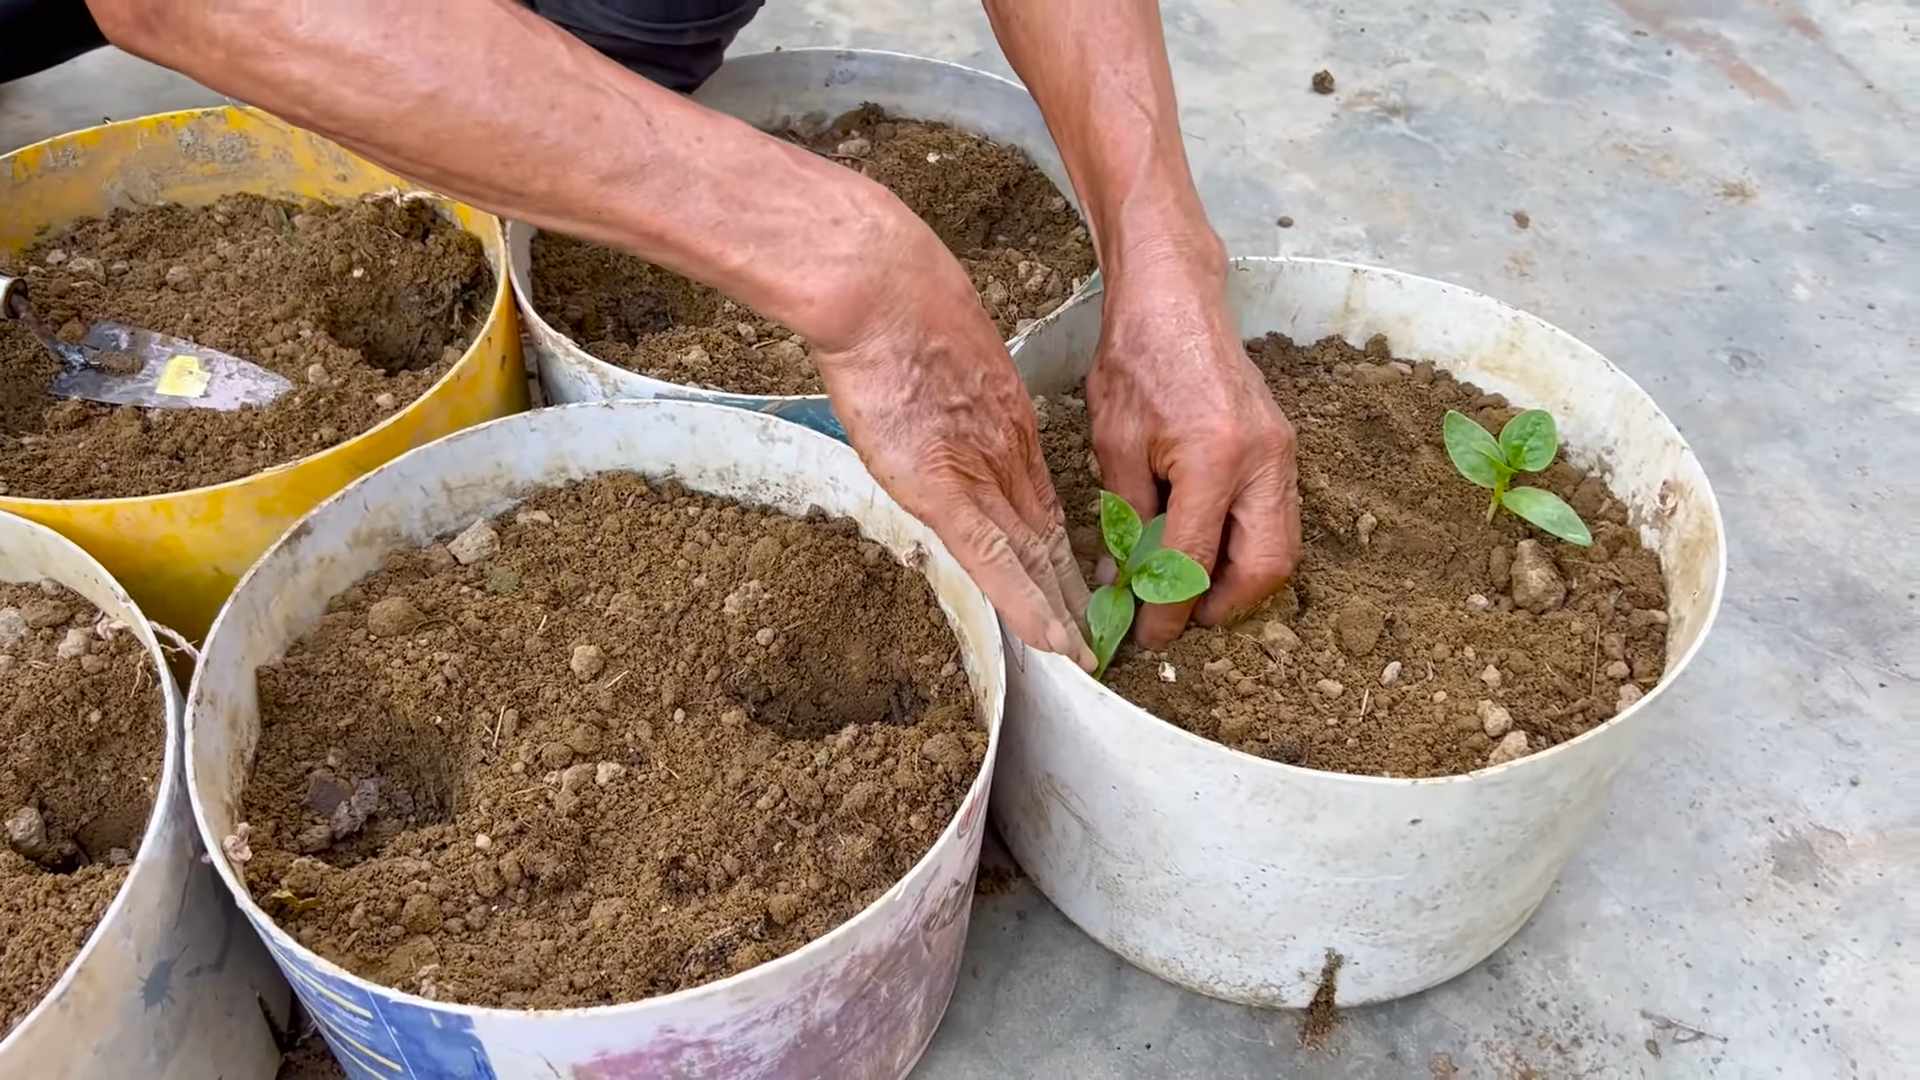
- Sow the seeds: Carrot seeds are tiny! It’s best to mix them with sand to help with even spacing. Plant the seeds about 1/4 inch deep and 1-2 inches apart. Don’t plant them too deep, or they may not germinate.
- Water gently: After sowing, water the seeds gently using a fine rose watering can. Avoid disturbing the soil. A light mist is ideal to prevent washing away the seeds.
- Keep the soil moist: Consistent moisture is essential for germination. Water regularly, keeping the soil moist but not soggy. Use a soaker hose or drip irrigation to avoid washing away the seeds.
- Thin the seedlings: Once the seedlings emerge (usually within 1-3 weeks), thin them to about 3-4 inches apart. This gives each carrot enough space to grow to its full potential. Gently pull out the weaker seedlings, being careful not to disturb the roots of the remaining plants.
Phase 3: Carrot Care and Maintenance
- Weed regularly: Weeds compete with carrots for water and nutrients. Keep the area around your carrot plants weed-free by hand-weeding or using a hoe. Mulching can also help suppress weeds.
- Water consistently: Carrots need consistent moisture, especially during dry periods. Water deeply and regularly, aiming for about 1 inch of water per week. Avoid overhead watering, which can lead to fungal diseases.
- Monitor for pests and diseases: Carrots can be susceptible to pests like carrot root flies and diseases like leaf blight. Inspect your plants regularly and take appropriate action if you notice any problems. Consider using organic pest control methods.
- Side-dress with fertilizer (optional): If your soil is poor in nutrients, you can side-dress your carrots with a balanced fertilizer about a month after planting. Follow the instructions on the fertilizer package carefully.
- Protect from extreme weather: During periods of extreme heat or cold, you may need to provide some protection for your carrot plants. Row covers can help protect them from frost or excessive sun.
Phase 4: Harvesting Your Carrots
- Check for maturity: Carrots are usually ready to harvest in 70-80 days, depending on the variety. You can check for maturity by gently pulling on a few carrots. If they are firm and the desired size, they are ready.
- Harvest carefully: Use a garden fork or trowel to carefully loosen the soil around the carrots. Gently lift them out of the ground, being careful not to damage them. If you encounter any stubborn carrots, use a garden fork to loosen the soil around them.
- Clean and store: Wash the carrots gently to remove any soil. Trim the tops and roots. Store them in a cool, dark, and humid place, such as a refrigerator crisper drawer. They will keep for several weeks.
Troubleshooting Common Problems
Forked Carrots:
This usually indicates rocky or compacted soil. Make sure to prepare your soil thoroughly before planting. Amend heavy clay soils with compost to improve drainage and aeration.
Small Carrots:
This could be due to overcrowding, poor soil conditions, or insufficient watering. Ensure proper spacing when planting, amend the soil if necessary, and water consistently.
Pest Damage:
Carrot root flies can cause significant damage. Use row covers to protect your plants, or consider using organic pest control methods.
Remember to always research the specific needs of your chosen carrot variety for optimal results! Happy gardening!
Conclusion
So there you have it – a simple, effective, and rewarding method for growing your own indoor Malabar spinach! This DIY trick isn’t just about saving money on groceries; it’s about connecting with nature, enjoying fresh, flavorful greens year-round, and experiencing the immense satisfaction of nurturing life from seed to plate. Growing your own indoor Malabar spinach offers a unique opportunity to control the quality and freshness of your produce, ensuring you always have access to this nutritious and versatile leafy green. The process is surprisingly straightforward, even for beginner gardeners, and the rewards are plentiful. You’ll be amazed at how quickly your plants thrive with minimal effort, providing you with a continuous harvest of delicious leaves for salads, stir-fries, and countless other culinary creations.
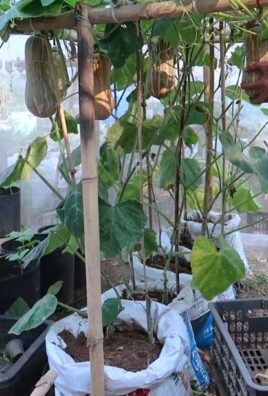
Beyond the basic method outlined, there are numerous ways to personalize your indoor Malabar spinach garden. Experiment with different types of containers – terracotta pots, repurposed jars, or even hanging baskets can all work wonderfully. Consider using a grow light to supplement natural sunlight, especially during shorter winter days. This will significantly boost growth and yield. You can also explore different growing mediums, such as coco coir or a well-draining soil mix specifically formulated for leafy greens. For a truly unique experience, try growing your Malabar spinach hydroponically! This method involves growing the plants without soil, using a nutrient-rich water solution. It’s a fantastic way to maximize space and control the environment even further.
Don’t be afraid to experiment with different varieties of Malabar spinach seeds as well. Some varieties are known for their faster growth rates or particularly robust flavor profiles. Researching different options can add an exciting dimension to your indoor gardening journey. Remember, the key is to have fun and enjoy the process. Even small successes will boost your confidence and encourage you to explore other indoor gardening projects.
We strongly encourage you to try this simple yet effective DIY method for growing your own indoor Malabar spinach. It’s a rewarding experience that will connect you with the natural world and provide you with a constant supply of healthy, delicious greens. Share your experiences with us! We’d love to hear about your successes, challenges, and any innovative techniques you discover along the way. Post pictures of your thriving Malabar spinach plants on social media and tag us – let’s build a community of indoor gardeners who are passionate about growing their own food!
Growing your own Indoor Malabar Spinach is a rewarding journey that combines the joy of gardening with the satisfaction of enjoying fresh, homegrown produce. Give it a try and experience the difference!
Frequently Asked Questions
What type of light does Malabar spinach need indoors?
Malabar spinach thrives in bright, indirect sunlight. A south-facing window is ideal, but you may need to supplement with a grow light, especially during winter months or if your window doesn’t provide sufficient light. Aim for at least 6-8 hours of light per day for optimal growth.
How often should I water my indoor Malabar spinach?
Water your Malabar spinach when the top inch of soil feels dry to the touch. Avoid overwatering, as this can lead to root rot. The frequency of watering will depend on factors such as the size of your container, the type of soil, and the ambient temperature and humidity. It’s better to underwater slightly than to overwater.
What kind of soil is best for indoor Malabar spinach?
A well-draining potting mix is ideal for indoor Malabar spinach. You can use a standard potting mix, but adding perlite or vermiculite can improve drainage and aeration. Avoid heavy clay soils, which can retain too much moisture and lead to root problems.
How often can I harvest my indoor Malabar spinach?
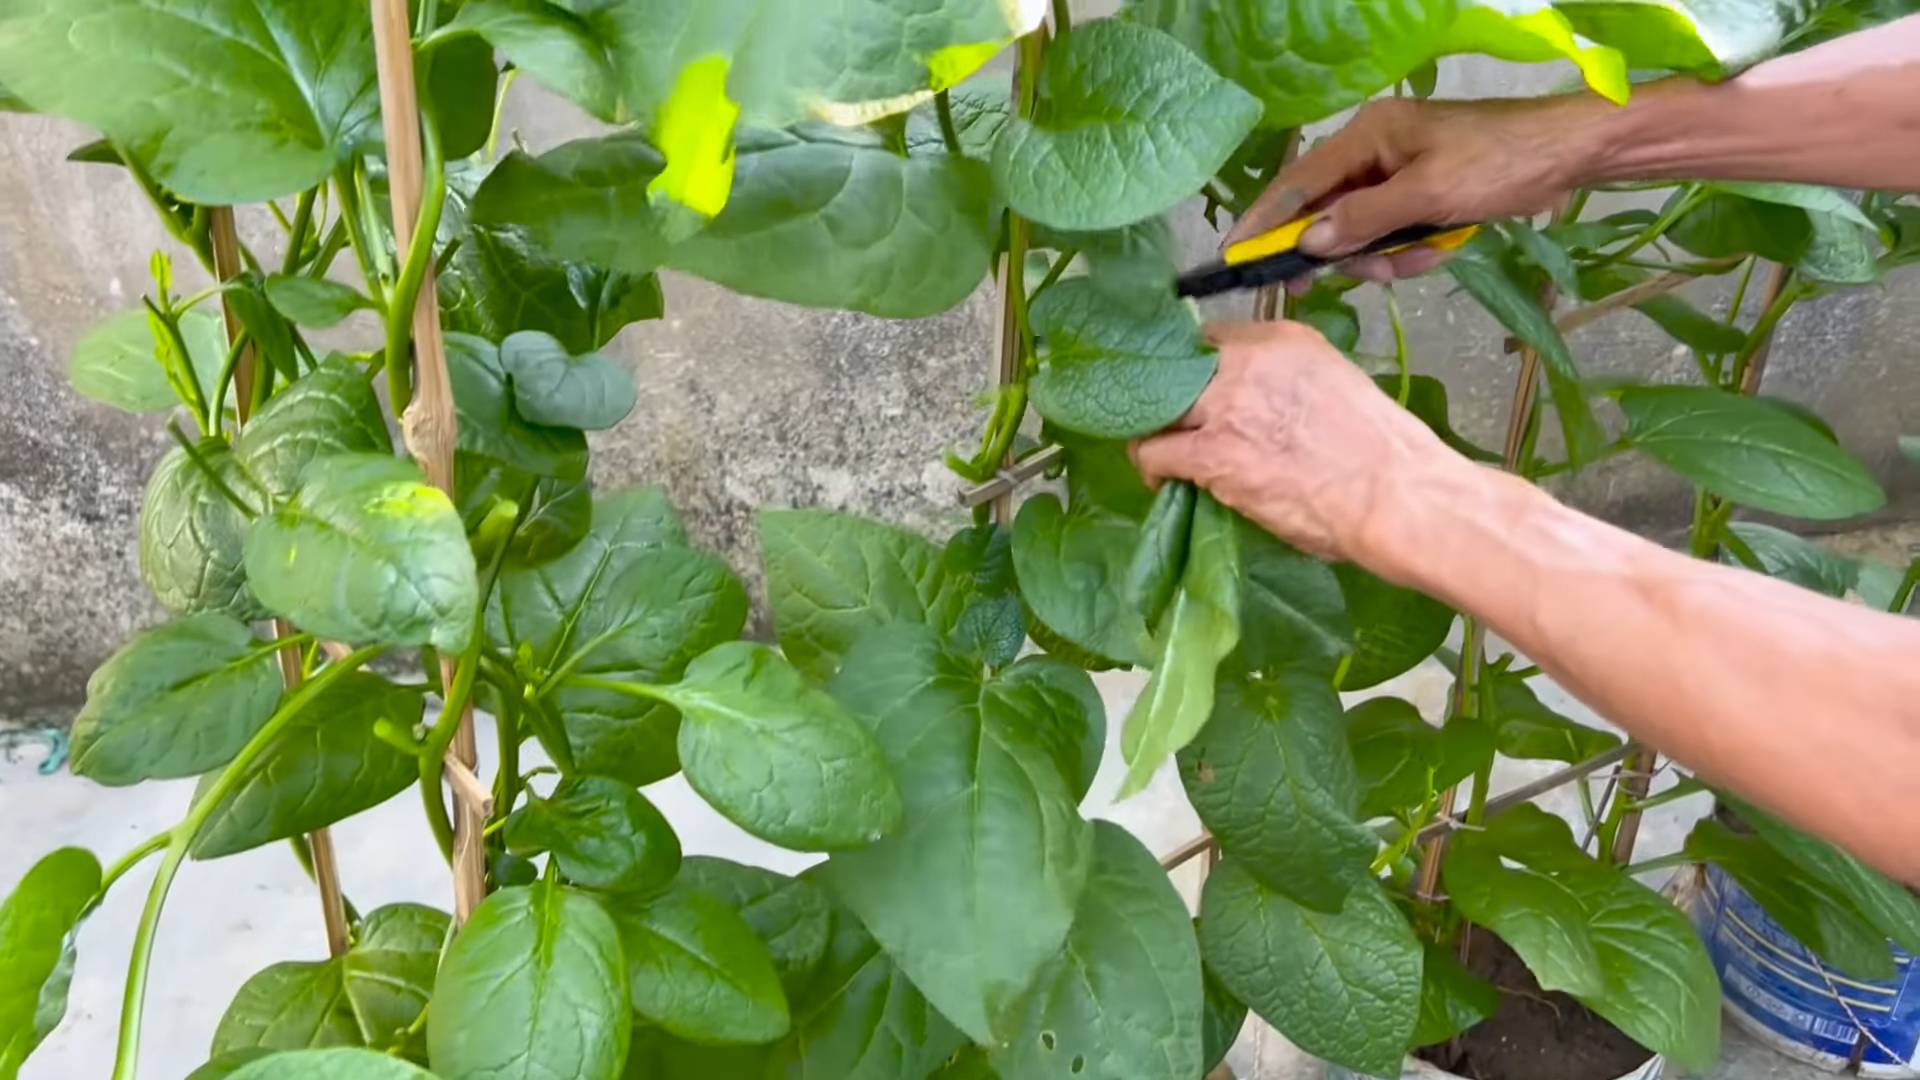
You can begin harvesting your Malabar spinach once the plants have several sets of leaves. Harvest by pinching or cutting off the top few leaves, allowing the plant to continue growing. Regular harvesting encourages bushier growth and a more abundant yield. You can harvest multiple times a week, depending on the size and growth rate of your plants.
Can I propagate Malabar spinach from cuttings?
Yes, Malabar spinach can be easily propagated from stem cuttings. Simply take a 4-6 inch cutting from a healthy stem, remove the lower leaves, and place it in a glass of water or directly into moist soil. Keep the cutting moist and in bright, indirect light, and roots should develop within a few weeks.
What are some common problems when growing indoor Malabar spinach?
Common problems include overwatering (leading to root rot), insufficient light (resulting in leggy growth), and pest infestations (such as aphids or spider mites). Regularly inspect your plants for signs of pests or diseases, and address any issues promptly. Proper watering and adequate light are crucial for preventing most problems.
Can I grow Malabar spinach in a hydroponic system?
Yes, Malabar spinach can be successfully grown hydroponically. Hydroponic systems offer precise control over nutrient delivery and water levels, which can lead to faster growth and higher yields. However, hydroponics requires a bit more technical knowledge and setup than traditional soil-based methods.
What are the nutritional benefits of Malabar spinach?
Malabar spinach is a nutritional powerhouse, packed with vitamins A, C, and K, as well as iron and other essential minerals. It’s a low-calorie, high-fiber food that’s a great addition to a healthy diet. It’s also a good source of antioxidants.
Where can I buy Malabar spinach seeds?
Malabar spinach seeds are readily available online from various seed suppliers and also at many garden centers. Make sure to choose high-quality seeds from a reputable source to ensure good germination rates.
What are some creative ways to use Malabar spinach in cooking?
Malabar spinach is incredibly versatile in the kitchen. It can be added to salads, stir-fries, soups, curries, and even smoothies. Its slightly tangy flavor pairs well with many different cuisines and ingredients. Experiment with different cooking methods to discover your favorite ways to enjoy this delicious and nutritious green.


Leave a Comment