
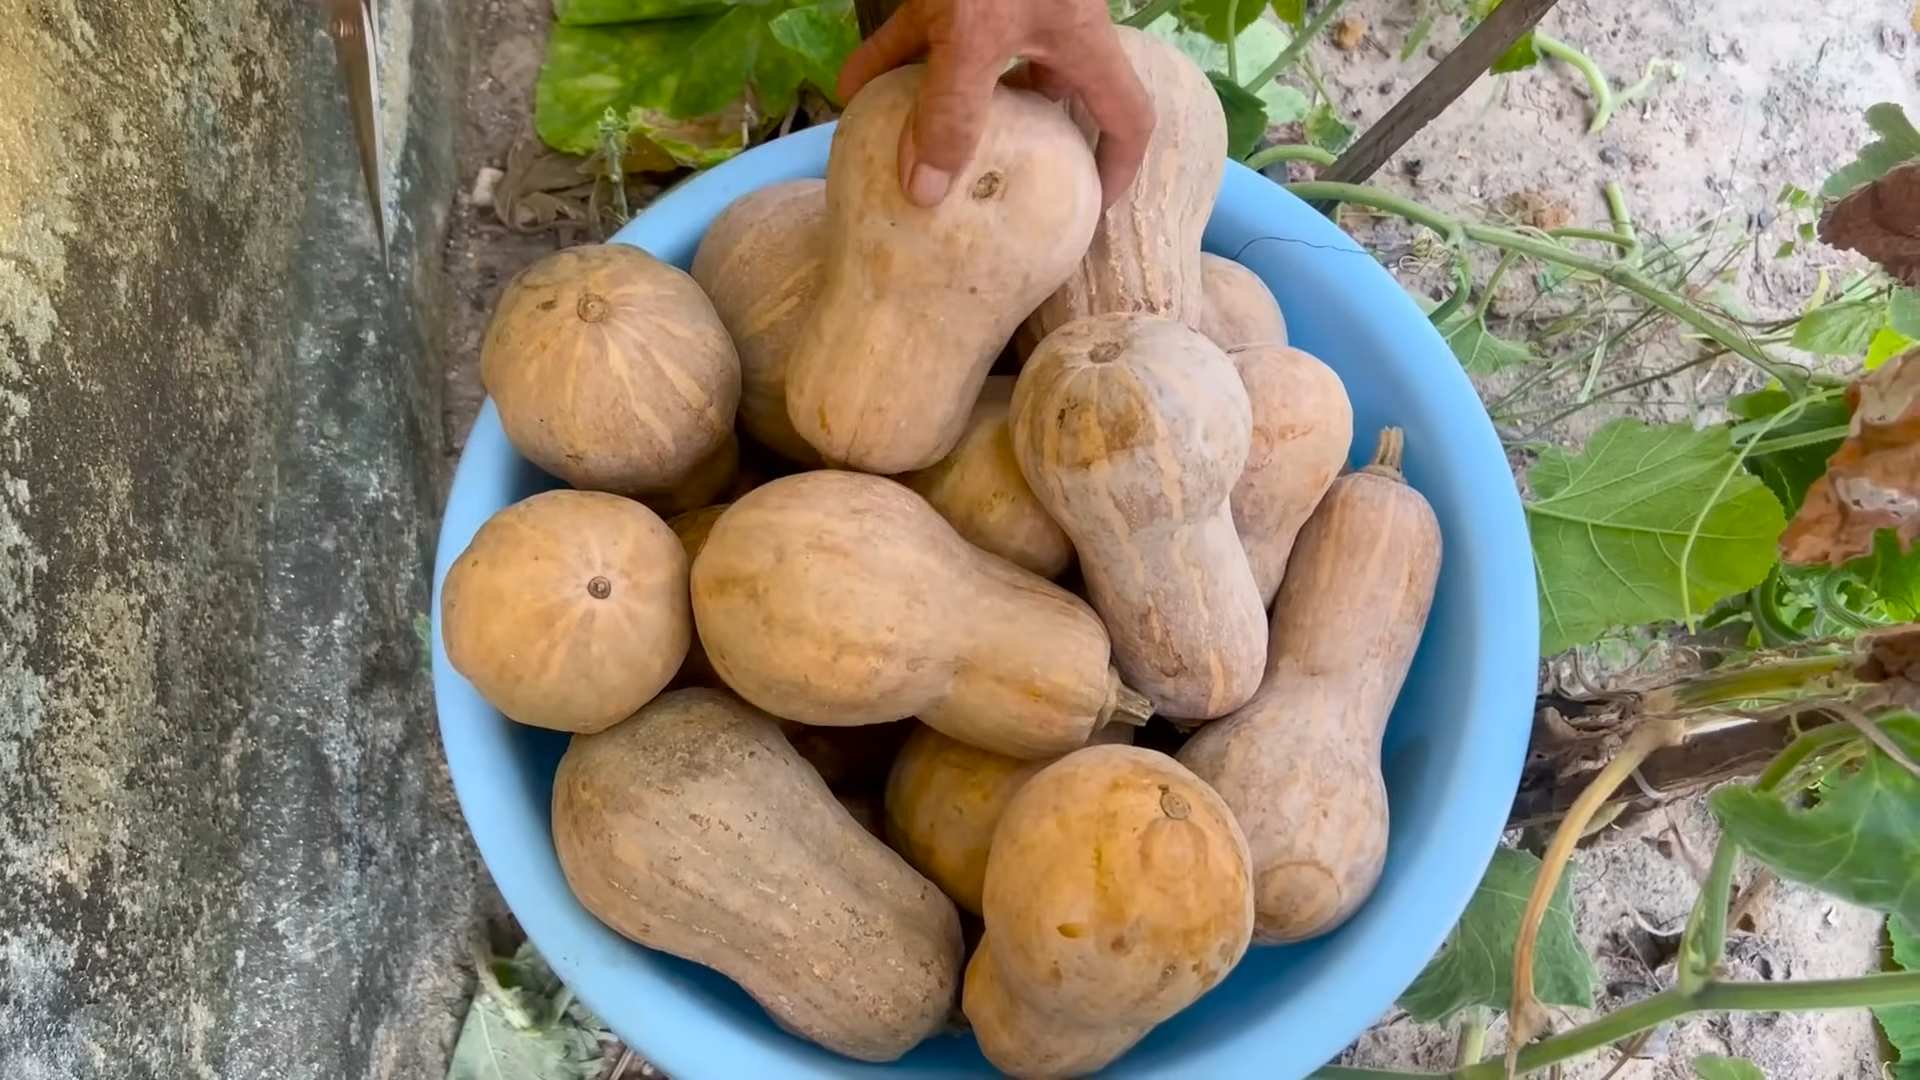
Extend Pumpkin Harvest
I love the vibrant orange glow of pumpkins, don’t you? That feeling of autumn, crisp air, and the promise of delicious pies and spooky jack-o’-lanterns… it’s all tied up in those perfect pumpkins. But what if I told you there’s a way to enjoy that feeling – and those pumpkins – for longer? This article is all about Extend Pumpkin Harvest techniques, sharing my favorite DIY tricks and hacks to keep your pumpkins looking their best and lasting well beyond the typical harvest season.
Historically, pumpkins have held significant cultural importance, symbolizing harvest festivals and autumn celebrations across many cultures. From the ancient Aztecs to modern-day Halloween traditions, pumpkins have played a starring role. But what if you could extend that celebration, keeping your home adorned with these beautiful gourds long after the official harvest season ends? That’s where these Extend Pumpkin Harvest tips come in handy.
Why You Need These DIY Tricks
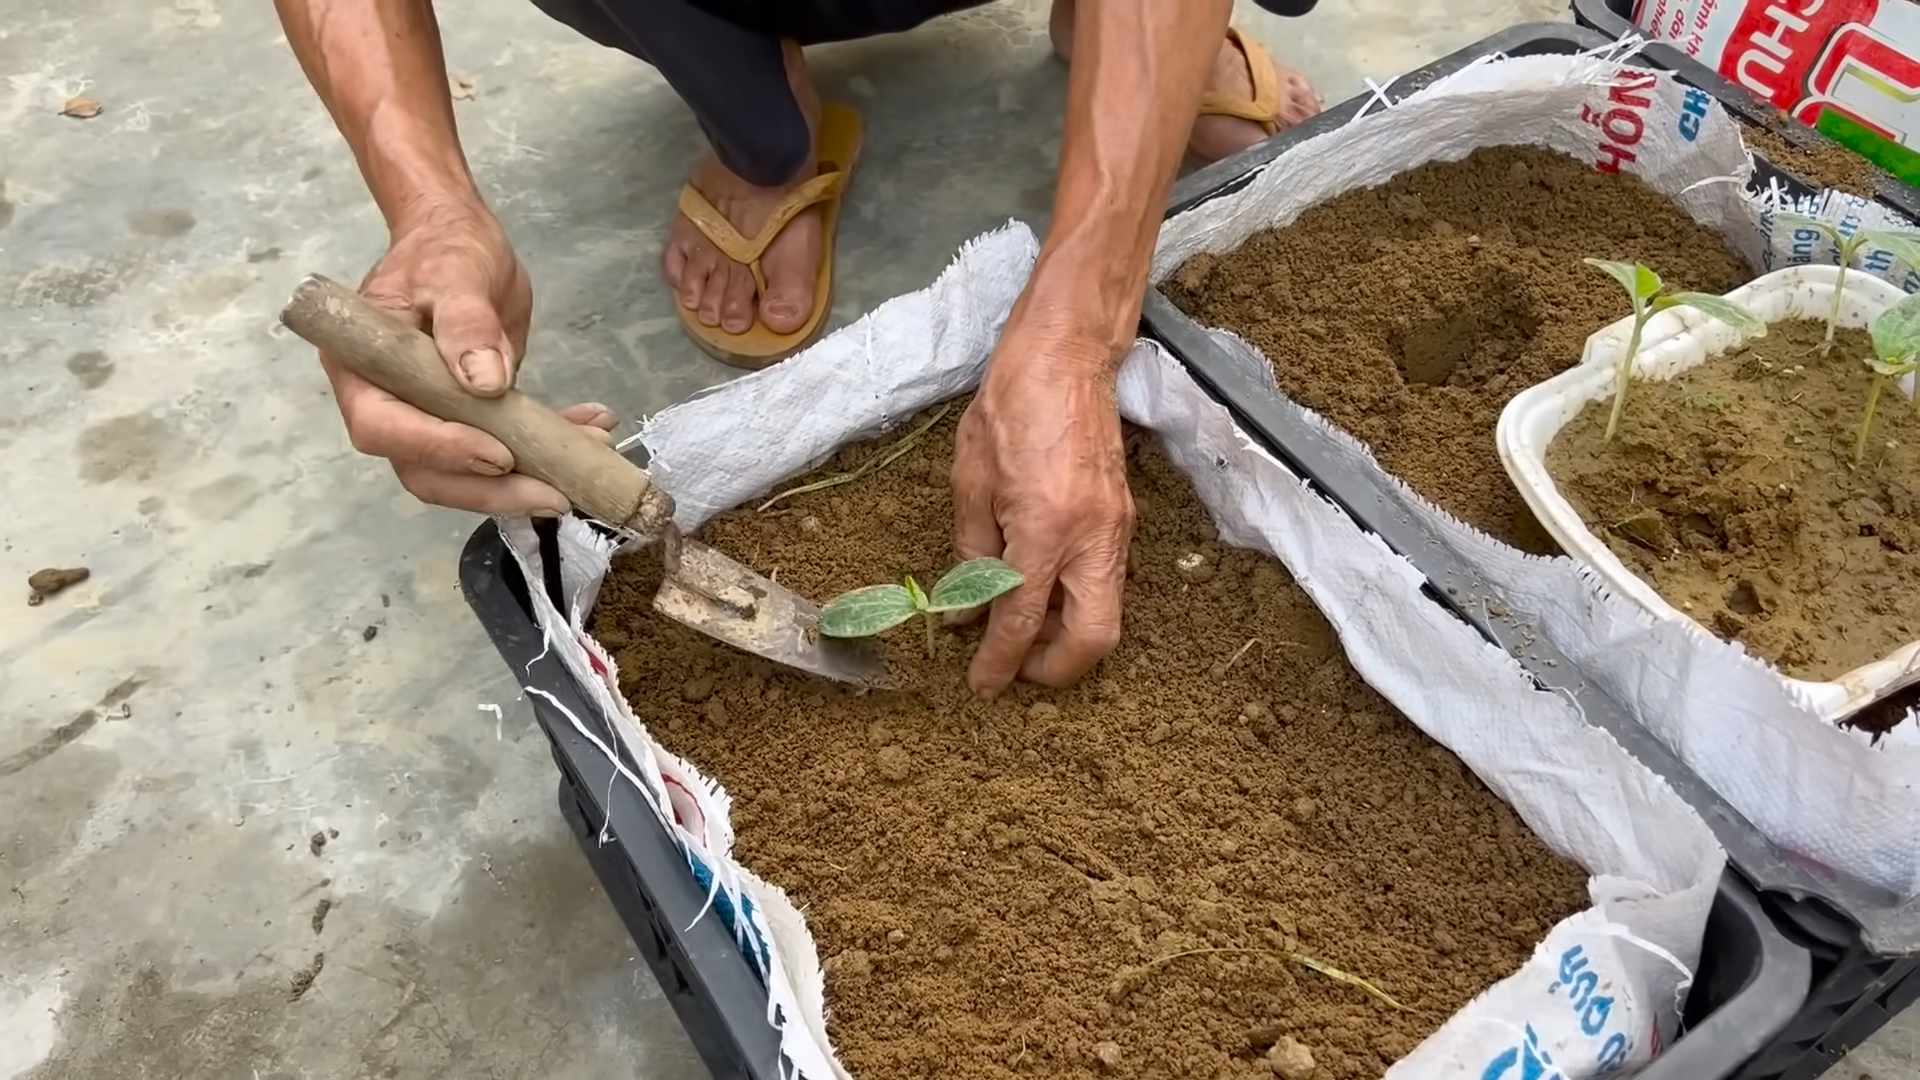
Let’s be honest, nobody wants their hard-earned pumpkins to rot within days of bringing them home. Whether you’ve grown them yourself or carefully selected them at the farmer’s market, you’ve invested time and effort. These simple DIY methods will help you preserve your pumpkins, maximizing their beauty and extending their lifespan. From preventing rot to maintaining their vibrant color, these Extend Pumpkin Harvest techniques are essential for anyone who loves the autumnal charm of pumpkins.
So, grab your gardening gloves and let’s dive into some practical, easy-to-follow tips to help you enjoy your pumpkins for weeks to come! Get ready to extend the joy of the harvest season!
Growing a Giant Watermelon: Your Guide to a Massive Harvest
I’ve always loved the challenge of growing the biggest, juiciest watermelon I possibly can. It’s a rewarding experience, and with a little know-how, you can achieve impressive results. This guide will walk you through my process, from seed selection to harvest. Let’s get started!
Phase 1: Planning and Preparation
- Choose the right variety: Not all watermelon varieties are created equal when it comes to size. Research varieties known for their large size. Look for descriptions mentioning “giant,” “jumbo,” or similar terms. Seed catalogs and online resources are great places to start. I’ve had great luck with the ‘Crimson Sweet’ and ‘Carolina Cross’ varieties in the past.
- Soil preparation is key: Watermelons need well-drained, fertile soil. Amend your soil with plenty of compost or other organic matter to improve its structure and nutrient content. A soil test can help you determine what nutrients your soil might be lacking. I usually add a generous amount of aged manure a few weeks before planting.
- Sunlight is essential: Watermelons need at least six to eight hours of direct sunlight per day. Choose a sunny location in your garden. Consider the orientation of your garden – south-facing areas generally receive the most sunlight.
- Plan for space: Giant watermelons need plenty of room to grow. Allow at least three to four feet between each plant. Consider the mature size of the variety you’ve chosen; some can grow to be incredibly large!
- Prepare your support system (optional but recommended): For truly giant watermelons, a support system is crucial to prevent the fruit from rotting on the ground. You can use sturdy trellises or build a simple frame to support the growing vine and the developing watermelon.
Phase 2: Planting and Early Growth
- Start seeds indoors (recommended): Starting seeds indoors gives them a head start and increases your chances of success. Sow seeds about four to six weeks before the last expected frost in your area. Use seed-starting mix, not garden soil.
- Plant outdoors after the last frost: Once the danger of frost has passed, transplant your seedlings outdoors. Gently remove them from their containers, being careful not to damage the roots. Plant them at the same depth they were growing in their containers.
- Water regularly: Water deeply and consistently, especially during dry periods. Water at the base of the plant to avoid wetting the leaves, which can increase the risk of fungal diseases. A soaker hose or drip irrigation system is ideal.
- Weed regularly: Weeds compete with your watermelon plants for water and nutrients. Keep the area around your plants free of weeds by hand-weeding or using mulch.
- Fertilize as needed: Watermelons are heavy feeders. Apply a balanced fertilizer according to package directions, or use a liquid fertilizer every few weeks. Monitor your plants for signs of nutrient deficiency, such as yellowing leaves.
Phase 3: Fruit Development and Support
- Thinning: Once the watermelon plants have produced several fruits, thin them out, leaving only the largest and most promising fruit on each vine. This allows the plant to focus its energy on growing those selected melons to their full potential.
- Support the growing fruit: As the watermelons grow larger, they will become increasingly heavy. Use a support system (trellis, frame, or even a large piece of plywood) to keep the fruit off the ground. This prevents rotting and damage.
- Monitor for pests and diseases: Regularly inspect your plants for signs of pests or diseases. Address any issues promptly to prevent them from spreading. Organic pest control methods are often effective.
- Water consistently: Maintain consistent watering throughout the growing season. Water deeply and less frequently rather than shallowly and often. This encourages deep root growth.
- Protect from extreme weather: Watermelons are susceptible to damage from extreme heat and strong winds. Provide shade during the hottest part of the day if necessary, and protect the plants from strong winds with windbreaks.
Phase 4: Harvesting and Storage
- Harvest at the right time: Watermelons are ripe when they have a deep color, a dull sound when thumped, and a slightly soft spot at the blossom end. The tendril next to the watermelon will also turn brown and dry. Don’t wait too long, or the watermelon will become overripe.
- Harvest carefully: Use a sharp knife or pruning shears to cut the watermelon from the vine. Leave a few inches of stem attached to the fruit.
- Cure the watermelon: Allow the harvested watermelon to cure for a few days in a cool, dry place. This helps to improve its flavor and shelf life.
- Store properly: Store ripe watermelons in a cool, dark place. They will keep for several weeks under ideal conditions. Refrigerate cut watermelon to extend its shelf life.
- Enjoy your giant watermelon! Once you’ve harvested your giant watermelon, it’s time to enjoy the fruits (or should I say, fruit!) of your labor. Share it with friends and family, or simply savor its deliciousness on your own.
Tips for Extra-Large Watermelons:
- Consider using a “melon hammock”: This specialized support system cradles the growing watermelon, allowing it to grow evenly and preventing damage.
- Regularly rotate the watermelon: This ensures even sun exposure and prevents uneven growth.
- Focus on one large fruit per vine: Don’t let the plant produce multiple fruits; concentrate its energy on one giant melon.
Important Note:
Remember that growing a truly giant watermelon requires patience, dedication, and the right conditions. Don’t be discouraged if your first attempt doesn’t yield a record-breaker. Learn from your experience and keep trying – you’ll get there eventually!
Conclusion
So, there you have it! Our guide to extending your pumpkin harvest. This simple, yet effective DIY trick is a game-changer for anyone who loves the taste of fresh, homegrown pumpkins. By following these steps, you’ll not only significantly lengthen your pumpkin season but also enjoy the satisfaction of maximizing your yield. This isn’t just about extending the harvest; it’s about extending the joy of homegrown goodness. The minimal effort involved far outweighs the rewards of enjoying delicious, perfectly ripe pumpkins well into the fall and even beyond. It’s a truly rewarding experience, perfect for both seasoned gardeners and enthusiastic beginners alike.
Don’t be afraid to experiment! This DIY method is incredibly versatile. Try different types of pumpkins to see how they respond. Some varieties might be more amenable to this technique than others. You can also adjust the timing of the application based on your local climate and the specific needs of your pumpkin plants. Perhaps you could try using a slightly different covering material, ensuring it provides adequate protection from the elements while still allowing for sufficient airflow. Consider adding a layer of mulch around the base of your plants to further retain moisture and regulate soil temperature. The possibilities are endless, and the learning process is part of the fun!
We strongly encourage you to try this Extend Pumpkin Harvest technique this year. Share your results with us! We’d love to hear about your experiences, whether you’re a seasoned pumpkin grower or a first-timer. Post your photos on social media using #ExtendPumpkinHarvest and tag us – we can’t wait to see your bountiful harvest! Let’s build a community of pumpkin enthusiasts who are passionate about extending the season and sharing their knowledge. Remember, the more we share, the more we learn, and the more delicious pumpkins we can all enjoy.
This DIY method is not only about extending the harvest; it’s about connecting with nature, appreciating the cycle of growth, and savoring the fruits (or rather, vegetables!) of your labor. It’s a rewarding journey that will leave you feeling accomplished and ready to tackle even more gardening adventures. So, grab your supplies, get your hands dirty, and prepare to be amazed by the extended bounty of your pumpkin patch. Happy harvesting!
Frequently Asked Questions
Q: How long can I realistically extend my pumpkin harvest using this method?
A: The exact duration depends on several factors, including your local climate, the pumpkin variety, and the effectiveness of your protective measures. However, many gardeners report extending their harvest by several weeks, sometimes even a month or more, using this technique. The key is consistent monitoring and adjusting your approach as needed.
Q: What types of pumpkins are best suited for this method?
A: While this method works well for many varieties, smaller to medium-sized pumpkins generally respond best. Larger pumpkins might require more extensive protection or a slightly modified approach. Experiment to see what works best in your garden. Consider the maturity of the pumpkins when applying the protective measures.
Q: What if I don’t have access to the specific materials mentioned in the article?
A: The beauty of this method is its adaptability. While the suggested materials are ideal, you can experiment with alternatives. The main goal is to create a protective barrier that shields the pumpkins from frost and harsh weather conditions while still allowing for adequate ventilation. Consider using other readily available materials, such as old blankets, burlap sacks, or even large plastic containers (ensure proper ventilation!).
Q: Can I use this method for other types of squash or gourds?
A: Yes! This technique can be adapted for other types of winter squash and gourds. However, you might need to adjust the timing and protective measures based on the specific needs of the plant and the size of the fruit. Always prioritize proper ventilation to prevent rot and disease.
Q: What are the signs that my pumpkins are ready for harvest, even after using this extension method?
A: Even with extended harvesting, look for the usual signs of ripeness: a deep, rich color (specific to the variety), a hard rind that doesn’t yield to pressure, and a dry stem. If you’re unsure, it’s always better to err on the side of caution and wait a little longer. A slightly overripe pumpkin is better than one harvested too early.
Q: What should I do if I notice signs of rot or disease on my pumpkins?
A: Immediate action is crucial. Remove any affected pumpkins from the patch to prevent the spread of disease. Improve air circulation around the remaining pumpkins and consider adjusting your protective measures to ensure better ventilation. Consult a local gardening expert or agricultural extension office for advice on disease management.
Q: Is this method suitable for all climates?
A: While this method can be beneficial in various climates, its effectiveness is most pronounced in areas prone to early frosts or unpredictable weather patterns. In warmer climates, the benefits might be less significant, but it can still help protect pumpkins from unexpected temperature fluctuations.
Leave a Comment