
Easy Home Vegetable Gardening: Grow Your Own Food!
Easy home vegetable gardening has always held a special appeal, hasn’t it? From the earliest civilizations cultivating crops to the modern-day resurgence of urban farming, the simple act of nurturing a plant from seed to harvest offers a profound connection to nature and a delicious reward. I remember my grandfather’s small but productive garden, bursting with tomatoes, peppers, and herbs – a testament to the magic of easy home vegetable gardening. It sparked a lifelong passion in me, and I’m thrilled to share some of my favorite tips and tricks with you.
This article isn’t just about planting seeds; it’s about unlocking the secrets to a thriving home vegetable garden, even if you have limited space or experience. We’ll explore simple, effective techniques that make easy home vegetable gardening accessible to everyone, regardless of your green thumb status. Why bother with this DIY approach? Because there’s nothing quite like the taste of a sun-ripened tomato plucked straight from your own backyard! Plus, you’ll be reducing your carbon footprint, saving money on groceries, and experiencing the immense satisfaction of growing your own food.
Why This Matters
In a world increasingly disconnected from its food sources, knowing how to grow even a small amount of your own produce is a valuable skill. This article will empower you to take control of your food supply, providing you with fresh, healthy ingredients and a deeper appreciation for the natural world. Let’s get started on your journey to easy home vegetable gardening!
Repurposing Plastic Wrap: A Guide to Creative Reuse
I’ve always felt a pang of guilt tossing out those seemingly endless rolls of plastic wrap. It’s so useful, but the environmental impact is undeniable. So, I started experimenting, and I’ve discovered some fantastic ways to repurpose it! This guide will walk you through several projects, transforming your plastic wrap scraps into useful items.
Phase 1: Gathering and Preparing Your Materials
- Gather your plastic wrap: Collect all your used and unused plastic wrap. Clean it thoroughly to remove any food residue. Even small scraps can be useful!
- Sort by type: If you have different types of plastic wrap (cling film, stretch film, etc.), separate them. Some are more durable than others, making them suitable for different projects.
- Ironing (optional): For some projects, ironing the plastic wrap can help flatten it and remove wrinkles. Use a low setting and place a cloth between the iron and the plastic to prevent melting.
Phase 2: Creating Useful Household Items
Project 1: Plastic Wrap Dust Covers
- Measure and cut: Measure the item you want to cover (a lamp, a small appliance, etc.). Add extra length and width for overlap and secure fastening.
- Cut the plastic wrap: Using scissors, carefully cut the plastic wrap to the desired size. Remember to add extra for overlap.
- Secure the cover: You can use rubber bands, twist ties, or even safety pins to secure the plastic wrap around the item. For a neater finish, consider using fabric scraps to create a more professional-looking cover.
- Optional embellishment: Add decorative elements like ribbons or fabric scraps to personalize your dust covers.
Project 2: Plastic Wrap Plant Protectors
- Choose your plants: This works well for seedlings or small plants that need protection from pests or harsh weather.
- Cut and shape: Cut the plastic wrap into a size slightly larger than your plant. You can create a simple cover or a more elaborate structure depending on your plant’s needs.
- Secure the protector: Use twist ties, rubber bands, or small clips to secure the plastic wrap around the plant, ensuring it doesn’t suffocate the plant.
- Ventilation: Make sure to create small holes for ventilation to prevent moisture buildup.
Project 3: Plastic Wrap for Organizing Cords
- Gather your cords: Collect the cords you want to organize (computer cables, phone chargers, etc.).
- Wrap and secure: Wrap the plastic wrap tightly around the cords, starting at one end and working your way down. Overlap the plastic wrap as you go for a secure hold.
- Cut and label: Once the cords are wrapped, cut the plastic wrap and leave a small tail. You can use a marker to label the cords for easy identification.
Phase 3: More Advanced Projects (Requires More Plastic Wrap)
Project 4: Creating a Simple Greenhouse
- Build a frame: You’ll need a frame to support the plastic wrap. This could be made from PVC pipes, wood, or even repurposed materials like old window frames.
- Cut and drape: Cut large sheets of plastic wrap to cover the frame. Overlap the edges and secure them with tape or clips.
- Ventilation: Create ventilation openings to prevent overheating and moisture buildup. You can use zippers, Velcro, or even small holes.
- Secure the base: Weigh down the edges of the plastic wrap to prevent it from blowing away. You can use rocks, bricks, or sandbags.
Project 5: Making a Waterproof Bag
- Choose your base: You’ll need a sturdy base for your bag. An old cloth bag or a piece of heavy-duty fabric works well.
- Cut and layer: Cut the plastic wrap into large pieces, slightly larger than your base. Layer several pieces to create a waterproof barrier.
- Secure the layers: Use strong tape or glue to secure the layers of plastic wrap to the base. Ensure there are no gaps.
- Seal the seams: Carefully seal all the seams to prevent water leakage. You can use heat sealing if you have the equipment, or use strong waterproof tape.
- Add handles or straps: Attach handles or straps to the bag for easy carrying.
Phase 4: Important Considerations
- Safety Precautions: Always use caution when working with sharp objects like scissors. If ironing, ensure proper ventilation and avoid direct contact with the hot iron.
- Recycling: While repurposing is great, remember that plastic wrap eventually degrades. If your repurposed items become damaged or unusable, dispose of them responsibly according to your local recycling guidelines.
- Durability: Remember that plastic wrap is not as durable as other materials. These projects are best suited for temporary or less demanding uses.
- Creativity: Don’t be afraid to experiment! These are just a few ideas to get you started. Let your creativity guide you and find new ways to repurpose your plastic wrap.
Remember to always prioritize safety and responsible disposal. Happy crafting!
Conclusion
So there you have it – a comprehensive guide to achieving bountiful harvests right in your backyard with our easy home vegetable gardening techniques. This isn’t just about growing food; it’s about connecting with nature, enjoying fresh, flavorful produce, and experiencing the immense satisfaction of nurturing life from seed to table. This DIY approach to vegetable gardening is a must-try for several reasons. First, it empowers you to control the quality and origin of your food, ensuring you’re consuming healthy, pesticide-free vegetables. Second, it’s incredibly rewarding to watch your hard work blossom into delicious, homegrown goodness. And finally, it’s surprisingly accessible, even for beginners with limited space or experience. Whether you have a sprawling backyard or a small balcony, you can adapt these techniques to suit your environment.
We’ve focused on simplicity and practicality throughout this guide, emphasizing techniques that are easy to learn and implement. But don’t be afraid to experiment and personalize your approach! The beauty of home gardening lies in its adaptability. Consider these variations to enhance your gardening experience:
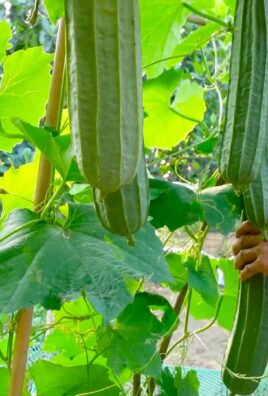
- Vertical Gardening: Maximize space by using vertical planters, trellises, or hanging baskets, especially for vining plants like tomatoes and cucumbers.
- Companion Planting: Research companion plants that benefit each other. For example, basil planted near tomatoes can deter pests and improve flavor.
- Succession Planting: Plant new seeds or seedlings every few weeks to ensure a continuous harvest throughout the growing season.
- Hydroponics or Aquaponics: Explore soilless gardening methods for a more efficient and potentially higher-yield approach.
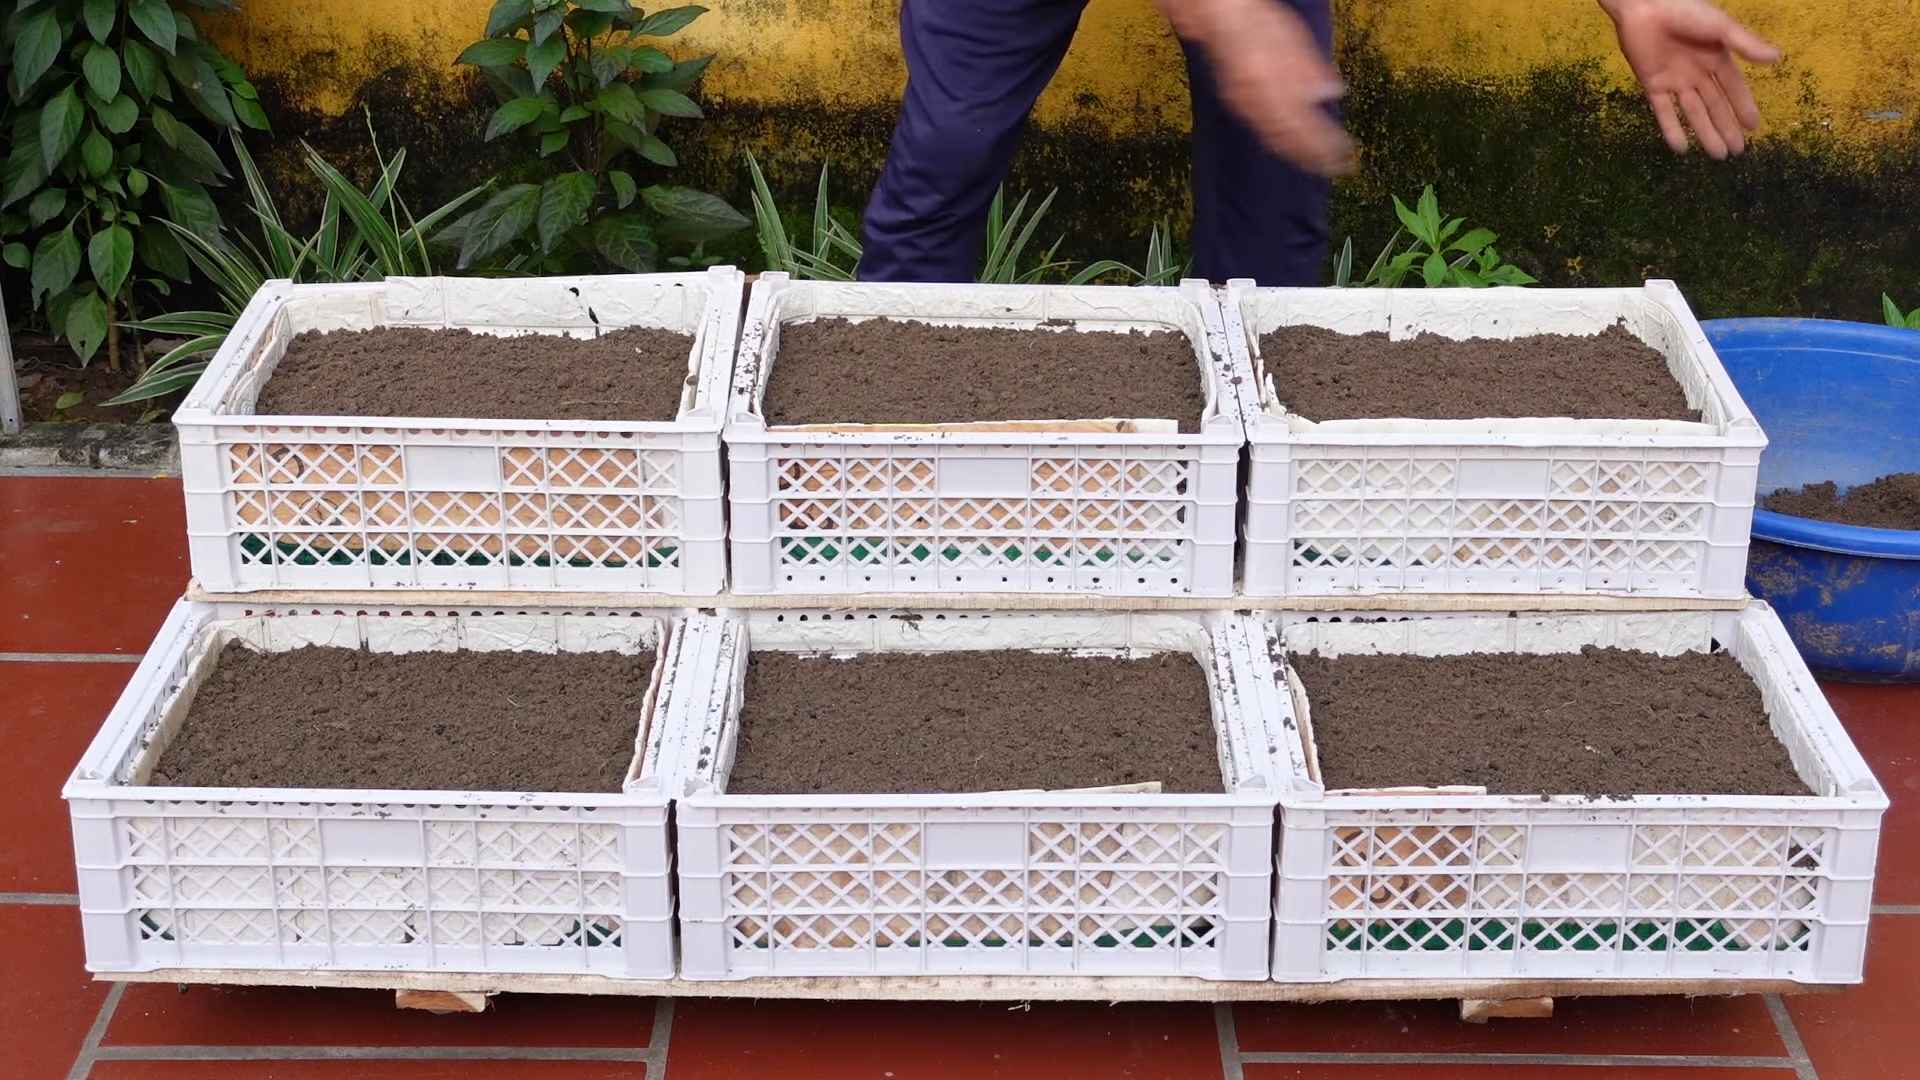
- Container Gardening: If you lack garden space, grow vegetables in containers on your patio, balcony, or even windowsill.
The possibilities are endless! Don’t be discouraged by initial setbacks; gardening is a learning process. Embrace the challenges, celebrate the successes, and most importantly, have fun! This easy home vegetable gardening journey is about more than just the harvest; it’s about the process, the connection to nature, and the pride of growing your own food. We strongly encourage you to try these techniques and share your experiences with us. Post pictures of your thriving vegetable garden on social media using #EasyHomeVegetableGardening and tag us! Let’s build a community of home gardeners, sharing tips, tricks, and the joy of fresh, homegrown produce.
Frequently Asked Questions
We understand that starting a vegetable garden can raise many questions. Here are some of the most frequently asked questions to help you get started:
What type of soil is best for vegetable gardening?
Well-draining soil rich in organic matter is ideal. You can amend your existing soil with compost or other organic materials to improve its texture and nutrient content. A soil test can help determine your soil’s pH and nutrient levels, allowing you to tailor your amendments accordingly. Consider using raised beds or containers if your soil is particularly poor.
How much sunlight do vegetables need?
Most vegetables require at least six hours of direct sunlight per day. Before selecting your plants, carefully assess the sunlight conditions in your garden. Choose vegetables that are well-suited to the amount of sunlight your garden receives. Some vegetables tolerate partial shade, but most will produce better yields with ample sunlight.
When is the best time to start planting?
The best time to plant depends on your climate and the specific vegetables you’re growing. Consult a planting calendar specific to your region for optimal planting times. Generally, spring and summer are the best seasons for most vegetables, but some cool-season crops can be planted in fall or even winter in milder climates.
What are some common vegetable gardening pests and diseases?
Common pests include aphids, slugs, and caterpillars. Diseases can include fungal infections like blight and powdery mildew. Regularly inspect your plants for signs of pests or diseases. Use organic pest control methods whenever possible, such as introducing beneficial insects or using insecticidal soap. Proper spacing and air circulation can help prevent fungal diseases.
How often should I water my vegetable garden?
Watering frequency depends on your climate, soil type, and the specific vegetables you’re growing. Aim to keep the soil consistently moist but not waterlogged. Water deeply and less frequently rather than shallowly and often. Mulching can help retain soil moisture and reduce the need for frequent watering.
What are the benefits of using organic fertilizers?
Organic fertilizers improve soil health, provide essential nutrients for plant growth, and are environmentally friendly. They release nutrients gradually, providing a sustained supply of nutrients to your plants. They also improve soil structure, water retention, and overall soil fertility. Compost, manure, and other organic materials are excellent sources of organic fertilizer.
Can I grow vegetables in containers?
Absolutely! Container gardening is a great option for those with limited space. Choose containers that are large enough to accommodate the root systems of your chosen vegetables. Ensure the containers have drainage holes to prevent waterlogging. Use a high-quality potting mix designed for containers, as it provides better drainage and aeration than garden soil.
We hope this FAQ section has answered your questions. Remember, the key to successful easy home vegetable gardening is patience, observation, and a willingness to learn and adapt. Happy gardening!
Leave a Comment