
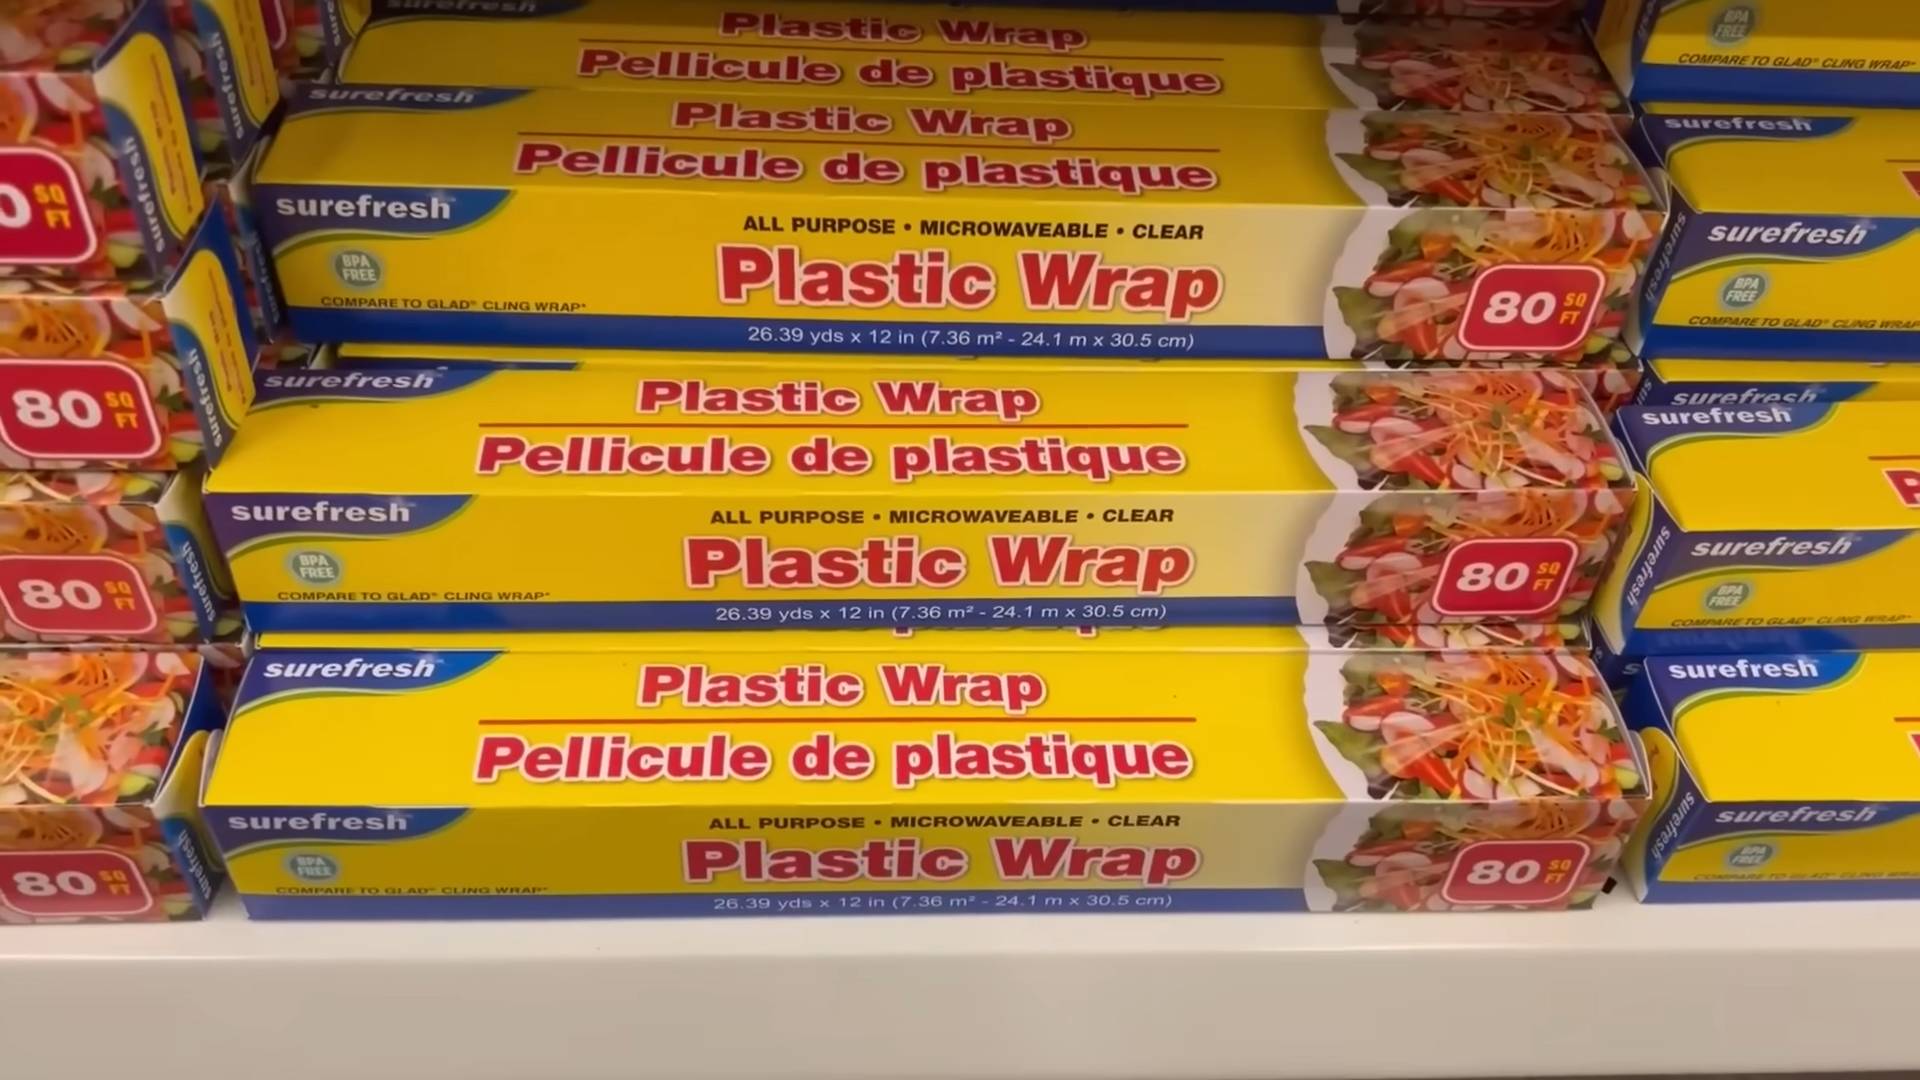
Repurpose Plastic Wrap: Clever Gardening Hacks for a Thriving Garden
Repurpose Plastic Wrap! Have you ever stared at a roll of nearly-empty plastic wrap, feeling a pang of guilt about its impending landfill fate? I know I have. But what if I told you that this often-overlooked household item could be transformed from trash to treasure, becoming a surprisingly useful tool in your home garden? This article is packed with clever and easy DIY tricks to help you repurpose plastic wrap and boost your gardening success.
The history of plastic wrap is relatively recent, but its impact on our daily lives is undeniable. While its convenience is appreciated, its environmental impact is a growing concern. Finding ways to reuse and repurpose materials like plastic wrap aligns with a growing global movement towards sustainability and reducing waste. This is where our gardening hacks come in!
Why should you care about these repurpose plastic wrap techniques? Because they offer practical solutions to common gardening challenges, saving you money and reducing your environmental footprint. From protecting delicate seedlings from harsh weather to creating makeshift mini-greenhouses, these DIY projects are surprisingly effective and incredibly easy to implement. Whether you’re a seasoned gardener or just starting out, these simple tricks will help you nurture your plants and create a thriving, eco-friendly garden. Let’s dive in and discover the amazing potential hidden within that seemingly insignificant roll of plastic wrap!
Building a Custom Bookshelf from Reclaimed Wood
I love the look of reclaimed wood, and I’ve always wanted a unique bookshelf. So, I decided to build my own! This project took a bit of time, but the result is a beautiful, sturdy bookshelf that perfectly fits my space and style. Here’s how I did it:
Phase 1: Sourcing and Preparing the Wood
- Find your wood: This is the fun part! I scoured local salvage yards, antique shops, and even Craigslist for reclaimed wood planks. Look for planks that are relatively straight and free of major cracks or rot. I aimed for a mix of widths and textures for a more rustic look.
- Clean the wood: Once you’ve got your wood, give it a good cleaning. I used a wire brush to remove loose debris and dirt. For stubborn grime, a pressure washer can be helpful, but be gentle to avoid damaging the wood.
- Assess and cut: Lay out your planks and decide on the overall dimensions of your bookshelf. Measure carefully and cut the planks to the desired lengths using a circular saw or hand saw. Safety first! Always wear safety glasses and appropriate hearing protection when using power tools.
- Sanding is key: This step is crucial for a smooth finish. Start with coarser sandpaper (around 80 grit) to remove any rough edges or splinters. Gradually move to finer grits (120, then 220) for a super smooth surface. Sanding by hand is more time-consuming, but it gives you more control. A random orbital sander can speed things up, but be careful not to over-sand.
Phase 2: Assembling the Frame
- Choose your joinery: I opted for simple butt joints reinforced with wood glue and screws for this project. More advanced joinery techniques like mortise and tenon joints would create a stronger, more elegant bookshelf, but they require more skill and tools.
- Assemble the sides: Using wood glue and clamps, join the vertical planks that will form the sides of your bookshelf. Pre-drill pilot holes to prevent the wood from splitting when you drive in the screws. Make sure the sides are perfectly square and aligned before clamping.
- Attach the top and bottom: Once the sides are secure, attach the top and bottom horizontal planks using the same method. Again, ensure everything is square and aligned. Take your time with this step – a well-aligned frame is essential for a stable bookshelf.
- Check for stability: Before moving on, carefully inspect the frame for any wobbles or instability. If necessary, make adjustments or add extra support. A sturdy frame is the foundation of a great bookshelf.
Phase 3: Adding Shelves
- Measure and cut shelves: Measure the inside width of your bookshelf frame and cut your shelf planks to the appropriate length. Remember to account for the thickness of the side planks when measuring.
- Support the shelves: To support the shelves, you can use shelf brackets, or, as I did, create simple supports by cutting smaller pieces of reclaimed wood and attaching them to the inside of the frame. This adds to the rustic charm.
- Attach the shelves: Use wood glue and screws to attach the shelves to the supports. Ensure the shelves are level and evenly spaced. I left a little space between each shelf for larger books.
- Reinforce if needed: For heavier books, consider adding extra support to the shelves, such as additional brackets or reinforcing pieces underneath.
Phase 4: Finishing Touches
- Sand any rough edges: After assembling the bookshelf, sand any remaining rough edges or imperfections. This will ensure a smooth surface for the finish.
- Apply a finish: I chose a clear matte varnish to protect the wood and enhance its natural beauty. You can also use paint, stain, or other finishes depending on your preference. Follow the manufacturer’s instructions carefully for application and drying time. Multiple thin coats are better than one thick coat.
- Let it dry completely: Allow the finish to dry completely before handling or placing books on the bookshelf. This could take several hours or even a day, depending on the type of finish you used.
- Inspect and enjoy: Once the finish is dry, inspect your masterpiece! Admire your handiwork and enjoy your beautiful, custom-built bookshelf. It’s a rewarding feeling to create something useful and beautiful with your own hands.
Tips and Considerations:
- Safety first: Always wear safety glasses and appropriate hearing protection when using power tools.
- Plan ahead: Sketch out your design and make detailed measurements before you start cutting.
- Use quality materials: Investing in good quality wood glue and screws will make a difference in the strength and durability of your bookshelf.
- Take your time: This is a project that requires patience and attention to detail. Don’t rush the process.
- Get creative: Don’t be afraid to experiment with different designs and finishes to create a bookshelf that truly reflects your personal style. You can add decorative elements, such as metal accents or unique hardware.
- Consider the weight: Think about the weight of the books you plan to store and choose appropriately strong materials and construction methods.
- Adjust to your needs: This guide is a starting point. Feel free to adjust the dimensions and design to fit your specific space and requirements. Perhaps you need a taller bookshelf, or one with more or fewer shelves. The possibilities are endless!
Conclusion
So there you have it! Repurposing plastic wrap isn’t just about reducing waste; it’s about unlocking a surprising array of practical uses around your home. From protecting delicate items during storage to creating makeshift waterproof coverings, the possibilities are truly endless. This simple DIY trick offers a fantastic way to minimize your environmental impact while simultaneously saving money and adding a touch of ingenuity to your daily life. This clever method of repurposing plastic wrap is a must-try for anyone looking to live a more sustainable and resourceful life. The satisfaction of transforming something destined for the landfill into something useful is incredibly rewarding. You’ll be amazed at how often you find yourself reaching for your repurposed plastic wrap instead of buying new materials.
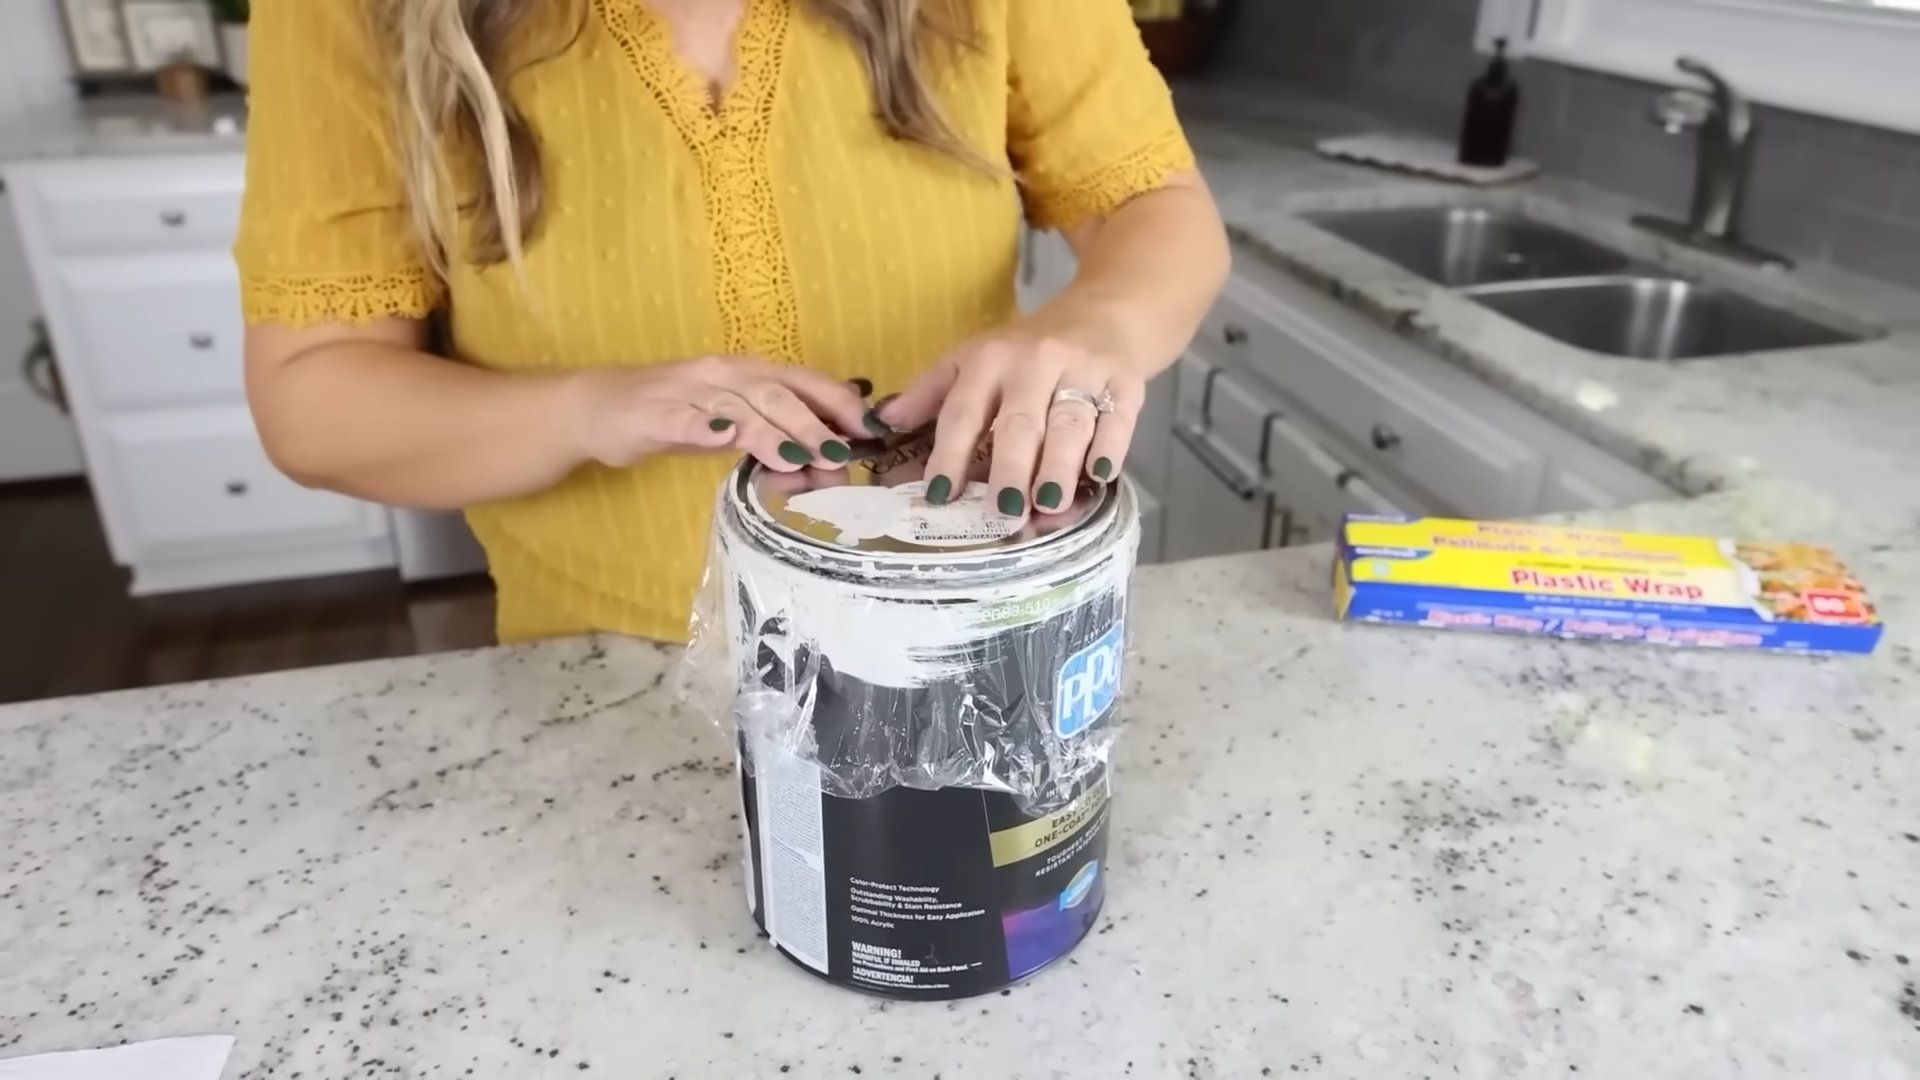
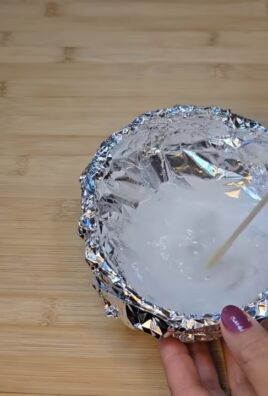
Beyond the uses already explored, there are many other creative avenues to explore. Consider using clear plastic wrap to create custom stencils for painting projects, or to protect your work surfaces during messy crafts. For those with a green thumb, you can use it to cover seedlings or protect vulnerable plants from harsh weather conditions. Experiment with different types of plastic wrap – some are thicker and more durable than others, making them suitable for different tasks. You might even discover entirely new applications based on your own unique needs and creativity. Don’t be afraid to get experimental! The beauty of this DIY trick lies in its adaptability.
We strongly encourage you to try this simple yet effective method of Repurposing Plastic Wrap and share your experiences with us. Let us know what innovative uses you discover, and perhaps even inspire others with your own creative solutions. Join the growing community of resourceful individuals who are making a difference, one repurposed piece of plastic wrap at a time. Share your successes (and even your failures – learning from mistakes is part of the process!) on social media using #RepurposePlasticWrap and tag us! Let’s build a collective resource of ideas and inspire each other to live more sustainably. Remember, every small step counts, and repurposing plastic wrap is a significant step towards a cleaner, greener future.
Frequently Asked Questions
What types of plastic wrap are best for repurposing?
While most types of plastic wrap can be repurposed, thicker, more durable wraps are generally better suited for tasks requiring greater strength and protection. Avoid using very thin or easily-torn wraps for projects that demand more resilience. Pay attention to the type of plastic used (often indicated on the packaging) to ensure it’s suitable for your intended use. For example, cling film might be better for smaller, less demanding tasks, while heavier-duty plastic wrap is ideal for larger projects or those requiring more protection.
Can I repurpose all types of plastic wrap?
While many types of plastic wrap can be repurposed, it’s important to consider the material and its properties. Avoid using plastic wrap that has been contaminated with food or chemicals, as this could pose a health risk. Also, be mindful of the thickness and durability of the wrap; thinner wraps may tear easily and be unsuitable for certain tasks. Always prioritize safety and choose appropriate wrap for each specific application.
Is repurposing plastic wrap truly environmentally friendly?
Repurposing plastic wrap is a step towards reducing waste and minimizing your environmental impact. While it doesn’t eliminate the use of plastic entirely, it significantly reduces the amount of plastic going to landfills. By extending the lifespan of the plastic wrap, you’re contributing to a more sustainable approach to consumption and waste management. However, it’s crucial to remember that responsible disposal of the plastic wrap is still essential once it’s reached the end of its repurposed life.
How long can I keep repurposed plastic wrap?
The lifespan of repurposed plastic wrap depends on the type of plastic, its storage conditions, and the tasks it’s used for. Generally, it’s best to use repurposed wrap within a reasonable timeframe to avoid potential degradation or contamination. Store it in a cool, dry place away from direct sunlight and heat. If the wrap shows signs of damage, discoloration, or stickiness, it’s best to discard it responsibly.
What should I do with the plastic wrap once I’m finished repurposing it?
Once your repurposed plastic wrap has reached the end of its useful life, it’s crucial to dispose of it responsibly. Check with your local waste management authority for guidelines on recycling or proper disposal of plastic film. Some communities have specific recycling programs for plastic wrap, while others may require it to be disposed of in the trash. Always follow local regulations to ensure environmentally responsible disposal.
Are there any health concerns associated with repurposing plastic wrap?
While repurposing plastic wrap is generally safe, it’s essential to avoid using wrap that has been contaminated with food or chemicals. Always wash and thoroughly dry the wrap before repurposing it for non-food applications. If you have any concerns about the safety of using repurposed plastic wrap, it’s best to err on the side of caution and discard it responsibly. Prioritize your health and safety when working with any type of plastic.
Leave a Comment