
Grow Eggplant Successfully: Your Guide to a Bountiful Harvest
Growing eggplant successfully can seem daunting, but I’m here to tell you it’s easier than you think! This article is packed with simple, effective home gardening tricks and DIY solutions to help you cultivate a thriving eggplant patch, bursting with plump, delicious fruits. Forget struggling with wilting plants and disappointing yields – I’ll share my secrets to achieving a truly bountiful harvest.
For centuries, eggplants have held a significant place in culinary traditions across the globe, from the vibrant dishes of India to the classic Italian ratatouille. Their rich history is a testament to their versatility and deliciousness, and now, you can experience the joy of growing your own. But let’s be honest, even experienced gardeners sometimes face challenges with eggplants. Their specific needs, from sunlight to soil conditions, can be tricky to master.
That’s why I’ve compiled these Grow Eggplant Successfully tips and tricks. Whether you’re a seasoned gardener or just starting out, you’ll find practical advice and easy-to-follow DIY solutions to overcome common eggplant growing hurdles. You’ll learn how to prepare the perfect soil, protect your plants from pests, and optimize your harvest for maximum yield. Imagine the satisfaction of biting into a juicy, homegrown eggplant, knowing you nurtured it from seed to plate – that’s the reward waiting for you!
This article isn’t just about growing eggplants; it’s about connecting with nature, enjoying the process, and savoring the fruits (literally!) of your labor. So, let’s dive in and unlock the secrets to growing eggplant successfully in your own backyard!
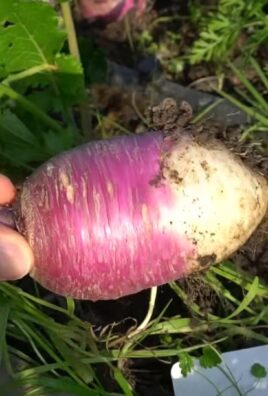
Growing Your Own Purple Cabbage: A Complete DIY Guide
I love the vibrant color and slightly sweet flavor of purple cabbage. It’s so rewarding to grow your own, and it’s surprisingly easy! Here’s my step-by-step guide to help you achieve a bountiful harvest.
Phase 1: Planning and Preparation
- Choose the right time: Purple cabbage is a cool-season crop, thriving in temperatures between 60-75°F (15-24°C). Start seeds indoors 6-8 weeks before the last expected frost in your area, or sow directly outdoors after the danger of frost has passed. I usually aim for early spring or late summer planting.
- Select a sunny spot: Purple cabbage needs at least 6-8 hours of direct sunlight per day. Find a location in your garden that receives ample sunshine.
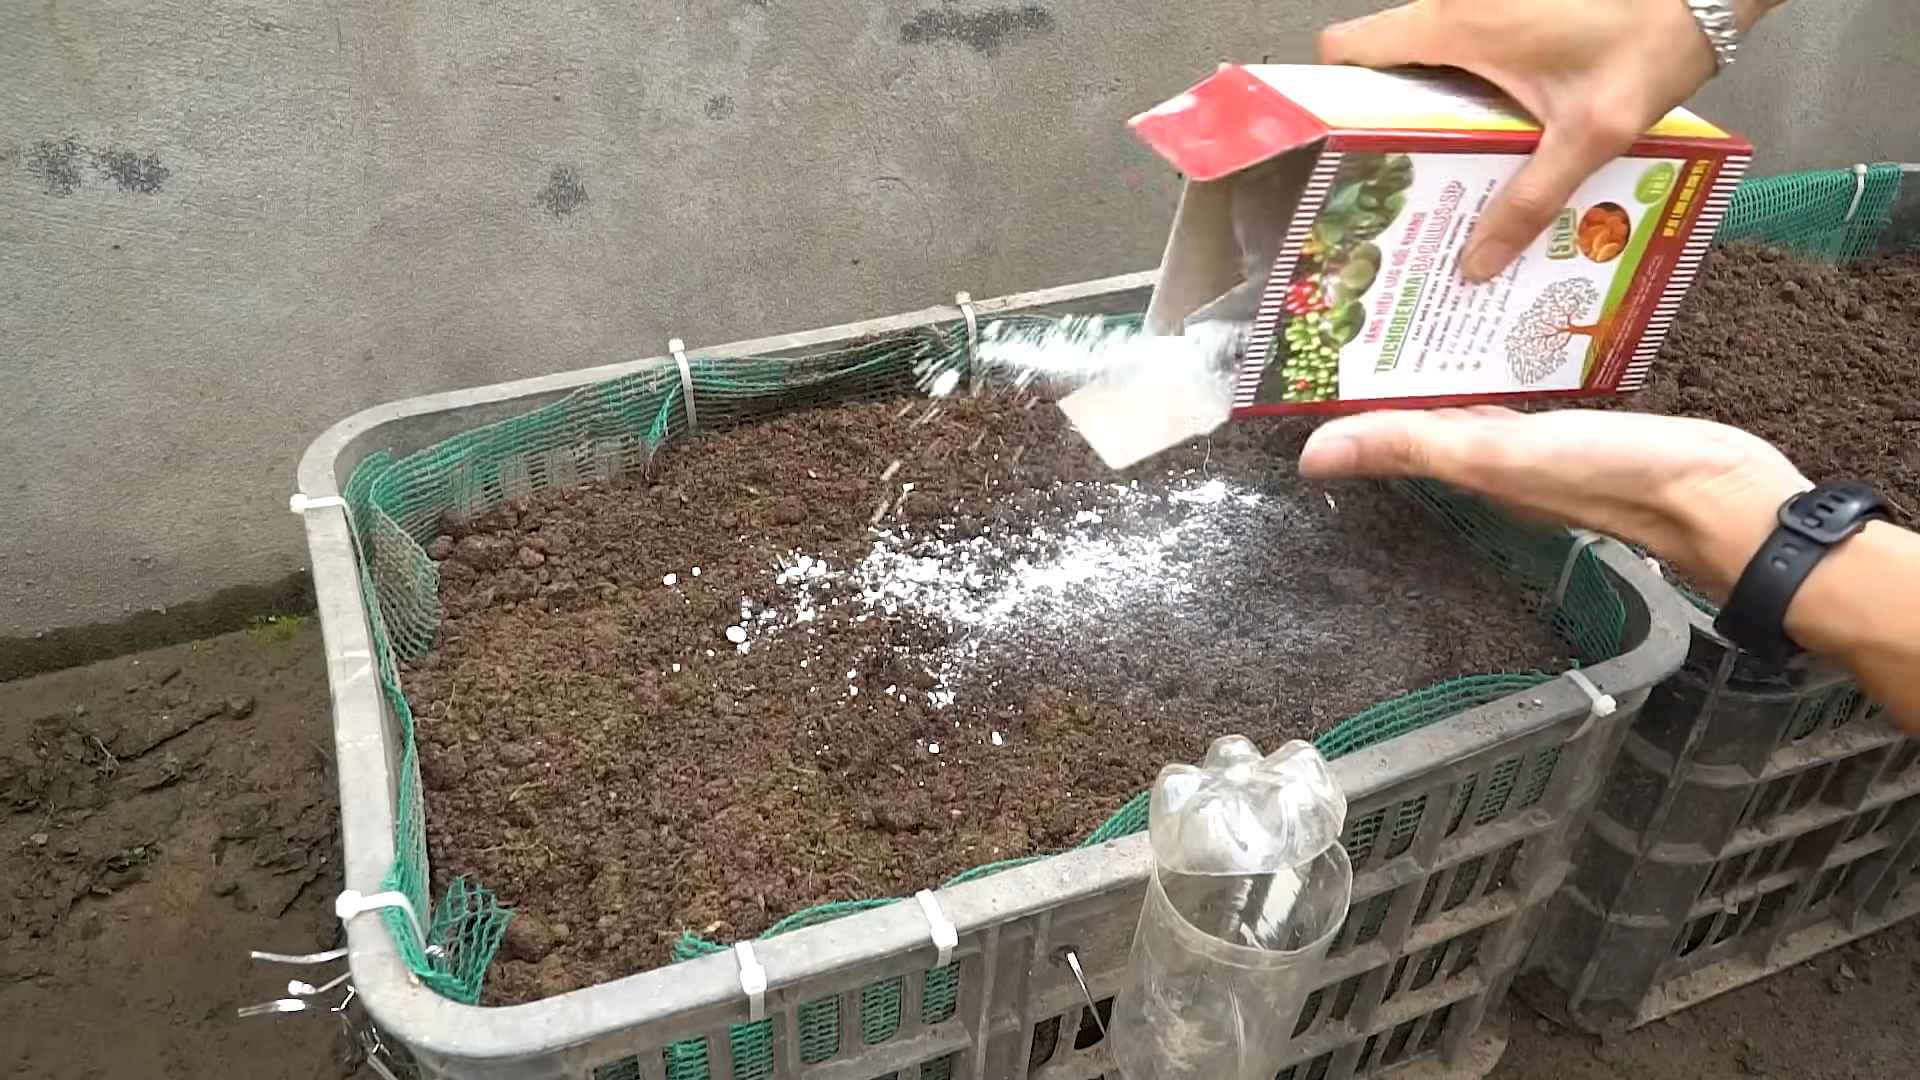
- Prepare the soil: Purple cabbage prefers well-drained, fertile soil with a slightly acidic pH (6.0-6.8). Amend heavy clay soil with compost or other organic matter to improve drainage and aeration. For sandy soil, add peat moss or other organic material to increase water retention. I usually test my soil’s pH using a home testing kit and adjust accordingly.
- Gather your supplies: You’ll need seeds (or seedlings), seed starting mix (if starting indoors), garden trowel, watering can, garden gloves, and possibly fertilizer (more on this later).
Phase 2: Starting Seeds (Indoor Method)
- Fill seed starting trays: Fill your seed starting trays or small pots with a seed starting mix. Don’t pack it down too tightly; you want it to be loose and airy.
- Sow the seeds: Sow the seeds about ¼ inch deep and 1-2 inches apart. Gently cover with soil.
- Water gently: Water the seeds thoroughly but gently, avoiding washing them away. Use a watering can with a fine rose.
- Provide warmth and light: Place the trays in a warm location (around 70°F or 21°C) with plenty of indirect sunlight. You may need to supplement with grow lights, especially during shorter days.
- Keep the soil moist: Keep the soil consistently moist but not soggy. Allow the top inch of soil to dry slightly between waterings.
- Thin seedlings: Once the seedlings have developed their first true leaves (the leaves that appear after the cotyledons), thin them out to one seedling per cell or pot, leaving the strongest ones. You can transplant the extras to another tray.
- Harden off seedlings: Before transplanting outdoors, gradually acclimate the seedlings to outdoor conditions. This process, called hardening off, involves gradually exposing them to more sunlight and wind over a period of 7-10 days.
Phase 3: Transplanting and Growing
- Prepare the planting holes: Once the danger of frost has passed and the soil has warmed up, prepare planting holes that are twice as wide as the root ball of your seedlings. Space the holes 18-24 inches apart.
- Transplant the seedlings: Carefully remove the seedlings from their containers, being careful not to damage the roots. Plant them in the prepared holes, ensuring the top of the root ball is level with the soil surface. Gently firm the soil around the base of each plant.
- Water thoroughly: Water the newly transplanted seedlings deeply to help them settle in.
- Choose the right time: Purple cabbage is a cool-season crop, thriving in temperatures between 60-75°F (15-24°C). Start seeds indoors 6-8 weeks before the last expected frost in your area, or sow directly outdoors after the danger of frost has passed. I usually aim for early spring or late summer planting.
- Select a sunny spot: Purple cabbage needs at least 6-8 hours of direct sunlight per day. Find a location in your garden that receives ample sunshine.
- Prepare the soil: Purple cabbage prefers well-drained, fertile soil with a slightly acidic pH (6.0-6.8). Amend heavy clay soil with compost or other organic matter to improve drainage and aeration. For sandy soil, add peat moss or other organic material to increase water retention. I usually test my soil’s pH using a home testing kit and adjust accordingly.
- Gather your supplies: You’ll need seeds (or seedlings), seed starting mix (if starting indoors), garden trowel, watering can, garden gloves, and possibly fertilizer (more on this later).
- Fill seed starting trays: Fill your seed starting trays or small pots with a seed starting mix. Don’t pack it down too tightly; you want it to be loose and airy.
- Sow the seeds: Sow the seeds about ¼ inch deep and 1-2 inches apart. Gently cover with soil.
- Water gently: Water the seeds thoroughly but gently, avoiding washing them away. Use a watering can with a fine rose.
- Provide warmth and light: Place the trays in a warm location (around 70°F or 21°C) with plenty of indirect sunlight. You may need to supplement with grow lights, especially during shorter days.
- Keep the soil moist: Keep the soil consistently moist but not soggy. Allow the top inch of soil to dry slightly between waterings.
- Thin seedlings: Once the seedlings have developed their first true leaves (the leaves that appear after the cotyledons), thin them out to one seedling per cell or pot, leaving the strongest ones. You can transplant the extras to another tray.
- Harden off seedlings: Before transplanting outdoors, gradually acclimate the seedlings to outdoor conditions. This process, called hardening off, involves gradually exposing them to more sunlight and wind over a period of 7-10 days.
- Prepare the planting holes: Once the danger of frost has passed and the soil has warmed up, prepare planting holes that are twice as wide as the root ball of your seedlings. Space the holes 18-24 inches apart.
- Transplant the seedlings: Carefully remove the seedlings from their containers, being careful not to damage the roots. Plant them in the prepared holes, ensuring the top of the root ball is level with the soil surface. Gently firm the soil around the base of each plant.
- Water thoroughly: Water the newly transplanted seedlings deeply to help them settle in.
- Mulch the soil: Apply a layer of mulch (such as straw or shredded leaves) around the plants to help retain moisture, suppress weeds, and regulate soil temperature.
- Fertilize (optional): While not strictly necessary, you can fertilize your purple cabbage plants with a balanced fertilizer (like a 10-10-10) about 3-4 weeks after transplanting. Follow the instructions on the fertilizer package carefully.
- Water regularly: Keep the soil consistently moist, especially during dry periods. Aim for about 1 inch of water per week, either from rainfall or supplemental watering.
- Weed regularly: Remove weeds promptly to prevent competition for nutrients and water.
- Pest and disease control: Monitor your plants regularly for pests (like aphids or cabbage worms) and diseases. Take appropriate action if necessary, using organic pest control methods whenever possible. I often use a mixture of neem oil and water for pest control.
- Harvest at maturity: Purple cabbage is typically ready for harvest 70-80 days after transplanting. The heads should be firm and dense.
- Harvesting technique: Use a sharp knife to cut the cabbage head from the stem, leaving a small portion of the stem attached.
- Storage: Store harvested cabbage in a cool, dark, and well-ventilated area. It can last for several weeks if stored properly. For longer storage, you can freeze or can the cabbage.
- Yellowing leaves: This could indicate nutrient deficiencies, overwatering, or pest infestation. Check your soil’s nutrient levels and adjust accordingly. Address any pest problems promptly.
- Splitting heads: This often occurs due to inconsistent watering. Aim for consistent moisture levels throughout the growing season.
- Pest infestations: Regularly inspect your plants for pests. Use organic pest control methods to address any infestations.
- Disease problems: Ensure good air circulation around your plants to prevent fungal diseases. Remove any affected leaves promptly.
I love the vibrant color and slightly sweet flavor of purple cabbage. It’s so rewarding to grow your own, and it’s surprisingly easy! Here’s my step-by-step guide to help you achieve a bountiful harvest.
Phase 1: Planning and Preparation
Phase 2: Starting Seeds (Indoor Method)
Phase 3: Transplanting and Growing
Phase 4: Harvesting
Phase 5: Troubleshooting
Common Problems and Solutions:
Remember: Patience and observation are key to successful purple cabbage growing. Enjoy the process and the delicious rewards of your homegrown harvest!
Conclusion
So there you have it! A comprehensive guide to growing your own eggplants successfully, proving that this seemingly challenging vegetable is surprisingly achievable with a little know-how and the right techniques. This DIY approach to eggplant cultivation offers a rewarding experience, far surpassing the satisfaction of simply buying them from the store. You’ll not only enjoy the freshest, most flavorful eggplants imaginable, bursting with vibrant color and rich taste, but you’ll also gain a deep appreciation for the process of nurturing life from seed to harvest. This DIY method is a must-try for anyone, from seasoned gardeners to complete beginners, because it simplifies the process, making it accessible and enjoyable for all skill levels. The sense of accomplishment in harvesting your own homegrown eggplants is unparalleled.
Beyond the basic method outlined, there are countless opportunities for experimentation and personalization. Consider experimenting with different eggplant varieties – from the classic globe eggplant to the long, slender Asian eggplants. Each variety offers unique flavor profiles and culinary applications. You can also explore companion planting, incorporating herbs like basil or marigolds to deter pests and improve soil health. Furthermore, consider adjusting the growing environment based on your specific climate and available space. If you have limited outdoor space, container gardening is a fantastic option, allowing you to grow eggplants even on a balcony or patio. Remember to always monitor your plants closely, adjusting watering and fertilization as needed to ensure optimal growth. The key is to observe your plants and adapt your techniques accordingly.
Don’t be afraid to get creative! Try different soil mixes, explore various fertilization methods, and experiment with different trellising techniques to support the growth of your plants. The beauty of this DIY approach is its flexibility; you can tailor the process to suit your individual needs and preferences. The more you learn and experiment, the more successful your eggplant harvests will become. This journey of growing your own eggplants is a continuous learning process, and each season brings new opportunities for growth and discovery. Embrace the challenges, celebrate the successes, and most importantly, enjoy the delicious rewards of your labor.
We strongly encourage you to try this DIY method for growing eggplants and share your experiences with us! Whether you’re a seasoned gardener or a complete novice, we’d love to hear about your successes, challenges, and any unique tips you’ve discovered along the way. Share your photos and stories on social media using #GrowEggplantSuccessfully – let’s build a community of eggplant enthusiasts and inspire others to embark on this rewarding journey. Your feedback will help us improve this guide and assist other aspiring eggplant growers. Let’s cultivate a thriving community of home gardeners, sharing knowledge and celebrating the joy of growing our own food.
Frequently Asked Questions
Q: What type of soil is best for growing eggplants?
Eggplants thrive in well-drained, fertile soil with a slightly acidic pH level (between 6.0 and 6.8). A good soil mix would include compost or other organic matter to improve drainage and nutrient content. You can also amend your existing soil with compost or peat moss to achieve the desired texture and pH.
Q: How much sunlight do eggplants need?
Eggplants are sun-worshippers! They require at least six to eight hours of direct sunlight per day to produce a bountiful harvest. Choose a location in your garden that receives ample sunlight throughout the day. If you’re growing eggplants in containers, ensure they are placed in a sunny spot.
Q: How often should I water my eggplants?
Consistent watering is crucial for healthy eggplant growth. Water deeply and regularly, especially during hot and dry periods. Aim to keep the soil consistently moist but not waterlogged. Overwatering can lead to root rot, while underwatering can result in stunted growth and reduced yields. Monitor the soil moisture regularly and adjust your watering schedule accordingly.
Q: When is the best time to plant eggplant seeds or seedlings?
The best time to plant eggplant seeds or seedlings depends on your climate. In warmer climates, you can direct sow seeds outdoors after the last frost. In cooler climates, it’s best to start seeds indoors six to eight weeks before the last expected frost and transplant seedlings outdoors once the weather warms up. Always check your local frost dates for the most accurate planting timeline.
Q: What are some common eggplant pests and diseases, and how can I prevent them?
Eggplants can be susceptible to pests like aphids, flea beetles, and spider mites, as well as diseases like blossom-end rot and verticillium wilt. Regularly inspect your plants for signs of pests or diseases. Implementing preventative measures such as companion planting, crop rotation, and maintaining good soil health can significantly reduce the risk of pest and disease problems. If pests or diseases do occur, address them promptly using appropriate organic or chemical controls.
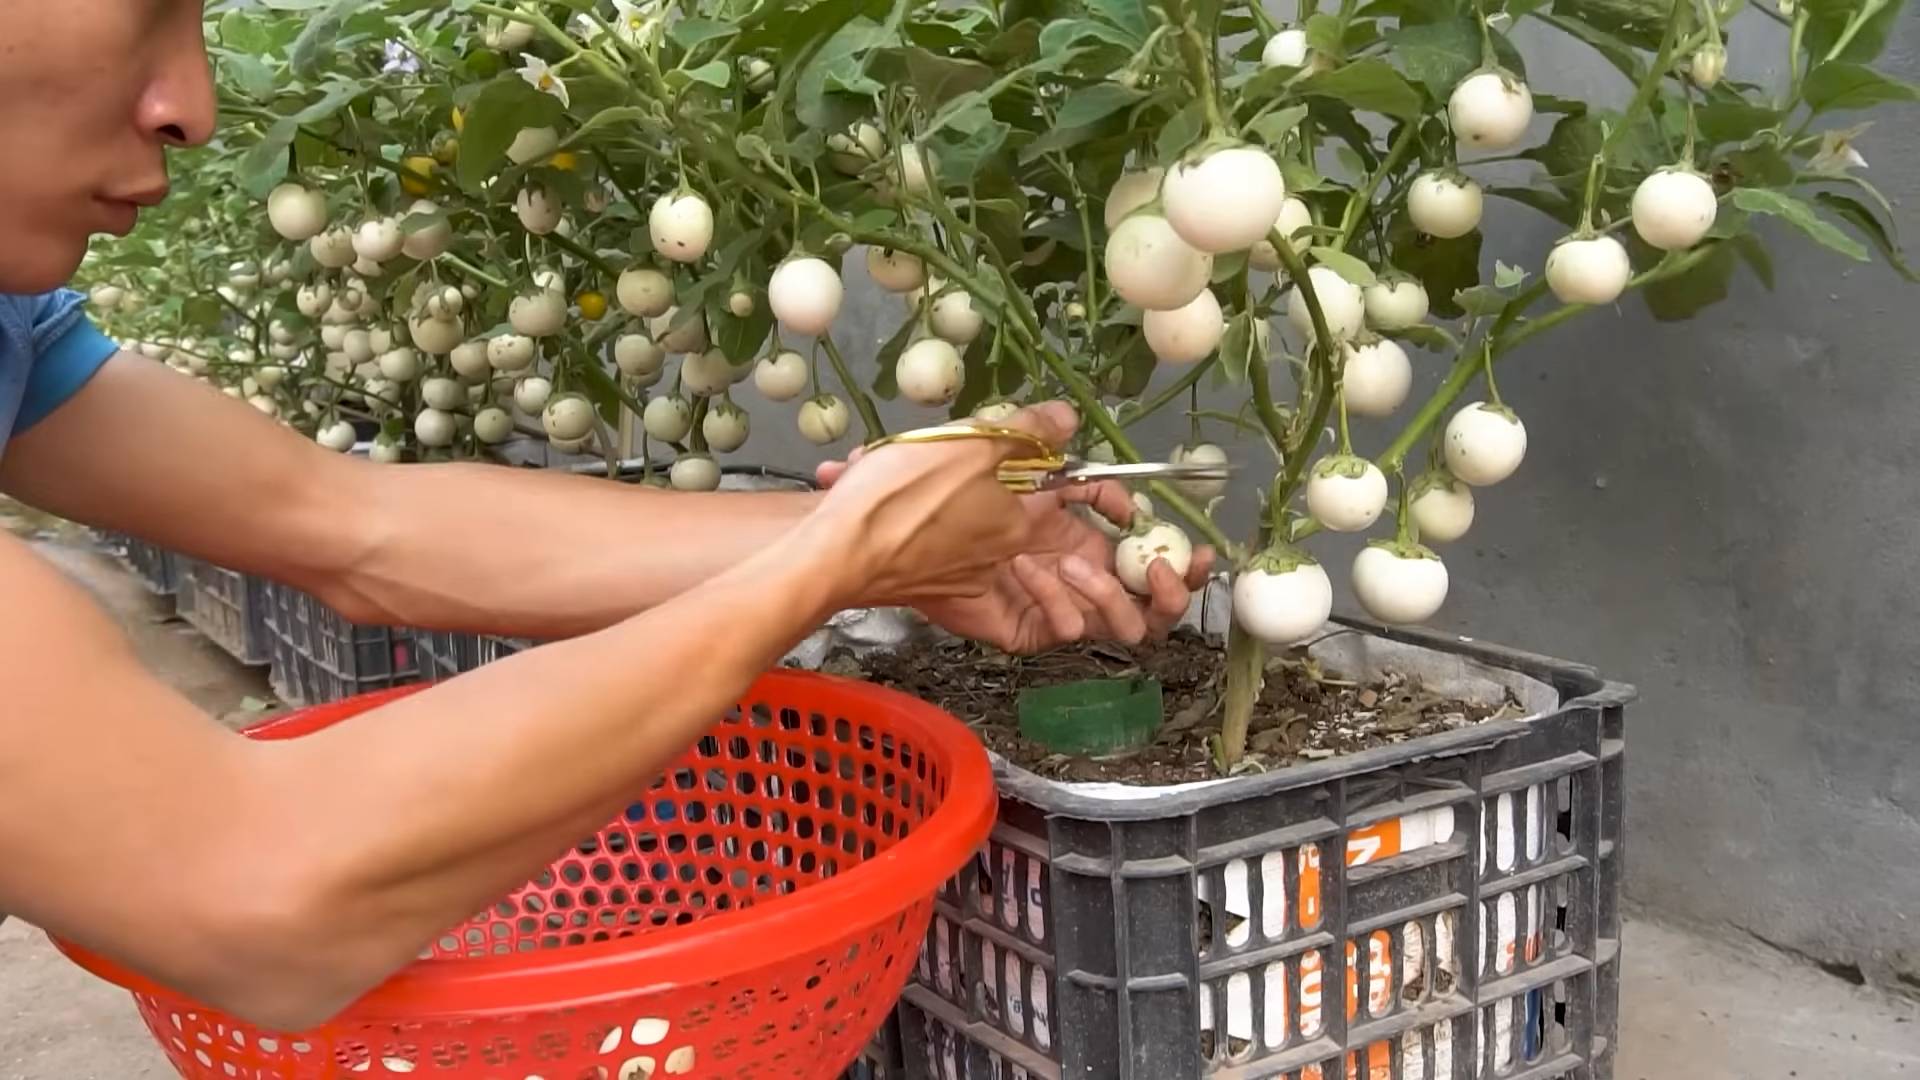
Q: How do I know when my eggplants are ready to harvest?
Eggplants are ready for harvest when they are firm, glossy, and have reached their mature size and color for the specific variety. The skin should be smooth and shiny, and the eggplant should feel heavy for its size. Harvest eggplants regularly to encourage continued production. Use a sharp knife or pruning shears to harvest the eggplants, leaving a short stem attached.
Q: Can I grow eggplants in containers?
Absolutely! Container gardening is a great option for growing eggplants, especially if you have limited space. Choose large containers (at least 15 gallons) with adequate drainage holes. Use a well-draining potting mix and ensure the containers receive at least six to eight hours of direct sunlight per day. Regular watering and fertilization are essential for successful container gardening.
Leave a Comment