
Purple Cabbage Growing Guide: Your Path to Vibrant Homegrown Vegetables
Have you ever dreamt of biting into a crisp, vibrantly purple cabbage, knowing you nurtured it from a tiny seed in your own backyard? That dream is closer than you think! This Purple Cabbage Growing Guide is your ultimate resource for cultivating these stunning and nutritious vegetables, transforming your garden into a colorful paradise. I’ve always loved the deep, jewel-toned hues of purple cabbage, and the satisfying crunch is simply unbeatable. But beyond the aesthetic appeal, growing your own purple cabbage offers a rewarding connection to nature and ensures you’re enjoying the freshest, most flavorful produce possible.
Historically, cabbages have held a significant place in various cultures, appearing in ancient writings and culinary traditions across the globe. From hearty stews to vibrant salads, their versatility is undeniable. But let’s be honest, store-bought cabbages often lack the vibrant color and intense flavor of homegrown varieties. That’s where this Purple Cabbage Growing Guide comes in!
Why Grow Your Own Purple Cabbage?
There are so many reasons to embark on this rewarding gardening journey. Beyond the delicious taste and stunning color, growing your own purple cabbage allows you to control the growing process, ensuring pesticide-free, organically grown vegetables for your family. You’ll also save money in the long run, and the satisfaction of harvesting your own produce is truly unparalleled. This guide will walk you through every step, from seed selection to harvesting, providing you with the knowledge and confidence to cultivate a bountiful purple cabbage harvest.
So, let’s get started on your journey to growing the most beautiful, and delicious, purple cabbages you’ve ever seen! This Purple Cabbage Growing Guide is your key to success.
DIY Space-Saving Paint Brush Holder
I absolutely hate clutter, especially in my craft room. Paint brushes, with their varying sizes and lengths, are notorious space hogs. So, I decided to tackle this problem head-on and create a super space-saving paint brush holder. This project is easy, cheap, and incredibly satisfying!
Gathering Your Supplies
- An empty, clean tin can (soup cans, coffee cans, etc. work great – the taller the better!)
- Scissors or a craft knife
- Strong adhesive glue (hot glue gun recommended for a faster, stronger bond)
- Foam core board or thick cardboard (at least 1/4 inch thick)
- Ruler
- Pencil
- Sandpaper (optional, for smoothing edges)
- Acrylic paint and brushes (optional, for decorating)
- Sealer (optional, to protect the paint and make it washable)
Preparing the Can
- Thoroughly clean and dry your chosen tin can. Remove any labels completely, ensuring no sticky residue remains. A little warm soapy water and a scrub brush usually does the trick. For stubborn labels, try soaking the can in warm water for a while.
- If you’re planning on painting the can, now is the time to do it. Apply a couple of coats, allowing each to dry completely before applying the next. This will give you a nice, even finish. If you want a more rustic look, you can skip this step.
- Once the paint is dry (if you painted it), apply a sealer if desired. This will protect your paint job and make it easier to clean.
Creating the Brush Holders
- Measure the circumference of your can. This will determine the length of your foam core strips.
- Using your ruler and pencil, mark out several strips on your foam core board. The width of each strip will determine the size of your brush holders. I recommend strips about 1-1.5 inches wide for most brushes. Make several strips, varying the width slightly if you have brushes of different sizes.
- Carefully cut out the strips using your scissors or craft knife. If you’re using a craft knife, be sure to use a cutting mat to protect your work surface.
- Important: Before gluing, test fit each strip around the can to ensure it fits snugly. You might need to adjust the width slightly. It’s better to make small adjustments now than to have to redo it later.
- Once you’re happy with the fit, apply a generous amount of glue to the back of each strip. Hot glue works best for this, as it provides a strong and quick bond. If you’re using another type of glue, follow the manufacturer’s instructions.
- Carefully press each strip onto the inside of the can, ensuring it adheres firmly. Make sure the strips are evenly spaced around the can. You can use small clamps or weights to hold the strips in place while the glue dries.
- Allow the glue to dry completely. This is crucial for a sturdy and long-lasting brush holder.
- Once the glue is dry, gently sand down any rough edges on the foam core strips for a smoother finish. This step is optional, but it makes the holder more pleasant to handle.
Adding Finishing Touches (Optional)
- If you want to add a decorative touch, you can paint the foam core strips. Use acrylic paints and let them dry completely before using the holder.
- You can also add a decorative ribbon or some other embellishment to the outside of the can to personalize it further.
- Consider adding a small non-slip mat to the bottom of the can to prevent it from sliding around on your work surface.
Using Your New Paint Brush Holder
- Once everything is dry and secure, carefully insert your paint brushes into the slots you’ve created. The foam core should hold them securely in place.
- Enjoy your new, organized, and space-saving paint brush holder! It’s a great way to keep your brushes protected and easily accessible.
Troubleshooting
- Glue not sticking: Make sure your can and foam core are clean and dry. Use a strong adhesive glue, and apply a generous amount. Hot glue is highly recommended.
- Foam core too flimsy: Use thicker foam core board or cardboard for better support. You can even layer thinner pieces for added strength.
- Strips not fitting properly: Carefully measure and adjust the width of your strips as needed. Test fit each strip before gluing.
This DIY project is a fantastic way to organize your craft supplies and reclaim valuable space in your workspace. I hope you enjoy making your own space-saving paint brush holder as much as I did!
Conclusion
So there you have it – your comprehensive guide to growing vibrant purple cabbage! This DIY approach, focusing on understanding your soil, selecting the right seeds, and providing consistent care, guarantees a bountiful harvest of beautiful, flavorful purple cabbage. This isn’t just about growing vegetables; it’s about connecting with nature and experiencing the immense satisfaction of nurturing life from seed to plate. The effort invested in this process is far outweighed by the reward of enjoying homegrown, pesticide-free purple cabbage in your favorite recipes. From hearty stews to vibrant salads, the possibilities are endless. The intense color alone makes it a stunning addition to any dish, and the unique flavor profile adds a delightful complexity. This purple cabbage growing guide empowers you to take control of your food source, ensuring quality and freshness unmatched by store-bought produce. It’s a truly rewarding experience for gardeners of all levels, from seasoned veterans to enthusiastic beginners.
Beyond the basic techniques outlined, feel free to experiment! Consider companion planting with herbs like rosemary or thyme to deter pests and enhance the flavor of your cabbage. You can also try different varieties of purple cabbage, each with its own subtle nuances in color and taste. Some varieties are more compact, ideal for smaller gardens, while others boast larger heads perfect for pickling or storing. Exploring these variations will add another layer of enjoyment to your gardening journey. Don’t be afraid to try different soil amendments, such as compost or aged manure, to enrich your soil and promote healthy growth. Remember, consistent observation and adaptation are key to successful gardening. Pay attention to your plants, and adjust your watering and fertilization schedules as needed.
We strongly encourage you to embark on this rewarding journey of growing your own purple cabbage. Share your experiences with us! Post pictures of your thriving plants and delicious dishes on social media using #PurpleCabbageDIY. We’d love to see your success stories and learn from your experiences. Let’s create a vibrant community of purple cabbage enthusiasts, sharing tips, tricks, and recipes along the way. Remember, the beauty of this DIY approach lies not only in the delicious harvest but also in the journey itself. The satisfaction of nurturing a plant from seed to a mature head of purple cabbage is an unparalleled experience. So, grab your seeds, prepare your soil, and get ready to experience the joy of homegrown purple cabbage! It’s a journey you won’t regret. This simple yet effective DIY method will transform your gardening experience and your meals.
Frequently Asked Questions
What type of soil is best for growing purple cabbage?
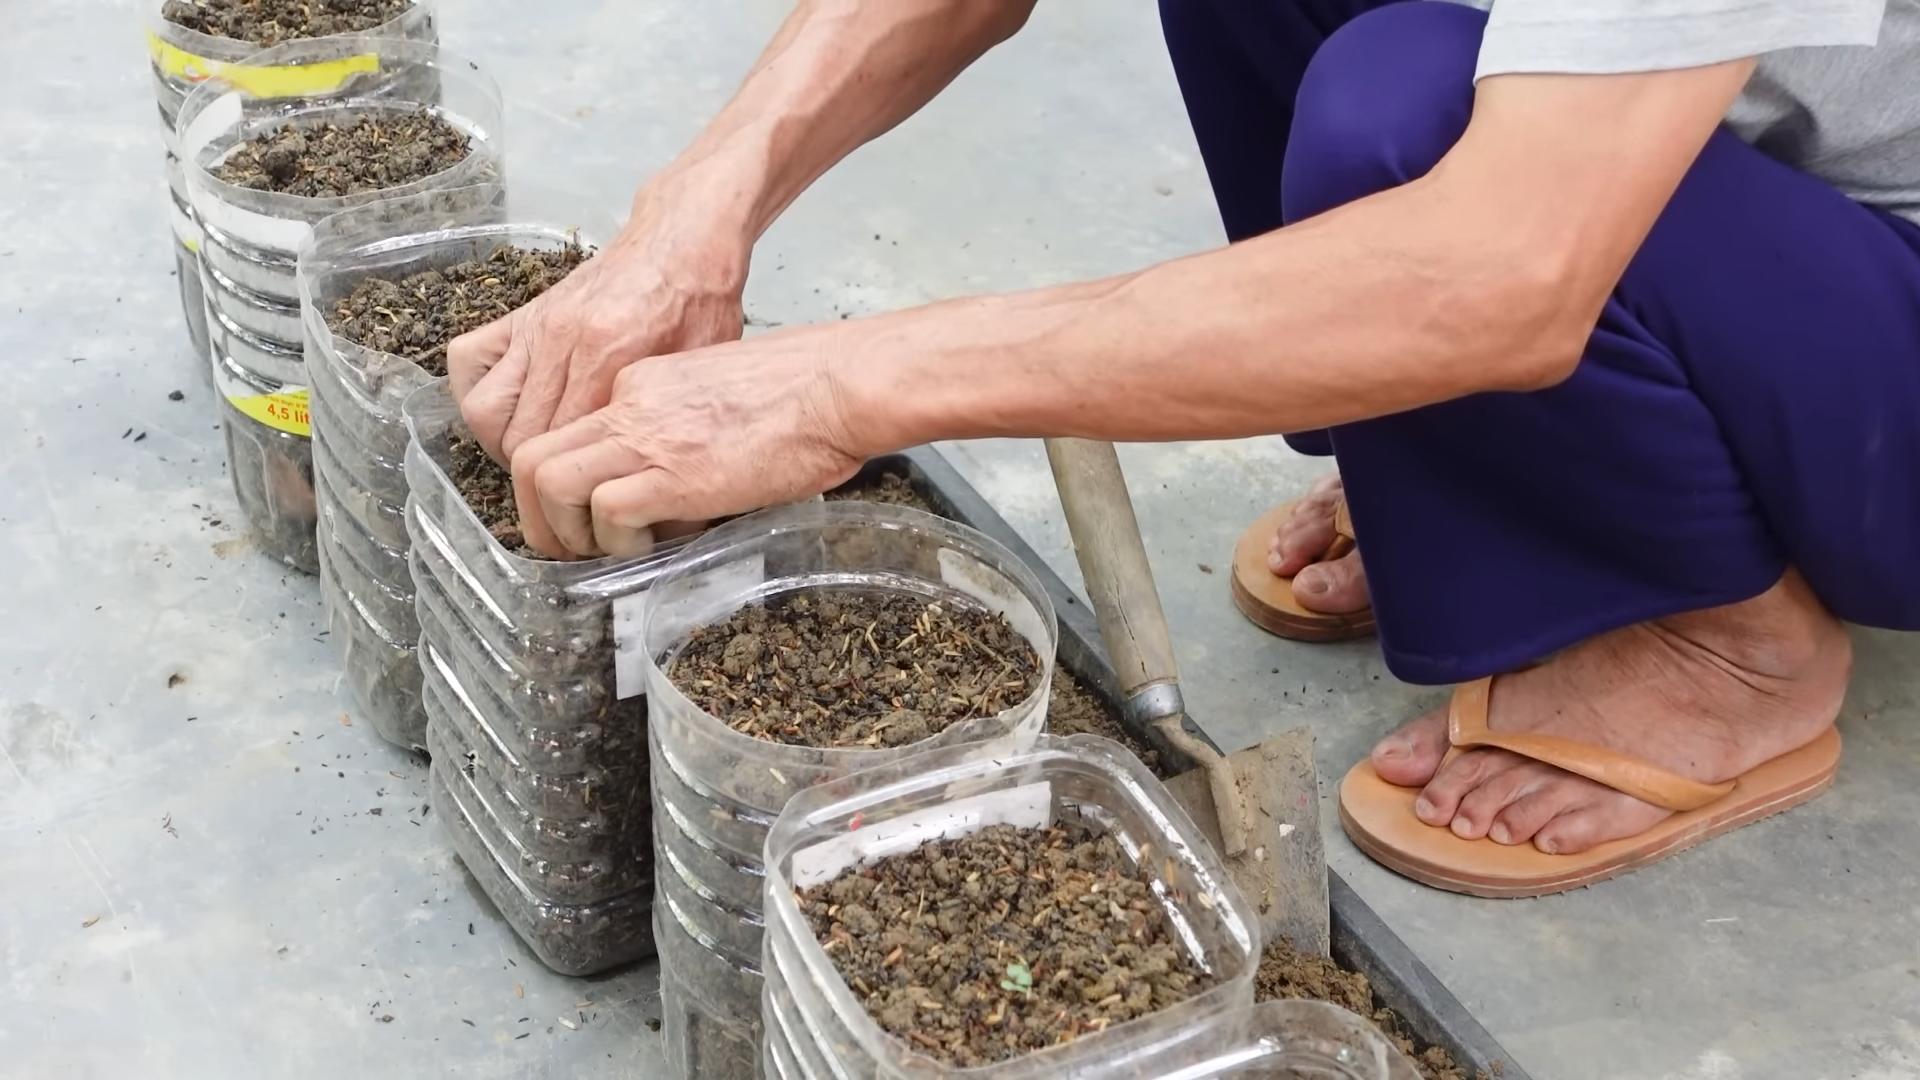
Purple cabbage thrives in well-drained, fertile soil with a slightly acidic pH level (between 6.0 and 6.8). Amend heavy clay soils with organic matter like compost to improve drainage and aeration. Sandy soils may benefit from the addition of peat moss or other organic materials to retain moisture.
When is the best time to plant purple cabbage seeds?
The optimal time to sow purple cabbage seeds directly outdoors depends on your climate. In cooler regions, start seeds indoors 6-8 weeks before the last expected frost. For warmer climates, direct sowing can be done in early spring or fall, depending on the specific variety and your local growing season. Always check the seed packet for specific instructions.
How often should I water my purple cabbage plants?
Consistent watering is crucial for healthy purple cabbage growth. Aim to keep the soil consistently moist but not waterlogged. Water deeply and less frequently rather than shallowly and often. The frequency of watering will depend on your climate, soil type, and weather conditions. During hot, dry periods, you may need to water more frequently. Observe the soil moisture level regularly and adjust your watering schedule accordingly.
What are some common pests and diseases that affect purple cabbage?
Cabbage worms, aphids, and slugs are common pests that can damage purple cabbage plants. Regularly inspect your plants for signs of infestation. Consider using organic pest control methods such as handpicking pests, introducing beneficial insects like ladybugs, or using insecticidal soap. Fungal diseases like black rot and downy mildew can also affect cabbage. Ensure good air circulation around plants by spacing them appropriately and avoiding overhead watering.
How do I harvest my purple cabbage?
Purple cabbage is typically ready for harvest 70-80 days after transplanting seedlings or 90-100 days after direct sowing, depending on the variety. The heads should be firm and dense. Harvest by cutting the head at the base with a sharp knife. Avoid damaging the outer leaves during harvesting. Store harvested cabbage in a cool, dry place for optimal freshness.
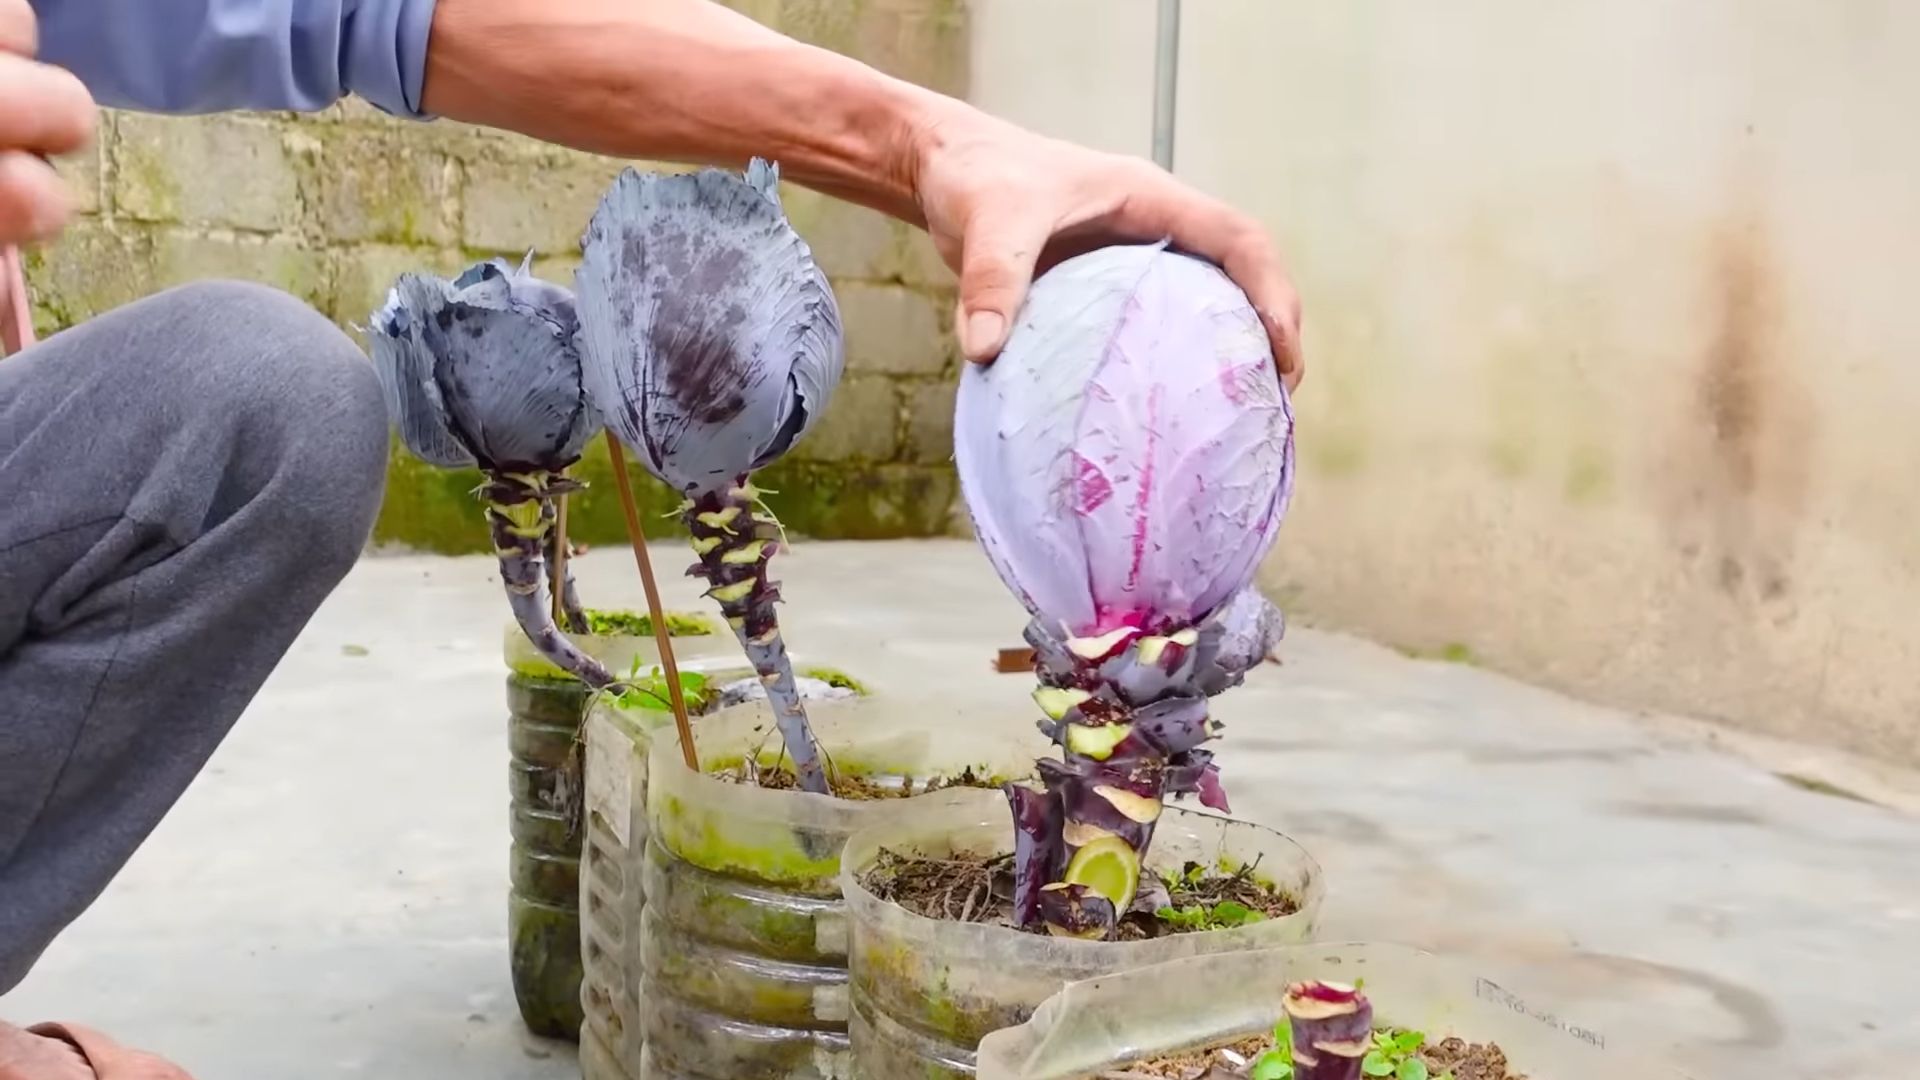
Can I grow purple cabbage in containers?
Yes, you can successfully grow purple cabbage in containers. Choose large containers (at least 12 inches in diameter) with adequate drainage holes. Use a high-quality potting mix that retains moisture but drains well. Ensure the containers receive at least 6-8 hours of sunlight per day.
What are some creative ways to use purple cabbage?
Beyond the usual coleslaw and stir-fries, purple cabbage adds a vibrant pop of color and flavor to many dishes. Try it pickled, shredded in tacos, or finely sliced in salads. Its rich color also makes it a beautiful addition to soups, stews, and even as a garnish. Experiment with different cooking methods to discover your favorite ways to enjoy this versatile vegetable.
What should I do if my purple cabbage plants are not growing well?
If your purple cabbage plants are struggling, consider the following factors: Insufficient sunlight, poor soil drainage, inadequate watering, nutrient deficiencies, or pest infestations. Address any of these issues promptly to improve plant health. Consult a local gardening expert or online resources for specific advice based on your situation.

Leave a Comment