
Grow Strawberries Easily: Your Guide to a Bountiful Harvest
Grow Strawberries Easily – it sounds like a dream, doesn’t it? Imagine biting into a sun-ripened, juicy strawberry, bursting with flavor, knowing you grew it yourself, right in your own backyard. That dream is closer than you think! This article is your passport to a world of delicious, homegrown strawberries, even if you’ve never gardened before. I’ll share my favorite tips and tricks, transforming the seemingly daunting task of strawberry cultivation into a fun and rewarding experience.
For centuries, strawberries have held a special place in cultures around the world, symbolizing love, prosperity, and even summer itself. From the humble beginnings of wild strawberries to the countless varieties we enjoy today, the journey of this beloved fruit is fascinating. But you don’t need a historical background to appreciate the joy of growing your own.
Why Grow Your Own Strawberries?
There are so many reasons to embark on this rewarding journey! Store-bought strawberries, while convenient, often lack the intense flavor and sweetness of freshly picked, homegrown berries. Plus, you’ll know exactly what went into growing them – no pesticides or harmful chemicals. Growing your own strawberries is a fantastic way to connect with nature, enjoy fresh, healthy food, and even save money in the long run. And the best part? It’s easier than you might think!
This article is packed with simple, effective techniques to help you grow strawberries easily, from choosing the right variety and preparing your soil to dealing with common pests and harvesting your delicious bounty. Get ready to roll up your sleeves and discover the secrets to a successful strawberry patch – your taste buds will thank you!
The Ultimate Guide to Effortless Bag Tying: Never Struggle Again!
Let’s face it, tying plastic bags can be a real pain. Fumbling with the slippery plastic, struggling to get a knot that holds, and ending up with a messy, weak tie – it’s a common frustration. But what if I told you there’s a super easy way to tie those bags, making the whole process quick, secure, and even a little satisfying? This guide will show you exactly how!
Understanding the Method: The “Overhand Knot” Technique
This method relies on a simple overhand knot, but with a clever twist (pun intended!) to make it work perfectly with plastic bags. It’s all about creating tension and using the bag’s own material to secure the knot.
- What you’ll need: Just a plastic bag! Any size will work.
- The key: Creating a loop and using the bag’s own material to tighten the knot.
- Why this works: This method avoids the usual fumbling and creates a secure knot every time.
Step-by-Step Instructions: Mastering the Effortless Bag Tie
- Laying the Foundation: Start by holding the plastic bag in your dominant hand. Let the handles hang down naturally. Imagine you’re about to tie a regular knot, but we’re going to do it a little differently.
- Creating the First Loop: With your non-dominant hand, grab one of the bag handles near the top. Pull it up and over the other handle, creating a loop. Think of it like you’re starting to make a simple overhand knot, but instead of bringing the end under, we’ll use a different approach.
- The Crucial Twist: Now, this is where the magic happens. Instead of bringing the loose handle under the loop, bring it around the loop from the outside. Imagine you’re wrapping the loose handle around the loop you’ve already created. This is the key to a secure and easy tie.
- Securing the Knot: Once you’ve wrapped the loose handle around the loop, tuck the end of the loose handle through the small opening created by the loop and the wrapped handle. You should now see a small knot forming.
- Tightening the Knot: Gently pull both handles of the bag. This will tighten the knot, securing the bag closed. You’ll feel the knot become firm and secure. Don’t pull too hard, or you might tear the bag.
- The Final Check: Give the knot a gentle tug to ensure it’s secure. If it feels loose, simply repeat steps 3-5, ensuring the handle is wrapped tightly around the loop before tucking it through.
Troubleshooting Common Issues: Perfecting Your Technique
Even with this simple method, you might encounter a few hiccups. Here’s how to address them:
- The knot is too loose: Make sure you’re wrapping the loose handle completely around the loop before tucking it through. Pull the handles firmly but gently to tighten the knot.
- The bag is tearing: Be gentle when tightening the knot. Avoid pulling too hard, especially with thinner plastic bags. If the bag is already weak, this method might not be ideal.
- The knot is difficult to create: Practice makes perfect! Try the steps a few times. The more you practice, the easier and faster it will become. You’ll quickly develop a feel for the right amount of tension.
- Different Bag Types: This method works best with standard grocery-style plastic bags. Heavier-duty bags or bags with unusual handles might require slight adjustments. Experiment to find what works best.
Advanced Techniques: Taking Your Bag-Tying Skills to the Next Level
Once you’ve mastered the basic technique, you can explore some variations:
- Double Knot for Extra Security: For extra security, especially with heavier items, simply repeat the entire process once more. This creates a double knot that’s incredibly difficult to come undone.
- One-Handed Tying: With practice, you can even master this technique with just one hand. It takes some coordination, but it’s a great skill to have for those times when you need a free hand.
- Adapting to Different Bag Sizes: The same basic principle applies to bags of all sizes. Just adjust the tension and the size of the loop accordingly. Larger bags might require a slightly larger loop.
Beyond the Basics: Why This Method Matters
This isn’t just about tying bags faster. It’s about reducing frustration, saving time, and even contributing to a slightly more organized life. A secure bag tie means less mess, less cleanup, and less worry about spills or accidental openings. Plus, it’s a satisfying little life hack that will impress your friends and family!
Tips for Success:
- Practice regularly to build muscle memory.
- Use different types of bags to see how the technique adapts.
- Share this amazing trick with everyone you know!
Conclusion
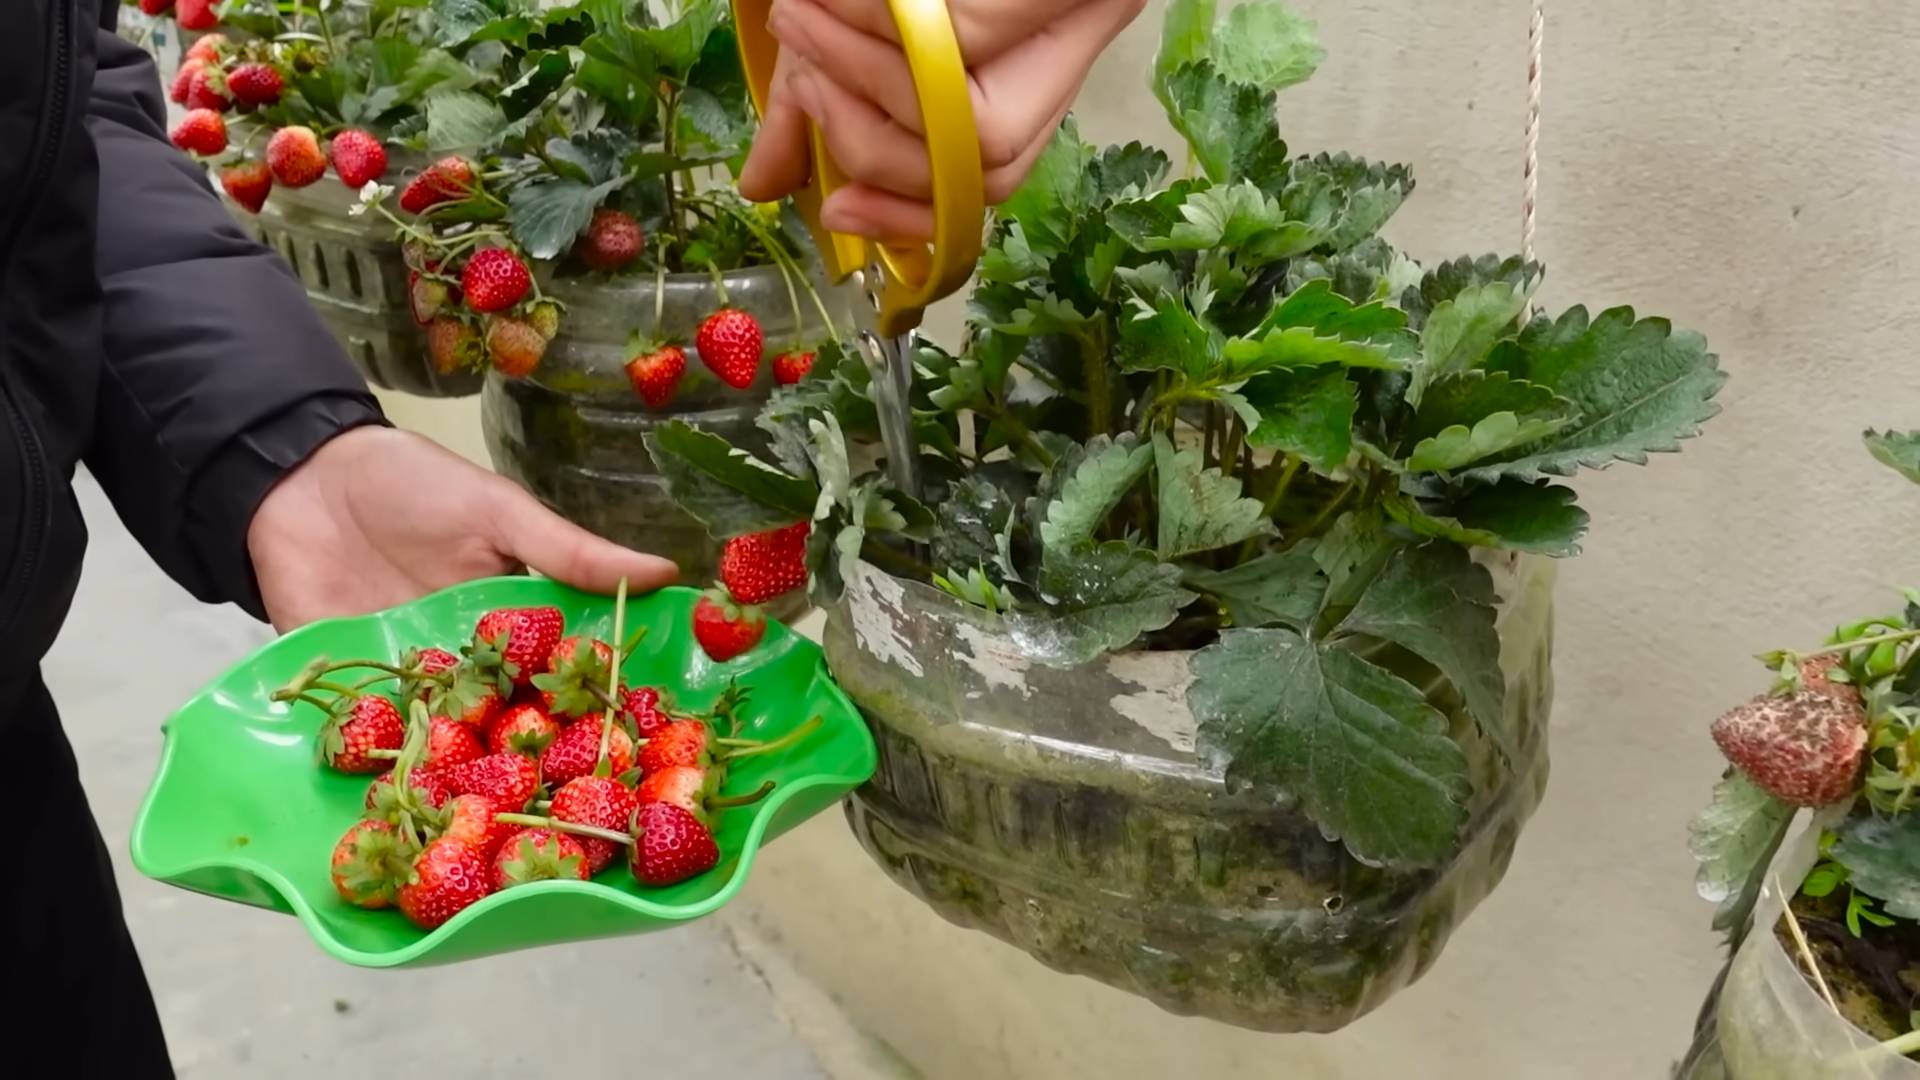
So there you have it! A simple, effective, and surprisingly rewarding method for growing your own luscious strawberries. This DIY approach to strawberry cultivation isn’t just about saving money; it’s about connecting with nature, enjoying the freshest fruit imaginable, and experiencing the immense satisfaction of nurturing something from seed to succulent berry. This easy-to-follow guide empowers you to grow strawberries easily, regardless of your gardening experience. The results – plump, juicy strawberries bursting with flavor – are well worth the minimal effort involved. You’ll be amazed at how quickly you can transform a small space into a thriving strawberry patch, providing you with a delicious harvest all season long. Forget the supermarket; your own backyard (or even balcony!) can become your personal strawberry paradise.
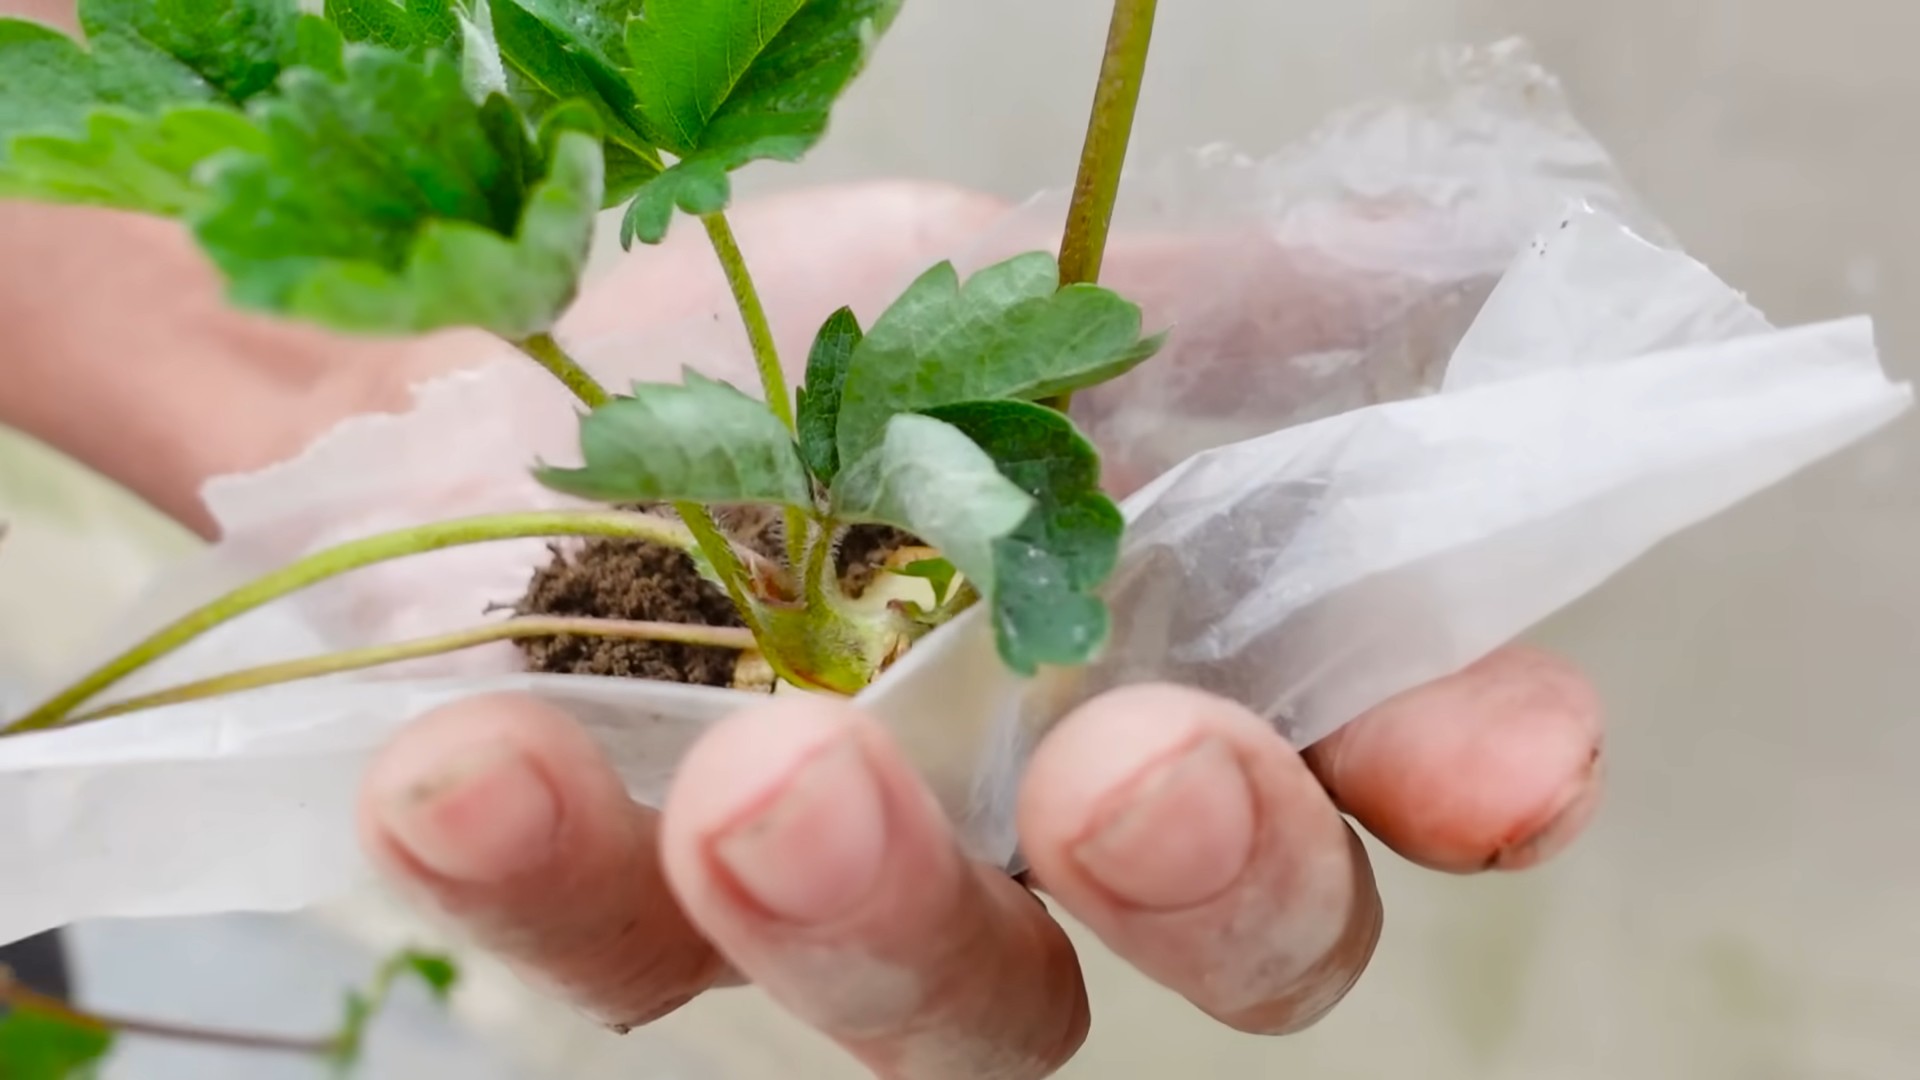
Beyond the basic method outlined, there are countless ways to personalize your strawberry growing adventure. Experiment with different strawberry varieties – some are better suited to hanging baskets, while others thrive in raised beds. Consider companion planting; basil, for example, is known to repel pests that can affect strawberry plants. If space is limited, explore vertical gardening techniques, using trellises or hanging planters to maximize your yield. For those with a truly ambitious green thumb, investigate the fascinating world of strawberry propagation – learning how to grow new plants from runners or seeds will further enhance your strawberry growing journey. Don’t be afraid to get creative! The beauty of this DIY approach is its adaptability; tailor it to your specific needs and preferences.
We strongly encourage you to try this method of growing strawberries easily. It’s a rewarding experience that connects you with the natural world and provides you with delicious, homegrown fruit. Share your experiences with us! Post pictures of your thriving strawberry plants and your bountiful harvest on social media using the hashtag #GrowStrawberriesEasily. We’d love to see your success stories and learn from your unique approaches. Let’s build a community of home strawberry growers, sharing tips, tricks, and the joy of harvesting our own sweet rewards. Remember, even a small patch of strawberries can bring immense satisfaction and a taste of summer that’s simply unparalleled. So grab your seeds, get your hands dirty, and embark on this delightful gardening adventure. You won’t regret it!
Frequently Asked Questions
What type of soil is best for growing strawberries?
Strawberries thrive in well-drained, slightly acidic soil with a pH level between 6.0 and 6.5. Amend heavy clay soils with organic matter like compost to improve drainage. Sandy soils may benefit from the addition of peat moss to retain moisture. Regular soil testing can help you maintain the optimal pH level for healthy strawberry growth. A soil test kit is readily available at most garden centers.
How much sunlight do strawberries need?
Strawberries need at least six to eight hours of direct sunlight per day to produce a good crop. Choose a location in your garden that receives ample sunlight, preferably a south-facing area. If you’re growing strawberries in containers, ensure they are placed in a sunny spot. Insufficient sunlight can lead to reduced yields and smaller, less flavorful berries.
When is the best time to plant strawberries?
The ideal time to plant strawberries depends on your climate. In many regions, spring (after the last frost) and fall are the best times to plant. Spring planting allows the plants to establish themselves before the summer heat, while fall planting gives them time to root before winter. Check your local gardening calendar for specific planting recommendations based on your region’s climate.
How often should I water my strawberries?
Consistent watering is crucial for healthy strawberry growth. Aim to keep the soil consistently moist but not waterlogged. Water deeply and less frequently rather than shallowly and often. The frequency of watering will depend on your climate and soil type. During hot, dry periods, you may need to water more frequently. Observe the soil moisture level; if the top inch feels dry, it’s time to water. Mulching around the plants can help retain soil moisture and reduce the frequency of watering.
What are some common pests and diseases that affect strawberries?
Strawberries can be susceptible to various pests and diseases, including aphids, spider mites, slugs, snails, and fungal diseases like gray mold (botrytis). Regularly inspect your plants for signs of infestation or disease. Implementing preventative measures such as proper spacing, good air circulation, and mulching can help reduce the risk of pest and disease problems. If you notice any issues, address them promptly using appropriate organic or chemical controls, following the instructions carefully.
Can I grow strawberries in containers?
Absolutely! Container gardening is a great option for growing strawberries, especially if you have limited space. Choose containers that are at least 12 inches deep and have adequate drainage holes. Use a well-draining potting mix and ensure the containers receive ample sunlight. Hanging baskets are also a popular choice for growing strawberries. Remember to water regularly, as containers dry out more quickly than in-ground plantings.
How long does it take for strawberries to produce fruit?
The time it takes for strawberries to produce fruit depends on the variety and planting time. June-bearing strawberries typically produce a large crop in June and a smaller fall crop. Everbearing strawberries produce fruit throughout the growing season, while day-neutral strawberries produce fruit continuously if conditions are favorable. Generally, you can expect your first harvest within the first year after planting, although the yield may be smaller than in subsequent years. Proper care and maintenance will contribute to a more abundant harvest.

Leave a Comment