
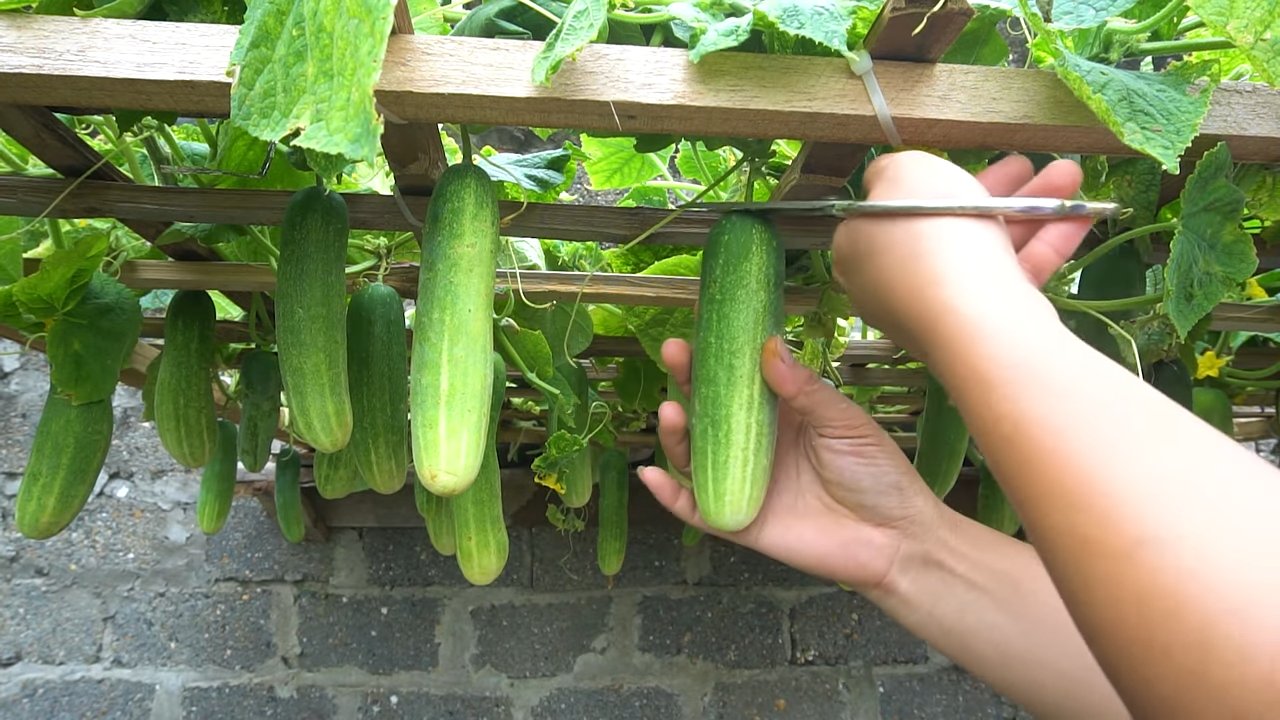
Cucumber harvest plan: It’s the secret weapon every home gardener needs to transform a potentially overwhelming bounty into a season of delicious, crisp cucumbers! Imagine this: you’ve nurtured your cucumber plants, watched them climb and thrive, and now they’re bursting with fruit. But instead of enjoying a steady stream of fresh cucumbers, you’re suddenly drowning in them, unsure of when to pick, how to store, or what to do with the surplus. Sound familiar?
For centuries, cultivating cucumbers has been a vital part of various cultures, from ancient Egypt, where they were prized for their refreshing qualities, to the Roman Empire, where they were enjoyed as a delicacy. Today, growing your own cucumbers connects us to this rich history, allowing us to experience the satisfaction of harvesting our own food.
That’s where a well-thought-out cucumber harvest plan comes in. This isn’t just about picking cucumbers; it’s about maximizing your yield, ensuring the best flavor and texture, and preventing your plants from becoming stressed and unproductive. In this article, I’m going to share my favorite DIY tricks and hacks for creating the perfect cucumber harvest plan. We’ll cover everything from identifying the ideal harvest time to clever storage solutions and creative ways to use your cucumber bounty. Get ready to unlock the full potential of your cucumber patch and enjoy a season of fresh, flavorful cucumbers like never before!
DIY Cucumber Trellis: Maximize Your Harvest and Garden Space!
Hey there, fellow gardeners! Are you tired of your cucumber vines sprawling all over your garden, taking up valuable space and making it difficult to find those delicious cukes? Well, I’ve got the perfect solution for you: building your own cucumber trellis! Not only will this keep your garden tidy, but it will also improve air circulation around your plants, reducing the risk of disease and leading to a bigger, better harvest. Plus, it’s a fun and rewarding DIY project!
Here’s a comprehensive guide to building a sturdy and effective cucumber trellis that will have your vines climbing happily in no time.
What You’ll Need:
Before we dive in, let’s gather all the necessary materials. I’ve tried to keep this list as budget-friendly as possible, using readily available materials.
* Lumber:
* Two 8-foot long 2x4s (for the vertical posts)
* One 8-foot long 2×4 (for the top horizontal support)
* Two 4-foot long 2x4s (for the base supports)
* Hardware Cloth or Garden Netting: Choose a roll that’s at least 4 feet wide and long enough to cover the area between your vertical posts. Hardware cloth is more durable, but garden netting is a cheaper option. I personally prefer hardware cloth for its longevity.
* Staple Gun and Staples: For attaching the hardware cloth or netting to the frame. A heavy-duty staple gun will make this process much easier.
* Wood Screws: 2 ½ inch wood screws for assembling the frame.
* Drill: With a drill bit slightly smaller than the diameter of your wood screws.
* Measuring Tape: To ensure accurate cuts and measurements.
* Saw: To cut the lumber to the desired lengths. A circular saw or hand saw will work.
* Level: To ensure the trellis is standing straight.
* Gloves: To protect your hands.
* Safety Glasses: Always a good idea when working with power tools!
* Optional:
* Wood stain or sealant: To protect the wood from the elements and extend the life of your trellis.
* Post hole digger: If you plan to bury the posts for extra stability.
Planning Your Trellis:
Before you start cutting and assembling, it’s a good idea to visualize your trellis and plan its dimensions. Here are a few things to consider:
* Height: 8 feet is a good height for most cucumber varieties, allowing them plenty of room to climb.
* Width: The width will depend on the space you have available in your garden. I recommend a width of at least 4 feet to accommodate several cucumber plants.
* Location: Choose a sunny spot in your garden with well-drained soil. Make sure the trellis is oriented so that it receives at least 6-8 hours of sunlight per day.
* Cucumber Variety: Consider the mature size of your cucumber variety. Bush varieties might not need a trellis this tall, while vigorous vining types will appreciate the extra space.
Building the Trellis Frame:
Okay, let’s get our hands dirty! This is where the fun begins.
1. Cut the Lumber: Using your saw, cut the lumber to the following lengths:
* Two 8-foot pieces for the vertical posts.
* One 4-foot piece for the top horizontal support.
* Two 2-foot pieces for the base supports. (We are shortening the base supports to 2 feet for better stability in the ground)
2. Assemble the Frame:
* Lay the two 8-foot vertical posts on the ground, parallel to each other.
* Position the 4-foot horizontal support across the top of the vertical posts, creating a “U” shape.
* Using your drill and wood screws, attach the horizontal support to the vertical posts. Make sure the screws are driven in straight and tight. I usually pre-drill the holes to prevent the wood from splitting.
* Now, attach the 2-foot base supports to the bottom of the vertical posts, perpendicular to them. These will act as feet to stabilize the trellis. Again, use your drill and wood screws to secure them in place. Make sure they are evenly spaced and flush with the bottom of the vertical posts.
3. Reinforce the Corners (Optional but Recommended): For added stability, you can add corner braces to the frame. Cut four small pieces of lumber (about 1 foot long) and attach them diagonally to the corners of the frame using wood screws. This will significantly strengthen the trellis and prevent it from wobbling.
Attaching the Hardware Cloth or Netting:
This is where your cucumbers will actually climb!
1. Prepare the Hardware Cloth or Netting: Unroll the hardware cloth or netting and lay it flat on the ground. Measure the area between the vertical posts of your frame and cut the hardware cloth or netting to the appropriate size, leaving a few extra inches on each side for attaching.
2. Attach the Hardware Cloth or Netting:
* Carefully position the hardware cloth or netting over the frame, making sure it’s centered and evenly distributed.
* Using your staple gun, begin stapling the hardware cloth or netting to the frame. Start at one corner and work your way around, spacing the staples about 2-3 inches apart.
* Pull the hardware cloth or netting taut as you staple to ensure a tight and secure fit. This will prevent sagging and provide a strong climbing surface for your cucumbers.
* Be careful not to staple your fingers! I’ve done that before, and it’s not fun.
* Once you’ve stapled all the way around the frame, trim off any excess hardware cloth or netting with scissors or wire cutters.
Installing the Trellis in Your Garden:
Now for the final step: getting that trellis into the ground!
1. Choose Your Location: As mentioned earlier, select a sunny spot in your garden with well-drained soil.
2. Prepare the Soil: Loosen the soil in the area where you’ll be placing the trellis. This will make it easier to insert the posts.
3. Install the Trellis:
* Carefully position the trellis in the prepared soil.
* Push the vertical posts into the ground as far as you can. The deeper you can get them, the more stable the trellis will be.
* If you have a post hole digger, you can dig holes for the posts and then backfill with soil. This will provide even greater stability.
* Use a level to ensure the trellis is standing straight. Adjust as needed.
4. Secure the Trellis (Optional but Recommended): For extra stability, you can secure the trellis to the ground using stakes or ground anchors. Drive the stakes or anchors into the ground near the base of the trellis and attach them to the frame with wire or rope. This will prevent the trellis from tipping over in strong winds.
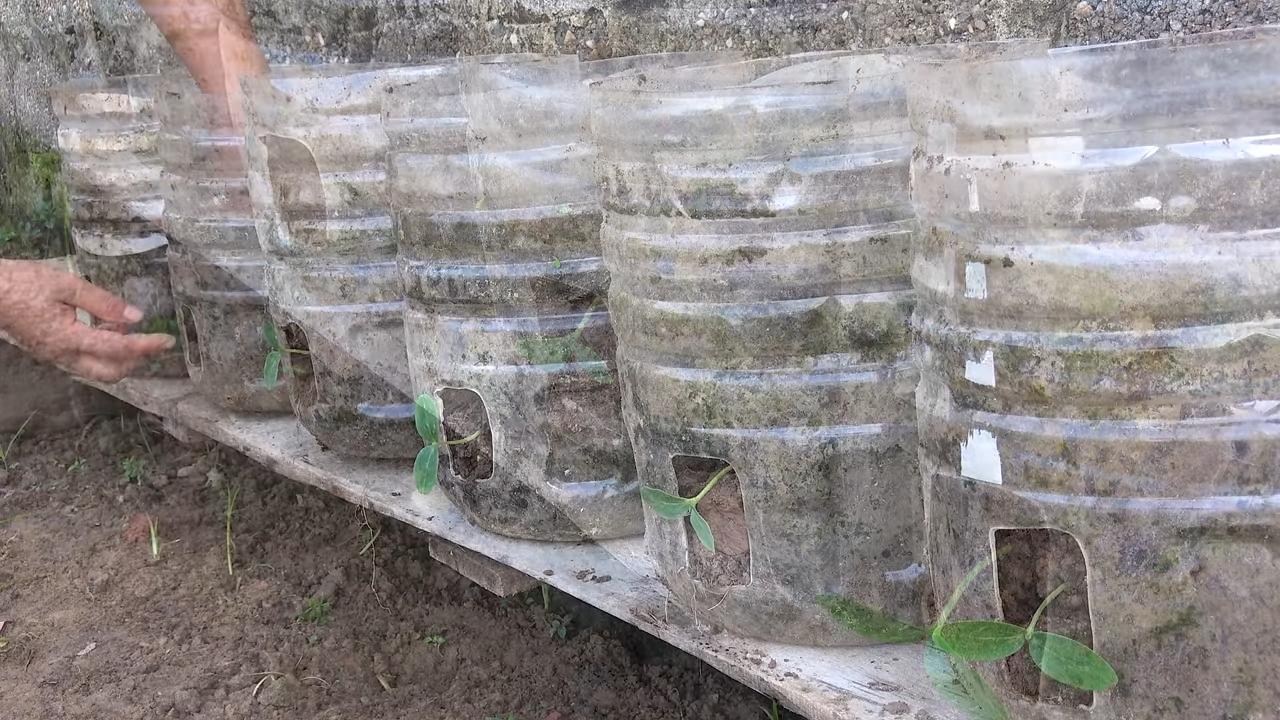
Planting Your Cucumbers:
Almost there! Now it’s time to plant those cucumber seeds or seedlings.
1. Prepare the Planting Area: Dig small holes at the base of the trellis, spacing them about 12-18 inches apart.
2. Plant the Cucumbers: Plant your cucumber seeds or seedlings in the holes, following the instructions on the seed packet or plant label.
3. Water Thoroughly: Water the newly planted cucumbers thoroughly to help them establish their roots.
4. Train the Vines: As the cucumber vines grow, gently guide them towards the trellis and encourage them to climb. You can use plant ties or clips to secure the vines to the hardware cloth or netting.
Maintaining Your Cucumber Trellis:
A little maintenance will keep your trellis strong and your cucumbers happy.
* Water Regularly: Cucumbers need plenty of water, especially during hot weather. Water deeply and regularly, especially when the fruits are developing.
* Fertilize: Feed your cucumbers with a balanced fertilizer every few weeks to promote healthy growth and abundant fruit production.
* Prune: Prune the cucumber vines as needed to remove any dead or diseased leaves and to encourage air circulation.
* Harvest Regularly: Harvest your cucumbers regularly to encourage continued fruit production. The more you pick, the more they’ll grow!
* Inspect for Pests and Diseases: Keep an eye out for pests and diseases and take action promptly to prevent them from spreading.
Alternative Trellis Designs:
While this design is simple and effective, there are many other ways to build a cucumber trellis. Here are a few ideas:
* A-Frame Trellis: This type of trellis is shaped like an “A” and provides excellent support for heavy cucumber vines.
* Teepee Trellis: This trellis
Conclusion
So, there you have it! Transforming your abundant cucumber harvest into delicious, long-lasting pickles is not only achievable but also incredibly rewarding. This DIY pickling trick is a must-try for anyone looking to savor the taste of summer well into the colder months. Forget store-bought pickles laden with preservatives and artificial flavors. With a few simple ingredients and this straightforward method, you can create crisp, tangy, and utterly satisfying pickles that are far superior.
What makes this method so compelling? First, it’s incredibly cost-effective. Utilizing your own cucumber harvest minimizes waste and allows you to control the quality of ingredients. Second, it’s customizable. Don’t be afraid to experiment with different spices and herbs to create your signature pickle flavor. Want a spicier kick? Add a few dried chili flakes or a sliced jalapeño to the brine. Prefer a sweeter pickle? Increase the sugar slightly. The possibilities are endless!
Consider these variations to truly make this recipe your own:
* **Dill Pickles:** The classic choice! Load up on fresh dill sprigs for that quintessential dill pickle flavor.
* **Garlic Pickles:** Add several cloves of garlic, smashed or sliced, to the brine for a pungent and flavorful pickle.
* **Spicy Pickles:** Incorporate red pepper flakes, sliced jalapeños, or even a dash of hot sauce for a fiery kick.
* **Sweet Pickles:** Increase the sugar in the brine and add a pinch of ground cloves or allspice for a sweeter profile.
* **Bread and Butter Pickles:** Slice your cucumbers into rounds and add turmeric and celery seed to the brine for a classic bread and butter pickle flavor.
* **Refrigerator Pickles:** For a quicker option, skip the canning process and store your pickles in the refrigerator. They’ll be ready to eat in just a few days, although they won’t have the same shelf life as canned pickles.
Beyond the flavor variations, consider the presentation. Pack your pickles into attractive jars and add a personalized label for a thoughtful homemade gift. Imagine the delight of sharing your delicious cucumber harvest with friends and family!
This DIY pickling trick is more than just a recipe; it’s an experience. It’s about connecting with your food, reducing waste, and creating something truly special. It’s about taking pride in your harvest and transforming it into a culinary masterpiece.
We wholeheartedly encourage you to try this DIY pickling trick with your next cucumber harvest. We are confident that you’ll be amazed by the results. Don’t be intimidated by the canning process; it’s simpler than you think. And remember, the most important ingredient is your enthusiasm!
Once you’ve tried it, we’d love to hear about your experience. Share your photos, tips, and variations in the comments below. Let’s build a community of pickle enthusiasts and celebrate the bounty of the cucumber harvest together! Happy pickling!
Frequently Asked Questions (FAQ)
What kind of cucumbers are best for pickling?
The best cucumbers for pickling are those specifically labeled as “pickling cucumbers.” These varieties are typically smaller, firmer, and have thinner skins than slicing cucumbers, making them ideal for absorbing the brine and maintaining their crispness during the pickling process. Common pickling cucumber varieties include Kirby, National Pickling, and Boston Pickling. However, if you don’t have access to pickling cucumbers, you can still use slicing cucumbers, but be aware that they may become slightly softer during pickling. Remove the seeds from larger slicing cucumbers to prevent a mushy texture.
How long do homemade pickles last?
Properly canned pickles, processed using a water bath canner, can last for at least one year, and often longer, when stored in a cool, dark place. The key is to ensure a proper seal during the canning process. Always check the seal before opening a jar. If the lid is bulging or the contents appear discolored or moldy, discard the pickles. Refrigerator pickles, on the other hand, will last for about 2-3 weeks in the refrigerator.
Why are my pickles soft?
Several factors can contribute to soft pickles. Using overripe cucumbers, not using enough vinegar in the brine, or failing to properly process the jars during canning can all result in soft pickles. To prevent this, use fresh, firm cucumbers, follow the recipe carefully, and ensure that the jars are properly sealed. Adding a calcium chloride product like Pickle Crisp to the jars before canning can also help maintain crispness. Also, avoid over-processing the pickles, as this can also lead to softening.
Can I reuse pickle brine?
It is generally not recommended to reuse pickle brine for canning. The brine’s acidity and salt content may have decreased during the first pickling process, which could compromise the safety and preservation of the new batch of pickles. Reusing brine can increase the risk of spoilage and botulism. However, you can reuse pickle brine for other culinary purposes, such as marinating meats, adding flavor to salad dressings, or even using it as a base for soups and sauces.
What is the best way to ensure a good seal when canning?
To ensure a good seal when canning, follow these steps:
1. **Prepare your jars and lids:** Wash jars and lids in hot, soapy water. Sterilize the jars by boiling them in water for 10 minutes. Keep the jars hot until ready to use. Follow the manufacturer’s instructions for preparing the lids.
2. **Fill the jars properly:** Leave the recommended headspace (usually ½ inch) at the top of the jar.
3. **Remove air bubbles:** Use a non-metallic spatula or bubble remover to gently press down on the pickles and release any trapped air bubbles.
4. **Wipe the jar rims:** Clean the jar rims with a clean, damp cloth to remove any food residue.
5. **Place the lids and rings:** Center the lid on the jar and screw on the ring fingertip tight. Do not overtighten.
6. **Process in a water bath canner:** Follow the recipe’s instructions for processing time.
7. **Check the seal:** After processing, let the jars cool completely. Check the seal by pressing down on the center of the lid. If the lid doesn’t flex, it’s properly sealed. If the lid flexes, the jar didn’t seal and should be refrigerated and eaten within a few weeks or reprocessed with a new lid.
Can I use different types of vinegar?
While white vinegar is the most common choice for pickling due to its neutral flavor and high acidity, you can experiment with other types of vinegar. Apple cider vinegar will impart a slightly sweeter and fruitier flavor, while white wine vinegar offers a more delicate and subtle taste. Avoid using balsamic vinegar or malt vinegar, as their flavors are too strong and can overpower the pickles. Always ensure that the vinegar you use has at least 5% acidity to ensure proper preservation.
What if I don’t have a water bath canner?
If you don’t have a water bath canner, you can purchase one relatively inexpensively. Alternatively, you can use a large stockpot with a rack at the bottom to prevent the jars from sitting directly on the heat. The pot must be deep enough to cover the jars with at least 1-2 inches of water. If you are making refrigerator pickles, you do not need a canner.
How do I adjust the recipe for a smaller or larger batch?
You can easily adjust the recipe for a smaller or larger batch by scaling the ingredients proportionally. For example, if you want to double the recipe, simply double all the ingredients. However, be sure to maintain the correct ratio of vinegar to water to ensure proper preservation. Also, when canning, make sure to use appropriately sized jars and adjust the processing time accordingly.
What spices and herbs can I add to my pickles?
The possibilities are endless when it comes to adding spices and herbs to your pickles! Some popular choices include dill, garlic, mustard seeds, peppercorns, coriander seeds, red pepper flakes, bay leaves, and turmeric. Experiment with different combinations to find your favorite flavor profile. Fresh herbs will generally provide a more vibrant flavor than dried herbs.
Why is my pickle brine cloudy?
Cloudy pickle brine can be caused by several factors, including the presence of minerals in your water, starch from the cucumbers, or the use of iodized salt. To minimize cloudiness, use filtered water, trim the blossom end of the cucumbers (which contains enzymes that can cause cloudiness), and use pickling salt or kosher salt, which do not contain iodine or anti-caking agents. While cloudy brine may not be aesthetically pleasing, it does not necessarily indicate that the pickles are unsafe to eat.

Leave a Comment