
Alcohol cleaners that work – who knew they could be such a game-changer around the house? I’m always on the lookout for simple, effective, and budget-friendly cleaning solutions, and let me tell you, alcohol-based cleaners have become my secret weapon. Forget those harsh chemicals and expensive store-bought products; we’re diving into the world of DIY cleaning with a readily available ingredient that’s probably already sitting in your medicine cabinet!
The use of alcohol as a disinfectant actually dates back centuries, with its antiseptic properties recognized long before modern medicine fully understood the science behind it. From ancient wound care to its current widespread use in hospitals, alcohol’s cleaning power is undeniable. But did you know you can harness that same power to tackle everyday messes in your home?
In today’s world, we’re all striving for cleaner, healthier living spaces, and many of us are also looking for ways to reduce our reliance on harsh chemicals. That’s where these DIY alcohol cleaners that work come in. They’re perfect for disinfecting surfaces, removing stubborn stains, and even polishing certain materials. Plus, they’re incredibly easy to make, saving you time and money. So, let’s unlock the secrets to creating your own powerful and eco-friendly cleaning solutions using the magic of alcohol!
DIY Alcohol-Based Cleaners: Your Guide to Sparkling Surfaces!
Hey there, fellow DIY enthusiasts! I’m so excited to share some of my favorite homemade cleaning recipes with you. We’re diving into the world of alcohol-based cleaners – they’re fantastic for disinfecting, degreasing, and leaving surfaces streak-free. Plus, making your own is super cost-effective and lets you control exactly what ingredients you’re using. Let’s get started!
What You’ll Need: The Basics
Before we jump into specific recipes, let’s gather the essential supplies. Having everything on hand will make the process smooth and enjoyable.
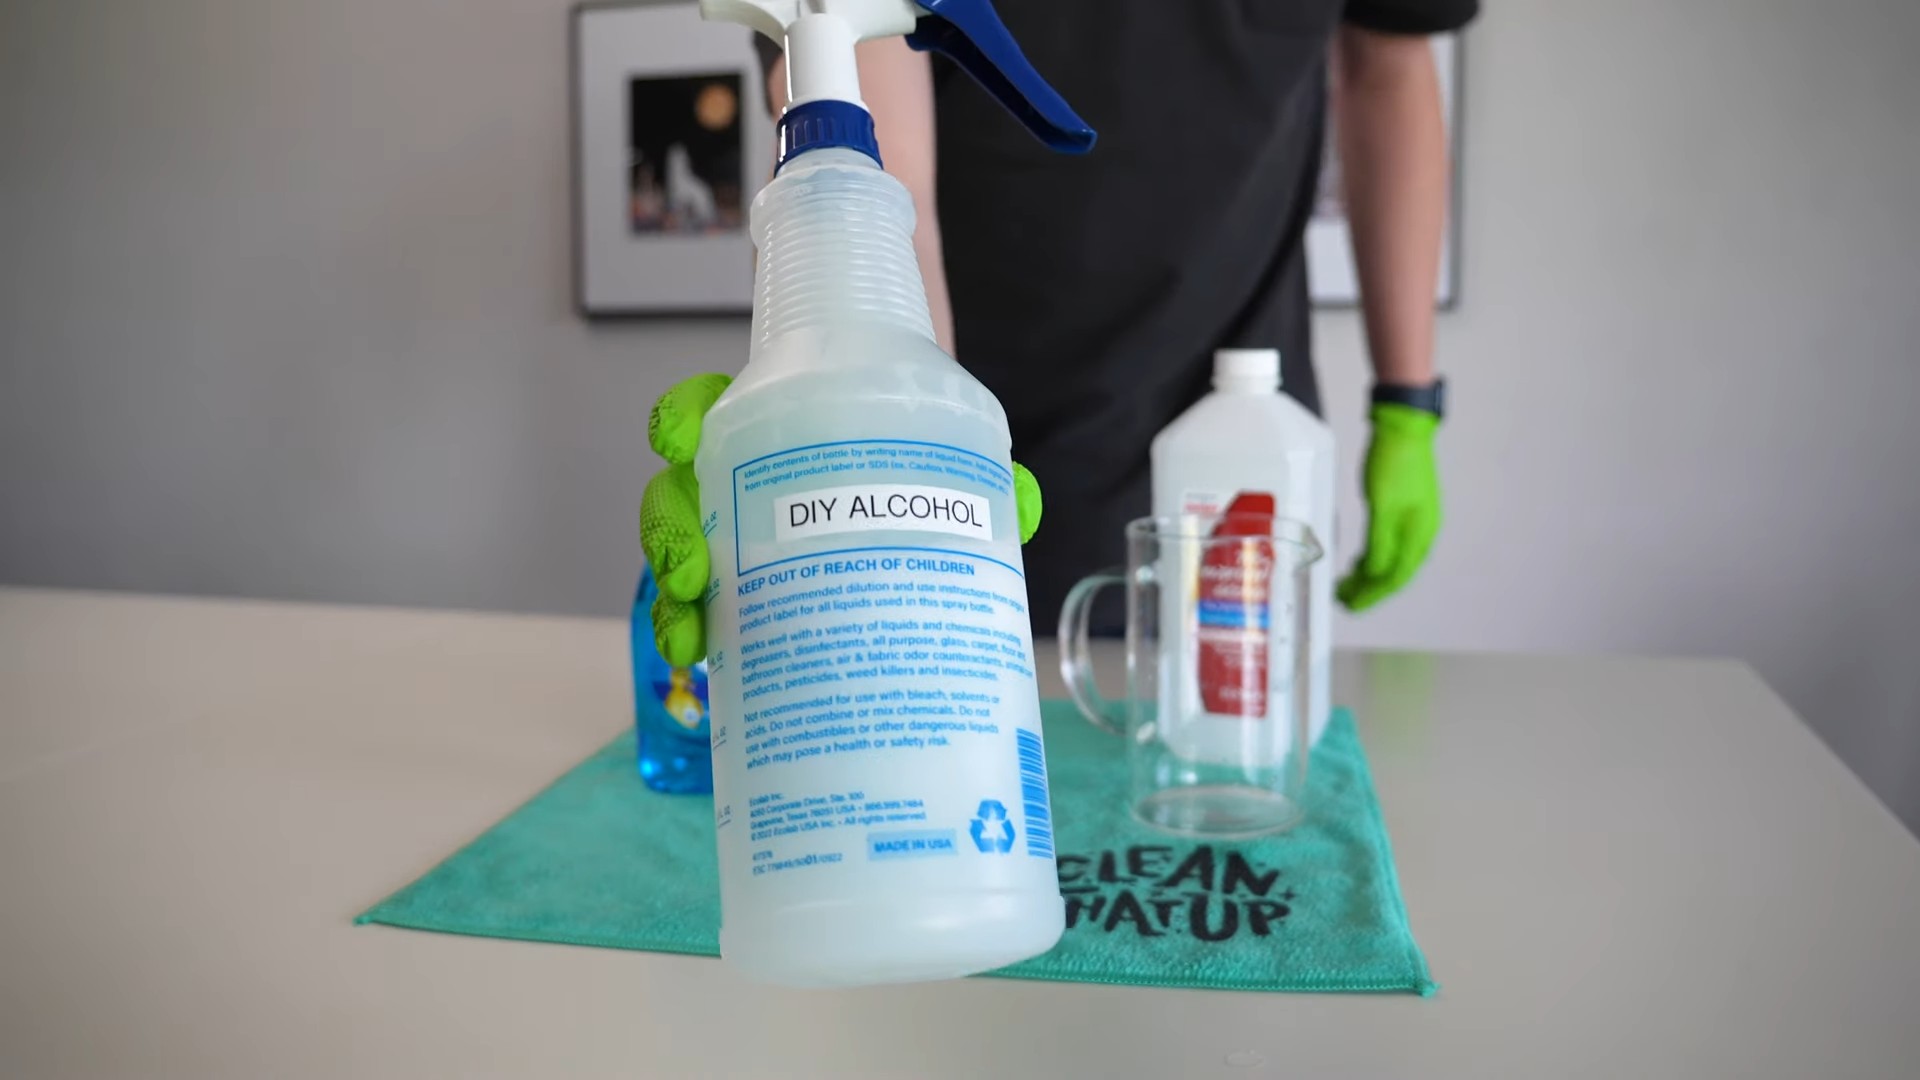
* Isopropyl Alcohol (70% or 91%): This is the star of the show! 70% is generally preferred for disinfecting as it contains more water, which helps the alcohol penetrate cell walls more effectively. 91% is great for quick evaporation and streak-free cleaning. I usually keep both on hand.
* Distilled Water: Tap water can contain minerals that leave spots, so distilled water is your best bet for a pristine finish.
* Spray Bottles: Reusing old cleaning bottles is a great way to be eco-friendly! Just make sure they’re thoroughly cleaned and labeled. Amber or dark-colored bottles are ideal for protecting essential oils from light degradation if you choose to add them.
* Essential Oils (Optional): These add a lovely scent and can boost the cleaning power. Lemon, tea tree, lavender, and eucalyptus are some of my favorites.
* Vinegar (White Distilled): A powerful cleaning agent that complements alcohol well.
* Baking Soda: For scrubbing and deodorizing.
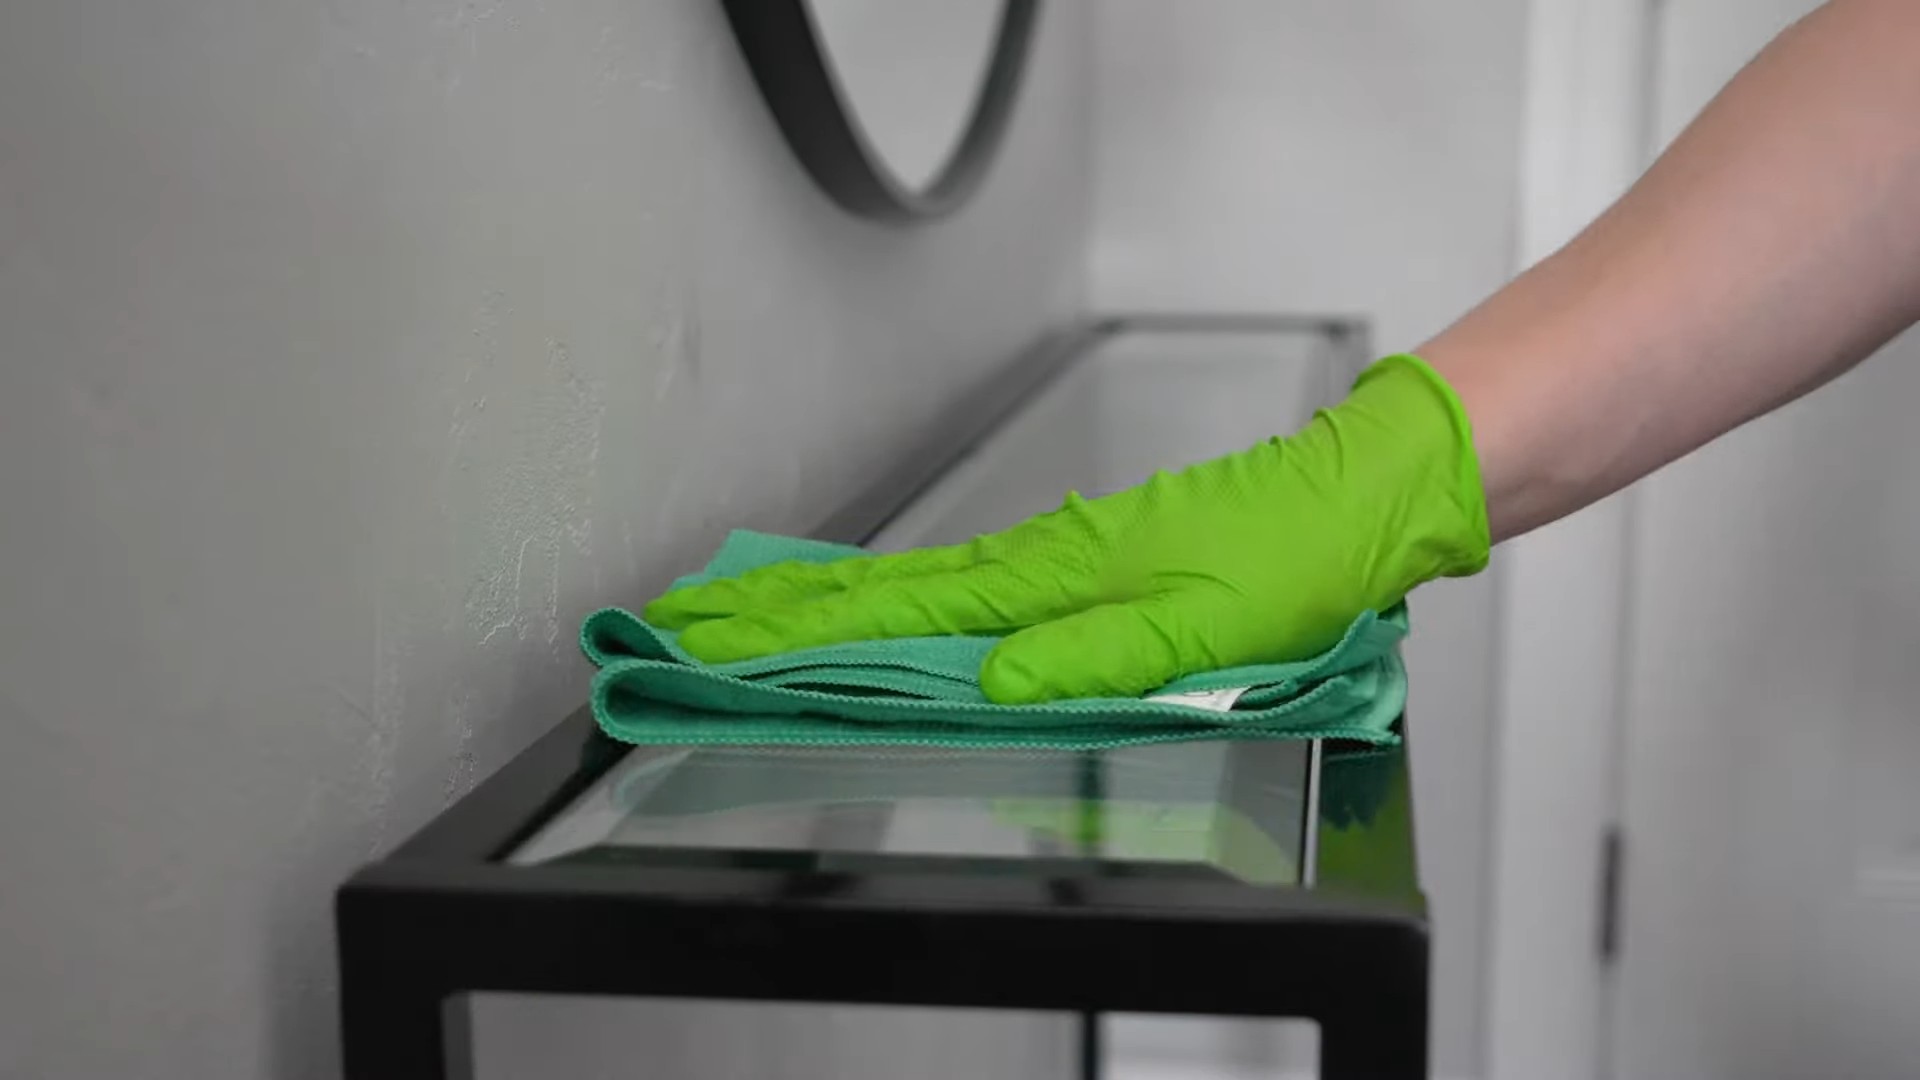
* Microfiber Cloths: These are essential for streak-free cleaning.
* Measuring Cups and Spoons: Accuracy is key for effective cleaning solutions.
* Funnel: Makes pouring liquids into spray bottles much easier.
* Gloves: Protect your hands, especially when working with concentrated alcohol.
General Safety Tips
Safety first! Always remember these precautions when making and using alcohol-based cleaners:
* Work in a well-ventilated area: Alcohol fumes can be strong, so open a window or turn on a fan.
* Wear gloves: Prolonged exposure to alcohol can dry out your skin.
* Keep out of reach of children and pets: Store your cleaning solutions in a safe place.
* Never mix alcohol with bleach: This creates toxic fumes. Seriously, don’t do it!
* Test on an inconspicuous area first: Before cleaning an entire surface, test a small, hidden spot to ensure the cleaner doesn’t damage it.
* Label your bottles clearly: Prevent accidental misuse by labeling each bottle with the contents and date.
Recipe 1: All-Purpose Alcohol Cleaner
This is my go-to cleaner for most surfaces. It’s effective, easy to make, and leaves a fresh scent.
Ingredients:
* 1 cup Isopropyl Alcohol (70% or 91%)
* 1 cup Distilled Water
* 10-20 drops Essential Oil (Lemon, Lavender, or Tea Tree are great choices)
Instructions:
1. Combine Ingredients: In a measuring cup, combine the isopropyl alcohol and distilled water.
2. Add Essential Oil (Optional): If using, add your chosen essential oil to the mixture.
3. Pour into Spray Bottle: Using a funnel, carefully pour the mixture into a clean spray bottle.
4. Shake Well: Shake the bottle gently to ensure the ingredients are well combined.
5. Use and Store: Spray the cleaner onto the surface you want to clean, wipe with a microfiber cloth, and let air dry. Store in a cool, dark place.
Where to Use:
* Countertops (granite, quartz, laminate)
* Sinks
* Doorknobs
* Light switches
* Mirrors
* Glass surfaces
Where NOT to Use:
* Painted surfaces (test first!)
* Natural stone (marble, limestone) – alcohol can damage these surfaces.
* Electronics screens (use a specialized screen cleaner instead).
Recipe 2: Glass and Mirror Cleaner
Say goodbye to streaks! This cleaner leaves glass and mirrors sparkling clean.
Ingredients:
* 1/2 cup Isopropyl Alcohol (91% is preferred for faster evaporation)
* 1/2 cup Distilled Water
* 1 tablespoon White Vinegar
Instructions:
1. Combine Ingredients: In a measuring cup, combine the isopropyl alcohol, distilled water, and white vinegar.
2. Pour into Spray Bottle: Using a funnel, carefully pour the mixture into a clean spray bottle.
3. Shake Gently: Gently shake the bottle to combine the ingredients.
4. Use and Store: Spray the cleaner onto the glass or mirror, wipe with a microfiber cloth, and let air dry. Store in a cool, dark place.
Tips for Streak-Free Cleaning:
* Use a clean, dry microfiber cloth.
* Fold the cloth into quarters to have multiple clean surfaces.
* Wipe in overlapping strokes.
* If streaks persist, try using a clean, dry cloth to buff the surface.
Recipe 3: Disinfecting Spray
This cleaner is perfect for killing germs and bacteria on high-touch surfaces.
Ingredients:
* 2/3 cup Isopropyl Alcohol (70% is recommended for disinfecting)
* 1/3 cup Distilled Water
* 5-10 drops Tea Tree Essential Oil (optional, for added antibacterial properties)
Instructions:
1. Combine Ingredients: In a measuring cup, combine the isopropyl alcohol and distilled water.
2. Add Essential Oil (Optional): If using, add the tea tree essential oil to the mixture.
3. Pour into Spray Bottle: Using a funnel, carefully pour the mixture into a clean spray bottle.
4. Shake Well: Shake the bottle well to ensure the ingredients are thoroughly mixed.
5. Use and Store: Spray the cleaner onto the surface, let it sit for at least 30 seconds (or up to 10 minutes for maximum disinfection), and then wipe with a clean cloth. Store in a cool, dark place.
Where to Use:
* Doorknobs
* Light switches
* Toilet seats
* Faucet handles
* Phones
* Keyboards
Important Note: For effective disinfection, the surface needs to remain wet for a certain amount of time. Check the product label of your isopropyl alcohol for specific contact times.
Recipe 4: Electronics Cleaner
Cleaning electronics requires a gentle touch. This cleaner is designed to safely remove fingerprints and smudges without damaging sensitive screens.
Ingredients:
* 1/2 cup Isopropyl Alcohol (70% or 91%)
* 1/2 cup Distilled Water
Instructions:
1. Combine Ingredients: In a measuring cup, combine the isopropyl alcohol and distilled water.
2. Dampen a Microfiber Cloth: Instead of spraying directly onto the electronic device, lightly dampen a clean microfiber cloth with the solution. Do not saturate the cloth!
3. Gently Wipe the Screen: Gently wipe the screen in one direction, avoiding excessive pressure.
4. Dry with a Clean Cloth: Use a separate, dry microfiber cloth to buff the screen and remove any remaining moisture.
Important Notes:
* Never spray directly onto electronic devices.
* Always unplug the device before cleaning.
* Avoid getting liquid into any openings.
* Test on a small, inconspicuous area first.
Recipe 5: Stubborn Stain Remover
For those tough stains that just won’t budge, this cleaner packs a punch.
Ingredients:
* 1/4 cup Isopropyl Alcohol (70% or 91%)
* 1/4 cup White Vinegar
* 2 tablespoons Baking Soda
* 1 cup Warm Water
Instructions:
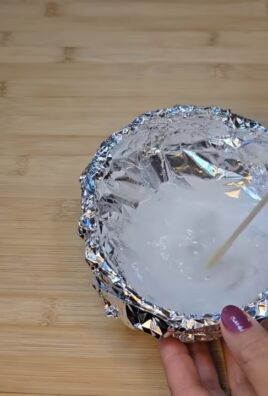
1. Combine Ingredients: In a bowl, combine the baking soda and warm water. Stir until the baking soda is mostly dissolved.
2. Add Alcohol and Vinegar: Slowly add the isopropyl alcohol and white vinegar to the mixture. Be careful, as the baking soda may fizz.
3. Apply to Stain: Apply the mixture directly to the stain.
4. Let it Sit: Let the cleaner sit on the stain for 15-30 minutes.
5. Scrub Gently: Use a soft brush or cloth to gently scrub the stain.
6. Rinse and Dry: Rinse the area with clean water and dry with a clean cloth.
Where to Use:
* Fabric stains (test on an inconspicuous area first!)
* Tile grout
Conclusion
So, there you have it! This simple yet incredibly effective DIY alcohol cleaner is more than just a cleaning solution; it’s a game-changer for maintaining a spotless and hygienic home. We’ve explored how easily you can create a powerful cleaner using readily available ingredients, bypassing the need for expensive and often chemical-laden commercial products. The beauty of this method lies in its simplicity, affordability, and the peace of mind knowing exactly what you’re using to clean your surfaces.
Why is this DIY trick a must-try? Because it delivers exceptional cleaning power without compromising your health or your budget. It’s a versatile solution that tackles grime, grease, and germs on a variety of surfaces, leaving them sparkling and sanitized. Plus, you’re reducing your environmental impact by opting for a homemade solution over store-bought alternatives packaged in plastic.
But the benefits don’t stop there. This DIY alcohol cleaner is also incredibly customizable. Feel free to experiment with different essential oils to create your own signature scent. A few drops of lavender oil can add a calming aroma, while lemon or tea tree oil can boost the cleaning power and provide a refreshing fragrance. You can also adjust the concentration of alcohol depending on the specific cleaning task. For heavily soiled areas, a higher concentration might be necessary, while for delicate surfaces, a slightly diluted solution is recommended.
Consider these variations to tailor the cleaner to your specific needs:
* For glass and mirrors: Use distilled water instead of tap water to prevent streaks. Add a tablespoon of white vinegar for extra shine.
* For disinfecting: Ensure the alcohol concentration is at least 70% to effectively kill germs and bacteria.
* For wood surfaces: Use a lower concentration of alcohol and test on an inconspicuous area first to ensure it doesn’t damage the finish. You can also add a few drops of olive oil to help moisturize the wood.
* For stainless steel: This alcohol cleaner works wonders on stainless steel appliances, removing fingerprints and smudges with ease.
We’re confident that once you try this DIY alcohol cleaner, you’ll be amazed by its effectiveness and versatility. It’s a simple, cost-effective, and eco-friendly way to keep your home clean and healthy.
Now, it’s your turn! We encourage you to give this DIY trick a try and experience the difference for yourself. Don’t be afraid to experiment with different variations and find what works best for you. And most importantly, we want to hear about your experience! Share your tips, tricks, and results in the comments below. Let’s build a community of DIY cleaning enthusiasts and help each other create a cleaner, healthier, and more sustainable home. We are eager to know how this DIY alcohol cleaner has transformed your cleaning routine. Your feedback is invaluable and will help us refine and improve this recipe for everyone. So, grab your ingredients, mix up a batch, and get ready to experience the cleaning power of homemade!
FAQ
What type of alcohol should I use for this cleaner?
Isopropyl alcohol (also known as rubbing alcohol) is the most commonly used and readily available type of alcohol for cleaning. Look for a concentration of at least 70% for effective disinfecting. You can also use ethanol (grain alcohol), but it’s often more expensive and harder to find in high concentrations. Avoid using denatured alcohol, as it contains additives that can be harmful or leave a residue.
Is a higher percentage of alcohol better for cleaning?
While a higher percentage of alcohol might seem like it would be more effective, 70% isopropyl alcohol is actually considered ideal for disinfecting. This is because the presence of water helps the alcohol penetrate the cell walls of bacteria and viruses more effectively. A 90% or higher concentration can evaporate too quickly, preventing it from properly disinfecting. However, for general cleaning purposes where disinfecting isn’t the primary goal, a higher concentration can still be used.
Can I use this cleaner on all surfaces?
While this DIY alcohol cleaner is generally safe for most surfaces, it’s always a good idea to test it on an inconspicuous area first, especially on delicate materials like wood, painted surfaces, or fabrics. Avoid using it on acrylic or polycarbonate plastics, as alcohol can cause them to crack or become cloudy. For surfaces that are sensitive to alcohol, consider diluting the solution further or using a different cleaning method altogether.
How long does this cleaner last?
This DIY alcohol cleaner has a long shelf life, as alcohol is a natural preservative. When stored in a tightly sealed container in a cool, dark place, it can last for several months or even years without losing its effectiveness. However, it’s always a good idea to check for any signs of separation or discoloration before using it. If you notice any changes, it’s best to discard the cleaner and make a fresh batch.
Can I add essential oils to this cleaner?
Yes, adding essential oils is a great way to customize your DIY alcohol cleaner and add a pleasant scent. Some essential oils, like tea tree, eucalyptus, and lemon, also have antimicrobial properties that can boost the cleaning power of the solution. However, it’s important to use essential oils sparingly, as they can be irritating to some people. A few drops per cup of cleaner is usually sufficient. Also, be sure to use pure essential oils and avoid fragrance oils, which don’t have the same therapeutic benefits.
Is this cleaner safe to use around children and pets?
While this DIY alcohol cleaner is generally safer than many commercial cleaning products, it’s still important to use it with caution around children and pets. Keep the cleaner out of their reach and avoid spraying it directly on them. Ensure proper ventilation when using the cleaner and avoid inhaling the fumes. If you’re concerned about the potential risks, consider using a milder cleaning solution or consulting with a healthcare professional.
How do I store this cleaner?
Store your DIY alcohol cleaner in a tightly sealed spray bottle or container in a cool, dark place. This will help prevent the alcohol from evaporating and maintain its effectiveness. Be sure to label the container clearly to avoid any confusion. Keep it out of reach of children and pets.
Can I use this cleaner to disinfect my hands?
While this DIY alcohol cleaner can be used to disinfect surfaces, it’s not recommended for disinfecting your hands. The high concentration of alcohol can be drying and irritating to the skin. For hand sanitizing, it’s best to use a commercially available hand sanitizer that contains moisturizers and is specifically formulated for this purpose.
What are some other uses for this DIY alcohol cleaner?
Besides cleaning and disinfecting surfaces, this DIY alcohol cleaner can also be used for a variety of other purposes, such as:
* Removing sticky residue from labels and stickers
* Cleaning electronics, such as keyboards and screens (use sparingly and avoid getting liquid inside the device)
* Removing ink stains from clothing (test on an inconspicuous area first)
* Cleaning jewelry
* Freshening up shoes
What if I don’t have distilled water?
If you don’t have distilled water, you can use tap water that has been boiled and cooled. Boiling the water will help remove some of the minerals and impurities that can cause streaks on surfaces. However, distilled water is still the preferred option for the best results, especially when cleaning glass and mirrors.
Can I use this cleaner to clean my car’s interior?
Yes, you can use this DIY alcohol cleaner to clean your car’s interior, but with caution. Test it on an inconspicuous area first to ensure it doesn’t damage the upholstery or dashboard. Avoid using it on leather surfaces, as alcohol can dry them out. For best results, dilute the solution further and use a microfiber cloth to wipe down the surfaces.
What if I accidentally ingest this cleaner?
If you accidentally ingest this DIY alcohol cleaner, seek medical attention immediately. Do not induce vomiting. The severity of the symptoms will depend on the amount ingested and the concentration of alcohol.
Leave a Comment