
Growing Dill Indoors can seem like a daunting task, especially if you’re used to seeing this fragrant herb thriving in sprawling outdoor gardens. But fear not, fellow plant enthusiasts! I’m here to tell you that bringing the fresh, anise-like aroma and feathery foliage of dill into your home is not only possible, but surprisingly easy with a few simple tricks and DIY hacks.
Dill, with its delicate leaves and distinctive flavor, has been cherished for centuries. Originating in the Mediterranean and Eastern Europe, dill was used by ancient Egyptians for medicinal purposes and by the Romans as a symbol of good fortune. Today, it remains a staple in cuisines worldwide, adding a bright, herbaceous note to everything from pickles and salads to fish dishes and creamy sauces.
Why should you bother growing dill indoors? Well, imagine having fresh dill readily available year-round, regardless of the weather outside. No more last-minute trips to the grocery store or settling for dried herbs that lack the vibrant flavor of the fresh stuff. Plus, nurturing a little patch of dill indoors can be incredibly rewarding, bringing a touch of nature and a sense of accomplishment to your living space. In this article, I’ll share my favorite DIY tricks and hacks to help you successfully cultivate this delightful herb within the comfort of your own home, even if you don’t have a green thumb!
Growing Dill Indoors: A Beginner’s Guide to Fresh Herbs Year-Round
Okay, so you want fresh dill all year round, even when the snow’s piling up outside? I get it! Store-bought dill just doesn’t compare to the vibrant flavor of freshly snipped sprigs. Luckily, growing dill indoors is totally achievable, even if you don’t have a green thumb. I’m going to walk you through everything you need to know, from choosing the right pot to harvesting your bounty. Let’s get started!
What You’ll Need
Before we dive into the nitty-gritty, let’s gather our supplies. Here’s a checklist to make sure you’re prepared:
- Dill Seeds: Opt for a variety specifically suited for containers, if possible. ‘Dukat’ and ‘Fernleaf’ are popular choices.
- Pot: A container at least 6 inches deep and wide is ideal. Dill has a long taproot, so depth is key.
- Potting Mix: Use a well-draining potting mix. Avoid garden soil, as it can compact and hinder drainage.
- Grow Lights (Optional but Recommended): Dill needs plenty of light, especially indoors. A grow light can supplement natural light, especially during winter.
- Watering Can or Spray Bottle: For gentle watering.
- Small Shovel or Trowel: For planting the seeds.
- Fertilizer (Optional): A balanced liquid fertilizer can give your dill a boost.
Choosing the Right Pot and Soil
The foundation of any successful indoor garden is the right pot and soil. Dill needs room to stretch its roots, and well-draining soil is crucial to prevent root rot.
- Pot Size: As I mentioned earlier, a pot that’s at least 6 inches deep and wide is a good starting point. You can always go bigger! The larger the pot, the more room your dill will have to grow.
- Drainage: Make sure your pot has drainage holes! This is non-negotiable. Excess water needs to escape to prevent soggy soil.
- Potting Mix: Don’t use soil from your garden! It’s often too heavy and doesn’t drain well. Instead, choose a high-quality potting mix specifically formulated for containers. These mixes are usually a blend of peat moss, perlite, and vermiculite, which provide excellent drainage and aeration.
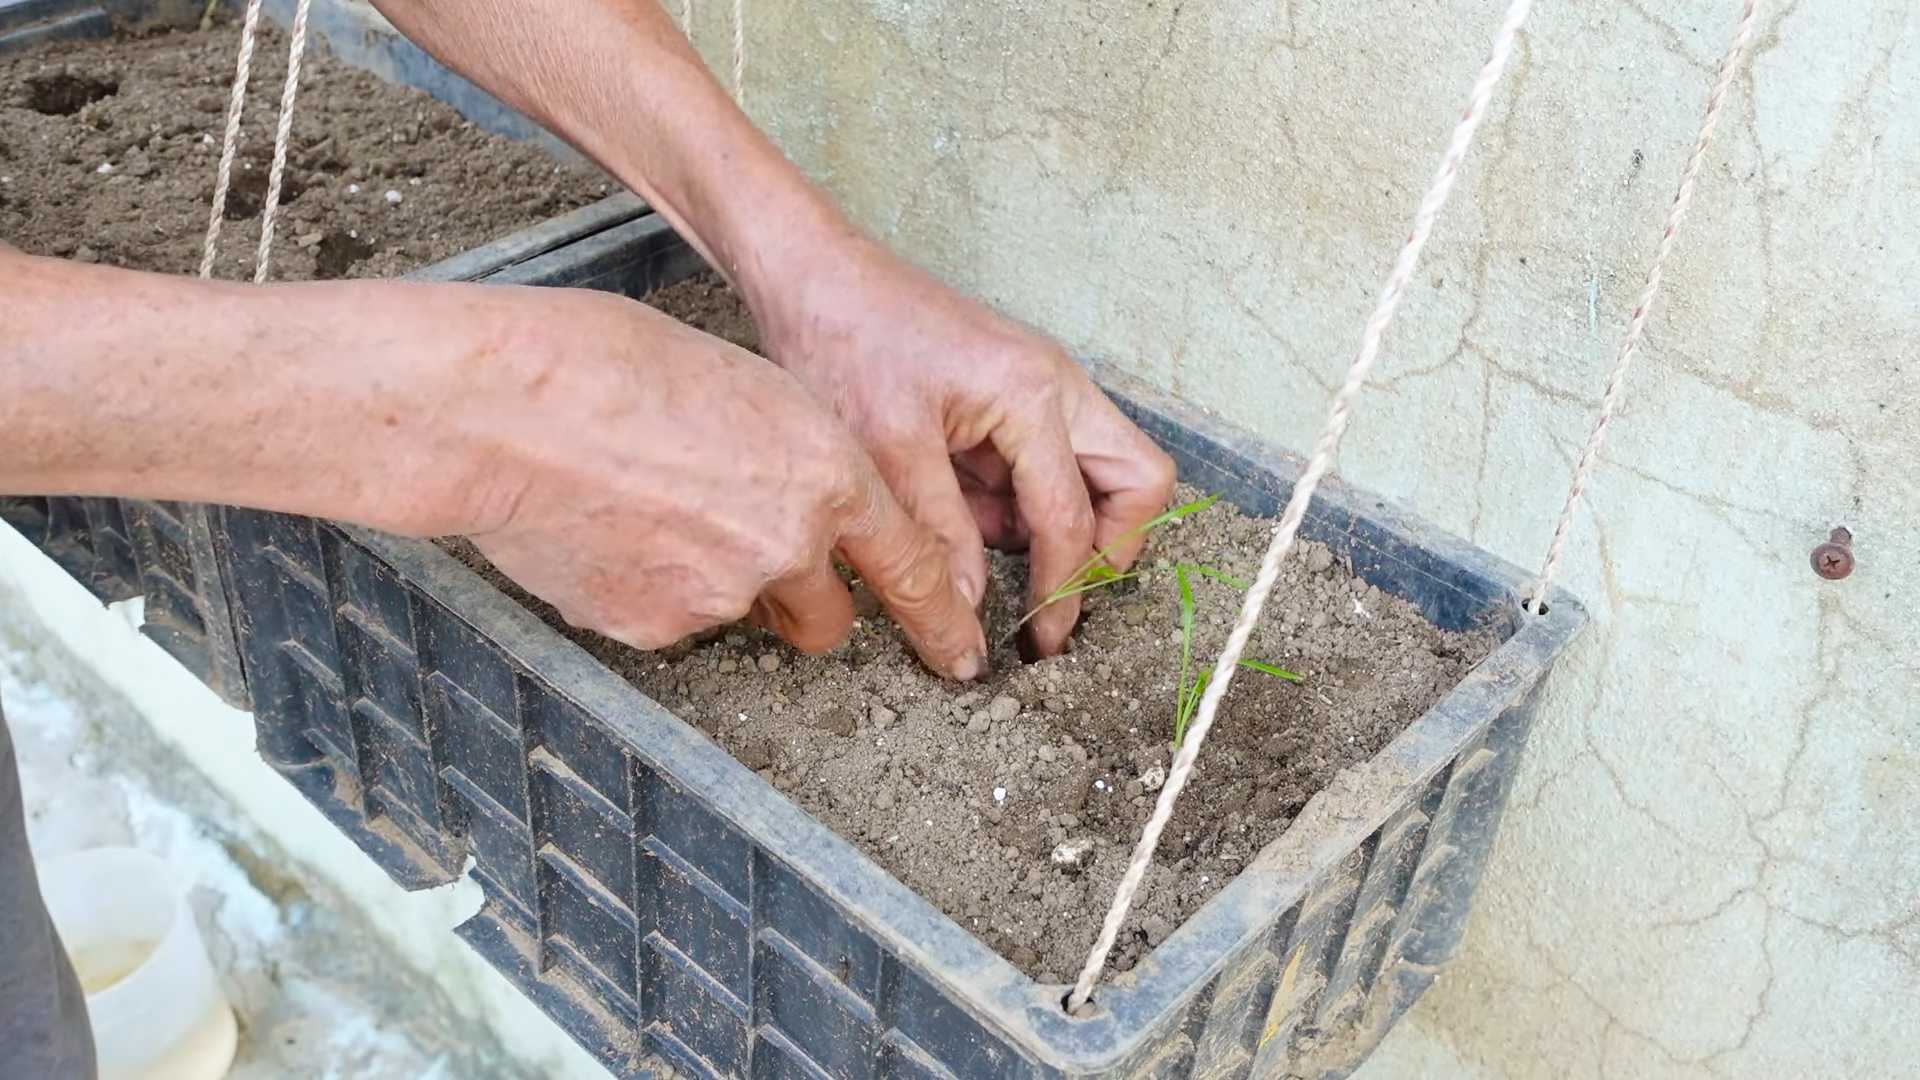
Planting Your Dill Seeds
Now for the fun part: planting! This is where your dill journey truly begins.
- Prepare the Pot: Fill your pot with potting mix, leaving about an inch of space at the top. Gently pat down the soil to remove any large air pockets.
- Sow the Seeds: Sprinkle the dill seeds evenly over the surface of the soil. You can sow them quite densely, as you can always thin them out later.
- Cover the Seeds: Lightly cover the seeds with about ¼ inch of potting mix. Dill seeds need light to germinate, so don’t bury them too deep.
- Water Gently: Use a watering can or spray bottle to gently moisten the soil. Avoid overwatering, as this can cause the seeds to rot. The soil should be damp but not soggy.
- Provide Light: Place your pot in a sunny location that receives at least 6 hours of direct sunlight per day. If you don’t have enough natural light, use a grow light.
Caring for Your Indoor Dill
Once your dill seeds are planted, it’s time to nurture them and watch them grow. Here’s what you need to do to keep your dill happy and healthy:
- Watering: Keep the soil consistently moist, but not soggy. Water when the top inch of soil feels dry to the touch. Avoid overwatering, as this can lead to root rot.
- Light: Dill needs plenty of light, at least 6 hours of direct sunlight per day. If you’re using a grow light, position it a few inches above the plants and keep it on for 12-16 hours per day.
- Temperature: Dill prefers temperatures between 60°F and 70°F (15°C and 21°C). Avoid placing your dill near drafts or sources of extreme heat or cold.
- Fertilizing (Optional): If you want to give your dill a boost, you can fertilize it every few weeks with a balanced liquid fertilizer. Follow the instructions on the fertilizer label.
- Thinning: Once your dill seedlings are a few inches tall, you may need to thin them out. This means removing some of the seedlings to give the remaining plants more room to grow. Choose the strongest seedlings and snip off the weaker ones at the base.
Using Grow Lights for Optimal Growth
If you’re serious about growing dill indoors, especially during the darker months, investing in a grow light is a game-changer. Here’s why and how to use them:
- Why Use Grow Lights? Natural sunlight can be inconsistent, especially indoors. Grow lights provide a consistent and reliable source of light, ensuring your dill gets the energy it needs to thrive. They also allow you to control the light spectrum, which can influence plant growth and flavor.
- Types of Grow Lights: There are several types of grow lights available, including LED, fluorescent, and incandescent. LED grow lights are the most energy-efficient and long-lasting, making them a popular choice for indoor gardening.
- Positioning Your Grow Light: Position your grow light a few inches above your dill plants. The exact distance will depend on the type of grow light you’re using, so refer to the manufacturer’s instructions.
- Light Schedule: Dill needs 12-16 hours of light per day. Use a timer to automate your grow light schedule and ensure your dill gets the right amount of light.
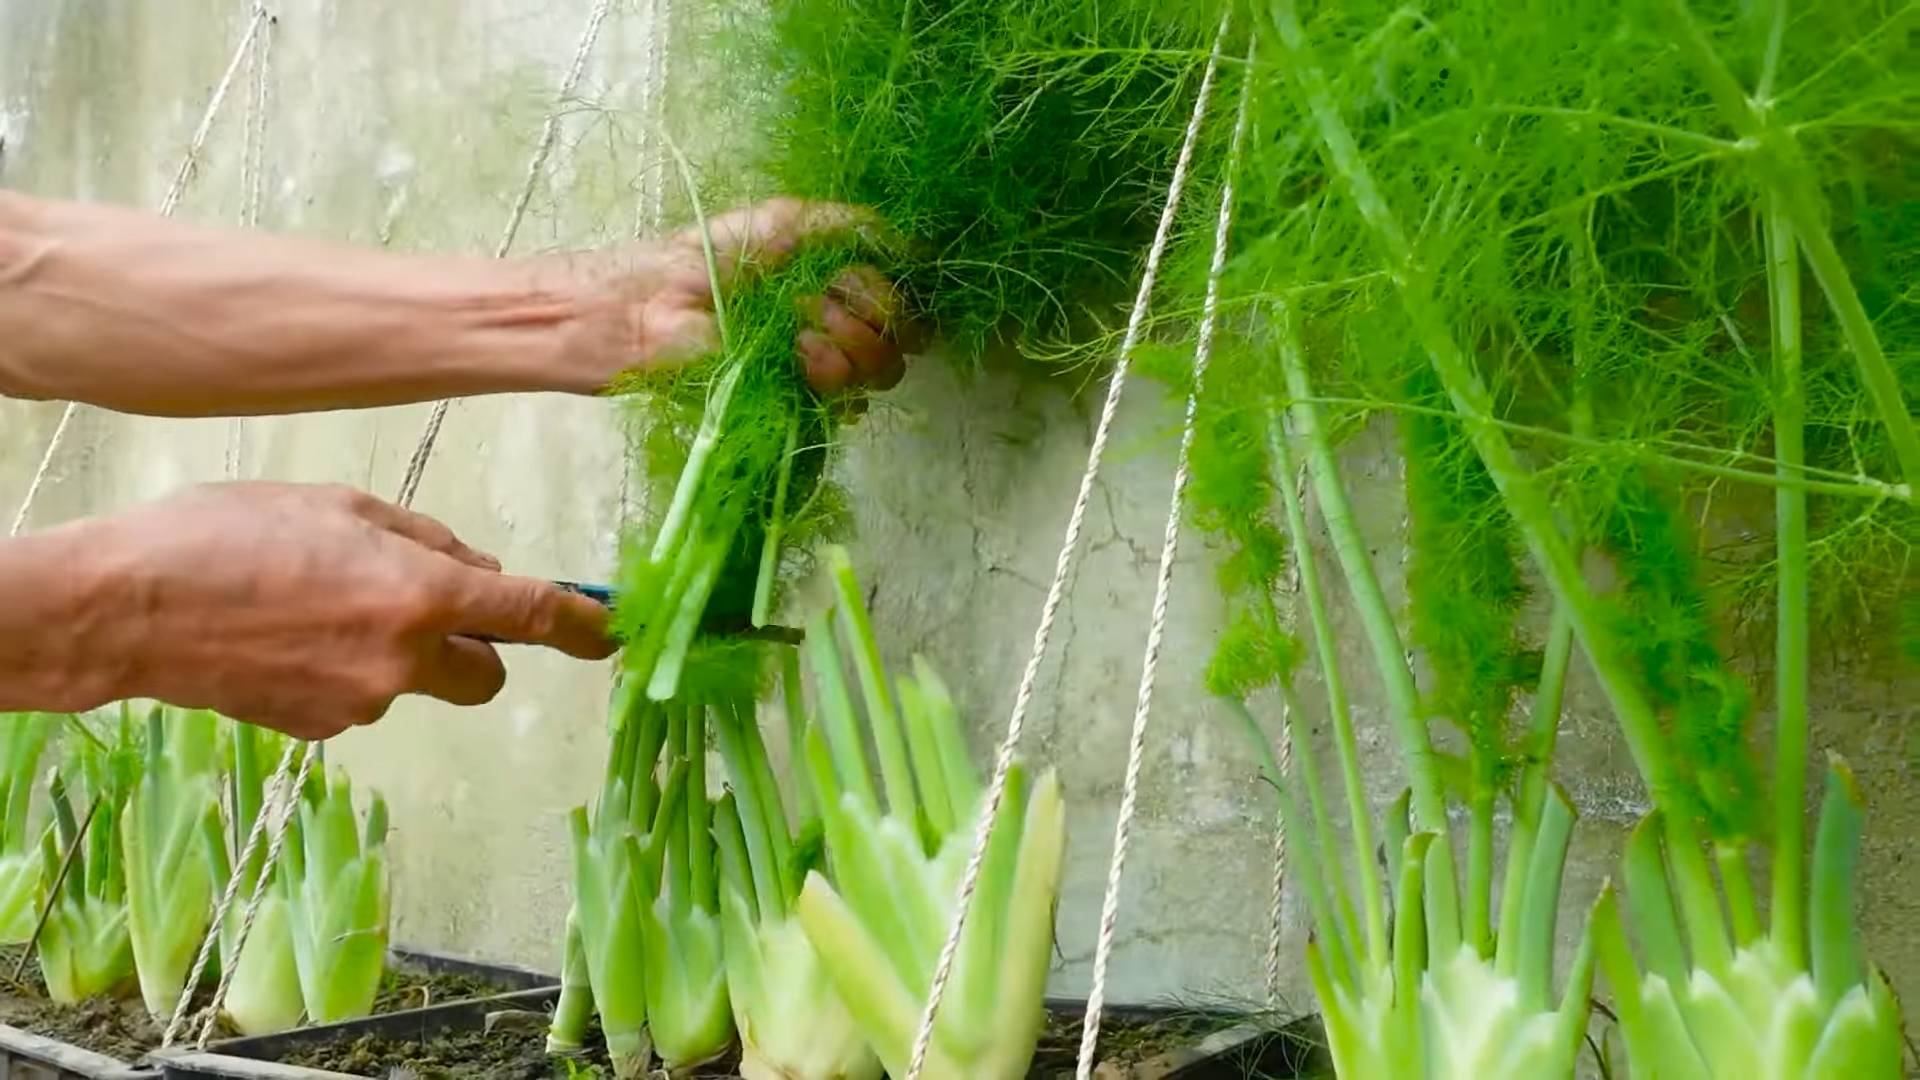
Harvesting Your Dill
The best part of growing dill indoors is, of course, harvesting your fresh herbs! Here’s how to do it:
- When to Harvest: You can start harvesting dill once the plants are about 6-8 inches tall.
- How to Harvest: Use scissors or pruning shears to snip off the leaves or stems. Avoid cutting off more than one-third of the plant at a time, as this can stunt its growth.
- Harvesting for Seeds: If you want to harvest dill seeds, allow some of the plants to flower. Once the flowers have dried and turned brown, you can collect the seeds.
Troubleshooting Common Problems
Even with the best care, you might encounter some problems while growing dill indoors. Here are some common issues and how to address them:
- Yellowing Leaves: This can be caused by overwatering, underwatering, or nutrient deficiencies. Check the soil moisture and adjust your watering schedule accordingly. If you suspect a nutrient deficiency, fertilize your dill with a balanced liquid fertilizer.
- Leggy Growth: This is usually a sign that your dill isn’t getting enough light. Move your dill to a sunnier location or use a grow light.
- Pests: Aphids and spider mites can sometimes infest indoor dill plants. Inspect your plants regularly and treat any infestations with insecticidal soap or neem oil.
- Root Rot: This is caused by overwatering and poor drainage. Make sure your pot has drainage holes and avoid overwatering. If you suspect root rot, repot your dill in fresh potting mix.
Encouraging Bushier Growth
Want your dill plant to be nice and bushy? Here’s a little secret:
- Pinching: When your dill plant is young, pinch off the top growth. This encourages the plant to branch out and produce more leaves.
- Regular Harvesting: Regular harvesting also encourages bushier growth. Every time you snip off leaves or stems, the plant will respond by producing new growth.
Extending the Life of Your Dill Plant
Dill is an annual plant, which means it completes its life cycle in one year. However, you can extend the life of your dill plant by following these tips:
- Prevent Flowering: Once dill flowers, it starts to produce seeds and its leaves become less flavorful. To prevent flowering, pinch off any flower buds as soon as you see them.
- Regular Harvesting: Regular harvesting also helps to prevent flowering.
- Repotting: If your dill plant becomes root-bound, you can repot it in a larger container. This will give it more room to grow and extend its life.
Enjoying Your Fresh Dill
Now that you’ve successfully grown dill indoors, it’s time to enjoy the fruits (or
Conclusion
So, there you have it! Growing dill indoors is not only achievable, but it’s also a rewarding experience that brings fresh, aromatic flavor right to your fingertips. Forget those sad, wilted bunches from the grocery store; imagine snipping vibrant, feathery dill fronds whenever you need them, adding a burst of summery freshness to your favorite dishes.
This DIY trick is a must-try for several reasons. First and foremost, it grants you access to fresh dill year-round, regardless of the season or your geographical location. No more relying on expensive, often subpar, store-bought options. Second, it’s incredibly satisfying to nurture a plant from seed to harvest. There’s a unique connection you develop with your food when you’ve grown it yourself. Third, growing dill indoors is a sustainable practice that reduces your carbon footprint by minimizing transportation and packaging waste.
But the benefits don’t stop there! You can experiment with different varieties of dill to discover your favorite flavor profiles. Try growing ‘Bouquet’ dill for its high yield and robust flavor, or ‘Fernleaf’ dill for its compact size and ornamental appeal. You can also adjust the growing conditions to influence the flavor of your dill. For example, providing slightly less light can result in a more intense, concentrated flavor.
Consider using your homegrown dill in a variety of ways. Sprinkle it over roasted vegetables, add it to creamy dips and sauces, or use it to infuse oils and vinegars. Dill is a versatile herb that complements a wide range of dishes, from seafood and poultry to salads and soups. You can even dry your homegrown dill to preserve its flavor for later use. Simply hang the stems upside down in a cool, dry place until they are completely dry, then crumble the leaves and store them in an airtight container.
We encourage you to embark on this exciting journey of growing dill indoors. It’s a simple, cost-effective, and incredibly rewarding way to enhance your culinary creations and connect with nature. Don’t be afraid to experiment and adapt the techniques to suit your specific environment and preferences.
Once you’ve experienced the joy of harvesting your own fresh dill, we’d love to hear about your experience! Share your tips, tricks, and favorite dill recipes in the comments below. Let’s create a community of indoor dill enthusiasts and inspire others to embrace the joys of homegrown herbs. Let us know what challenges you faced and how you overcame them. Did you find a particular type of grow light worked better? Did you have any issues with pests? Your insights can help others succeed in their own indoor dill growing endeavors.
So, grab some seeds, prepare your pots, and get ready to enjoy the delightful flavor of fresh, homegrown dill. Happy gardening!
Frequently Asked Questions (FAQ)
1. What type of dill is best for growing indoors?
While most dill varieties can be grown indoors, some are better suited than others. Compact varieties like ‘Fernleaf’ dill are ideal for smaller spaces as they don’t grow as tall as other types. ‘Bouquet’ dill is another popular choice, known for its high yield and strong flavor. Consider your available space and desired flavor profile when selecting a dill variety for indoor growing. Ultimately, the best dill for you is the one that thrives in your specific indoor environment.
2. What kind of soil is needed for growing dill indoors?
Dill prefers well-draining soil that is rich in organic matter. A good potting mix specifically formulated for herbs or vegetables is an excellent choice. You can also create your own potting mix by combining equal parts of potting soil, perlite, and compost. Perlite helps improve drainage, while compost provides essential nutrients. Avoid using garden soil, as it can be too heavy and may contain pests or diseases. The right soil is crucial for healthy root development and overall plant growth.
3. How much sunlight does indoor dill need?
Dill requires at least 6-8 hours of direct sunlight per day to thrive. If you don’t have a sunny windowsill, you can supplement with grow lights. Position the grow lights about 6-12 inches above the plants and keep them on for 14-16 hours per day. Insufficient light can lead to leggy growth and reduced flavor. Rotate your dill plants regularly to ensure even light exposure on all sides. A south-facing window is generally the best option for providing ample sunlight.
4. How often should I water my indoor dill plant?
Water dill regularly, keeping the soil consistently moist but not waterlogged. Allow the top inch of soil to dry out slightly between waterings. Overwatering can lead to root rot, while underwatering can cause the plant to wilt. Check the soil moisture regularly and adjust your watering schedule accordingly. The frequency of watering will depend on factors such as the size of the pot, the temperature, and the humidity level.
5. How do I fertilize my indoor dill plant?
Dill is not a heavy feeder, but it benefits from occasional fertilization. Use a balanced liquid fertilizer diluted to half strength every 2-4 weeks during the growing season. Avoid over-fertilizing, as this can lead to excessive foliage growth at the expense of flavor. Organic fertilizers, such as compost tea or fish emulsion, are also excellent options. Always follow the instructions on the fertilizer label.
6. How do I harvest dill from my indoor plant?
You can start harvesting dill leaves once the plant is about 6-8 inches tall. Snip off the leaves with scissors or your fingers, taking care not to remove more than one-third of the plant at a time. Regular harvesting encourages the plant to produce more leaves. You can also harvest the entire plant at once, leaving a few inches of stem to allow it to regrow. Dill flowers are also edible and can be used to add a unique flavor to dishes.
7. What are some common problems when growing dill indoors?
Some common problems when growing dill indoors include aphids, spider mites, and powdery mildew. Aphids and spider mites can be controlled with insecticidal soap or neem oil. Powdery mildew can be prevented by providing good air circulation and avoiding overhead watering. Overwatering can also lead to root rot, so it’s important to ensure proper drainage. Regularly inspect your plants for signs of pests or diseases and take action promptly.
8. Can I grow dill from seed indoors?
Yes, you can easily grow dill from seed indoors. Sow the seeds directly into the potting mix, about ¼ inch deep. Keep the soil moist and warm until the seeds germinate, which usually takes about 7-14 days. Once the seedlings emerge, provide them with plenty of light. You can also start dill seeds outdoors and transplant them indoors once they are a few inches tall. Starting from seed is a cost-effective way to grow a large quantity of dill.
9. How long does it take for dill to grow indoors?
Dill typically takes about 6-8 weeks to mature from seed to harvest. The exact time will depend on factors such as the variety of dill, the growing conditions, and the amount of light it receives. With proper care, you can enjoy a continuous harvest of fresh dill throughout the growing season. Be patient and provide your dill plants with the optimal conditions for growth.
10. Can I grow dill in water indoors?
While dill is typically grown in soil, it is possible to propagate it in water. Take a cutting from a mature dill plant and place it in a glass of water. Make sure that the leaves are not submerged in water, as this can cause them to rot. Change the water every few days. After a few weeks, the cutting should develop roots. Once the roots are about an inch long, you can transplant the dill cutting into a pot filled with potting mix. This method is a great way to propagate new dill plants from existing ones.
Leave a Comment