
Clean Microwave with Vinegar: Are you tired of staring into a microwave splattered with yesterday’s lunch, dreading the scrubbing session ahead? I know I am! Let’s face it, cleaning the microwave is one of those chores we all put off, but it doesn’t have to be a Herculean task.
Believe it or not, using vinegar to clean household appliances isn’t a newfangled idea. Our grandmothers and great-grandmothers relied on vinegar’s natural cleaning power long before fancy cleaning products lined store shelves. It’s a time-tested, eco-friendly, and incredibly effective method. Think of it as a return to simpler, more sustainable cleaning practices.
Why is this DIY trick so essential? Because a clean microwave isn’t just about aesthetics; it’s about hygiene. Those food splatters can harbor bacteria and lead to unpleasant odors. Plus, a dirty microwave is less efficient, taking longer to heat your food. This simple hack will not only save you time and effort but also ensure your microwave is a safe and efficient appliance. So, ditch the harsh chemicals and let’s discover how to clean microwave with vinegar quickly and easily!
DIY Microwave Cleaning with Vinegar: A Steam-Powered Solution!
Hey everyone! I’m so excited to share my go-to method for cleaning a microwave – using just vinegar and water! It’s super easy, incredibly effective, and avoids harsh chemicals. Trust me, once you try this, you’ll never go back to scrubbing for hours. This method uses the power of steam to loosen all that stuck-on food, making it a breeze to wipe clean. Let’s get started!
What You’ll Need:
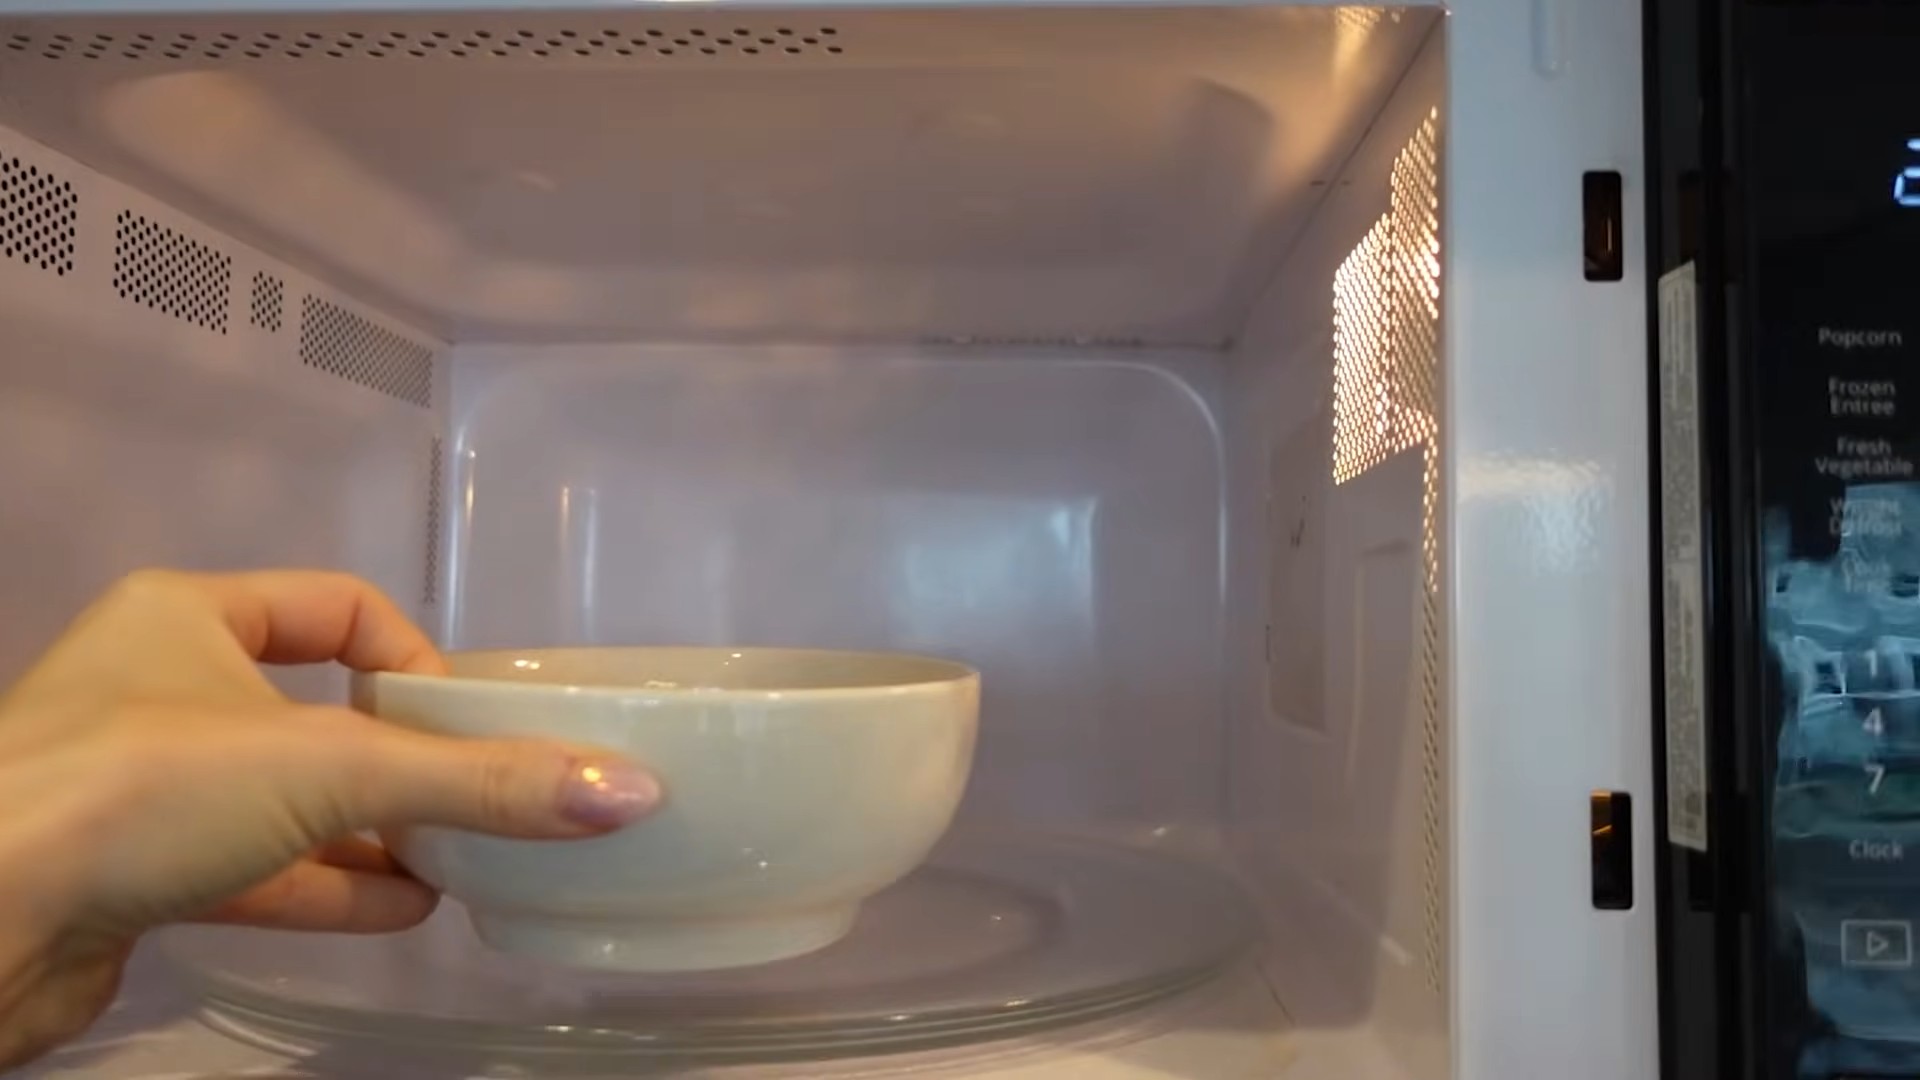
* A microwave-safe bowl (glass or ceramic works best)
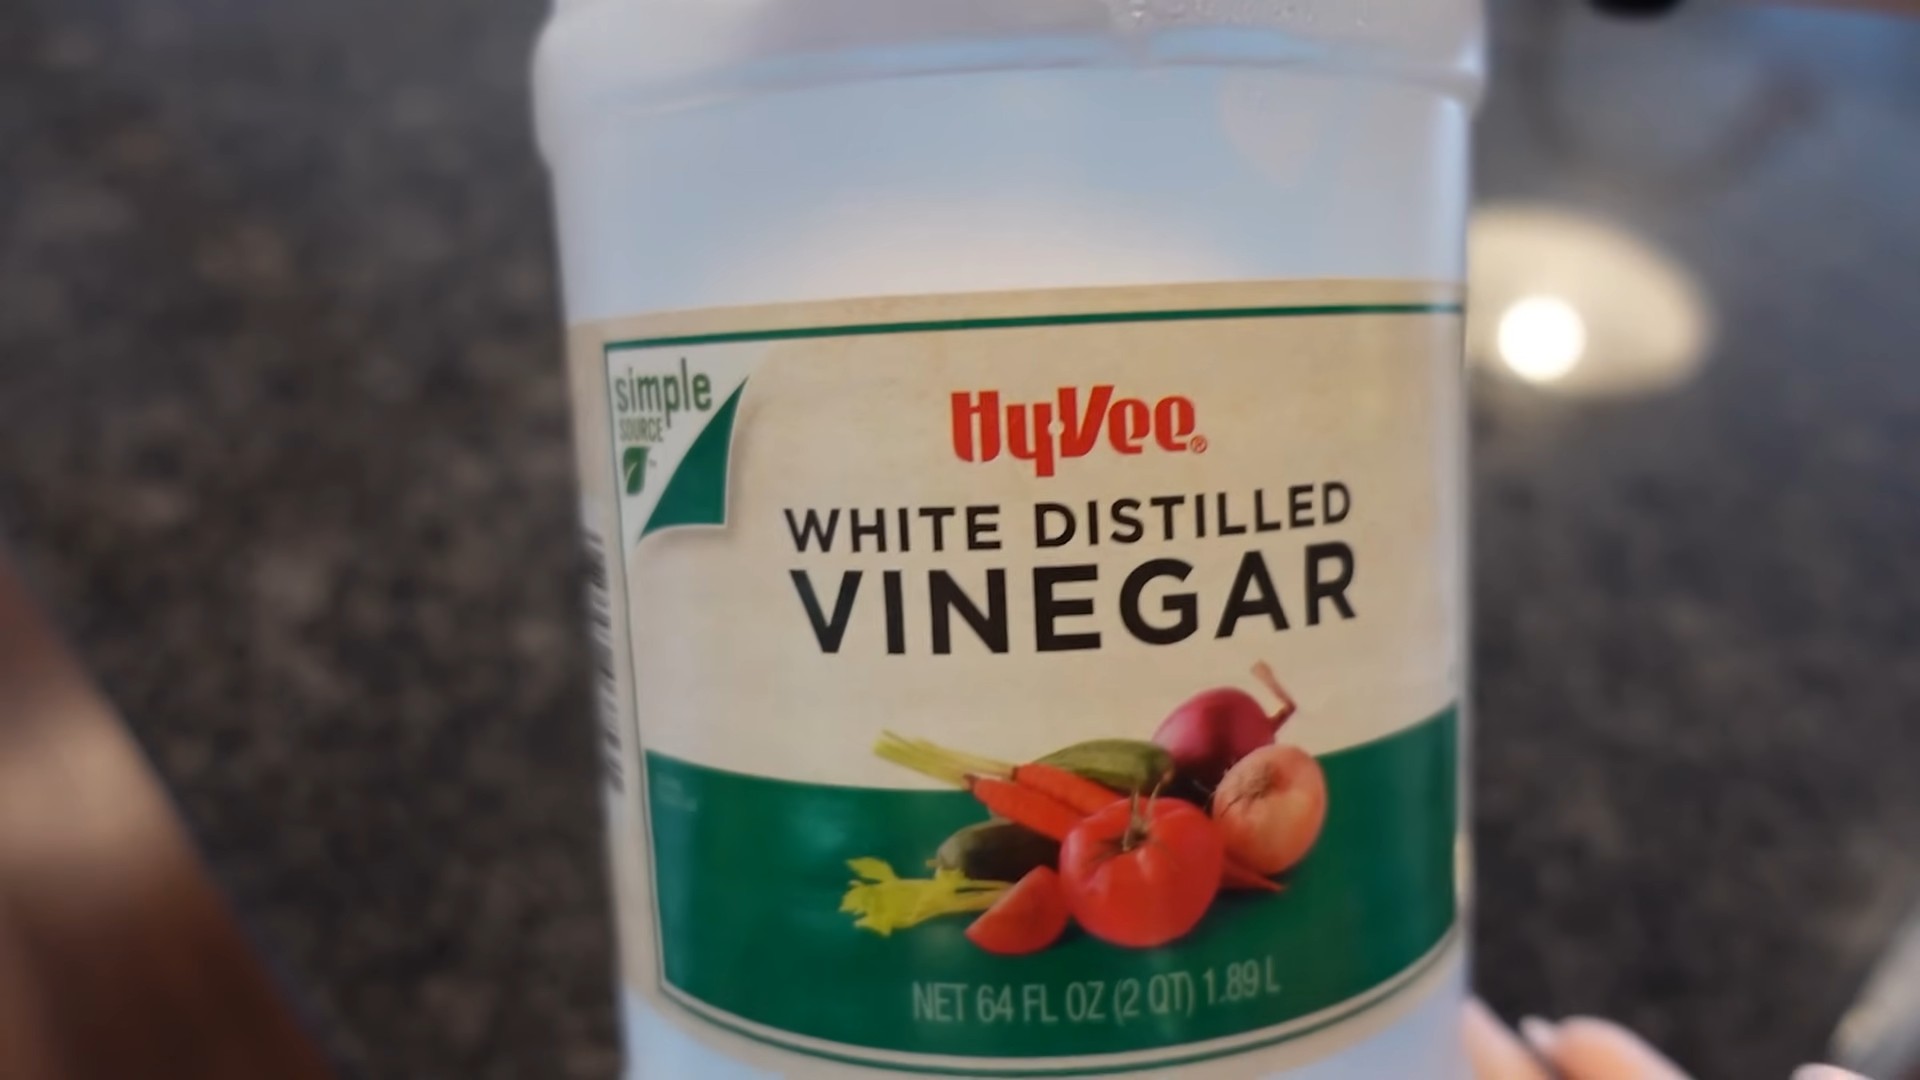
* White vinegar
* Water
* A clean sponge or cloth
* Oven mitts or pot holders (for handling the hot bowl)
The Magic Ratio: Vinegar and Water
The key to this hack is the right ratio of vinegar to water. I’ve found that a 50/50 mix works perfectly. It’s strong enough to create effective steam, but not so overpowering that your kitchen smells like a pickle factory for days.
Step-by-Step Instructions:
1. Prepare the Vinegar Solution: Grab your microwave-safe bowl and pour in one cup of white vinegar. Then, add one cup of water. Give it a quick stir to combine. It doesn’t need to be perfect, just a little mix.
2. Microwave the Solution: Place the bowl with the vinegar and water mixture inside your microwave. Now, this is where the magic happens! Set the microwave to high for 5-10 minutes. The exact time will depend on how dirty your microwave is. For a lightly soiled microwave, 5 minutes might be enough. For a microwave that looks like it’s been through a food fight, go for the full 10 minutes. You want the solution to boil and create plenty of steam.
3. Let the Steam Work Its Magic: This is the most important step! Once the microwave stops, resist the urge to immediately open the door. Leave the bowl inside with the door closed for another 3-5 minutes. This allows the steam to fully saturate the inside of the microwave, loosening all the grime and splatters. The longer you leave it, the easier the next step will be. I usually use this time to do other chores, like loading the dishwasher or wiping down the counters.
4. Carefully Remove the Bowl: Using your oven mitts or pot holders (remember, the bowl will be HOT!), carefully remove the bowl from the microwave. The water will be very hot, so be extra cautious. Pour the remaining liquid down the drain.
5. Wipe Down the Interior: Now for the satisfying part! Take your clean sponge or cloth and start wiping down the interior of the microwave. You’ll be amazed at how easily the food particles come off. The steam has loosened everything, so you should be able to wipe away even stubborn stains with minimal effort. Pay attention to the top, bottom, sides, and door of the microwave. Don’t forget the turntable and the ring underneath it!
6. Clean the Turntable and Ring: Remove the turntable and the ring underneath it. Wash them with warm, soapy water. Rinse them thoroughly and dry them before placing them back in the microwave. These parts often get overlooked, but they can accumulate a lot of grease and grime.
7. Dry the Interior: Once you’ve wiped down the entire interior, use a clean, dry cloth to dry everything. This will prevent water spots and leave your microwave sparkling clean.
Tackling Stubborn Stains:
Sometimes, even with the steam treatment, you might encounter a few stubborn stains that refuse to budge. Don’t worry, I’ve got a few tricks up my sleeve!
* Vinegar-Soaked Cloth: For particularly stubborn spots, soak a corner of your cleaning cloth in straight white vinegar. Gently scrub the stain with the vinegar-soaked cloth. Let it sit for a minute or two to allow the vinegar to break down the grime, then wipe it away with a clean part of the cloth.
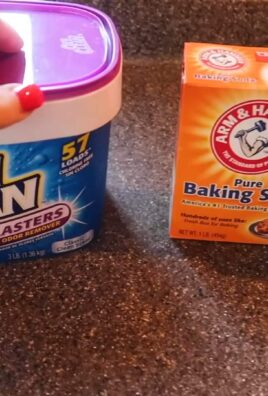
* Baking Soda Paste: If vinegar alone isn’t doing the trick, try making a paste of baking soda and water. Mix a tablespoon of baking soda with just enough water to form a thick paste. Apply the paste to the stain and let it sit for a few minutes. Then, gently scrub with a sponge or cloth and wipe clean. Baking soda is a mild abrasive that can help to lift stubborn stains without scratching the microwave’s surface.
* Lemon Juice Boost: For extra cleaning power and a fresh scent, add a tablespoon of lemon juice to your vinegar and water solution. The citric acid in lemon juice is a natural degreaser and can help to break down tough stains.
Preventative Measures: Keeping Your Microwave Clean Longer
Okay, so now you have a sparkling clean microwave. But how do you keep it that way? Here are a few tips to prevent future messes:
* Cover Your Food: Always cover your food when microwaving it. This will prevent splatters and spills from coating the interior of the microwave. Use microwave-safe covers, plastic wrap, or even a paper towel.
* Wipe Up Spills Immediately: If something does spill in the microwave, wipe it up immediately. The longer it sits, the harder it will be to remove. Keep a damp cloth or sponge handy for quick cleanups.
* Regular Steam Cleaning: I recommend doing this vinegar steam cleaning method at least once a month, or more often if you use your microwave frequently. Regular cleaning will prevent grime from building up and make it easier to maintain a clean microwave.
* Don’t Overfill Containers: Overfilling containers is a surefire way to create a mess in your microwave. Make sure there’s enough headspace in the container to prevent food from boiling over.
Troubleshooting: Common Issues and Solutions
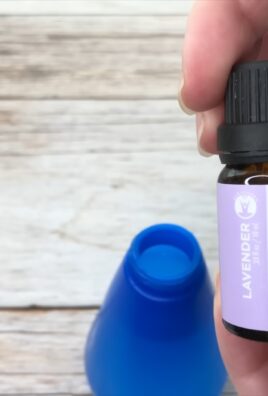
* Strong Vinegar Smell: If the vinegar smell is too strong for your liking, you can add a few drops of essential oil to the vinegar and water solution. Lemon, orange, or lavender essential oils work well. You can also leave the microwave door open for a few hours after cleaning to allow the smell to dissipate.
* Microwave Still Smells Bad: If your microwave still smells bad after cleaning, try placing a small bowl of baking soda inside and leaving it overnight. Baking soda is a natural odor absorber and can help to neutralize unpleasant smells.
* Food Still Stuck: If you’re still struggling to remove stuck-on food, try repeating the steam cleaning process. You can also try using a plastic scraper to gently scrape away the stubborn particles. Avoid using metal scrapers, as they can damage the microwave’s surface.
Why This Method Works: The Science Behind the Steam
This method works so well because of the power of steam. When you heat the vinegar and water mixture, it creates steam that fills the microwave. The steam penetrates the dried food particles, loosening them and making them easier to wipe away. The vinegar also acts as a natural degreaser, helping to break down grease and grime. Plus, vinegar has mild antibacterial properties, which can help to kill germs and bacteria in your microwave.
Safety First!
Always remember to use oven mitts or pot holders when handling the hot bowl. The water will be very hot, and you don’t want to burn yourself. Also, be careful when removing the turntable and ring, as they may be slippery. And never, ever put metal objects in the microwave!
Final Thoughts: A Clean Microwave is a Happy Microwave!
So there you have it! My simple and effective method for cleaning a microwave with vinegar and water. It’s a quick, easy, and eco-friendly way to keep your microwave sparkling clean. I hope you found this guide helpful. Happy cleaning! I promise, a clean microwave makes cooking and reheating food so much more enjoyable. Plus, it’s just more hygienic! Let me know in the comments if you try this method and how it works for you. I’m always looking for new tips and tricks to share!
Conclusion
So, there you have it! A sparkling clean microwave, achieved with nothing more than vinegar and a little bit of elbow grease (or, rather, microwave power!). This simple DIY trick isn’t just about aesthetics; it’s about hygiene, efficiency, and extending the life of your appliance. Think about it: all those splatters and spills baked onto the interior walls not only look unappealing but can also harbor bacteria and affect the way your microwave heats food. By regularly cleaning your microwave with vinegar, you’re ensuring a safer and more pleasant cooking experience.
But the benefits don’t stop there. A clean microwave operates more efficiently, meaning your food heats up faster and more evenly. This saves you time and energy, and who doesn’t want that? Plus, removing built-up grime prevents it from hardening and becoming even more difficult to clean in the future. It’s a win-win situation!
This method is also incredibly versatile. While vinegar is the star of the show, you can experiment with adding a few drops of lemon or orange essential oil to the vinegar-water mixture for a more pleasant scent. If you’re dealing with particularly stubborn stains, try adding a tablespoon of baking soda to the bowl along with the vinegar and water. The baking soda will help to loosen the grime and make it easier to wipe away. You could also try using a microfiber cloth for wiping down the interior, as these cloths are excellent at picking up dirt and debris.
Why is this DIY microwave cleaning trick a must-try? Because it’s effective, affordable, eco-friendly, and incredibly easy. You likely already have everything you need in your pantry! It’s a far cry from harsh chemical cleaners that can leave behind lingering odors and potentially harmful residues. This method is safe for you, your family, and the environment.
We’re confident that once you try this simple method for cleaning your microwave with vinegar, you’ll be amazed at the results. It’s a quick and easy way to keep your microwave looking and functioning its best. So, ditch the harsh chemicals and embrace the power of vinegar!
Now, we want to hear from you! Have you tried this method before? What variations have you found to be most effective? Share your experiences and tips in the comments below. Let’s create a community of clean microwave enthusiasts! Don’t forget to share this article with your friends and family so they can benefit from this simple and effective cleaning hack too. We can’t wait to see your sparkling clean microwaves!
Frequently Asked Questions (FAQ)
Q: How often should I clean my microwave with vinegar?
A: The frequency depends on how often you use your microwave and how prone it is to splatters. As a general rule, aim to clean it at least once a week. If you notice frequent spills or splatters, you might want to clean it more often. A quick wipe-down after each use can also help prevent buildup. Regular maintenance will make the cleaning process much easier and prevent stubborn stains from forming.
Q: Can I use any type of vinegar for cleaning my microwave?
A: White vinegar is the most commonly recommended type of vinegar for cleaning due to its acidity and lack of color. However, you can also use apple cider vinegar, although it may leave a slight scent. Avoid using flavored vinegars, such as balsamic vinegar, as they may leave a sticky residue or unwanted odors. The key is to use a vinegar with a sufficient acidity level to effectively loosen grime and kill bacteria.
Q: What if the vinegar smell lingers after cleaning?
A: The vinegar smell should dissipate quickly after cleaning. To help speed up the process, you can leave the microwave door open for a few minutes to allow it to air out. You can also place a bowl of baking soda inside the microwave overnight to absorb any lingering odors. Another option is to wipe down the interior with a damp cloth and a few drops of lemon juice or essential oil.
Q: My microwave has some really stubborn stains. Will this method still work?
A: For stubborn stains, you might need to repeat the process or try a few variations. First, ensure the vinegar-water mixture is hot enough. You can also try adding a tablespoon of baking soda to the bowl along with the vinegar and water. Let the mixture steam for a longer period, perhaps 5-10 minutes. After steaming, let the microwave sit for a few minutes before wiping it down. For particularly tough spots, you can create a paste of baking soda and water and apply it directly to the stain. Let it sit for a few minutes before wiping it away.
Q: Is it safe to microwave vinegar?
A: Yes, it is generally safe to microwave vinegar in a microwave-safe bowl. However, it’s important to use a microwave-safe container and to avoid overheating the mixture. Never microwave vinegar in a sealed container, as this could cause it to explode. Always supervise the microwave while it’s running and stop it immediately if you notice any unusual activity.
Q: Can I use this method to clean the outside of my microwave?
A: Yes, you can use a diluted vinegar solution to clean the outside of your microwave. Mix equal parts vinegar and water in a spray bottle and lightly spray the exterior surfaces. Wipe down with a clean cloth. Avoid spraying directly into the vents or electronic components. For stainless steel microwaves, be sure to wipe in the direction of the grain to prevent streaks.
Q: What if I don’t have vinegar? Are there any alternatives?
A: While vinegar is the most effective and readily available option, you can try using lemon juice as an alternative. Mix equal parts lemon juice and water in a microwave-safe bowl and follow the same steaming process. Lemon juice has similar cleaning properties to vinegar and can also leave a pleasant scent. However, vinegar is generally more effective at removing stubborn stains.
Q: Can I use this method on all types of microwaves?
A: Yes, this method is generally safe to use on all types of microwaves, including countertop, over-the-range, and built-in models. However, it’s always a good idea to consult your microwave’s user manual for specific cleaning instructions or recommendations. If you’re unsure, test the method on a small, inconspicuous area first.
Q: What type of bowl should I use in the microwave?
A: Always use a microwave-safe bowl made of glass, ceramic, or microwave-safe plastic. Avoid using metal bowls or containers, as they can cause sparks and damage your microwave. Make sure the bowl is large enough to hold the vinegar-water mixture without overflowing.
Q: How does cleaning the microwave with vinegar help with food safety?
A: Cleaning your microwave with vinegar helps to eliminate bacteria and foodborne pathogens that can accumulate from splatters and spills. These pathogens can contaminate your food and potentially cause illness. By regularly cleaning your microwave, you’re creating a safer and more hygienic environment for cooking and reheating food. This is especially important for individuals with weakened immune systems or those who are more susceptible to foodborne illnesses.
Leave a Comment