
Baking Soda Dish Soap Cleaner: Sounds like a science experiment, right? Well, it kind of is, but the results are far more rewarding than a volcano made of vinegar and baking soda! I’m talking sparkling clean dishes, a happy planet, and a lighter load on your wallet. For generations, resourceful folks have been concocting their own cleaning solutions, drawing on the power of simple, readily available ingredients. Think back to your grandmother’s era – harsh chemicals weren’t the norm; ingenuity and natural solutions were!
Today, we’re rediscovering that wisdom. With growing concerns about the environmental impact of commercial cleaners and the potential health risks associated with their ingredients, many of us are seeking safer, more sustainable alternatives. That’s where this DIY baking soda dish soap cleaner comes in. It’s a fantastic way to ditch the harsh chemicals, save some money, and feel good about what you’re using to wash your dishes. Plus, it’s incredibly easy to make!
This article will guide you through a simple, step-by-step process to create your own effective and eco-friendly dish soap. Get ready to unlock the cleaning power of baking soda and dish soap – your dishes (and the planet) will thank you!
DIY Baking Soda & Dish Soap Cleaning Powerhouse
Hey everyone! I’m so excited to share one of my favorite DIY cleaning hacks with you: a super effective cleaner made with just baking soda and dish soap. Seriously, this stuff is amazing for tackling grime, grease, and stubborn stains all over your house. It’s cheap, easy to make, and uses ingredients you probably already have in your pantry. Let’s get started!
What Makes This Cleaner So Great?
Before we dive into the how-to, let’s talk about why this simple combo works so well.
* Baking Soda: This is your gentle abrasive. It’s mildly alkaline, which helps to dissolve dirt and grease. Plus, its slightly gritty texture helps to scrub away stubborn messes without scratching most surfaces.
* Dish Soap: This is your surfactant. It lowers the surface tension of water, allowing it to spread more easily and lift away dirt and grease. It also helps to emulsify the grime, keeping it suspended in the water so it doesn’t just redeposit on the surface you’re cleaning.
Together, they create a powerful cleaning duo that’s surprisingly versatile.
Where Can You Use This Cleaner?
I’ve used this cleaner on so many things around my house! Here are just a few ideas:
* Kitchen: Sinks, countertops (test in an inconspicuous area first, especially on natural stone), stovetops, ovens (as a paste), microwaves, and even greasy range hoods.
* Bathroom: Sinks, tubs, showers, toilets, and tile grout.
* Laundry: As a pre-treatment for stains on clothes (again, test in an inconspicuous area first).
* General Cleaning: Spot cleaning carpets (test first!), cleaning walls (test first!), and even shining up stainless steel appliances.
Important Note: Always test this cleaner in an inconspicuous area first, especially on delicate surfaces like natural stone, painted walls, or certain types of plastic. While baking soda is generally gentle, it can still scratch some surfaces.
What You’ll Need
Okay, let’s gather our supplies. You probably have everything you need already!
* Baking Soda: The star of the show!
* Dish Soap: Any liquid dish soap will work. I usually use a basic, unscented variety, but feel free to use your favorite.
* Water: For diluting the mixture, if needed.
* Mixing Bowl: To combine the ingredients.
* Spoon or Spatula: For mixing.
* Spray Bottle (Optional): For easy application.
* Cleaning Cloths or Sponges: For wiping and scrubbing.
* Old Toothbrush (Optional): For scrubbing grout or tight spaces.
* Gloves (Optional): To protect your hands, especially if you have sensitive skin.
Making the Cleaning Paste: Step-by-Step Instructions
This is the most common way I use this cleaner – as a paste. It’s perfect for tackling tough stains and grime.
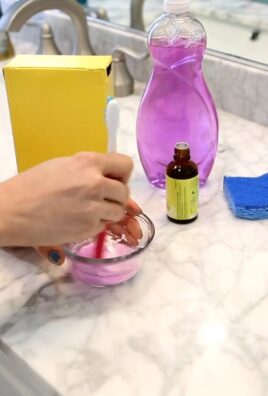
1. Gather Your Ingredients: Make sure you have your baking soda, dish soap, mixing bowl, and spoon ready to go.
2. Combine Baking Soda and Dish Soap: In your mixing bowl, add about 1/2 cup of baking soda. Then, slowly add dish soap, about 1-2 tablespoons at a time.
3. Mix Well: Use your spoon or spatula to mix the baking soda and dish soap together. You want to create a thick paste. Add more dish soap if the mixture is too dry, or more baking soda if it’s too runny. The consistency should be similar to toothpaste.
4. Adjust Consistency (If Needed): If you prefer a slightly thinner paste, you can add a teaspoon or two of water. Mix well until you reach your desired consistency.
5. Transfer to a Container (Optional): If you’re not using the paste immediately, you can transfer it to an airtight container for storage. It should last for several weeks.
Using the Cleaning Paste
Now that you’ve made your cleaning paste, let’s put it to work!
1. Apply the Paste: Use your fingers, a sponge, or a cloth to apply the paste to the surface you want to clean.
2. Let it Sit (Optional): For tough stains, let the paste sit for a few minutes (up to 15-20 minutes) to allow the baking soda and dish soap to work their magic.
3. Scrub: Use a sponge, cloth, or old toothbrush to scrub the surface. Apply gentle pressure and work in circular motions.
4. Rinse: Rinse the surface thoroughly with water to remove any remaining paste and grime.
5. Dry: Use a clean cloth to dry the surface.
6. Repeat (If Necessary): For particularly stubborn stains, you may need to repeat the process.
Making a Cleaning Spray: Step-by-Step Instructions
Sometimes, a spray is more convenient than a paste. This is great for lighter cleaning tasks or for covering larger areas.
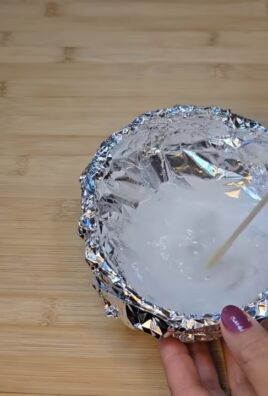
1. Gather Your Ingredients: You’ll need baking soda, dish soap, water, a mixing bowl, a spoon, and a spray bottle.
2. Dissolve Baking Soda in Water: In your mixing bowl, add about 1 tablespoon of baking soda to 1 cup of warm water. Stir well until the baking soda is completely dissolved.
3. Add Dish Soap: Add about 1 teaspoon of dish soap to the baking soda and water mixture.
4. Mix Gently: Stir the mixture gently to combine the ingredients. Be careful not to create too many bubbles.
5. Pour into Spray Bottle: Carefully pour the mixture into your spray bottle.
6. Label Your Bottle: It’s always a good idea to label your spray bottle so you know what’s inside.
Using the Cleaning Spray
Time to spray and shine!
1. Shake Well: Before each use, shake the spray bottle well to ensure the ingredients are properly mixed.
2. Spray the Surface: Spray the cleaner onto the surface you want to clean.
3. Wipe Clean: Use a clean cloth or sponge to wipe the surface clean.
4. Rinse (If Necessary): For some surfaces, you may need to rinse with water after wiping.
5. Dry: Use a clean cloth to dry the surface.
Specific Cleaning Applications: My Tried-and-True Tips
Okay, now for some specific cleaning scenarios and how I use this magical mixture!
Cleaning the Oven
Ovens can get so gross! This paste is my go-to for tackling baked-on grease and food.
1. Remove Loose Debris: Scrape out any loose food particles or debris from the oven.
2. Apply the Paste: Generously apply the baking soda and dish soap paste to the interior of the oven, avoiding the heating elements.
3. Let it Sit Overnight: This is the key! Let the paste sit overnight to really loosen the grime.
4. Scrub: The next day, use a sponge or scrub brush to scrub the oven clean. You may need to use some elbow grease, but the paste should have made the job much easier.
5. Rinse: Rinse the oven thoroughly with water to remove any remaining paste and grime.
6. Dry: Use a clean cloth to dry the oven.
Cleaning Grout
Grout can be a breeding ground for dirt and mildew. This paste works wonders!
1. Apply the Paste: Apply the baking soda and dish soap paste to the grout lines.
2. Let it Sit: Let the paste sit for about 10-15 minutes.
3. Scrub: Use an old toothbrush or grout brush to scrub the grout lines.
4. Rinse: Rinse the grout lines thoroughly with water.
5. Dry: Use a clean cloth to dry the grout lines.
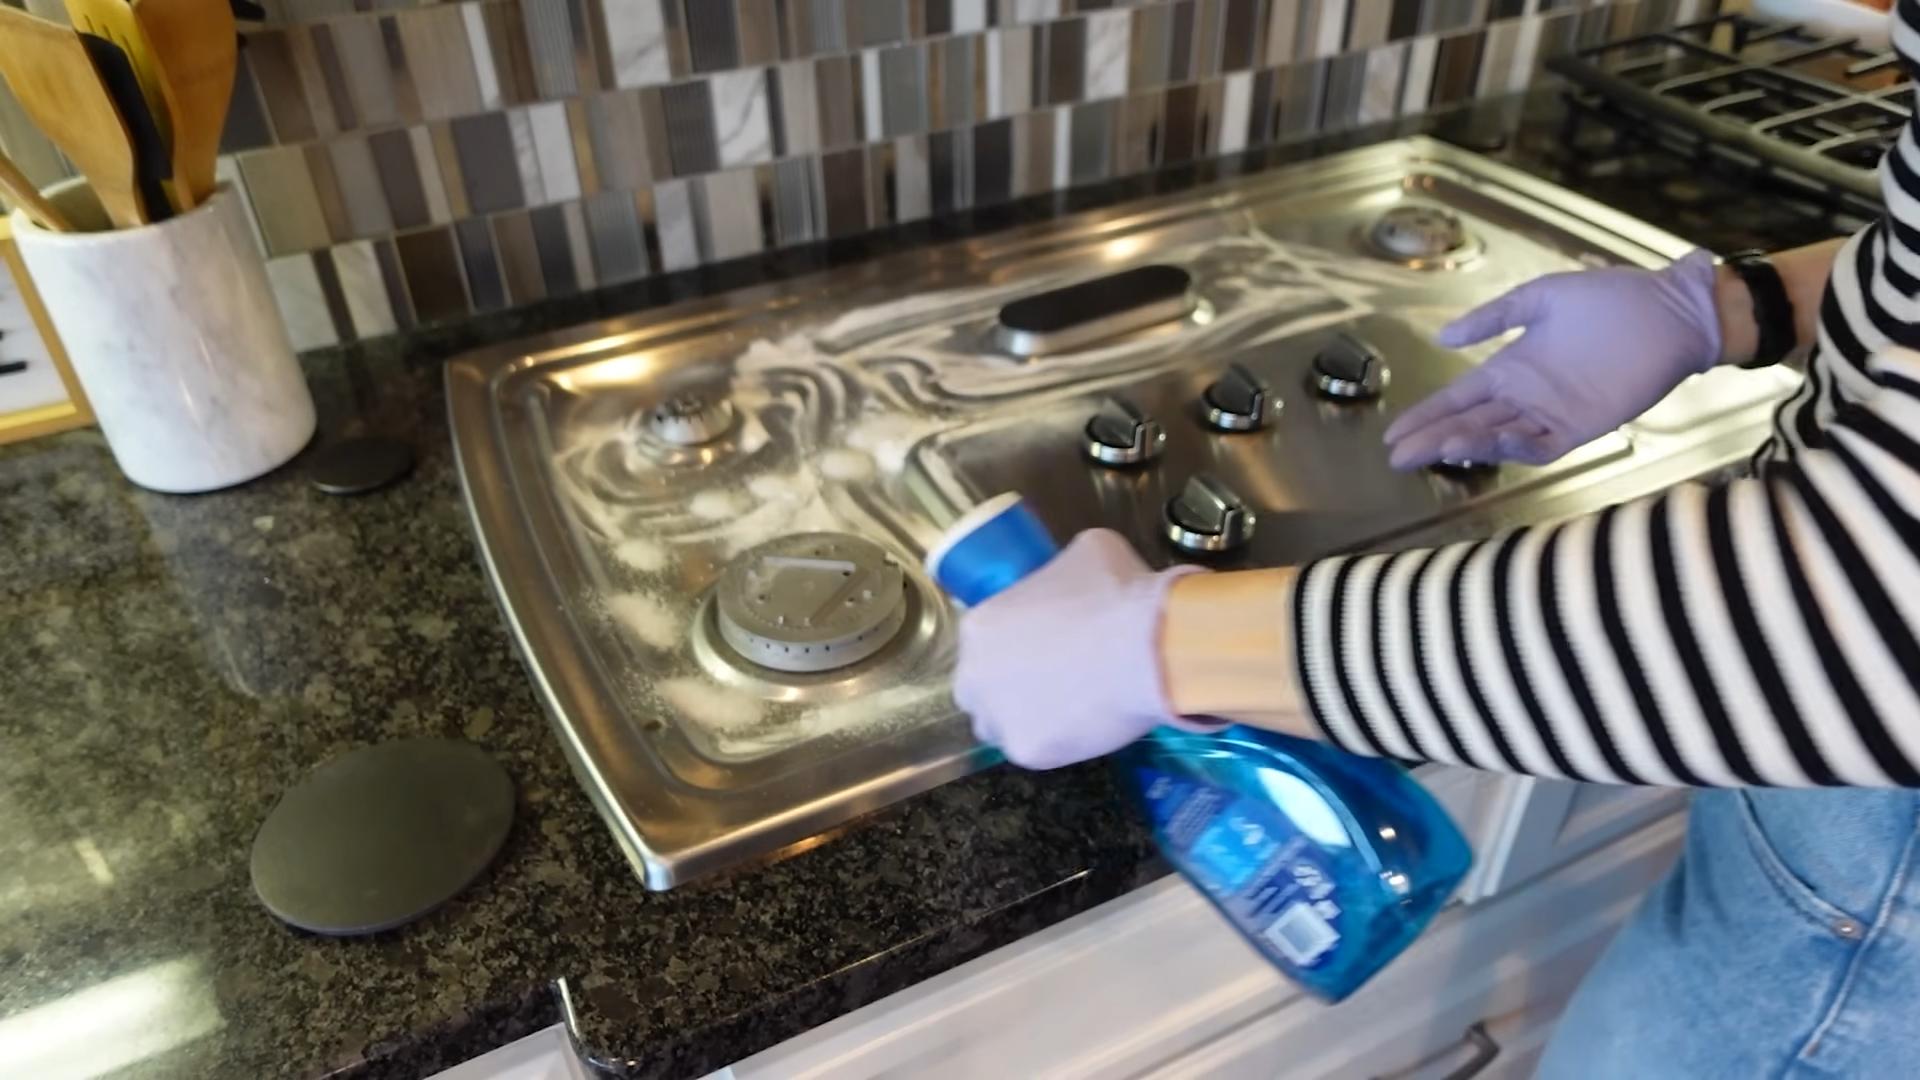
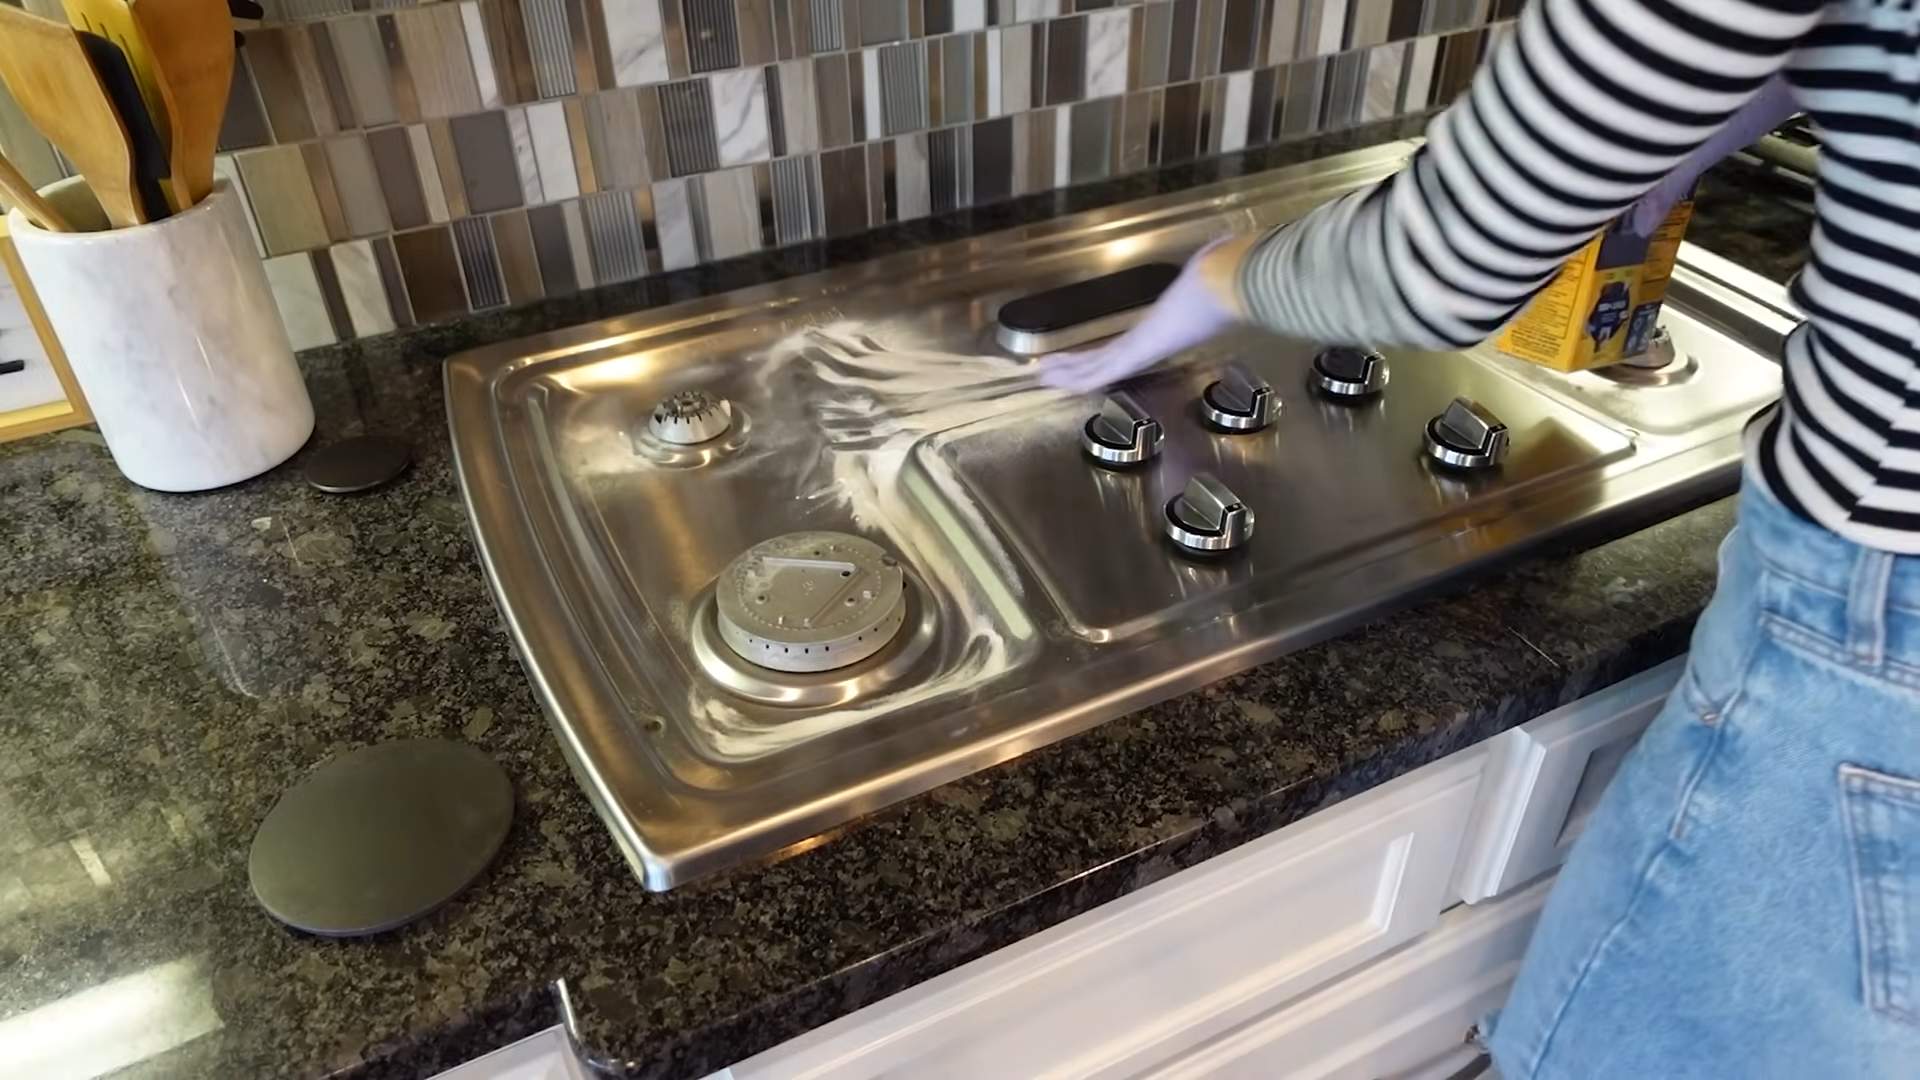
Cleaning Stainless Steel
This cleaner can help remove fingerprints and water spots from stainless steel appliances.
1. Apply the Paste (or Spray): You can either apply a small amount of the paste to a damp cloth or spray the surface with the cleaning spray.
2. Wipe in the Direction of the Grain: Always wipe stainless steel in the direction of the grain to avoid scratching.
3. Rinse (If Necessary): If you used the paste, rinse the surface with water.
4. Dry: Use a clean, dry cloth to buff the stainless steel to a shine.
Pre-Treating Laundry Stains
This cleaner can help lift stains before you wash your clothes.
1. Apply the Paste: Apply a small amount of the baking soda and dish soap paste to the stain.
2. Let it Sit: Let the paste sit for about
Conclusion
So, there you have it! This simple yet incredibly effective baking soda dish soap cleaner is a game-changer for anyone looking to ditch harsh chemicals and embrace a more natural and budget-friendly cleaning solution. We’ve walked you through the easy steps, highlighting just how quickly you can whip up a batch of this powerful cleaner using ingredients you likely already have in your pantry.
But why is this DIY trick a must-try? Beyond its simplicity and cost-effectiveness, the real magic lies in its versatility. This cleaner isn’t just for dishes; it’s a fantastic all-purpose solution for tackling grime in your kitchen sink, scrubbing countertops, and even pre-treating stubborn stains on your laundry. The gentle abrasive action of baking soda combined with the degreasing power of dish soap creates a synergistic effect that cuts through grease and lifts dirt without scratching surfaces.
Consider these variations to tailor the cleaner to your specific needs:
* Lemon Zest Boost: Add the zest of one lemon to the mixture for an extra burst of freshness and enhanced cleaning power. The natural acids in lemon help to break down grease and leave a sparkling clean scent.
* Essential Oil Infusion: Incorporate a few drops of your favorite essential oil, such as tea tree oil for its antibacterial properties or lavender oil for a calming aroma. Be sure to choose essential oils that are safe for cleaning and avoid using them on surfaces that come into direct contact with food.
* Vinegar Power-Up: For particularly stubborn stains or heavily soiled surfaces, add a splash of white vinegar to the mixture. The vinegar will react with the baking soda, creating a fizzing action that helps to loosen dirt and grime. Use caution when combining vinegar and baking soda, as the reaction can be quite vigorous. Always test in an inconspicuous area first.
* Paste Consistency: For targeted cleaning of grout or baked-on food, create a thicker paste by using less dish soap. This allows you to apply the cleaner directly to the affected area and let it sit for a few minutes before scrubbing.
We’re confident that once you try this baking soda dish soap cleaner, you’ll be amazed by its effectiveness and versatility. It’s a simple, sustainable, and satisfying way to keep your home clean and fresh.
Don’t just take our word for it! We encourage you to give this DIY trick a try and see the results for yourself. Share your experiences with us in the comments below. We’d love to hear about your favorite variations, the surfaces you’ve cleaned, and any tips or tricks you’ve discovered along the way. Let’s build a community of DIY cleaning enthusiasts and share our knowledge to make cleaning a little easier and a lot more enjoyable! We are eager to see how this simple recipe transforms your cleaning routine.
Frequently Asked Questions (FAQ)
Is this baking soda dish soap cleaner safe for all surfaces?
While this cleaner is generally safe for most surfaces, it’s always a good idea to test it in an inconspicuous area first, especially on delicate or painted surfaces. Avoid using it on surfaces that are sensitive to abrasives, such as polished marble or certain types of plastic. The baking soda, while gentle, can still cause micro-scratches on some materials. For wooden surfaces, use sparingly and wipe dry immediately to prevent water damage. When in doubt, consult the manufacturer’s instructions for your specific surface.
How long does this cleaner last?
This baking soda dish soap cleaner doesn’t contain any preservatives, so it’s best to use it within a week or two for optimal effectiveness. Store it in an airtight container in a cool, dark place. If you notice any changes in color, consistency, or odor, it’s best to discard it and make a fresh batch. Since it’s so easy to make, whipping up a new batch is never a hassle!
Can I use any type of dish soap?
While you can technically use any type of dish soap, we recommend using a natural or plant-based dish soap for a more eco-friendly and gentle cleaning solution. Avoid using dish soaps that contain harsh chemicals or artificial fragrances, as these can be irritating to the skin and respiratory system. Look for dish soaps that are labeled as biodegradable or hypoallergenic.
How much baking soda and dish soap should I use?
The recipe calls for a 2:1 ratio of baking soda to dish soap, but you can adjust the proportions to suit your preferences. If you prefer a thicker paste, use more baking soda. If you want a more liquid cleaner, use more dish soap. Experiment with different ratios until you find the consistency that works best for you. Remember, the key is to create a mixture that is effective at cleaning without being too abrasive.
Can I use this cleaner to clean my oven?
Yes, this baking soda dish soap cleaner can be used to clean your oven, but it may require a bit more elbow grease than commercial oven cleaners. To clean your oven, first remove any loose debris. Then, apply a thick layer of the cleaner to the interior surfaces of the oven, avoiding the heating elements. Let it sit for several hours or overnight. Finally, scrub the oven with a sponge or brush and wipe clean with a damp cloth. You may need to repeat the process for heavily soiled ovens.
Is this cleaner safe for septic systems?
Yes, this cleaner is generally safe for septic systems. Baking soda is a natural substance that breaks down easily in septic tanks, and most natural dish soaps are also septic-safe. However, it’s always a good idea to check the label of your dish soap to ensure that it doesn’t contain any harsh chemicals that could harm your septic system. Avoid using excessive amounts of the cleaner, as this could overload your septic tank.
Can I add other ingredients to this cleaner?
Yes, you can add other ingredients to this cleaner to customize it to your specific needs. Some popular additions include lemon juice, vinegar, essential oils, and borax. However, it’s important to use caution when adding other ingredients, as some combinations can be harmful or ineffective. Always research the safety and effectiveness of any ingredients before adding them to your cleaner.
How do I store the baking soda dish soap cleaner?
Store your homemade baking soda dish soap cleaner in an airtight container, such as a glass jar or plastic container with a tight-fitting lid. Keep it in a cool, dry place away from direct sunlight and heat. This will help to prevent the cleaner from drying out or becoming contaminated. Label the container clearly so that you don’t accidentally mistake it for something else.
What if the baking soda doesn’t dissolve completely?
It’s common for some of the baking soda to remain undissolved in the mixture, especially if you’re using cold water. This is perfectly fine and won’t affect the cleaning power of the solution. The undissolved baking soda will act as a gentle abrasive, helping to scrub away dirt and grime. If you prefer a smoother consistency, you can try using warm water to dissolve the baking soda more completely.
Can I use this cleaner on stainless steel appliances?
Yes, this cleaner can be used on stainless steel appliances, but it’s important to use it sparingly and to wipe the surface dry immediately after cleaning. The baking soda can be abrasive, so avoid scrubbing too hard. Always test in an inconspicuous area first to ensure that it doesn’t scratch the surface. For best results, use a soft cloth or sponge and wipe in the direction of the grain.
Leave a Comment