
Stainless Steel Appliance Cleaner: Are your once-gleaming stainless steel appliances now sporting a dull, fingerprint-laden facade? I know the feeling! It’s a common kitchen woe. We’ve all been there, battling smudges and streaks that seem to multiply overnight. But fear not, because I’m about to share some incredible DIY tricks to restore that showroom shine without breaking the bank or resorting to harsh chemicals.
For decades, stainless steel has been a staple in modern kitchens, prized for its durability and sleek aesthetic. Its popularity surged in the mid-20th century, symbolizing progress and cleanliness. However, maintaining its pristine appearance can feel like a never-ending chore. Store-bought cleaners can be expensive and often contain ingredients we’d rather avoid. That’s where these DIY hacks come in!
Why do you need these DIY stainless steel appliance cleaner solutions? Because you deserve a kitchen that sparkles! More than that, you deserve to save money and know exactly what you’re using to clean the surfaces where you prepare food. These simple, effective methods use ingredients you likely already have in your pantry, offering a safe and affordable way to keep your stainless steel looking its best. Get ready to say goodbye to fingerprints and hello to a gleaming, spotless kitchen with these easy-to-follow tips for creating your own effective stainless steel appliance cleaner!
DIY Stainless Steel Appliance Cleaner: Shine On!
Okay, let’s face it, stainless steel appliances are gorgeous… when they’re clean. But those fingerprints, smudges, and water spots? A total nightmare! Store-bought cleaners can be expensive and often leave streaks. So, I’m going to share my secret weapon: a super effective, budget-friendly, and easy-to-make DIY stainless steel cleaner. Trust me, your appliances will thank you!
What You’ll Need: The Ingredient Lineup
Before we dive in, let’s gather our supplies. This recipe uses ingredients you probably already have in your pantry!
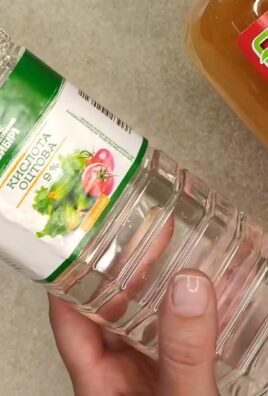
* **White Vinegar:** The star of the show! Vinegar’s acidity helps cut through grease and grime.
* **Dish Soap:** A gentle degreaser to lift stubborn messes. I prefer a clear, unscented variety to avoid any residue or lingering smells.
* **Olive Oil:** This is our secret ingredient for that beautiful, streak-free shine!
* **Water:** To dilute the vinegar and create the perfect cleaning solution.
* **Spray Bottle:** A clean, empty spray bottle is essential for easy application.
* **Microfiber Cloths:** These are your best friends for streak-free cleaning. Avoid paper towels, as they can leave lint behind.
* **Optional: Essential Oil (Lemon or Orange):** A few drops can add a pleasant scent and boost the cleaning power.
The Magic Formula: Mixing Your Cleaner
Now for the fun part! Let’s whip up our stainless steel cleaning potion.
1. **Prepare Your Spray Bottle:** Make sure your spray bottle is clean and dry. Any residue inside could affect the cleaner’s performance.
2. **Combine Vinegar and Water:** In the spray bottle, mix equal parts white vinegar and water. I usually start with 1/2 cup of each, but you can adjust the amount depending on the size of your bottle.
3. **Add Dish Soap:** Add just a *tiny* squirt of dish soap – about 1/4 teaspoon. Too much soap can leave a residue.
4. **The Olive Oil Secret:** Now, for the magic ingredient! Add about 1/2 teaspoon of olive oil. This is what gives your stainless steel that gorgeous shine.
5. **Optional Scent Boost:** If you’re using essential oil, add 5-10 drops of your favorite citrus scent. Lemon and orange are great choices for cleaning.
6. **Shake it Up!** Secure the spray bottle lid tightly and shake well to combine all the ingredients.
Cleaning Time! The Step-by-Step Guide
Alright, cleaner’s ready, appliances are waiting. Let’s get this show on the road!
1. **Test in an Inconspicuous Area:** Before you go wild, test the cleaner on a small, hidden area of your appliance to make sure it doesn’t react negatively. This is especially important for older appliances or those with a special coating.
2. **Spray Lightly:** Lightly spray the cleaner onto the surface of your stainless steel appliance. Don’t over-saturate it! A little goes a long way.
3. **Wipe with the Grain:** This is crucial! Always wipe *with* the grain of the stainless steel. Look closely at your appliance – you’ll see faint lines running in one direction. Wiping against the grain can leave streaks.
4. **Use a Clean Microfiber Cloth:** Use a clean, dry microfiber cloth to wipe away the cleaner. Apply gentle pressure and follow the grain of the stainless steel.
5. **Buff to a Shine:** For an extra-shiny finish, use a second clean, dry microfiber cloth to buff the surface. This will remove any remaining residue and leave your appliances sparkling.
6. **Tackle Stubborn Spots:** For stubborn spots or fingerprints, you might need to repeat the process. Spray the area again, let the cleaner sit for a minute or two, and then wipe with a clean cloth.
Dealing with Different Types of Messes
Okay, so we’ve covered the basics. But what about those extra-tough messes? Here are a few tips for specific situations:
* **Burnt-On Food:** For burnt-on food on your stovetop or oven door, try making a paste of baking soda and water. Apply the paste to the affected area, let it sit for 15-20 minutes, and then scrub gently with a non-abrasive sponge. Follow up with the stainless steel cleaner to remove any residue.
* **Water Spots:** Water spots can be particularly annoying. The key is to dry the surface thoroughly after cleaning. After wiping with the cleaner, use a clean, dry microfiber cloth to buff away any remaining moisture.
* **Grease Splatters:** For greasy splatters, you might need to use a slightly stronger degreaser. Add a bit more dish soap to your cleaning solution, or try using a dedicated degreasing spray before applying the stainless steel cleaner.
Maintaining Your Shine: Prevention is Key!
The best way to keep your stainless steel appliances looking their best is to prevent messes in the first place. Here are a few tips:
* **Wipe Up Spills Immediately:** Don’t let spills sit and dry! Wipe them up as soon as they happen to prevent staining and buildup.
* **Avoid Abrasive Cleaners:** Never use abrasive cleaners, scouring pads, or steel wool on stainless steel. These can scratch the surface and damage the finish.
* **Regular Cleaning:** Make it a habit to clean your stainless steel appliances regularly – even just a quick wipe-down once a week can make a big difference.
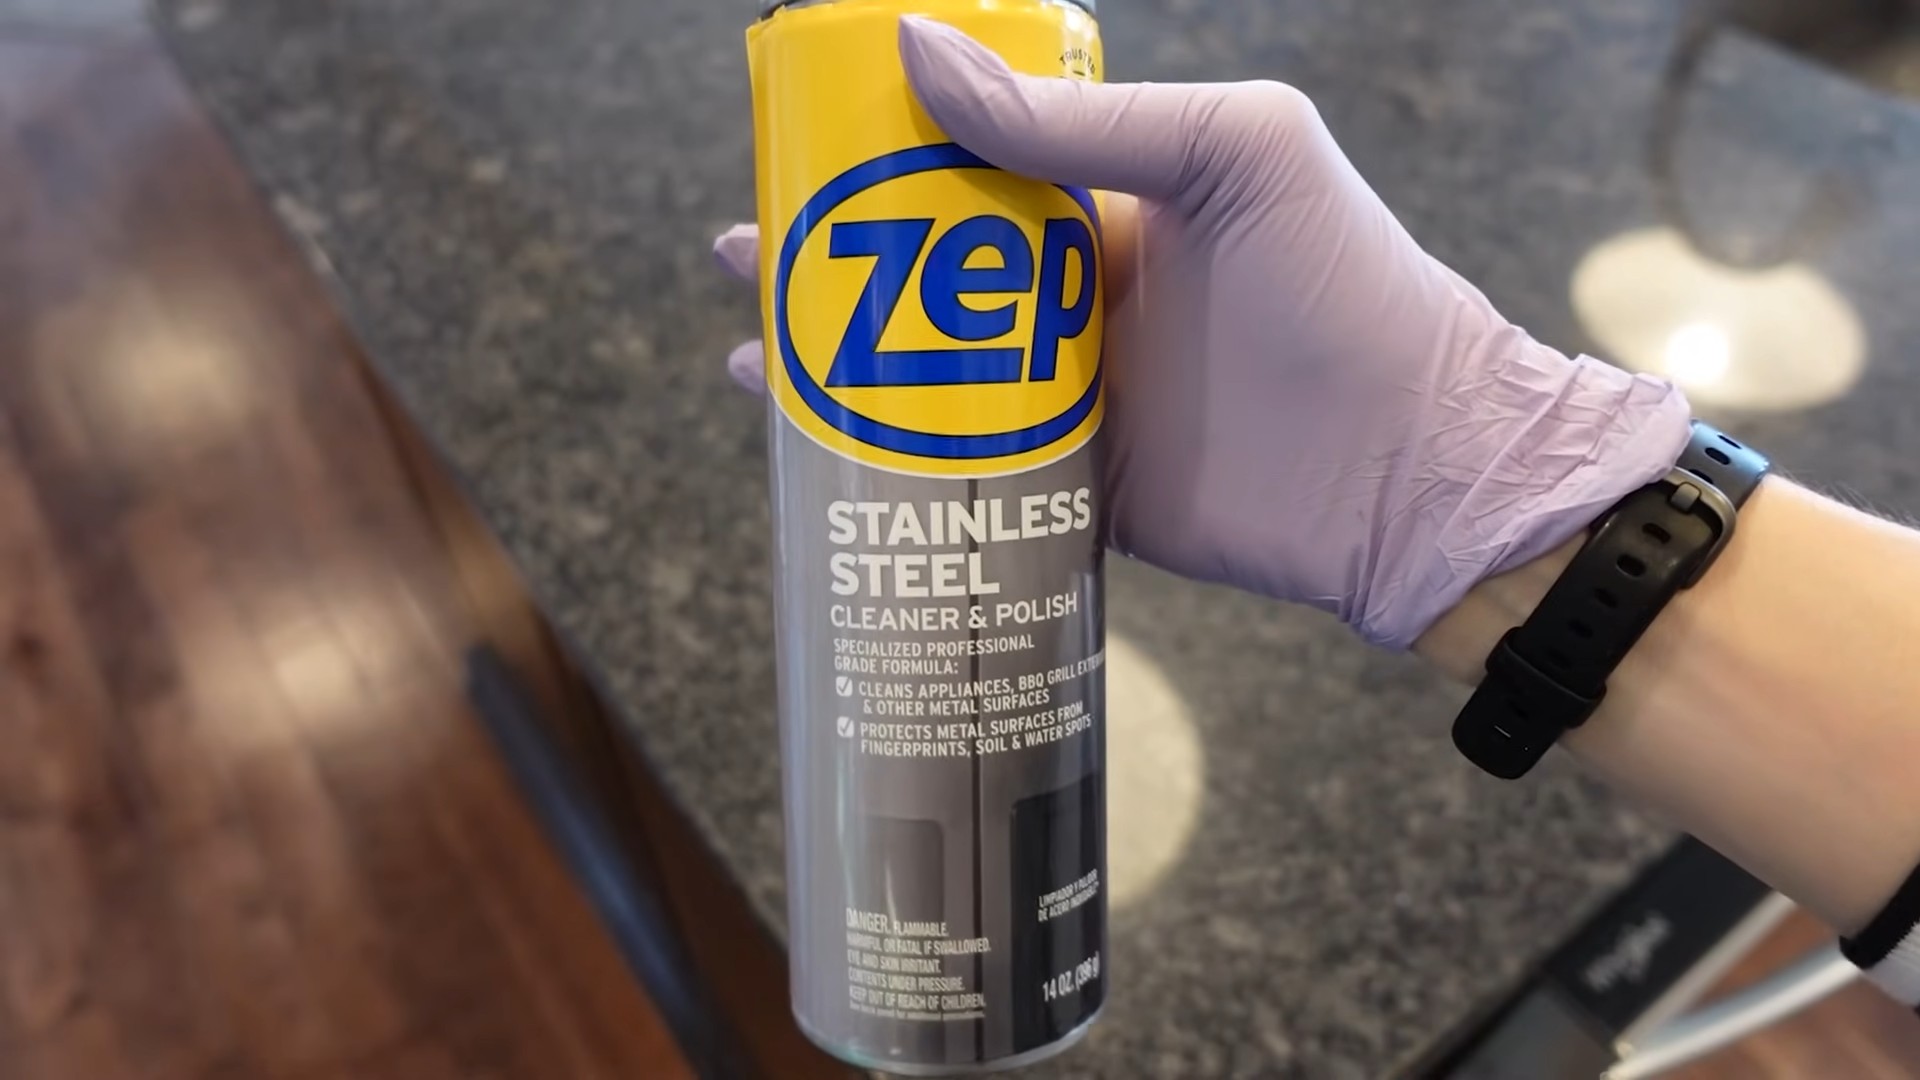
* **Consider a Stainless Steel Polish:** For an extra layer of protection and shine, you can use a dedicated stainless steel polish. Follow the manufacturer’s instructions carefully.
Troubleshooting: Common Issues and Solutions
Even with the best recipe, you might encounter a few hiccups along the way. Here are some common issues and how to fix them:
* **Streaks:** If you’re seeing streaks, make sure you’re wiping with the grain of the stainless steel. Also, try using a clean, dry microfiber cloth to buff the surface after cleaning. You might also be using too much dish soap.
* **Residue:** If you’re noticing a sticky or oily residue, you might be using too much olive oil. Reduce the amount of olive oil in your cleaning solution, or try wiping the surface with a damp cloth after cleaning.
* **Dull Finish:** If your stainless steel looks dull after cleaning, it might be due to hard water deposits. Try adding a bit more vinegar to your cleaning solution, or use distilled water instead of tap water.
Safety First! Important Precautions
While this DIY cleaner is generally safe, it’s always a good idea to take a few precautions:
* **Avoid Contact with Eyes:** Vinegar can irritate your eyes. If you get the cleaner in your eyes, rinse them thoroughly with water.
* **Keep Out of Reach of Children and Pets:** Store the cleaner in a safe place where children and pets cannot access it.
* **Don’t Mix with Bleach:** Never mix vinegar with bleach, as this can create toxic fumes.
* **Ventilation:** When cleaning, make sure the area is well-ventilated.
Why This Works: The Science Behind the Shine
So, what makes this DIY cleaner so effective? Let’s break it down:
* **Vinegar:** The acetic acid in vinegar is a natural degreaser and disinfectant. It helps to dissolve grease, grime, and hard water deposits.
* **Dish Soap:** Dish soap helps to lift stubborn messes and break down grease.
* **Olive Oil:** Olive oil acts as a polish, creating a protective layer that helps to repel fingerprints and smudges. It also adds a beautiful shine to the stainless steel.
* **Microfiber Cloths:** Microfiber cloths are highly absorbent and gentle, making them ideal for cleaning stainless steel without scratching or leaving lint behind.
Variations and Customizations: Make it Your Own!
Feel free to experiment with this recipe to find what works best for you. Here are a few ideas:
* **Lemon Juice:** Substitute lemon juice for vinegar for a brighter scent and extra cleaning power.
* **Baking Soda Paste:** For extra-tough messes, make a paste of baking soda and water and apply it to the affected area before cleaning with the stainless steel cleaner.
* **Different Essential Oils:** Experiment with different essential oils to find your favorite scent. Lavender, tea tree, and eucalyptus are all good choices.
Final Thoughts: Enjoy Your Sparkling Appliances!
And there you have it! A simple, effective, and affordable DIY stainless steel cleaner that will leave your appliances sparkling. I hope you found this guide helpful. Happy cleaning! Remember, a little elbow grease and this amazing cleaner will keep your kitchen looking its best. Now go forth and conquer those fingerprints!
Conclusion
So, there you have it! A simple, effective, and incredibly affordable way to keep your stainless steel appliances gleaming. Forget those expensive, chemical-laden cleaners from the store. This DIY Stainless Steel Appliance Cleaner is not only better for your wallet but also better for the environment. You’re reducing your exposure to harsh chemicals and minimizing plastic waste – a win-win!
But why is this DIY trick a must-try? Because it works! The combination of gentle cleaning power and polishing action leaves your appliances streak-free and looking brand new. It’s quick, easy, and uses ingredients you likely already have in your pantry. No more struggling with stubborn fingerprints, water spots, or greasy smudges. This method cuts through the grime with ease, restoring the shine to your refrigerator, dishwasher, oven, and more.
Beyond the basic recipe, feel free to experiment and personalize it to your liking. For a deeper clean, especially on heavily soiled areas, consider adding a few drops of lemon essential oil. Lemon oil not only boosts the cleaning power but also leaves a fresh, citrusy scent. Alternatively, if you prefer a more subtle fragrance, lavender or tea tree oil are excellent choices, both known for their antibacterial properties. You can also adjust the ratio of ingredients to suit your specific needs. If you find the paste too thick, add a little more water. If it’s too thin, add a bit more baking soda. The beauty of DIY is the ability to customize!
Don’t be intimidated by the idea of making your own cleaner. This recipe is foolproof, even for beginners. The process is straightforward, and the results are undeniable. Imagine the satisfaction of knowing you’re using a safe, natural, and effective cleaner that you made yourself. Plus, you’ll be saving money in the long run!
We are confident that once you try this DIY Stainless Steel Appliance Cleaner, you’ll never go back to store-bought options. It’s a game-changer for keeping your kitchen looking its best. So, gather your ingredients, grab a soft cloth, and get ready to transform your stainless steel appliances.
We’re eager to hear about your experience! Did you find this recipe helpful? Did you try any variations? Share your tips, tricks, and before-and-after photos in the comments below. Let’s build a community of DIY cleaning enthusiasts and help each other keep our kitchens sparkling! Your feedback is invaluable and helps us improve our recipes and provide even better cleaning solutions. Happy cleaning!
Frequently Asked Questions (FAQ)
What exactly are the ingredients needed for this DIY Stainless Steel Appliance Cleaner?
The basic recipe calls for just three simple ingredients: baking soda, water, and a soft cloth. Some variations may include lemon essential oil, lavender essential oil, or tea tree oil for added cleaning power and fragrance. The exact amounts will depend on the recipe you are following, but generally, it’s a paste made from baking soda and water.
Is this DIY cleaner safe for all types of stainless steel?
Generally, yes, this DIY cleaner is safe for most types of stainless steel. However, it’s always a good idea to test it on a small, inconspicuous area first, especially if you have appliances with a special finish or coating. This will help ensure that the cleaner doesn’t damage or discolor the surface. Avoid using abrasive scrub brushes or steel wool, as these can scratch stainless steel.
How often should I use this DIY Stainless Steel Appliance Cleaner?
The frequency of cleaning depends on how often you use your appliances and how quickly they get dirty. For appliances that are frequently touched, such as refrigerators and dishwashers, you may want to clean them once or twice a week. For appliances that are used less often, such as ovens, you can clean them as needed. Regular cleaning will help prevent the buildup of grime and make it easier to maintain the shine of your stainless steel.
Can I use this cleaner on other surfaces besides stainless steel?
While this cleaner is specifically designed for stainless steel, it may also be effective on other surfaces. However, it’s important to test it on a small, inconspicuous area first to ensure that it doesn’t damage or discolor the surface. Avoid using it on delicate surfaces such as wood, painted surfaces, or natural stone.
How do I store the leftover DIY Stainless Steel Appliance Cleaner?
If you have any leftover cleaner, you can store it in an airtight container at room temperature. It’s best to use it within a few days, as the baking soda may settle over time. Before using it again, simply stir it well to reincorporate the ingredients. You can also make a fresh batch each time you clean to ensure the best results.
What if I don’t have baking soda? Can I use something else?
Baking soda is a key ingredient in this recipe due to its gentle abrasive properties and ability to neutralize odors. While there isn’t a direct substitute that will provide the exact same results, you could try using a mild dish soap diluted in water. However, dish soap may not be as effective at removing stubborn stains and may leave streaks. It’s always best to use baking soda if possible.
My stainless steel appliances have stubborn water spots. Will this cleaner remove them?
Yes, this DIY Stainless Steel Appliance Cleaner is effective at removing water spots. The baking soda helps to gently lift the mineral deposits that cause water spots, while the water helps to dissolve them. For particularly stubborn water spots, you may need to apply the cleaner and let it sit for a few minutes before wiping it away. You can also try using a microfiber cloth to buff the surface after cleaning to remove any remaining residue.
The cleaner seems to be leaving a white residue on my appliances. What am I doing wrong?
A white residue is usually caused by using too much baking soda or not rinsing the surface thoroughly enough. Make sure you’re using the correct ratio of baking soda to water, and be sure to wipe the surface with a clean, damp cloth after applying the cleaner to remove any residue. You can also try using a dry microfiber cloth to buff the surface and remove any remaining streaks.
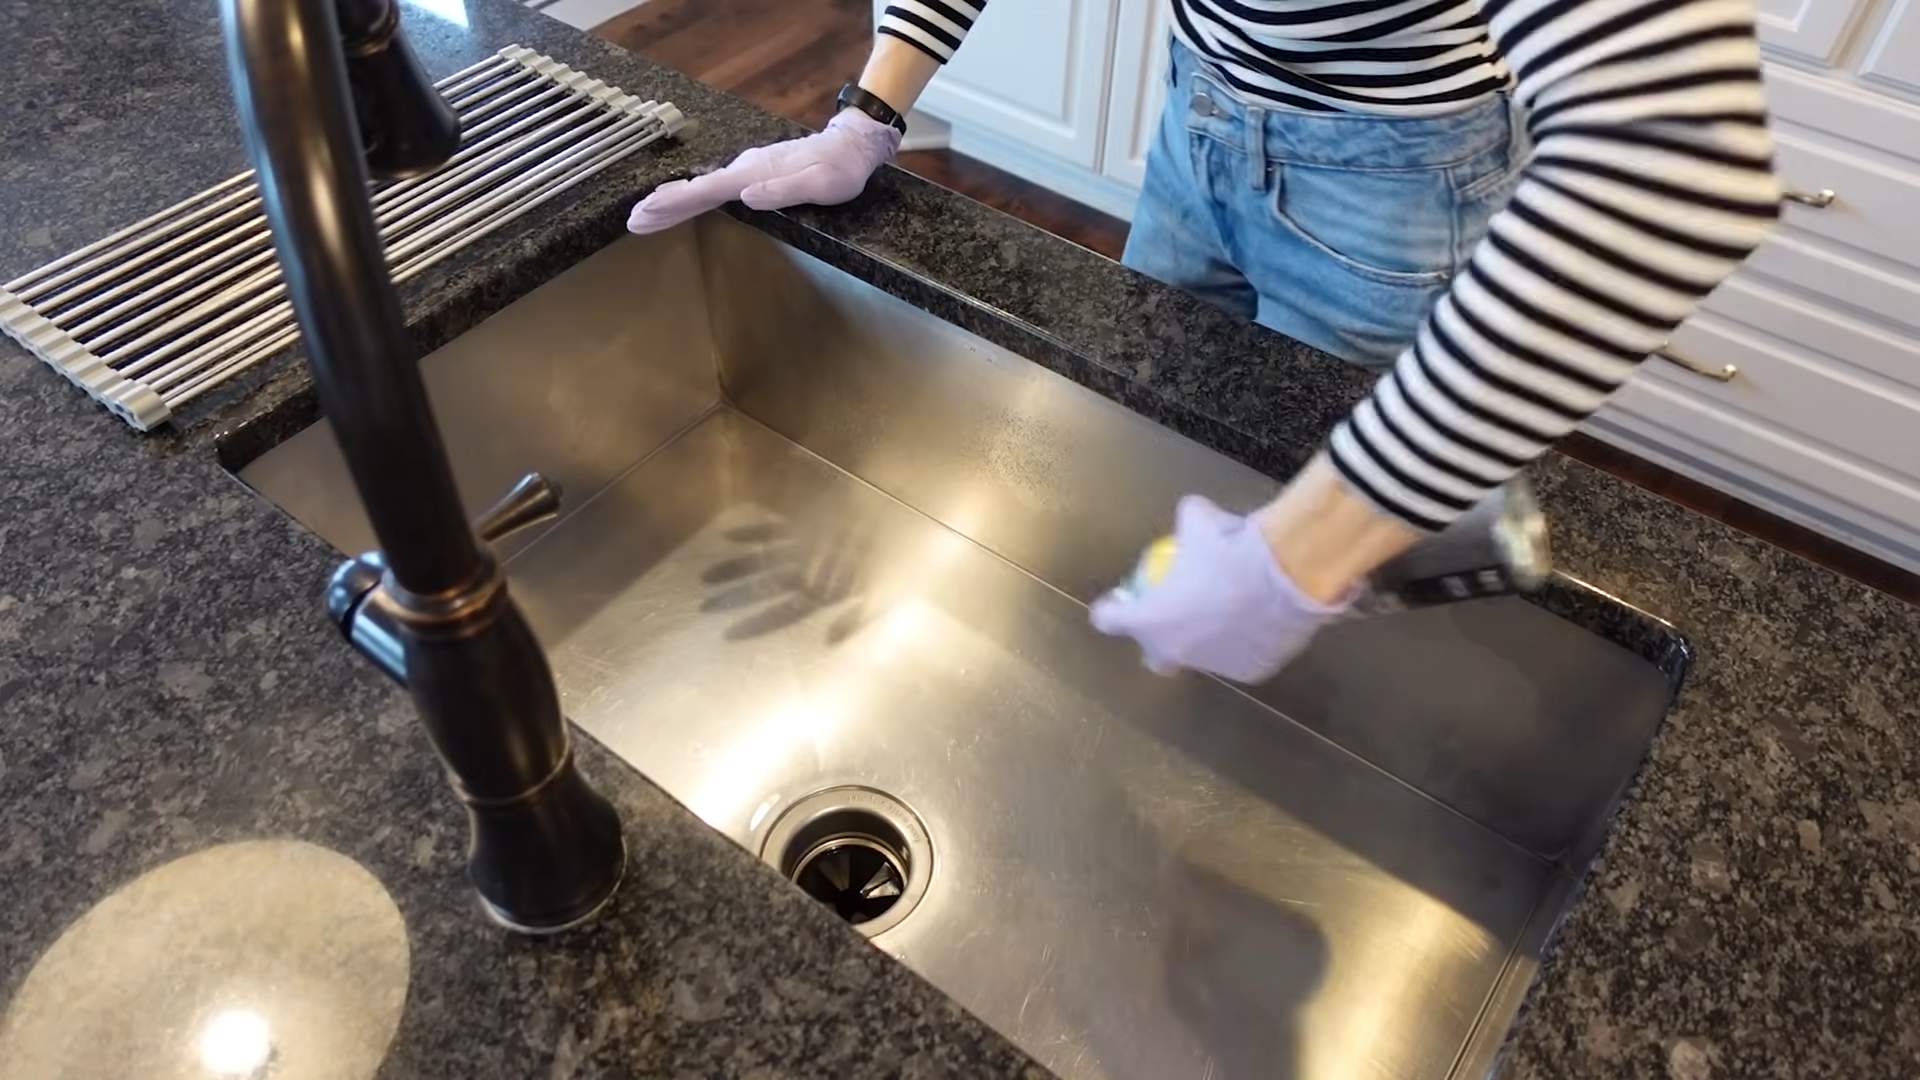
Can I use this cleaner on my stainless steel sink?
Absolutely! This DIY cleaner works wonders on stainless steel sinks. It helps to remove water spots, food stains, and other grime, leaving your sink sparkling clean. Just be sure to rinse the sink thoroughly after cleaning to remove any residue.
Is this cleaner safe for my family and pets?
Yes, this DIY cleaner is generally safe for families and pets, as it uses natural ingredients. However, it’s always a good idea to keep cleaning products out of reach of children and pets. If you’re using essential oils, be sure to choose oils that are safe for pets, as some essential oils can be toxic to animals. As with any cleaning product, avoid direct contact with eyes and skin.

Leave a Comment