
Grow Melons at Home? Absolutely! Imagine biting into a juicy, sun-ripened melon you nurtured from seed to fruit, right in your own backyard. Forget those bland, store-bought melons – this year, we’re taking control of our melon destiny! For centuries, melons have been cultivated across the globe, from the watermelons of ancient Africa to the cantaloupes gracing Roman feasts. They’re not just delicious; they’re a symbol of summer abundance and the simple pleasures of life.
But let’s be honest, the thought of growing melons can be a little intimidating. They seem to require vast fields and expert knowledge, right? Wrong! That’s where this DIY guide comes in. I’m here to share some simple, effective tricks and hacks that will empower you to grow melons at home, even if you have limited space or gardening experience.
Why do you need these DIY tricks? Because everyone deserves the satisfaction of harvesting their own fresh produce. Plus, growing your own melons allows you to choose organic methods, avoid harmful pesticides, and enjoy varieties you simply won’t find in stores. So, grab your gardening gloves, and let’s get ready to transform your backyard (or balcony!) into a melon paradise!
Growing Melons at Home: A Sweet DIY Project
Hey there, fellow gardening enthusiasts! I’m so excited to share my experience with growing melons right in my backyard. It’s surprisingly easier than you might think, and the taste of a homegrown melon is simply unbeatable. Get ready to ditch those store-bought melons and enjoy the juicy goodness of your own harvest!
Choosing Your Melon Variety
Before we dive into the nitty-gritty, let’s talk about choosing the right melon variety for your climate and space. Not all melons are created equal, and some thrive in certain conditions better than others.
* Watermelons: These are the kings of summer, but they need a lot of space. Consider smaller varieties like ‘Sugar Baby’ or ‘Bush Sugar Baby’ if you’re short on room.
* Cantaloupes: These are a classic choice, and they’re relatively easy to grow. ‘Athena’ and ‘Hales Best Jumbo’ are popular options.
* Honeydew Melons: These are a bit more challenging than cantaloupes, but the sweet, refreshing flavor is worth the effort. ‘Honey Globe’ is a reliable variety.
* Other Melons: Don’t be afraid to experiment with other types like Galia, Charentais, or even Armenian cucumbers (which are technically melons!).
Important Tip: Check your local climate and growing season before selecting your melon variety. Some melons require a longer growing season than others.
Preparing Your Melon Patch
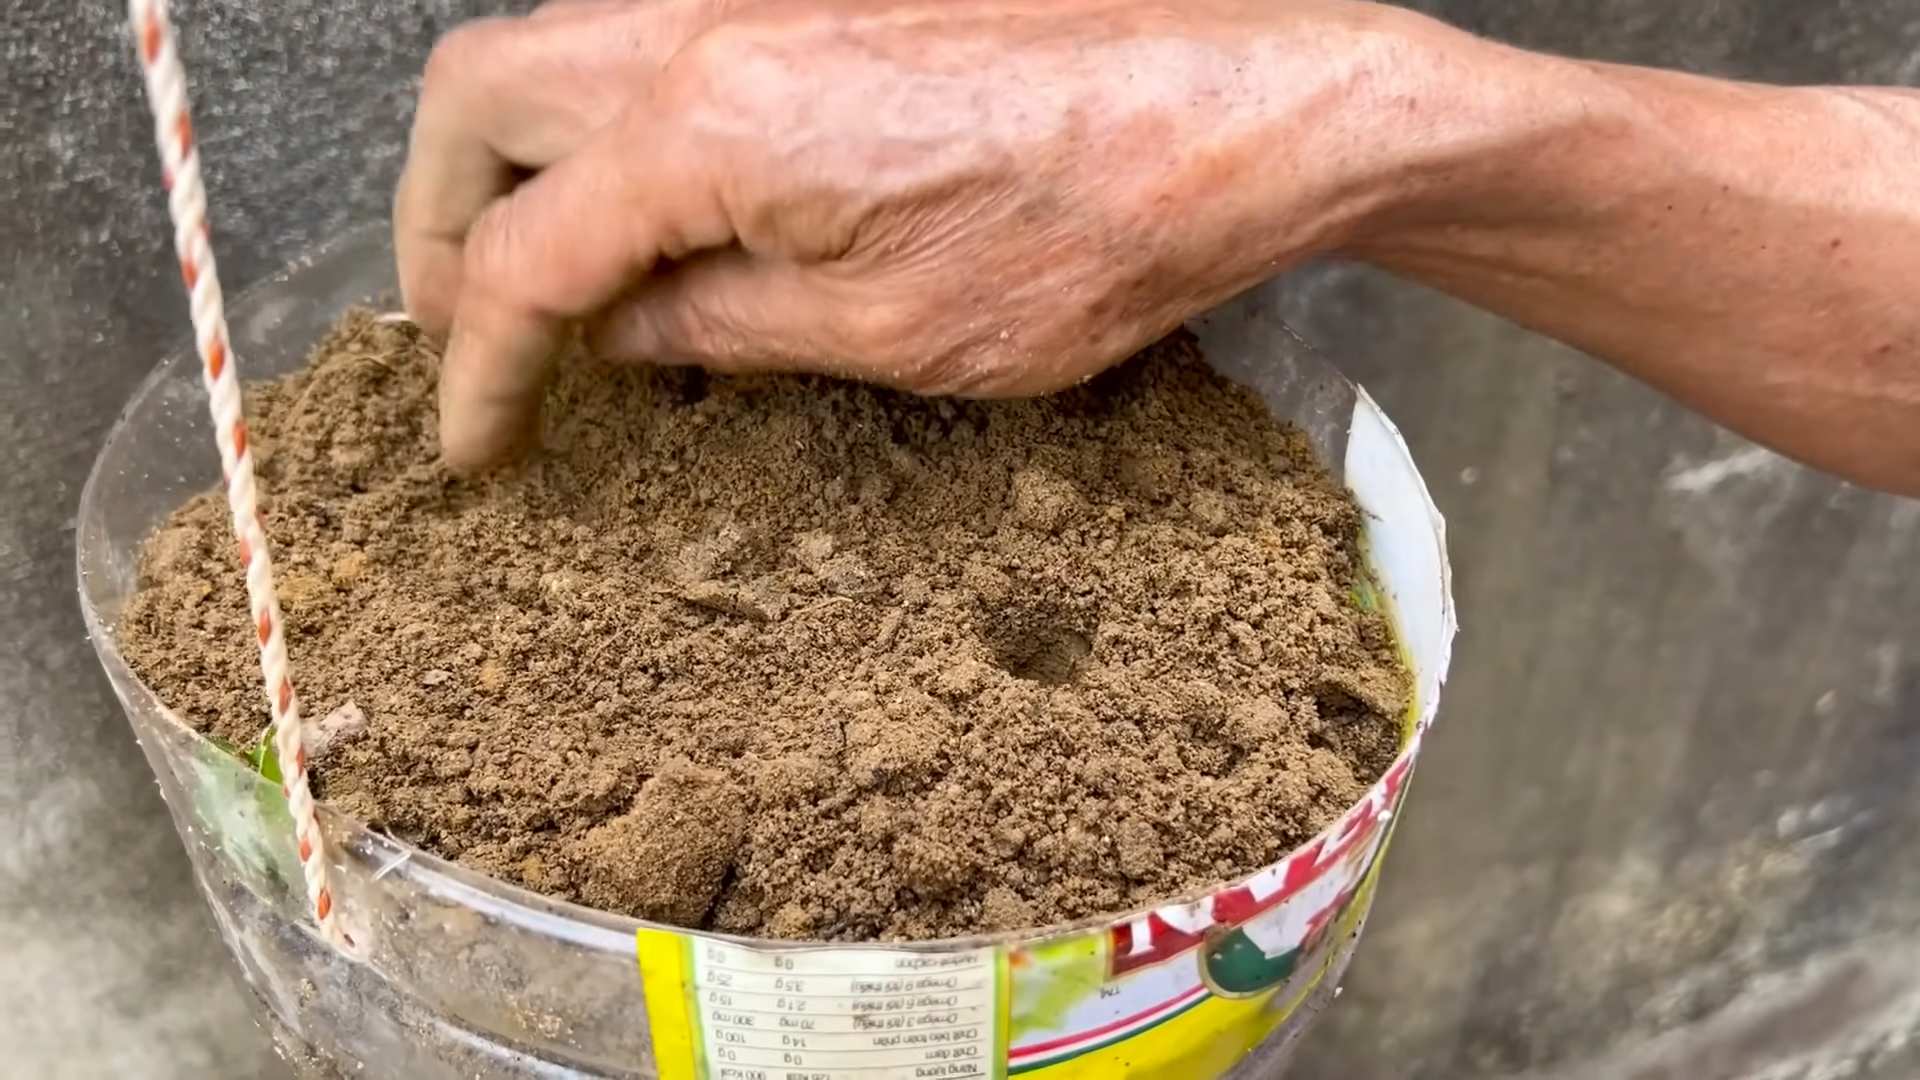
Melons are sun-loving plants, so finding the perfect spot is crucial. They also need well-drained soil that’s rich in organic matter.
* Sunlight: Melons need at least 6-8 hours of direct sunlight per day.
* Soil: The soil should be well-draining and fertile. Amend heavy clay soil with compost and other organic matter.
* Space: Give your melons plenty of room to spread out. Watermelons need the most space, while cantaloupes and honeydews can be grown closer together.
* pH: Melons prefer a soil pH between 6.0 and 6.8.
Starting Your Melon Seeds
You can either start your melon seeds indoors or direct sow them in your garden. Starting them indoors gives you a head start, especially in cooler climates.
Starting Seeds Indoors:
1. Timing: Start your seeds about 4-6 weeks before the last expected frost.
2. Containers: Use peat pots or biodegradable containers to avoid disturbing the roots when transplanting.
3. Soil: Fill the containers with a seed-starting mix.
4. Planting: Plant 2-3 seeds per container, about 1 inch deep.
5. Watering: Water gently to keep the soil moist but not soggy.
6. Warmth: Place the containers in a warm location, such as on a heat mat or near a sunny window.
7. Light: Once the seedlings emerge, provide them with plenty of light. Use a grow light if necessary.
8. Thinning: Once the seedlings have a few true leaves, thin them to one plant per container.
Direct Sowing Seeds:
1. Timing: Wait until the soil has warmed up to at least 70°F (21°C) before direct sowing.
2. Soil Preparation: Prepare the soil as described above.
3. Planting: Plant the seeds about 1 inch deep, spacing them according to the variety’s recommendations.
4. Watering: Water gently to keep the soil moist.
5. Protection: Protect the seedlings from pests and cold weather with row covers or cloches.
Transplanting Your Melon Seedlings
Once the danger of frost has passed and the soil has warmed up, it’s time to transplant your melon seedlings into the garden.
1. Hardening Off: Before transplanting, harden off the seedlings by gradually exposing them to outdoor conditions for a week or two.
2. Planting: Dig a hole that’s slightly larger than the root ball.
3. Spacing: Space the plants according to the variety’s recommendations. Watermelons need the most space (3-4 feet apart), while cantaloupes and honeydews can be planted closer together (2-3 feet apart).
4. Planting Depth: Plant the seedlings at the same depth they were growing in the containers.
5. Watering: Water thoroughly after transplanting.
6. Mulching: Mulch around the plants with straw or other organic material to help retain moisture and suppress weeds.
Caring for Your Melon Plants
Melons need consistent care to thrive. Here’s what you need to do:
* Watering: Water deeply and regularly, especially during hot, dry weather. Avoid overhead watering, which can promote fungal diseases. Drip irrigation is ideal.
* Fertilizing: Fertilize your melon plants every 2-3 weeks with a balanced fertilizer. You can also use compost tea or other organic fertilizers.
* Weeding: Keep the area around your melon plants free of weeds.
* Pest Control: Monitor your plants for pests such as aphids, squash bugs, and cucumber beetles. Use organic pest control methods whenever possible.
* Pollination: Melons need to be pollinated to produce fruit. If you’re not seeing any fruit set, you may need to hand-pollinate the flowers.
* Pruning: Pruning isn’t usually necessary, but you can remove any dead or diseased leaves.
Hand-Pollinating Melons (If Needed)
If you’re not seeing any fruit set, it’s possible that your melons aren’t being properly pollinated. Here’s how to hand-pollinate them:
1. Identify Male and Female Flowers: Male flowers have a long, thin stem, while female flowers have a small, immature fruit at the base.
2. Timing: Hand-pollinate in the morning, when the flowers are open.
3. Collect Pollen: Use a small paintbrush or cotton swab to collect pollen from the male flower.
4. Transfer Pollen: Gently transfer the pollen to the stigma of the female flower.
5. Repeat: Repeat this process for all the female flowers you want to pollinate.
Protecting Your Melons from Pests and Diseases
Melons are susceptible to a variety of pests and diseases. Here are some common problems and how to deal with them:
* Aphids: These tiny insects can suck the sap from your melon plants. Spray them with insecticidal soap or neem oil.
* Squash Bugs: These pests can damage the leaves and stems of your melon plants. Handpick them or use insecticidal soap.
* Cucumber Beetles: These beetles can spread diseases and damage the leaves and fruit. Use row covers to protect your plants or spray them with neem oil.
* Powdery Mildew: This fungal disease can cause a white, powdery coating on the leaves. Improve air circulation and spray with a fungicide.
* Fusarium Wilt: This soilborne disease can cause the plants to wilt and die. Plant resistant varieties and practice crop rotation.
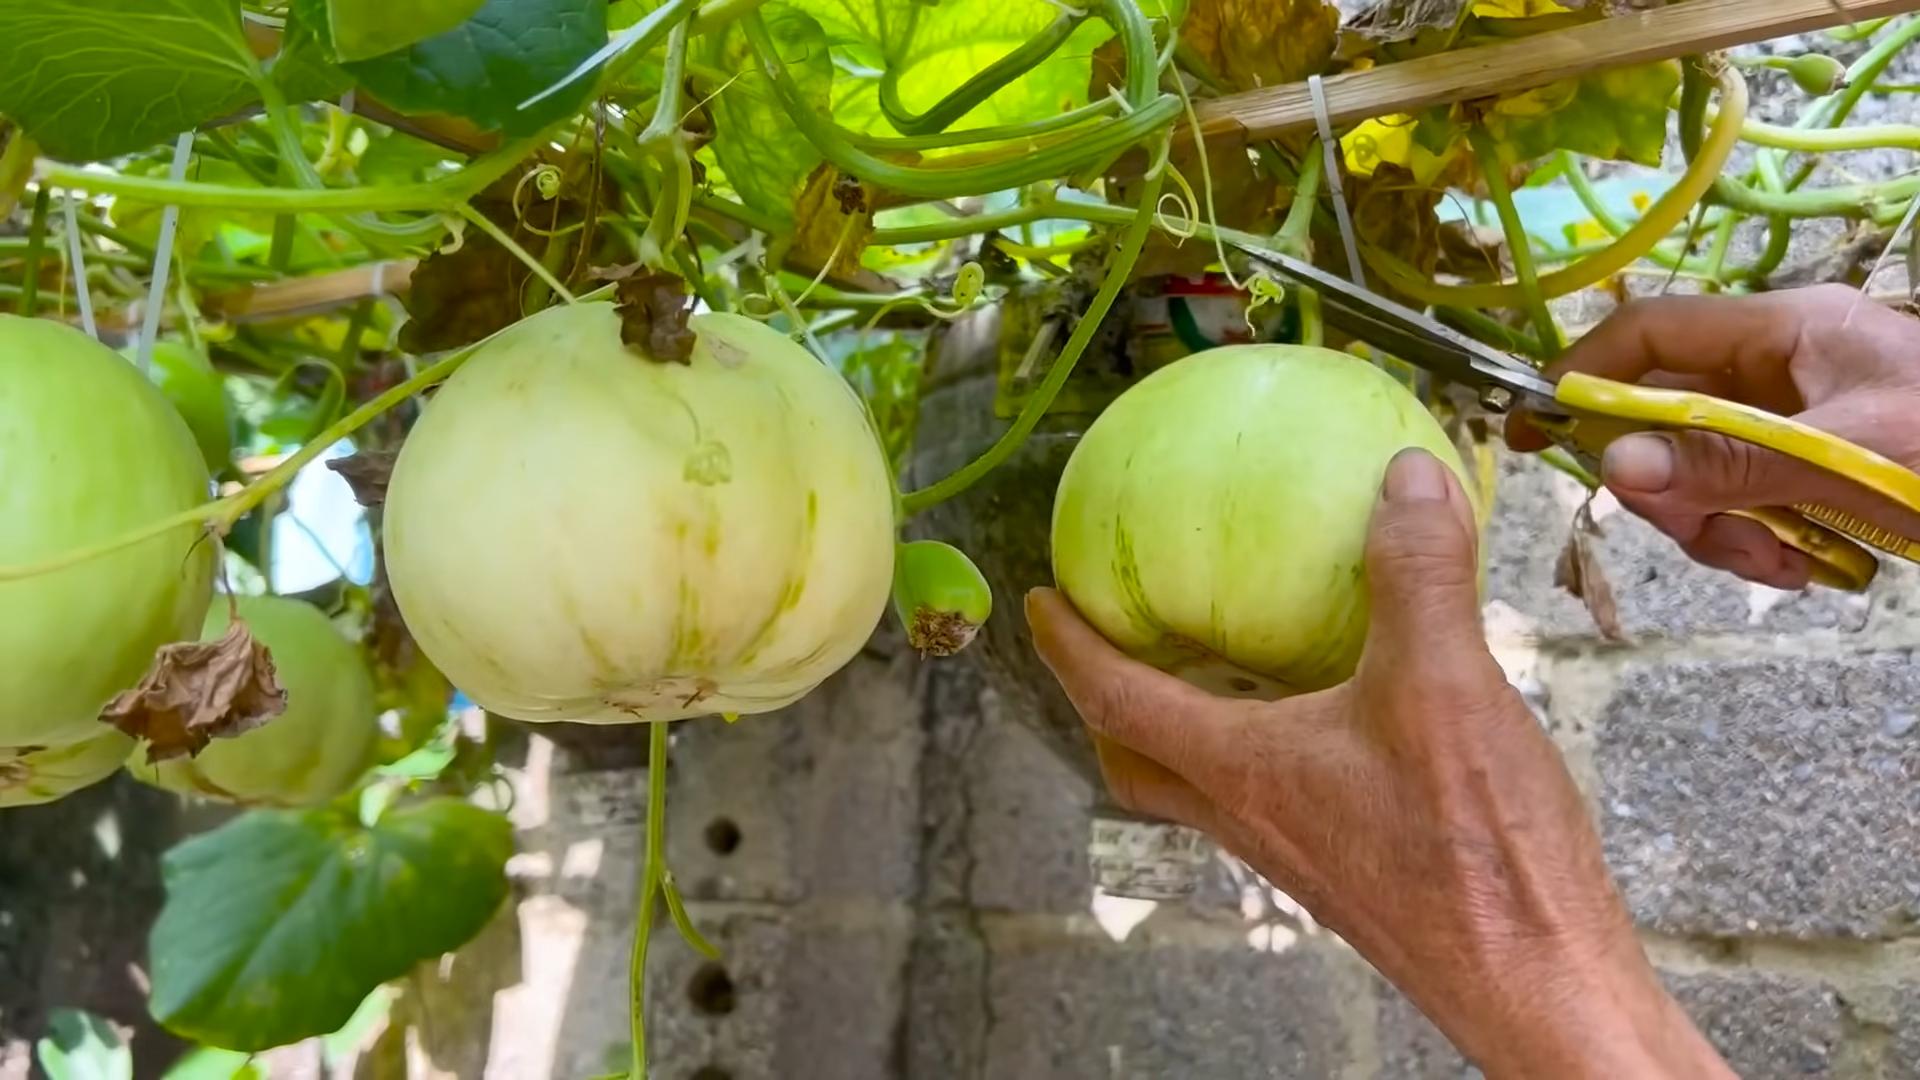
Harvesting Your Melons
Knowing when to harvest your melons is key to enjoying their full flavor. Here are some tips:
* Watermelons: Look for a dull rind, a dry tendril near the stem, and a yellow spot on the bottom where the melon rested on the ground. You can also thump the melon – a ripe watermelon will sound hollow.
* Cantaloupes: Look for a tan rind with raised netting and a sweet aroma. The stem should slip easily from the melon when it’s ripe.
* Honeydew Melons: Look for a smooth, creamy-yellow rind and a slightly soft blossom end. The melon should also have a sweet aroma.
Important Tip: Don’t harvest your melons too early! They won’t ripen much after they’re picked.
Enjoying Your Homegrown Melons
Congratulations! You’ve successfully grown your own melons. Now it’s time to enjoy the fruits (or rather, melons) of your labor.
* Storage: Store your melons in a cool, dry place. Whole melons can last for several weeks, while cut melons should be refrigerated.
* Serving: Serve your melons chilled for the best flavor. You can eat them plain, add them to salads, or use them in desserts.
* Recipes: Get creative with your homegrown melons! Try making watermelon juice, cantaloupe sorbet, or honeydew salsa.
I hope this guide has inspired you to grow your own melons at home. It’s a rewarding experience that will bring you delicious, homegrown goodness all summer long. Happy gardening!
Conclusion
So, there you have it! Growing melons at home, while it might seem daunting at first, is entirely achievable with a little planning and the right approach. We’ve walked you through the essential steps, from selecting the perfect variety for your climate to nurturing those precious seedlings and providing the support they need to thrive. But why should you bother with all this effort when you can simply buy a melon at the store? The answer, quite simply, is flavor and satisfaction.
There’s nothing quite like the taste of a sun-ripened melon, bursting with sweetness and juiciness, that you’ve grown yourself. Store-bought melons, often picked before they’re fully ripe to withstand transportation, simply can’t compare. Plus, the sheer joy of watching a tiny seed transform into a bountiful fruit is an incredibly rewarding experience. You’ll gain a deeper appreciation for the natural world and the effort that goes into producing the food we eat.
This guide has focused on the core principles of successful melon cultivation, but don’t be afraid to experiment and personalize your approach. Consider trying different varieties of melons to discover your favorites. Watermelons, cantaloupes, honeydews – the possibilities are endless! You could also explore different growing techniques, such as vertical gardening to save space or using raised beds to improve drainage.
For those in cooler climates, consider starting your seeds indoors earlier in the season to give them a head start. You might also want to explore using row covers or cold frames to protect your plants from frost and extend the growing season. And for those in hotter climates, be sure to provide adequate shade during the hottest part of the day to prevent sunburn.
Remember, patience is key. Growing melons takes time and effort, but the rewards are well worth it. Don’t get discouraged if you encounter setbacks along the way. Every gardener faces challenges, and learning from your mistakes is part of the process.
Ultimately, the best way to learn is by doing. So, grab some seeds, prepare your soil, and get ready to embark on your own melon-growing adventure. We’re confident that you’ll be amazed by what you can achieve.
We encourage you to try this DIY trick of growing melons at home and share your experiences with us! Post pictures of your melon patch, share your tips and tricks, and let us know what varieties you’re growing. We’re eager to hear your stories and learn from your successes (and even your failures!). Together, we can create a community of passionate melon growers and spread the joy of homegrown goodness. Happy gardening!
Frequently Asked Questions (FAQs)
What is the best type of melon to grow for beginners?
For beginners, cantaloupe and watermelon are generally considered the easiest melons to grow. They are relatively forgiving and tend to produce reliable results. Look for varieties that are specifically bred for your climate and growing conditions. Smaller, personal-sized watermelons like ‘Sugar Baby’ are a good choice for smaller gardens. For cantaloupe, ‘Athena’ is a popular and reliable variety. Honeydew melons can be a bit more challenging, as they require a longer growing season and are more susceptible to diseases.
How much space do melons need to grow?
Melons are sprawling plants that require a significant amount of space. Watermelons generally need the most room, requiring at least 6-8 feet between plants. Cantaloupes and honeydews can be grown closer together, with about 3-4 feet between plants. If you’re short on space, consider growing melons vertically on a trellis. This will not only save space but also improve air circulation and reduce the risk of disease. However, be sure to provide adequate support for the heavy fruits.
How often should I water my melon plants?
Melon plants need consistent watering, especially during hot, dry weather. Water deeply and regularly, aiming to keep the soil consistently moist but not waterlogged. Avoid overhead watering, as this can promote fungal diseases. Instead, water at the base of the plants or use a soaker hose. As the fruits begin to ripen, you can reduce watering slightly to concentrate the sugars and improve the flavor.
What kind of fertilizer should I use for my melon plants?
Melon plants benefit from regular fertilization. Start with a balanced fertilizer at planting time, and then switch to a fertilizer that is higher in phosphorus and potassium as the plants begin to flower and fruit. Avoid over-fertilizing with nitrogen, as this can promote excessive foliage growth at the expense of fruit production. You can also supplement with compost tea or other organic fertilizers.
How do I know when my melons are ripe?
Knowing when a melon is ripe can be tricky, but there are a few telltale signs to look for. For watermelons, look for a dull, rather than shiny, rind and a yellowish spot on the underside where the melon rested on the ground. You should also be able to thump the melon and hear a deep, hollow sound. For cantaloupes, the stem should slip easily from the vine when the melon is ripe. The melon should also have a fragrant aroma. For honeydews, look for a creamy yellow color and a slightly waxy feel.
My melon plants are getting attacked by pests. What should I do?
Melon plants can be susceptible to a variety of pests, including aphids, squash bugs, and cucumber beetles. Regularly inspect your plants for signs of infestation and take action promptly. You can try using insecticidal soap or neem oil to control pests. You can also use row covers to protect your plants from pests early in the season.
My melon plants are getting diseases. What should I do?
Melon plants can also be susceptible to diseases, such as powdery mildew and fusarium wilt. To prevent diseases, choose disease-resistant varieties, provide good air circulation, and avoid overhead watering. If you notice signs of disease, remove affected leaves and treat the plants with a fungicide.
Can I grow melons in containers?
Yes, you can grow melons in containers, but you’ll need to choose a large container and a compact variety. A 20-gallon container is a good size for a single melon plant. Be sure to use a well-draining potting mix and provide adequate support for the vines. Container-grown melons will also need more frequent watering and fertilization than those grown in the ground.
How can I improve the sweetness of my melons?
Several factors can influence the sweetness of your melons. First, choose a variety that is known for its sweetness. Second, provide adequate sunlight and water. Third, avoid over-fertilizing with nitrogen. Fourth, allow the melons to ripen fully on the vine. Finally, reduce watering slightly as the fruits begin to ripen to concentrate the sugars.
What are some creative ways to use homegrown melons?
Beyond simply eating them fresh, there are many creative ways to use homegrown melons. You can make melon smoothies, salads, salsas, and even grilled melon skewers. You can also pickle melon rinds or make melon jam. Get creative and experiment with different recipes to discover your favorites.

Leave a Comment