
Grow Bean Sprouts Quickly and effortlessly in your own kitchen! Forget those expensive, pre-packaged sprouts from the grocery store. I’m going to show you how to cultivate your own crunchy, nutritious bean sprouts with just a few simple supplies and a little bit of patience.
Sprouting beans has a rich history, dating back thousands of years in Asian cultures, where they were valued for their nutritional density, especially during times of scarcity. Think of it – a readily available source of vitamins and minerals, grown right in your home! Today, we can appreciate bean sprouts not only for their health benefits but also for their fresh, vibrant flavor that adds a delightful crunch to salads, stir-fries, and sandwiches.
Why should you learn to grow bean sprouts quickly at home? Well, for starters, it’s incredibly cost-effective. A handful of dried beans can yield a surprisingly large batch of sprouts. Plus, you have complete control over the growing process, ensuring they’re free from pesticides and other unwanted chemicals. But the best part? It’s a fun and rewarding DIY project that anyone can do, regardless of their gardening experience. I’ll guide you through each step, from selecting the right beans to harvesting your first batch of delicious, homegrown sprouts. Get ready to add a fresh, healthy boost to your meals!

Grow Bean Sprouts at Home: A Quick & Easy Guide
Hey there, fellow DIY enthusiasts! Ever craved fresh, crunchy bean sprouts but didn’t want to run to the store? Well, you’re in luck! I’m going to walk you through a super simple method to grow your own bean sprouts right in your kitchen. It’s faster than you think, and the taste is unbeatable. Plus, it’s a fantastic way to add a healthy boost to your meals. Let’s get sprouting!
What You’ll Need
Before we dive in, let’s gather our supplies. The best part? You probably already have most of these lying around!
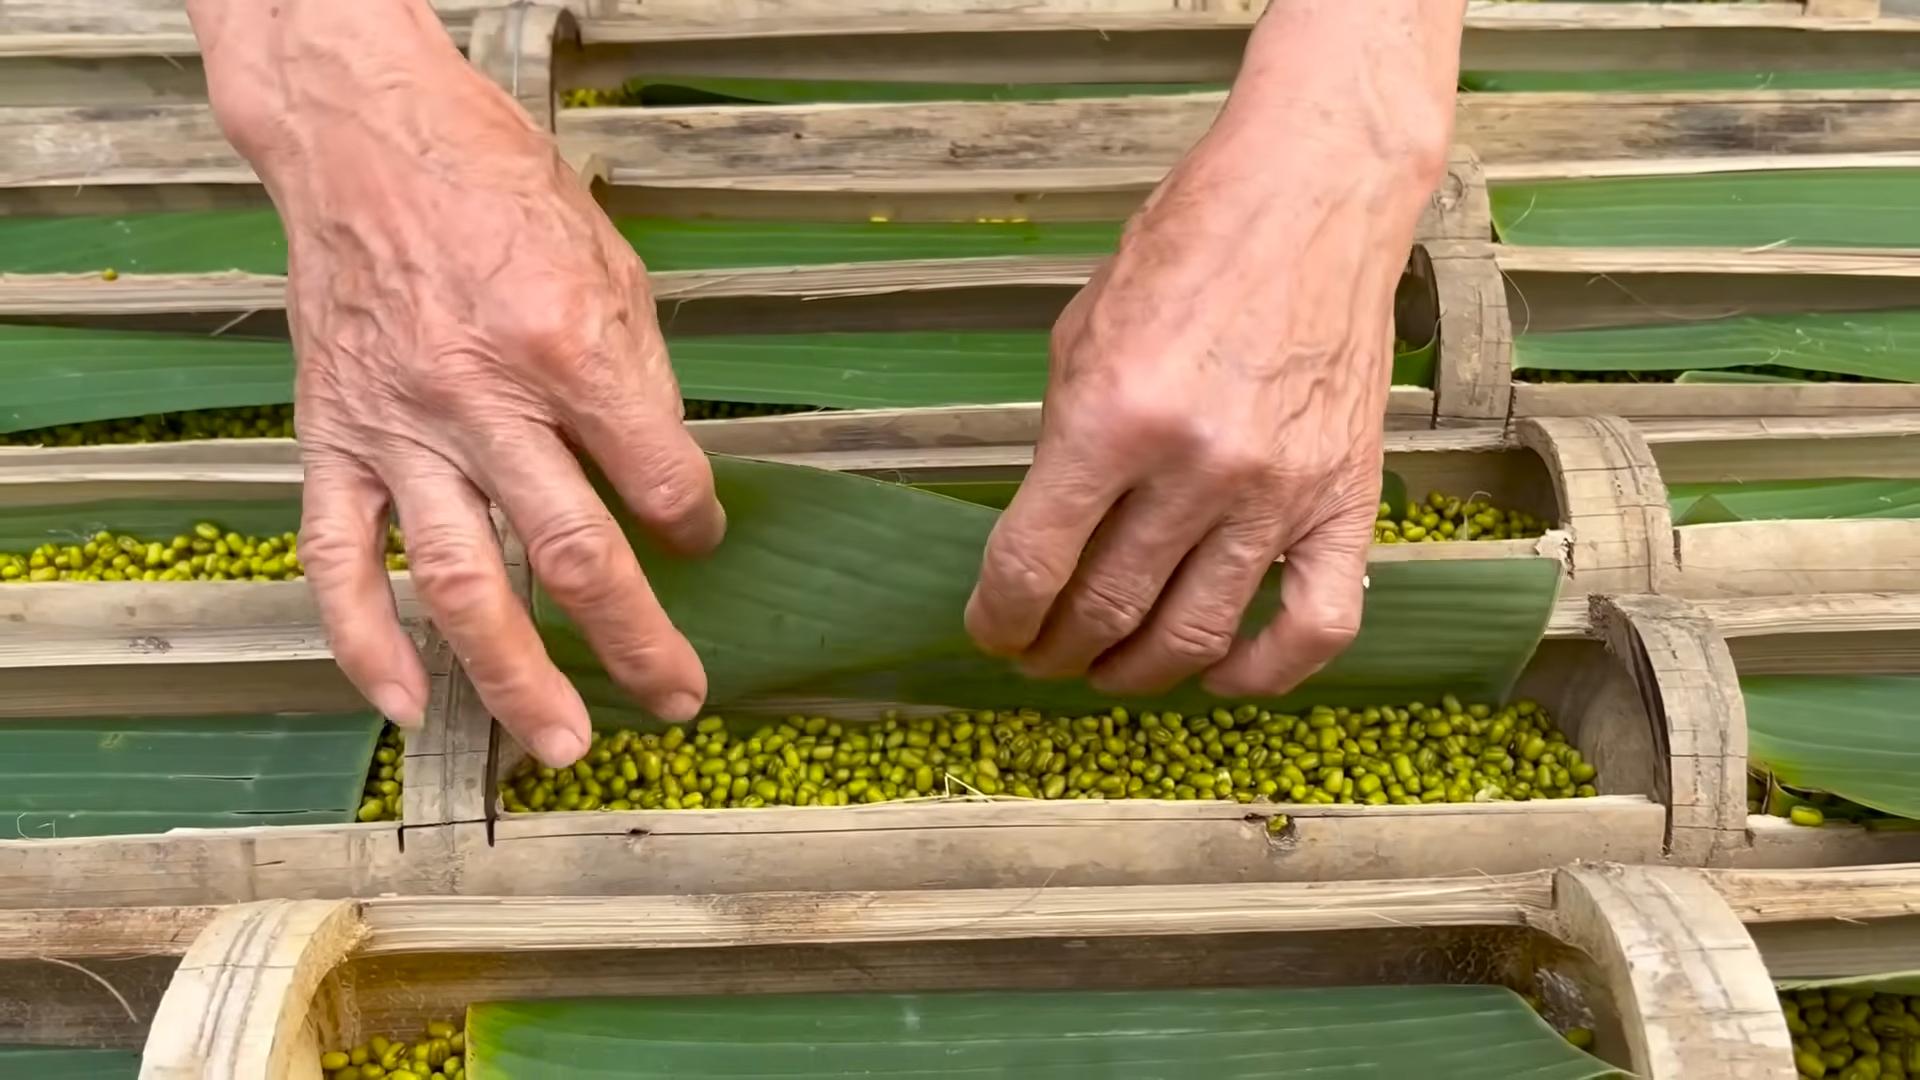
* **Beans:** Mung beans are the classic choice for bean sprouts, but you can also use adzuki beans, lentils, or even chickpeas. Just make sure they’re whole, dried beans and not split or roasted. I usually go for organic mung beans for the best flavor and germination rate.
* **Wide-Mouth Jar:** A quart-sized mason jar works perfectly. The wide mouth makes it easy to rinse and drain the sprouts.
* **Sprouting Lid or Cheesecloth:** You’ll need something to cover the jar while still allowing air circulation and drainage. A sprouting lid is ideal, but a piece of cheesecloth secured with a rubber band works just as well.
* **Water:** Clean, filtered water is essential for healthy sprouts.
* **Bowl:** For soaking the beans initially.
* **Dark Place:** A cupboard or a dark corner of your kitchen will do the trick. Darkness encourages the sprouts to grow long and white.
* **Optional: Hydrogen Peroxide (3%):** A little bit of hydrogen peroxide can help prevent mold growth, especially in warmer climates.
Step-by-Step Sprouting Guide
Alright, let’s get down to the nitty-gritty. Here’s how to grow your own bean sprouts in just a few days:
Phase 1: Soaking the Beans
1. **Rinse the Beans:** Start by rinsing your beans thoroughly under cool water. This removes any dust or debris and helps to wake them up. I usually rub them gently between my hands to ensure they’re clean.
2. **Soak the Beans:** Place the rinsed beans in a bowl and cover them with plenty of cool water. The beans will absorb a lot of water, so make sure there’s at least twice as much water as beans.
3. **Soaking Time:** Let the beans soak for 8-12 hours, or even overnight. This is crucial for softening the beans and initiating the germination process. I usually soak them before I go to bed, so they’re ready to go in the morning.
Phase 2: Sprouting in the Jar
1. **Drain and Rinse:** After soaking, drain the beans completely and rinse them again with cool water.
2. **Transfer to Jar:** Transfer the rinsed beans to your wide-mouth jar. Don’t overcrowd the jar; a thin layer of beans is ideal. They’ll expand as they sprout.
3. **Cover the Jar:** Cover the jar with your sprouting lid or cheesecloth secured with a rubber band.
4. **Invert and Drain:** Invert the jar and drain as much water as possible. You want the beans to be moist but not sitting in water. Excess water can lead to mold growth.
5. **Dark Storage:** Place the jar in a dark place, such as a cupboard or a dark corner of your kitchen. Make sure the jar is positioned at an angle, so any excess water can drain out. I usually prop it up against something.
Phase 3: Rinsing and Draining (The Most Important Part!)
1. **Rinse Regularly:** This is the key to successful sprouting! Rinse the beans with cool water at least 2-3 times a day. This keeps them hydrated and prevents mold growth.
2. **Drain Thoroughly:** After each rinse, drain the water completely. Again, you don’t want the beans sitting in water.
3. **Repeat:** Continue rinsing and draining 2-3 times a day for the next 3-5 days, or until the sprouts reach your desired length.
Phase 4: Harvesting and Storing
1. **Harvest Time:** Your bean sprouts are ready to harvest when they’re about 1-2 inches long. They should be crisp and white with small green leaves.
2. **Final Rinse:** Give the sprouts a final rinse to remove any loose hulls or bean skins.
3. **Optional: Green in Sunlight:** If you want greener leaves, you can expose the sprouts to indirect sunlight for a few hours before harvesting. This will boost their chlorophyll production.
4. **Storage:** Store the harvested bean sprouts in an airtight container in the refrigerator. They should last for about a week. I usually line the container with a paper towel to absorb any excess moisture.
Troubleshooting Tips
Sometimes, things don’t go exactly as planned. Here are a few common issues and how to fix them:
* **Mold Growth:** Mold is usually caused by insufficient rinsing or poor drainage. If you see mold, discard the entire batch and start over. Make sure you’re rinsing thoroughly and draining completely. You can also add a teaspoon of 3% hydrogen peroxide to the rinse water to help prevent mold growth.
* **Slow Growth:** Slow growth can be caused by low temperatures or old beans. Make sure your beans are fresh and store the jar in a slightly warmer location.
* **Rotting Smell:** A rotting smell indicates that the beans are decaying. This is usually caused by overwatering or poor drainage. Discard the batch and start over, being more careful with rinsing and draining.
* **Bitter Taste:** A bitter taste can be caused by overgrowth or exposure to too much light. Harvest the sprouts earlier and keep them in a dark place.
Why This Method Works
The key to this method is the regular rinsing and draining. This provides the sprouts with the moisture they need to grow while preventing mold growth. The dark environment encourages the sprouts to grow long and white, and the air circulation prevents them from becoming slimy.
Variations and Experimentation
Once you’ve mastered the basic method, you can start experimenting with different types of beans and sprouting techniques. Here are a few ideas:
* **Different Beans:** Try sprouting adzuki beans, lentils, or chickpeas. Each type of bean has a unique flavor and texture.
* **Sprouting Trays:** If you’re growing large quantities of sprouts, you might want to invest in a sprouting tray. These trays provide better air circulation and drainage.
* **Microgreens:** You can also grow microgreens using a similar method. Microgreens are young vegetable greens that are harvested when they’re just a few inches tall.
Using Your Homegrown Bean Sprouts
Now that you have a batch of fresh, crunchy bean sprouts, it’s time to put them to good use! Here are a few of my favorite ways to enjoy them:
* **Salads:** Add bean sprouts to your salads for a boost of flavor and texture.
* **Sandwiches:** Bean sprouts make a great addition to sandwiches and wraps.
* **Stir-fries:** Toss bean sprouts into your stir-fries for a healthy and delicious meal.
* **Soups:** Add bean sprouts to your soups for a crunchy topping.
* **Spring Rolls:** Bean sprouts are a classic ingredient in spring rolls.
* **Just Eat Them Raw:** I love to just snack on them straight from the jar!
Health Benefits of Bean Sprouts
Bean sprouts are packed with nutrients, making them a healthy addition to your diet. They’re a good source of:
* **Protein:** Essential for building and repairing tissues.
* **Fiber:** Promotes healthy digestion.
* **Vitamins:** Including vitamin C, vitamin K, and folate.
* **Minerals:** Including iron, potassium, and magnesium.
* **Enzymes:** Aid in digestion and nutrient absorption.
Final Thoughts
Growing your own bean sprouts is a fun, easy, and rewarding project. It’s a great way to add fresh, healthy ingredients to your meals and reduce your reliance on store-bought produce. So, give it a try! I’m sure you’ll be amazed at how easy it is to grow your own delicious bean sprouts. Happy sprouting!
Conclusion
So, there you have it! Growing your own bean sprouts quickly at home is not only incredibly simple, but it’s also a game-changer for adding fresh, nutritious crunch to your meals. Forget those limp, flavorless sprouts from the grocery store. With this easy DIY trick, you’ll have a constant supply of vibrant, flavorful bean sprouts ready to elevate your salads, sandwiches, stir-fries, and more.
Why is this a must-try? Because it puts you in control. You know exactly what’s going into your food – no preservatives, no mystery ingredients, just pure, wholesome goodness. Plus, it’s significantly cheaper than buying pre-packaged sprouts, making it a budget-friendly way to boost your healthy eating habits. And let’s not forget the sheer satisfaction of watching those tiny seeds transform into a bountiful harvest right before your eyes. It’s a mini-gardening project that yields delicious results in just a few days!
But the fun doesn’t stop there! Feel free to experiment with different types of beans. Mung beans are the classic choice, but you can also try adzuki beans, lentil sprouts, or even alfalfa seeds for a slightly different flavor profile. Consider adding a touch of lemon juice or apple cider vinegar to the rinsing water for an extra boost of freshness and to help prevent bacterial growth. You can also adjust the sprouting time to achieve your desired sprout length – shorter sprouts tend to be crunchier, while longer sprouts have a slightly milder flavor.
Don’t be afraid to get creative with how you use your homemade bean sprouts. Toss them into your morning omelet, sprinkle them on top of tacos, or add them to your favorite noodle soup. They’re a versatile ingredient that can add a healthy and delicious touch to almost any dish.
We’re confident that once you try this DIY trick for growing bean sprouts quickly, you’ll be hooked. It’s a simple, rewarding, and delicious way to add fresh, healthy ingredients to your diet. So, gather your supplies, follow our easy steps, and get ready to enjoy the taste of homegrown goodness.
We’d love to hear about your experience! Share your photos, tips, and variations in the comments below. Let us know what kind of beans you tried, what dishes you used your sprouts in, and any other helpful hints you discovered along the way. Let’s build a community of sprout enthusiasts and spread the word about this amazing DIY trick! Happy sprouting!
Frequently Asked Questions (FAQ)
What kind of beans are best for sprouting?
Mung beans are the most popular and readily available choice for sprouting, and they produce the classic bean sprouts you find in most grocery stores. However, you can also experiment with other types of beans and seeds, such as adzuki beans, lentils, alfalfa seeds, broccoli seeds, and radish seeds. Each type will have a slightly different flavor and texture, so it’s fun to try different varieties to find your favorites. Just be sure to use beans that are specifically intended for sprouting, as some dried beans may not be suitable.
How long does it take to grow bean sprouts?
The sprouting time can vary depending on the type of bean, the temperature, and the humidity. Generally, mung beans will sprout in about 3-5 days. Other beans may take slightly longer or shorter. You can adjust the sprouting time to achieve your desired sprout length. Shorter sprouts tend to be crunchier, while longer sprouts have a slightly milder flavor. Keep an eye on your sprouts and harvest them when they reach your preferred size.
How do I prevent mold or bacteria from growing on my sprouts?
Proper hygiene is crucial to prevent mold or bacteria growth. Always start with clean beans and a clean sprouting container. Rinse the sprouts thoroughly with fresh, cool water at least twice a day, or even more frequently in warmer climates. Ensure good drainage to prevent water from pooling at the bottom of the container. You can also add a touch of lemon juice or apple cider vinegar to the rinsing water, as these have natural antibacterial properties. If you notice any signs of mold or a foul odor, discard the sprouts immediately.
How do I store bean sprouts?
Once your bean sprouts have reached your desired length, rinse them thoroughly and drain them well. Store them in an airtight container lined with a paper towel in the refrigerator. The paper towel will help absorb excess moisture and keep the sprouts fresh for longer. Properly stored bean sprouts can last for up to a week in the refrigerator.
Can I eat the bean sprout roots?
Yes, the roots of bean sprouts are perfectly edible and nutritious. They have a slightly nutty flavor and add a nice crunch to dishes. Some people prefer to trim the roots before eating, but it’s entirely a matter of personal preference.
Are there any health benefits to eating bean sprouts?
Yes, bean sprouts are a nutritional powerhouse! They are low in calories and fat but high in vitamins, minerals, and antioxidants. They are a good source of vitamin C, vitamin K, folate, and fiber. Bean sprouts can help boost your immune system, improve digestion, and protect against chronic diseases.
Can I grow bean sprouts without a special sprouting container?
Absolutely! While specialized sprouting containers can be convenient, you can easily grow bean sprouts using items you already have in your kitchen. A mason jar with a mesh lid or cheesecloth secured with a rubber band works perfectly well. You can also use a colander lined with cheesecloth or a clean kitchen towel. The key is to ensure good drainage and ventilation.
What if my bean sprouts don’t sprout?
If your bean sprouts aren’t sprouting, there could be a few reasons. First, make sure your beans are specifically intended for sprouting and are not too old. Old beans may have a lower germination rate. Second, ensure that the beans are getting enough moisture. They should be rinsed thoroughly at least twice a day. Third, check the temperature. Bean sprouts prefer a warm, humid environment. If your kitchen is too cold, try placing the sprouting container in a warmer location. Finally, make sure the beans are not exposed to direct sunlight, as this can inhibit sprouting.
Can I grow bean sprouts in soil?
While it’s possible to grow bean sprouts in soil, it’s not the traditional or most efficient method. Sprouting in water allows for faster and more even germination. Growing in soil can also increase the risk of mold or bacteria growth. For best results, we recommend sticking to the water-based sprouting method described in this article.
Is it safe to eat raw bean sprouts?
While bean sprouts are generally safe to eat raw, there is a small risk of foodborne illness, as they are grown in a warm, humid environment that can be conducive to bacterial growth. To minimize this risk, always start with clean beans and a clean sprouting container, rinse the sprouts thoroughly, and store them properly. If you are pregnant, elderly, or have a weakened immune system, it’s best to cook bean sprouts before eating them.
Leave a Comment