
DIY Grape Trellis System: Imagine strolling through your backyard, plucking juicy, sun-ripened grapes straight from your own vine. Sounds idyllic, right? Well, it’s more achievable than you think! For centuries, grape trellises have been a cornerstone of viticulture, dating back to ancient civilizations who understood the importance of supporting these climbing beauties for optimal growth and fruit production. From the rolling hills of Tuscany to the sun-drenched vineyards of California, the humble trellis has played a vital role in cultivating delicious grapes.
But you don’t need a sprawling vineyard to enjoy the fruits (pun intended!) of your labor. I’m here to show you how to build your very own DIY Grape Trellis System, even if you have limited space or zero carpentry experience. Many people struggle with sprawling grapevines that take over their gardens, leading to reduced sunlight, poor air circulation, and ultimately, fewer grapes. This simple, step-by-step guide will empower you to create a sturdy and attractive support structure that will not only enhance the beauty of your garden but also maximize your grape harvest. So, grab your tools, and let’s get started on building your very own slice of vineyard paradise!
DIY Grape Trellis: Building Your Own Backyard Vineyard
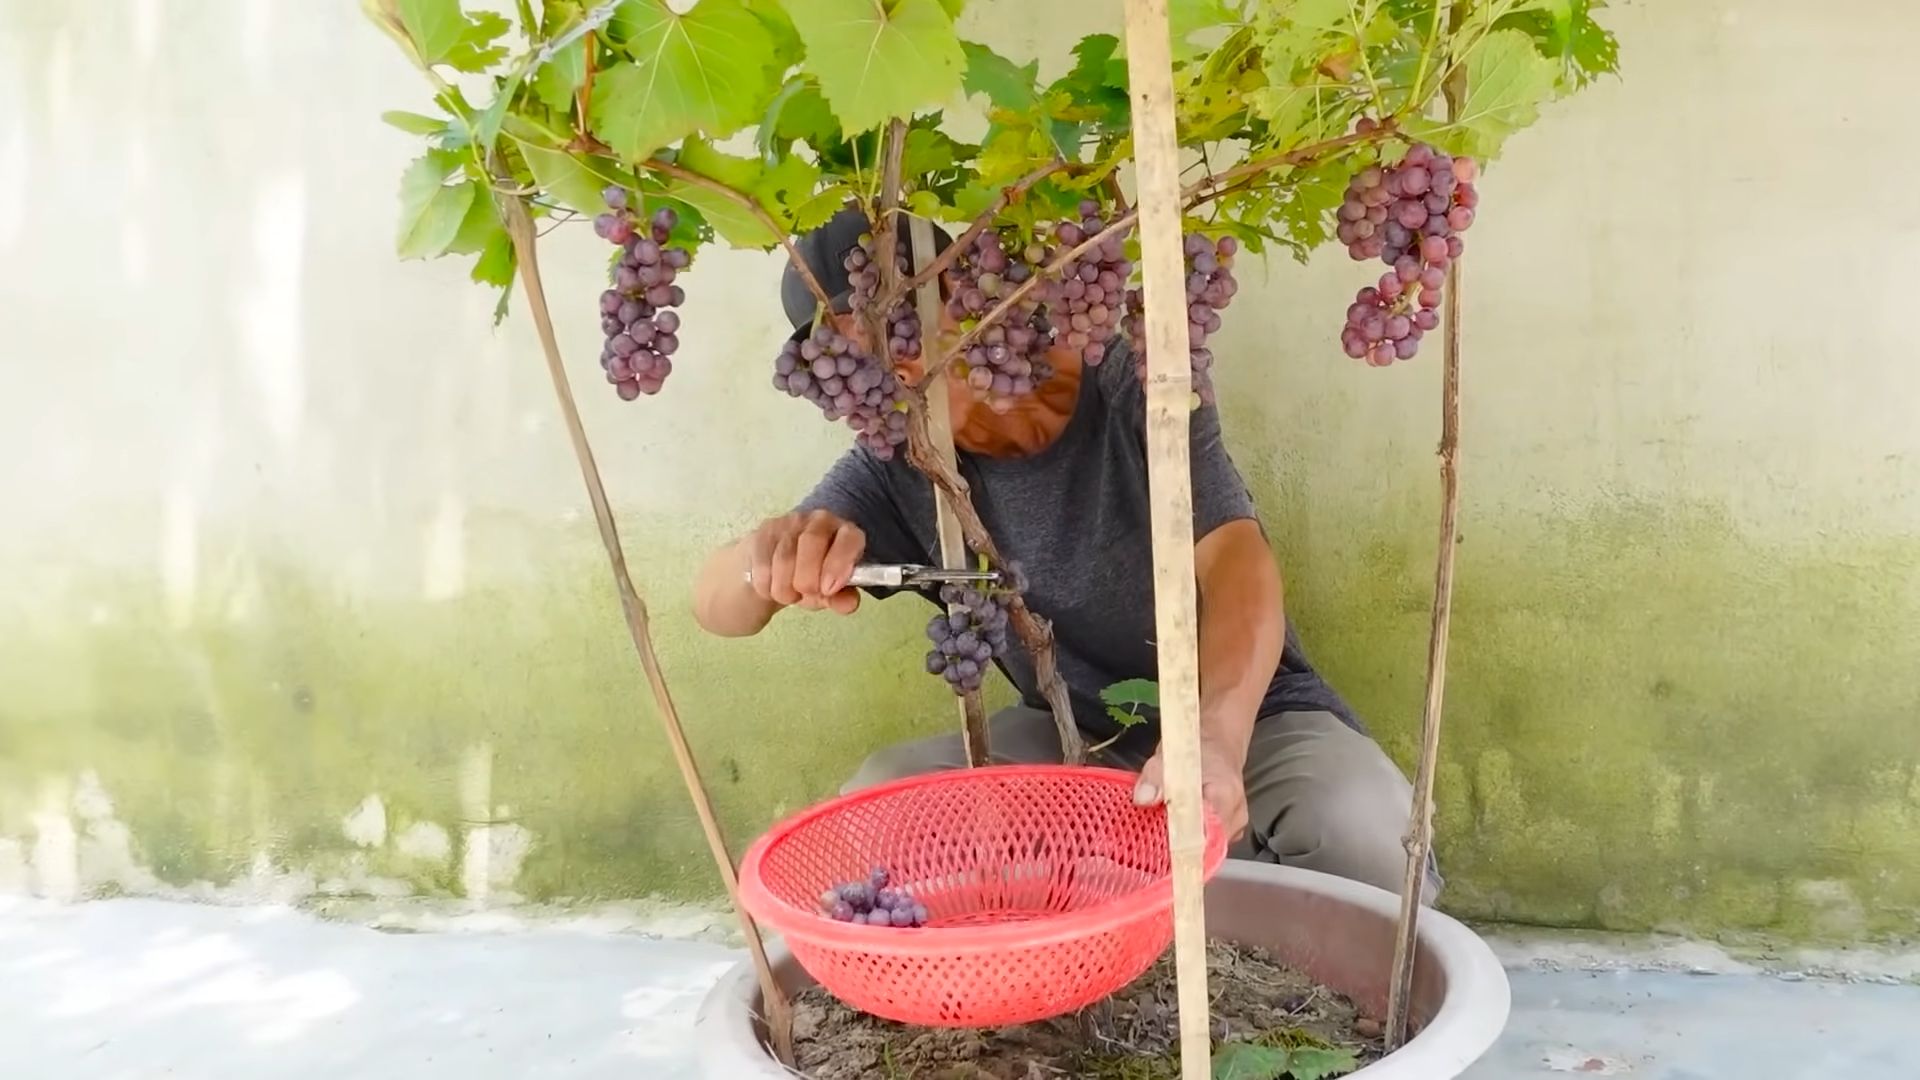
Okay, so you’re dreaming of lush grapevines cascading over a beautiful trellis, providing shade and, of course, delicious grapes? Me too! Building your own grape trellis is totally achievable, and honestly, it’s a really rewarding project. It might seem daunting at first, but I promise, with a little planning and some elbow grease, you can create a stunning and functional structure for your vines to thrive. This guide will walk you through every step, from planning to planting. Let’s get started!
Planning Your Trellis: Size, Location, and Design
Before you even think about picking up a hammer, you need a solid plan. This is crucial for ensuring your trellis is the right size, in the right location, and strong enough to support your growing grapes.
* **Grape Variety:** The type of grape you’re growing is a huge factor. Different varieties have different growth habits. Some are vigorous and need a lot of space, while others are more compact. Research your specific grape variety to understand its mature size and weight. This will dictate the size and strength of your trellis.
* **Sunlight:** Grapes need a lot of sun – at least 6-8 hours per day. Choose a location that gets plenty of sunlight throughout the growing season. Make sure your trellis won’t be shaded by trees or buildings.
* **Soil Drainage:** Grapes hate wet feet! Ensure the soil in your chosen location drains well. Amend the soil with compost or other organic matter to improve drainage if needed.
* **Trellis Design:** There are tons of trellis designs out there, from simple single-wire systems to more elaborate arbors. Here are a few popular options:
* **Single-Wire Trellis:** This is the simplest and most economical option. It consists of posts with a single wire stretched between them. It’s best suited for less vigorous grape varieties.
* **Two-Wire Trellis:** Similar to the single-wire, but with two wires spaced apart. This provides more support and allows for better air circulation.
* **Three-Wire Trellis:** Offers even more support and is a good choice for moderately vigorous varieties.
* **Arbor Trellis:** A more decorative option that creates a shaded walkway or seating area. It requires more planning and construction but can be a stunning addition to your garden.
* **T-Post Trellis:** Uses metal T-posts, which are driven into the ground. This is a sturdy and relatively inexpensive option.
* **Trellis Size:** Once you’ve chosen a design, determine the appropriate size. Consider the mature size of your grapevines and the amount of space you have available. A good rule of thumb is to space posts 8-10 feet apart. The height of the trellis will depend on the design, but a height of 6-8 feet is generally sufficient.
* **Materials:** Decide what materials you’ll use. Pressure-treated lumber is a good choice for posts, as it’s resistant to rot and insects. Galvanized wire is ideal for the trellis wires. You’ll also need concrete for setting the posts.
Materials and Tools You’ll Need
Okay, now that we have a plan, let’s gather our supplies. Here’s a list of what I used for my three-wire trellis, but you might need to adjust it based on your chosen design:
* **Pressure-Treated Lumber:**
* 4×4 posts (8 feet long) – I used these for the main support posts. The number you need depends on the length of your trellis.
* 2×4 lumber (8 feet long) – For crossbeams or bracing, if needed.
* **Galvanized Wire:** 12-gauge or 14-gauge wire is strong enough to support the grapevines.
* **Concrete Mix:** For setting the posts in the ground.
* **Wire Tensioners (optional):** These make it easier to tighten the wires and keep them taut.
* **Eye Bolts or Wire Staples:** For attaching the wire to the posts.
* **Tools:**
* Post Hole Digger or Auger: This will save you a ton of time and effort.
* Shovel: For backfilling the post holes.
* Level: To ensure the posts are plumb.
* Measuring Tape: For accurate measurements.
* Drill: For pre-drilling holes for screws and eye bolts.
* Wrench: For tightening nuts on eye bolts.
* Wire Cutters: For cutting the wire.
* Hammer: For driving in staples.
* Safety Glasses: Always protect your eyes!
* Gloves: To protect your hands.
* Wheelbarrow or Mixing Tub: For mixing concrete.
Building Your Grape Trellis: Step-by-Step Instructions
Alright, let’s get our hands dirty! This is where the fun begins. I’ll walk you through the process of building a three-wire trellis, but you can adapt these instructions to your chosen design.
1. **Mark the Post Locations:** Use your measuring tape to mark the locations of your posts. Remember to space them 8-10 feet apart. Use stakes or flags to clearly mark each spot.
2. **Dig the Post Holes:** This is the most physically demanding part of the project, so be prepared to sweat! Use your post hole digger or auger to dig holes that are at least 2 feet deep. The deeper the holes, the more stable your trellis will be. Make sure the holes are wide enough to accommodate the posts and concrete.
3. **Set the Posts:** Place a post in each hole. Use a level to ensure the post is plumb (perfectly vertical). You can use temporary braces to hold the posts in place while the concrete sets.
4. **Mix the Concrete:** Follow the instructions on the concrete mix bag to mix the concrete. Add water gradually until you achieve a thick, pourable consistency.
5. **Pour the Concrete:** Pour the concrete into the post holes, filling them to within a few inches of the ground surface. Use a shovel or trowel to smooth the concrete around the base of the posts.
6. **Let the Concrete Cure:** Allow the concrete to cure for at least 24-48 hours before proceeding. This will ensure the posts are firmly anchored in the ground.
7. **Attach the Wires:** Once the concrete is cured, it’s time to attach the wires. There are a few different ways to do this:
* **Using Eye Bolts:** Drill holes through the posts at the desired heights for the wires. Insert eye bolts through the holes and tighten the nuts. Thread the wire through the eye bolts and secure it.
* **Using Wire Staples:** Hammer wire staples into the posts to hold the wire in place. This is a simpler method, but it may not be as strong as using eye bolts.
I prefer using eye bolts because they allow you to easily adjust the tension of the wires.
8. **String the Wires:** Starting at one end of the trellis, thread the wire through the eye bolts or around the staples. Pull the wire taut and secure it at the other end.
9. **Tension the Wires:** If you’re using wire tensioners, attach them to the wires and tighten them until the wires are taut. If you’re not using tensioners, you can simply pull the wires tight and secure them.
10. **Repeat for Each Wire:** Repeat steps 7-9 for each wire on your trellis. I spaced my wires about 2 feet apart.
11. **Backfill the Holes:** Once the concrete is fully cured (usually after a week), backfill the remaining space in the holes with soil. This will help to stabilize the posts and prevent water from pooling around them.
Adding Extra Support (Optional)
Depending on your trellis design and the vigor of your grapevines, you may want to add extra support. Here are a few options:
* **Crossbeams:** Attach 2×4 crossbeams between the posts to provide additional stability.
* **Bracing:** Use angled braces to support the posts and prevent them from leaning.
* **Anchors:** If you’re building a very large trellis, you may need to use ground anchors to provide extra support.
Planting Your Grapevines
Now for the most exciting part – planting your grapevines!
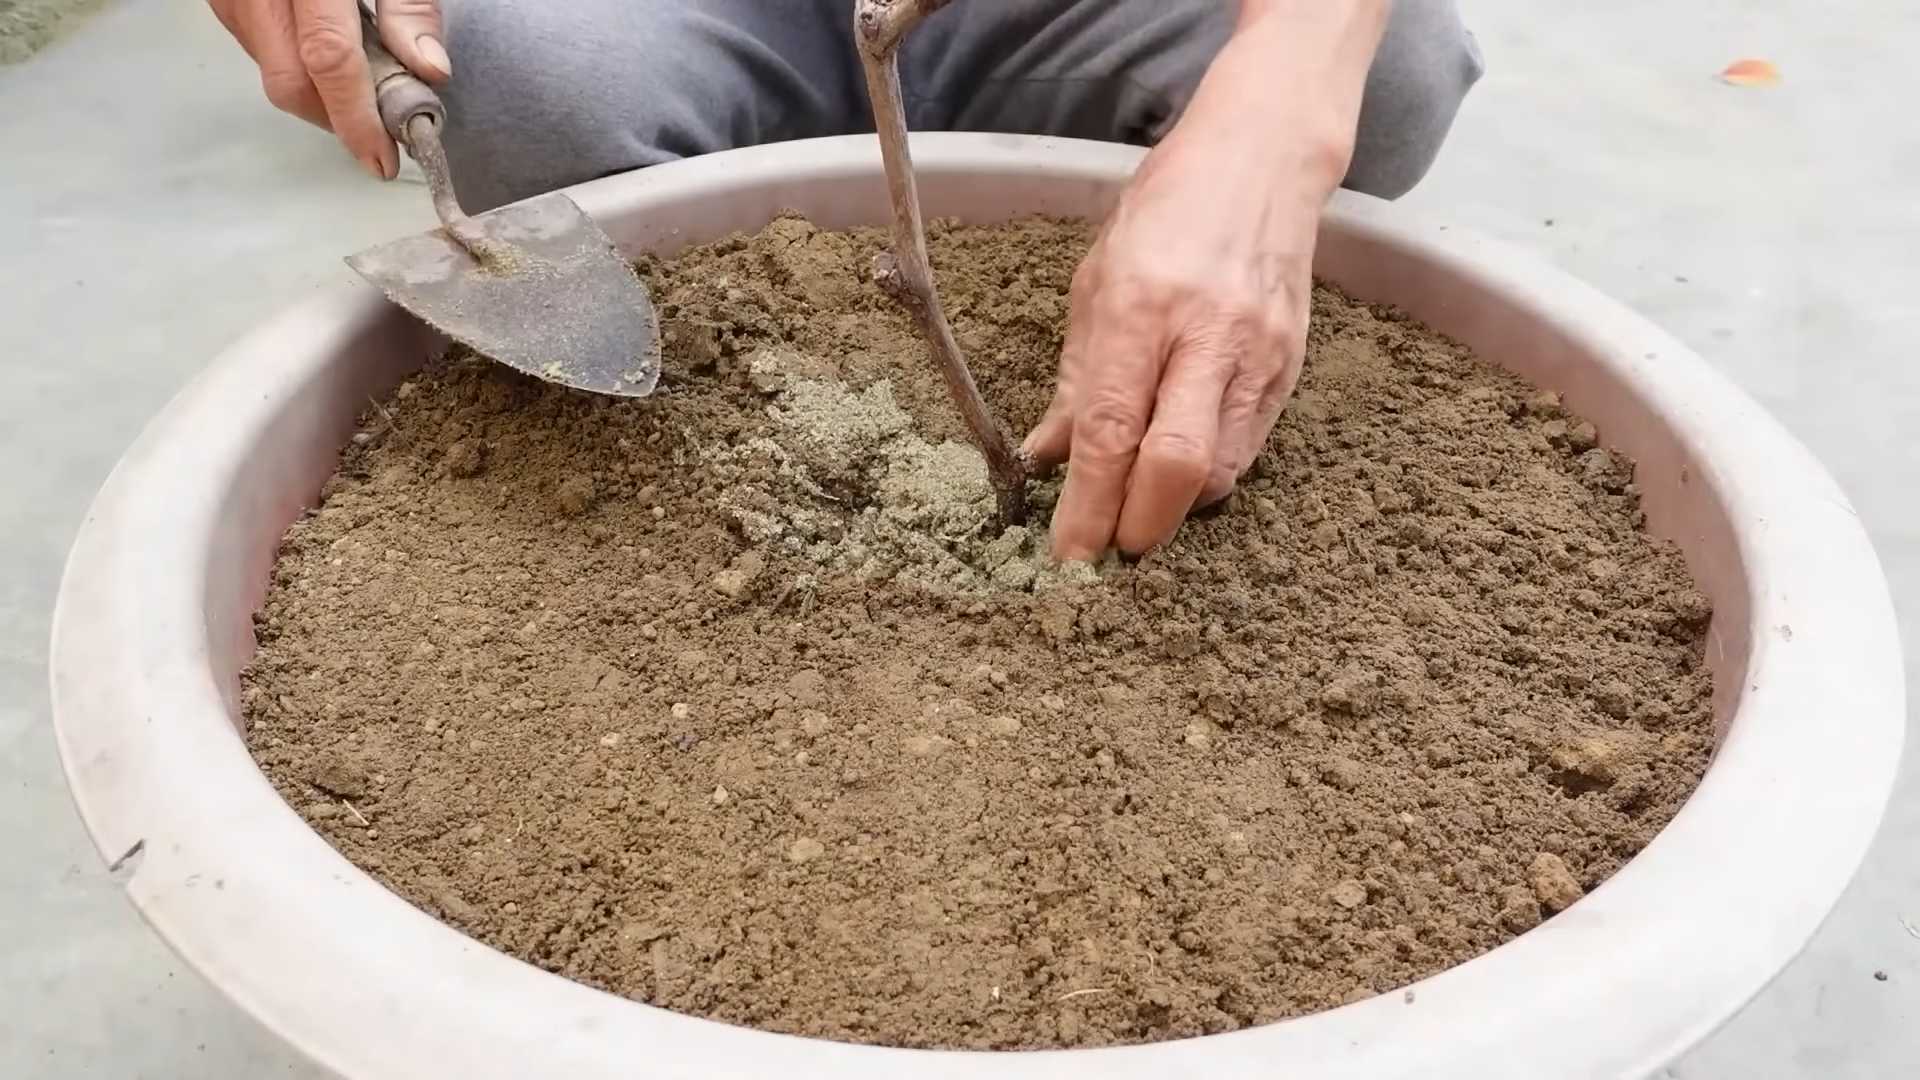
1. **Prepare the Soil:** Before planting, amend the soil with compost or other organic matter to improve drainage and fertility.
2. **Dig the Planting Holes:** Dig holes that are large enough to accommodate the root balls of your grapevines.
3. **Plant the Grapevines:** Carefully remove the grapevines from their containers and place them in the planting holes. Make sure the top of the root ball is level with the ground surface.
4. **Backfill the Holes:** Backfill the holes with soil and gently firm the soil around the base of the plants.
5. **Water Thoroughly:** Water the grapevines thoroughly after planting.
6. **Train the
Conclusion
So, there you have it! Building your own DIY grape trellis system isn’t just a cost-effective alternative to store-bought options; it’s an empowering project that allows you to tailor your garden to your specific needs and aesthetic preferences. We’ve walked you through the process, highlighting the key steps and considerations to ensure your grapevines thrive.
But why is this DIY approach a must-try? Beyond the obvious financial benefits, crafting your own trellis offers unparalleled customization. You get to choose the materials, the dimensions, and the overall design, ensuring it perfectly complements your garden’s existing landscape and provides optimal support for your grapevines as they mature. Imagine the satisfaction of harvesting plump, juicy grapes from a vine supported by a structure you built with your own two hands! That’s a reward that no store-bought trellis can offer.
Furthermore, a DIY trellis allows you to be more sustainable. You can repurpose reclaimed wood, use locally sourced materials, and minimize your environmental impact. This is a project that aligns with eco-conscious gardening practices and contributes to a healthier planet.
Don’t be afraid to experiment with variations! Consider incorporating decorative elements like repurposed metal accents, painted finishes, or even integrated lighting to create a truly unique and eye-catching feature in your garden. For smaller spaces, a simple wire trellis attached to a wall or fence might be ideal. If you’re growing multiple varieties of grapes, consider building a more elaborate structure with separate sections for each vine. You could even integrate other climbing plants, like clematis or passionflower, for added visual interest and biodiversity. Think about adding a bench or seating area near your trellis to create a relaxing and inviting space to enjoy the beauty of your garden.
Remember to consider the specific needs of your grape variety when designing your trellis. Some varieties are more vigorous growers than others and will require a sturdier structure. Research the mature size and growth habits of your grapes to ensure your trellis provides adequate support for years to come.
We encourage you to embrace the challenge and embark on this rewarding DIY project. The sense of accomplishment and the delicious grapes you’ll harvest will make it all worthwhile. Don’t hesitate to adapt the instructions to suit your own skills, resources, and garden design.
Most importantly, we want to hear about your experiences! Share your photos, tips, and challenges in the comments section below. Let’s create a community of DIY grape trellis enthusiasts and inspire each other to grow beautiful and bountiful gardens. Your insights could be invaluable to other readers who are just starting out. So, grab your tools, gather your materials, and get ready to build the perfect DIY grape trellis system for your garden! We can’t wait to see what you create!
Frequently Asked Questions (FAQ)
What type of wood is best for a grape trellis?
The best type of wood for a grape trellis depends on your budget and desired lifespan. Pressure-treated lumber is a popular choice because it’s resistant to rot and insects, making it a durable and long-lasting option. However, some gardeners prefer to avoid pressure-treated wood due to concerns about chemicals leaching into the soil. If you prefer a natural option, cedar and redwood are excellent choices. They are naturally rot-resistant and will last for many years, although they are typically more expensive than pressure-treated lumber. Black locust is another excellent, naturally rot-resistant option, but it can be harder to find and more expensive. Regardless of the wood you choose, be sure to seal it with a weather-resistant sealant to further protect it from the elements.
How tall should my grape trellis be?
The ideal height of your grape trellis depends on the variety of grapes you’re growing and the training system you plan to use. As a general rule, a trellis should be at least 6 feet tall, but 8 feet or even taller may be necessary for vigorous varieties or certain training methods. Consider the mature size of your grapevines and allow ample space for them to grow and spread. If you’re unsure, consult with your local nursery or agricultural extension office for recommendations specific to your region and grape variety. Remember to factor in the depth of the posts when determining the overall height of the trellis. You’ll need to bury the posts at least 2 feet deep to provide adequate stability.
How far apart should the posts be for a grape trellis?
The spacing between posts for a grape trellis depends on the strength of the materials you’re using and the weight of the grapevines. As a general guideline, space posts 8 to 10 feet apart. If you’re using thinner posts or anticipate heavy grape production, you may want to reduce the spacing to 6 to 8 feet. Ensure the end posts are particularly sturdy, as they will bear the brunt of the weight. Consider using larger diameter posts or bracing them with angled supports to prevent them from leaning or collapsing. Proper post spacing is crucial for the stability and longevity of your trellis.
What type of wire should I use for a grape trellis?
High-tensile wire is the best choice for a grape trellis. It’s strong, durable, and resistant to stretching, which is essential for supporting the weight of mature grapevines. Galvanized steel wire is a common and affordable option. Stainless steel wire is even more durable and rust-resistant, but it’s also more expensive. Avoid using thin or flimsy wire, as it may break under the weight of the vines. When installing the wire, use wire tensioners to keep it taut and prevent sagging. Regularly inspect the wire for signs of wear and tear and replace it as needed.
How do I attach the grapevines to the trellis?
There are several ways to attach grapevines to a trellis. The most common method is to use plant ties, which are soft, flexible ties that won’t damage the vines. You can also use twine or even strips of cloth. Avoid using wire or other materials that could cut into the vines. When attaching the vines, be sure to leave some slack to allow for growth. Don’t tie the vines too tightly, as this can restrict their circulation and stunt their growth. As the vines grow, you’ll need to periodically prune and train them to maintain their shape and encourage fruit production.
Can I build a grape trellis against a fence?
Yes, you can build a grape trellis against a fence, but there are a few things to consider. First, make sure the fence is strong enough to support the weight of the grapevines. If the fence is flimsy or damaged, it may not be able to handle the added load. Second, consider the impact on your neighbors. Grapevines can be aggressive growers, and they may spread onto your neighbor’s property if not properly managed. Finally, ensure that the trellis doesn’t block access to the fence for maintenance or repairs. A simple wire trellis attached directly to the fence is often the easiest and most practical option.
How long will it take for my grapevines to produce fruit?
The time it takes for grapevines to produce fruit depends on the variety, the growing conditions, and the age of the vine. Generally, it takes 2 to 3 years for grapevines to start producing a significant crop. Some varieties may produce a small amount of fruit in the first year, but it’s best to remove these grapes to encourage the vine to focus on developing a strong root system. Proper pruning, fertilization, and watering are essential for maximizing fruit production. Be patient and persistent, and you’ll be rewarded with delicious grapes in due time.
What are some common problems with grape trellises?
Some common problems with grape trellises include sagging wires, leaning posts, and damage from wind or snow. Sagging wires can be prevented by using high-tensile wire and wire tensioners. Leaning posts can be prevented by using sturdy posts and burying them deep in the ground. Damage from wind or snow can be minimized by choosing a sheltered location for your trellis and by pruning the vines to reduce their wind resistance. Regularly inspect your trellis for signs of wear and tear and make repairs as needed. With proper care and maintenance, your grape trellis will provide years of reliable support for your grapevines.

Leave a Comment