
DIY Floor Cleaner: Are you tired of spending a fortune on store-bought floor cleaners that promise the world but often leave behind a sticky residue or a lingering chemical smell? I know I was! That’s why I embarked on a mission to create my own effective and eco-friendly solutions.
The desire for a clean and healthy home is as old as civilization itself. Historically, people have used natural ingredients like vinegar, lemon juice, and essential oils to disinfect and freshen their living spaces. These time-tested methods are not only effective but also gentle on the environment and our wallets.
In today’s world, where we’re increasingly conscious of the products we use and their impact on our health and the planet, learning how to make your own DIY floor cleaner is more relevant than ever. Not only will you save money, but you’ll also have complete control over the ingredients, ensuring a safe and healthy environment for your family and pets. Plus, it’s incredibly satisfying to know you’re creating something useful with your own two hands! So, let’s dive into some simple yet powerful recipes and tricks to keep your floors sparkling clean without breaking the bank or harming the environment.
DIY Floor Cleaner: Sparkling Floors Without the Harsh Chemicals!
Hey there, fellow DIY enthusiasts! Are you tired of spending a fortune on floor cleaners filled with questionable chemicals? I know I was! That’s why I embarked on a mission to create my own effective and eco-friendly floor cleaner. And guess what? It’s surprisingly easy and uses ingredients you probably already have in your pantry! Get ready to ditch those store-bought bottles and embrace a cleaner, greener way to keep your floors sparkling.
Why DIY Floor Cleaner?
Before we dive into the how-to, let’s quickly touch on why making your own floor cleaner is a fantastic idea:
* Save Money: Seriously, you’ll be amazed at how much you can save by using simple, inexpensive ingredients.
* Eco-Friendly: Reduce your plastic waste and avoid harmful chemicals that can pollute our waterways.
* Customizable: Tailor the scent and strength to your liking. Want a lemony fresh scent? Add more lemon essential oil!
* Safe for Kids and Pets: You’ll know exactly what’s going on your floors, giving you peace of mind, especially if you have little ones or furry friends crawling around.
* Effective Cleaning: These recipes are surprisingly powerful and can tackle dirt, grime, and even some stains.
Choosing the Right Recipe for Your Floor Type
It’s crucial to choose a recipe that’s suitable for your specific floor type. Using the wrong cleaner can damage your floors, so pay close attention!
* Hardwood Floors: These are delicate and can be damaged by excessive moisture. Avoid using too much water and acidic ingredients like vinegar in high concentrations.
* Tile Floors: Tile is generally more durable and can handle a wider range of cleaners, including those with vinegar.
* Laminate Floors: Similar to hardwood, laminate floors are susceptible to water damage. Use a cleaner with minimal moisture.
* Vinyl Floors: Vinyl is quite resilient and can be cleaned with various solutions, but avoid abrasive cleaners that can scratch the surface.
* Stone Floors (Marble, Granite, etc.): These require pH-neutral cleaners to prevent etching and damage. Avoid vinegar, lemon juice, and other acidic substances.
DIY Floor Cleaner Recipes
Okay, let’s get to the good stuff! I’m going to share a few of my favorite DIY floor cleaner recipes, categorized by floor type.
Recipe 1: Hardwood and Laminate Floor Cleaner (Gentle and Effective)
This recipe is designed to be gentle on hardwood and laminate floors while still providing a good clean.
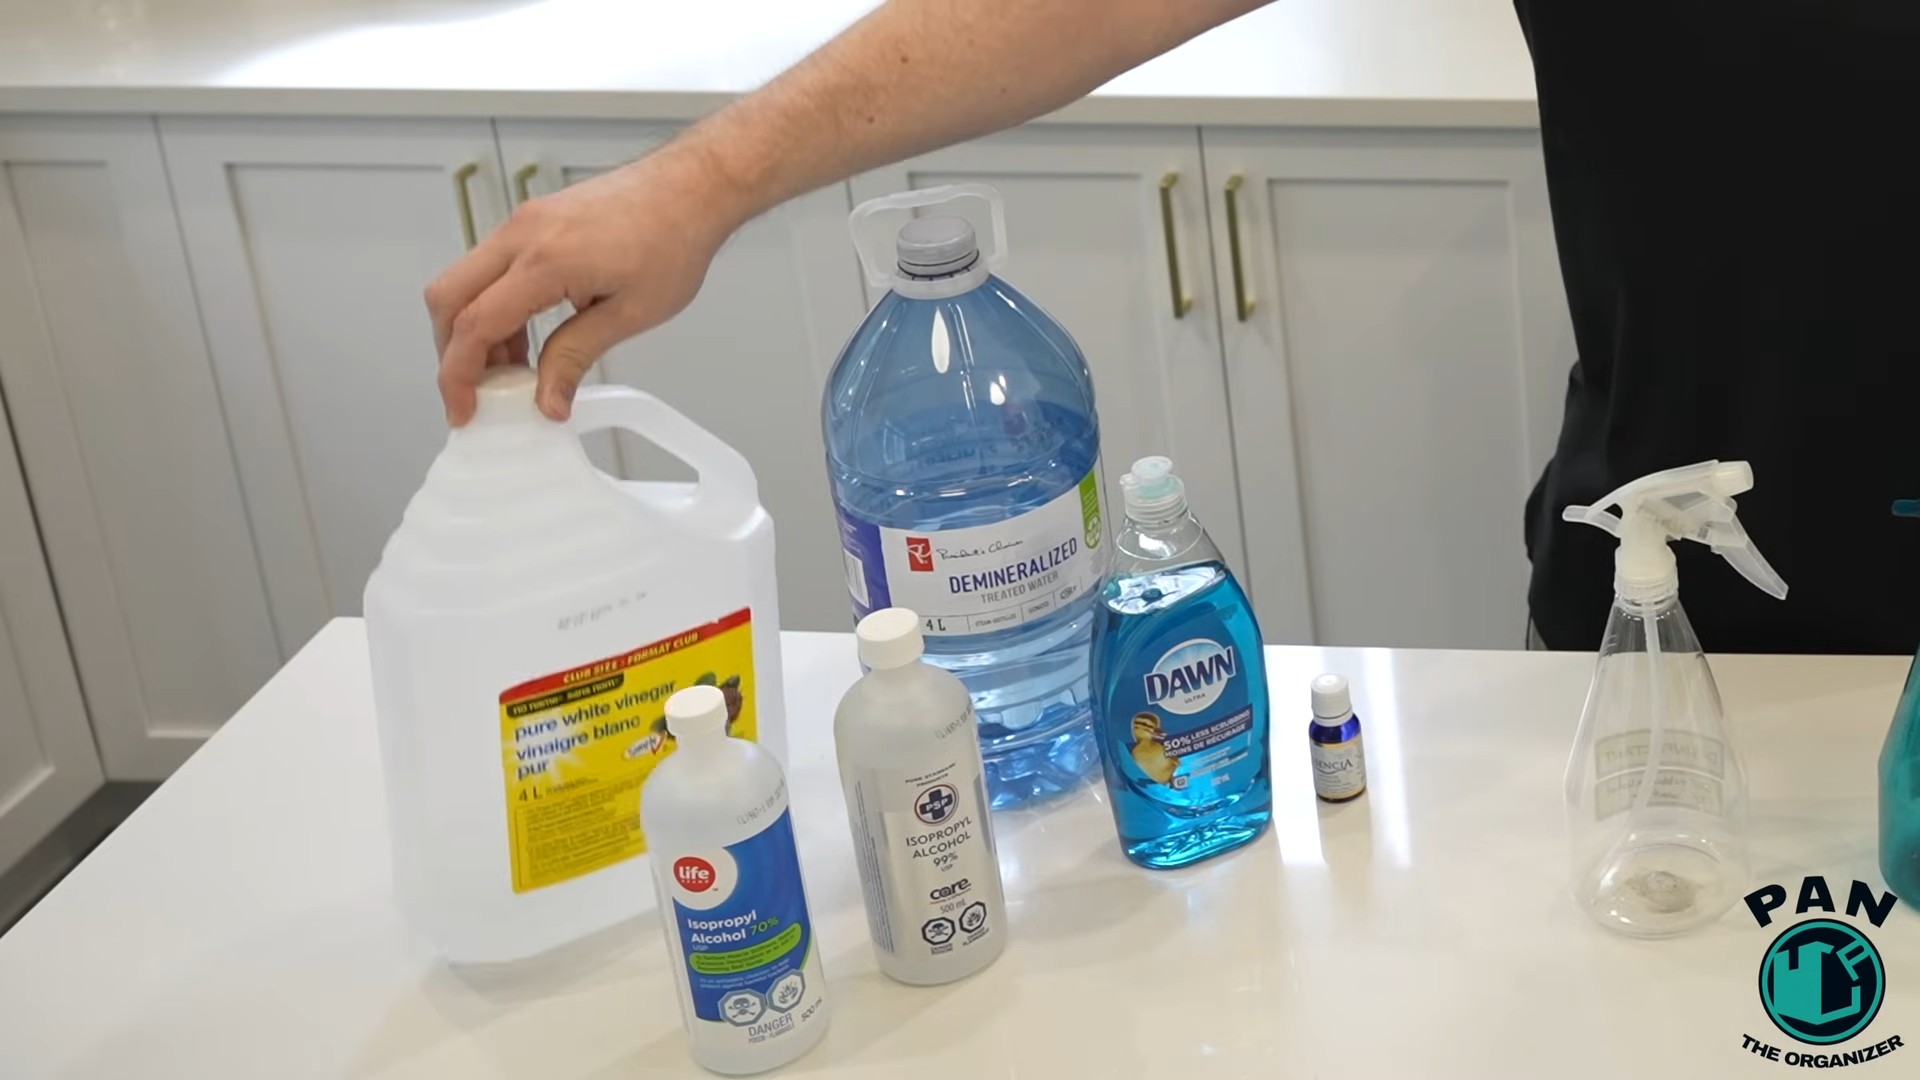
Ingredients:
* 1/4 cup white vinegar
* 1 tablespoon liquid dish soap (choose a gentle, pH-neutral option)
* 2 gallons warm water
* Optional: 5-10 drops of essential oil (lemon, lavender, or tea tree are great choices)
Instructions:
1. Gather Your Supplies: Make sure you have all the ingredients and a bucket ready.
2. Mix the Solution: In the bucket, combine the warm water, vinegar, and dish soap. Stir gently to avoid creating excessive bubbles.
3. Add Essential Oils (Optional): If you’re using essential oils, add them now and stir again.
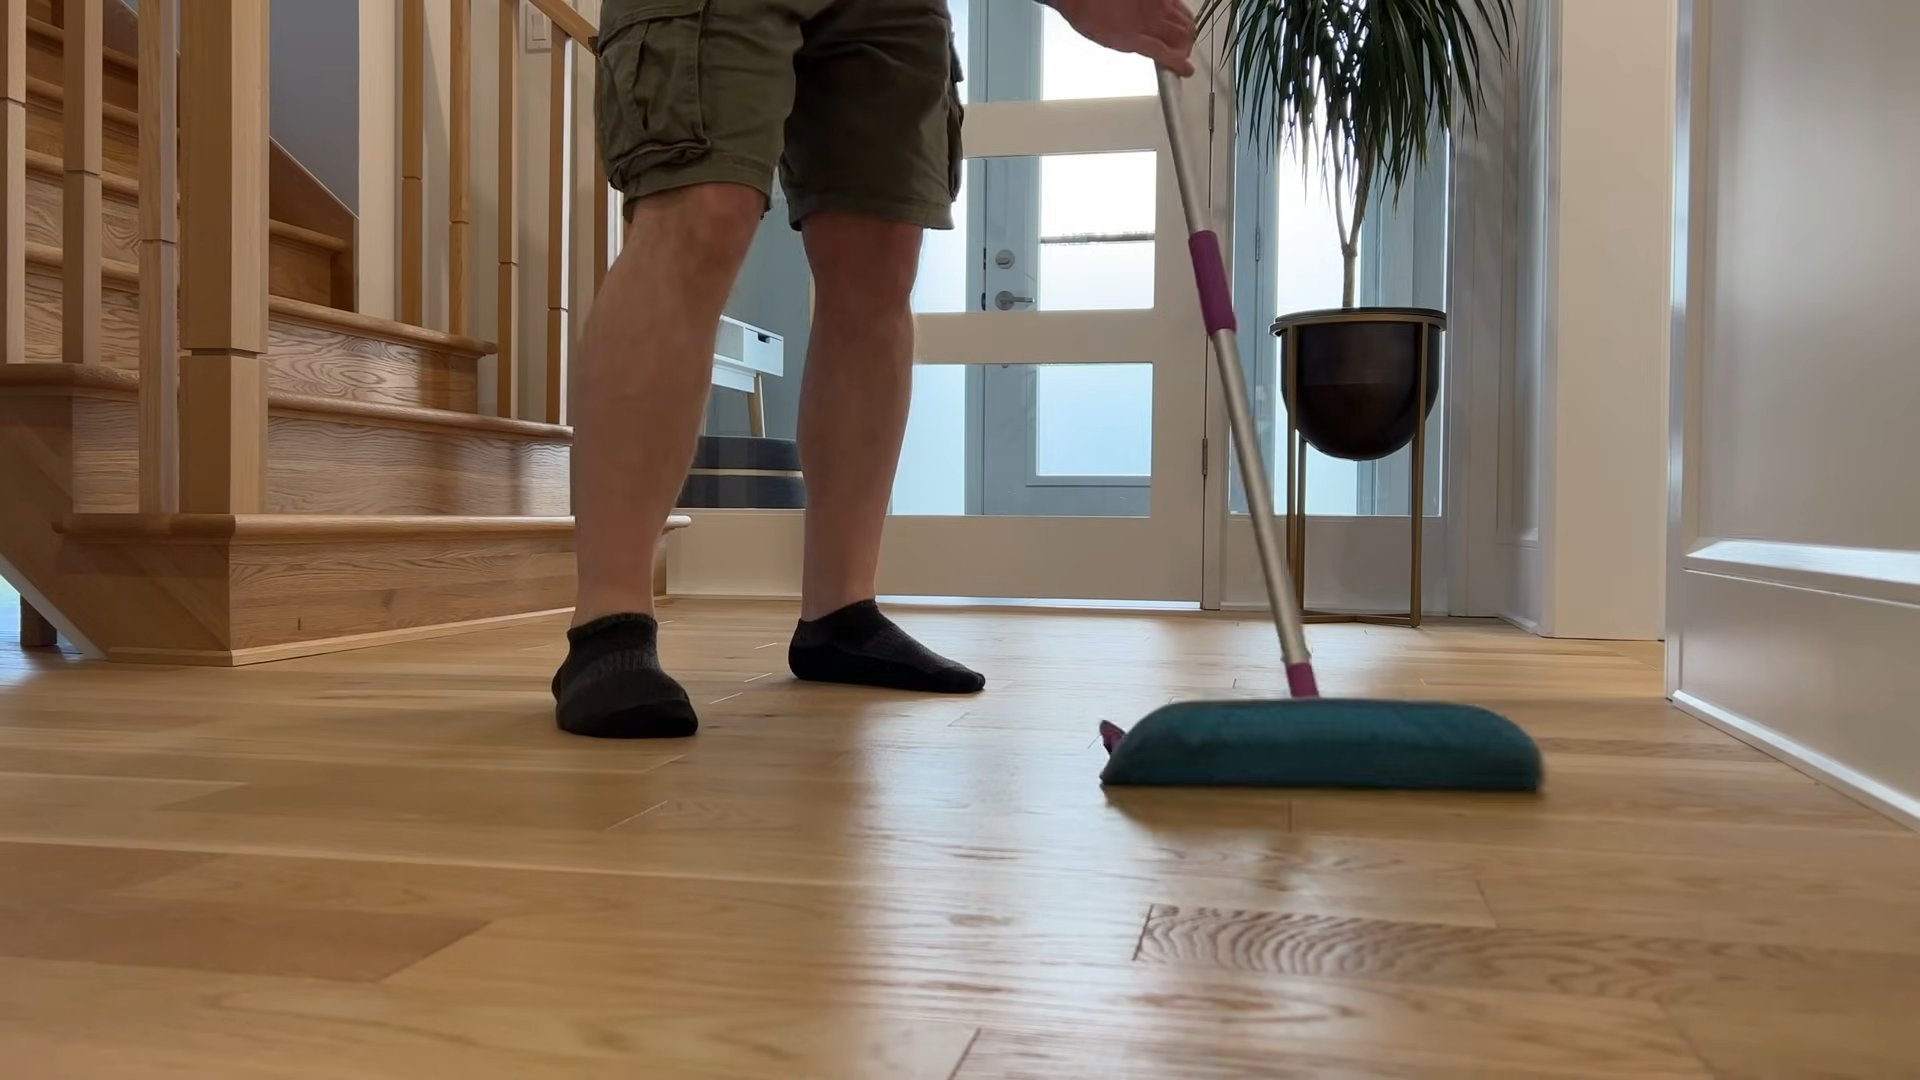
4. Damp Mop: Dip a microfiber mop into the solution, wringing it out thoroughly so it’s damp, not soaking wet.
5. Mop the Floor: Mop the floor in sections, rinsing the mop frequently in clean water.
6. Dry the Floor (Important!): Use a clean, dry microfiber cloth to dry the floor immediately after mopping. This is crucial to prevent water damage.
Recipe 2: Tile and Vinyl Floor Cleaner (Tough on Grime)
This recipe is a bit stronger and perfect for tackling grime on tile and vinyl floors.
Ingredients:
* 1/2 cup white vinegar
* 1/4 cup baking soda
* 1 gallon warm water
* Optional: 5-10 drops of essential oil (orange, peppermint, or eucalyptus are good choices)
Instructions:
1. Gather Your Supplies: Get your ingredients, bucket, and mop ready.
2. Mix the Solution: In the bucket, combine the warm water, vinegar, and baking soda. Be prepared for a little fizzing!
3. Add Essential Oils (Optional): If desired, add your essential oils and stir well.
4. Mop the Floor: Dip your mop into the solution and wring it out well.
5. Mop in Sections: Mop the floor in sections, rinsing the mop frequently.
6. Rinse (If Necessary): If you notice any residue, rinse the floor with clean water.
7. Dry the Floor: Dry the floor with a clean cloth or allow it to air dry.
Recipe 3: Stone Floor Cleaner (pH-Neutral and Gentle)
Stone floors like marble and granite require a pH-neutral cleaner to avoid damage. This recipe is specifically designed for them.
Ingredients:
* 1/4 cup pH-neutral dish soap (look for one specifically labeled for stone or marble)
* 1 gallon warm water
Instructions:
1. Gather Supplies: Make sure you have your pH-neutral dish soap, water, bucket, and mop.
2. Mix the Solution: In the bucket, combine the warm water and pH-neutral dish soap.
3. Mop the Floor: Dip your mop into the solution, wring it out well, and mop the floor in sections.
4. Rinse Thoroughly: Rinse the floor thoroughly with clean water to remove any soap residue.
5. Dry the Floor: Dry the floor with a clean cloth.
Tips for Sparkling Clean Floors
Here are a few extra tips to help you achieve the best results:
* Sweep or Vacuum First: Always sweep or vacuum your floors before mopping to remove loose dirt and debris. This will prevent you from just pushing the dirt around.
* Use Microfiber Mops: Microfiber mops are excellent for cleaning floors because they trap dirt and grime effectively.
* Rinse Your Mop Frequently: Rinse your mop frequently in clean water to avoid spreading dirty water around.
* Test in an Inconspicuous Area: Before cleaning your entire floor, test the cleaner in a small, hidden area to ensure it doesn’t damage the surface.
* Avoid Over-Wetting: As mentioned earlier, avoid over-wetting your floors, especially hardwood and laminate.
* Ventilate the Room: Open windows or turn on a fan to help the floors dry faster.
* Spot Clean Stains: For stubborn stains, try spot cleaning with a paste of baking soda and water or a commercial stain remover specifically designed for your floor type.
* Regular Cleaning: Regular cleaning is key to keeping your floors looking their best. Aim to mop your floors at least once a week, or more often if needed.
* Essential Oil Safety: When using essential oils, be sure to research their safety, especially if you have pets or small children. Some essential oils can be toxic to animals.
* Storage: Store your DIY floor cleaner in a labeled spray bottle or container.
Troubleshooting
Sometimes, things don’t go exactly as planned. Here are a few common issues and how to address them:
* Streaky Floors: Streaky floors can be caused by using too much soap or not rinsing the floor properly. Try using less soap and rinsing the floor more thoroughly.
* Dull Floors: Dull floors can be a sign of buildup from soap residue. Try using a cleaner with a slightly acidic pH (like the vinegar-based recipe) to remove the buildup.
* Sticky Floors: Sticky floors are often caused by using too much sugar-based cleaner or not rinsing well enough. Ensure you are using the correct amount of cleaner and rinsing thoroughly.
* Lingering Odor: If you notice a lingering odor after cleaning, it could be due to bacteria or mold. Try adding a few drops of tea tree essential oil to your cleaner, as it has antibacterial and antifungal properties.
A Note on Safety
While these DIY floor cleaners are generally safe, it’s always a good idea to take a few precautions:
* Keep Out of Reach of Children and Pets: Store your DIY floor cleaner in a safe place where children and pets cannot access it.
* Wear Gloves: If you have sensitive skin, consider wearing gloves while cleaning.
* Avoid Mixing Cleaners: Never mix different cleaning products together, as this can create dangerous fumes.
* Read Labels: Always read the labels of any ingredients you use to ensure they are safe for your intended purpose.
Final Thoughts
Making your own floor cleaner is a simple, rewarding way to save money, reduce your environmental impact, and keep your floors sparkling clean. With a little experimentation
Conclusion
So, there you have it! Ditching those harsh chemicals and embracing this simple, effective, and budget-friendly DIY floor cleaner is a game-changer for your home. Not only will you be saving money and reducing your environmental impact, but you’ll also be creating a safer, healthier environment for your family and pets. The gentle yet powerful cleaning action of vinegar, combined with the degreasing power of dish soap and the uplifting aroma of essential oils, creates a truly superior cleaning experience.
This isn’t just about cleaning; it’s about conscious living. It’s about taking control of the products you bring into your home and making informed choices that benefit both your well-being and the planet. Think about the peace of mind knowing exactly what ingredients are touching your floors, especially if you have little ones crawling around or furry friends leaving their paw prints.
But the beauty of this DIY floor cleaner lies in its adaptability. Feel free to experiment with different essential oil combinations to create your signature scent. Lavender and lemon offer a calming and refreshing aroma, while tea tree and eucalyptus provide a more antiseptic and invigorating clean. For tougher stains, consider adding a tablespoon of baking soda to the mixture for extra scrubbing power. If you have hardwood floors, be sure to use a very diluted solution and avoid excessive moisture to prevent damage. You can also substitute the dish soap with castile soap for a more natural and gentle alternative.
Don’t be afraid to tweak the recipe to suit your specific needs and preferences. The key is to find a balance that works for you and your home. This DIY floor cleaner is a starting point, a foundation upon which you can build your own personalized cleaning routine.
We truly believe that once you try this DIY floor cleaner, you’ll never go back to store-bought alternatives. The results speak for themselves: sparkling clean floors, a fresh and inviting scent, and the satisfaction of knowing you’re making a positive impact.
So, what are you waiting for? Gather your ingredients, mix up a batch, and experience the difference for yourself. We’re confident you’ll be amazed by the results. And most importantly, we want to hear about your experience! Share your tips, variations, and before-and-after photos in the comments below. Let’s build a community of conscious cleaners and inspire others to embrace the power of DIY. Your feedback is invaluable, and we can all learn from each other’s experiences. Let us know what essential oil combinations you loved, any adjustments you made to the recipe, and how it worked on different types of flooring. Together, we can make our homes cleaner, greener, and healthier, one floor at a time.
Frequently Asked Questions (FAQ)
Q: Is this DIY floor cleaner safe for all types of floors?
A: While this DIY floor cleaner is generally safe and effective, it’s crucial to consider your specific flooring type. For sealed hardwood floors, use a very diluted solution (less vinegar) and avoid excessive moisture. Always wring out your mop thoroughly. Test the cleaner in an inconspicuous area first to ensure it doesn’t damage the finish. Avoid using this cleaner on unsealed wood, as the moisture can cause warping. For tile, laminate, and vinyl floors, this cleaner is generally safe and effective. However, always test in a small area first, especially if you have older or more delicate flooring. Stone floors like marble and granite require pH-neutral cleaners. Vinegar is acidic and can etch these surfaces over time. Therefore, this DIY cleaner is not recommended for natural stone floors.
Q: Can I use any type of vinegar?
A: White distilled vinegar is the best option for this DIY floor cleaner due to its acidity and lack of color, which prevents staining. Apple cider vinegar can also be used, but it may leave a slight scent. Avoid using cleaning vinegar, which has a higher acidity level and may be too harsh for some flooring types.
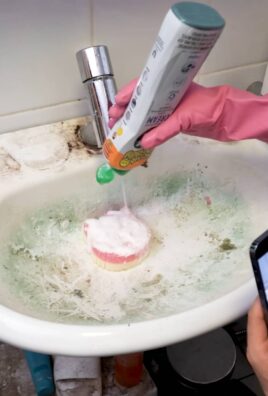
Q: What kind of dish soap should I use?
A: A mild, grease-cutting dish soap is ideal. Avoid using dish soaps that contain bleach or harsh chemicals, as these can damage your floors. Consider using a natural or plant-based dish soap for a more eco-friendly option. Only a small amount of dish soap is needed; too much can leave a residue on your floors.
Q: What essential oils are best for this DIY floor cleaner?
A: The best essential oils are those with antibacterial, antifungal, and antiviral properties, as well as a pleasant scent. Popular choices include:
* Lavender: Known for its calming and relaxing properties.
* Lemon: Provides a fresh, clean scent and has degreasing properties.
* Tea Tree: A powerful antiseptic and antifungal oil.
* Eucalyptus: Has a refreshing scent and can help to disinfect.
* Peppermint: Provides a refreshing scent and can help to repel insects.
* Orange: Offers a bright, citrusy scent and has degreasing properties.
Feel free to experiment with different combinations to find your favorite scent. Always use pure essential oils and follow dilution guidelines.
Q: How much essential oil should I add?
A: A general guideline is to add 10-20 drops of essential oil per gallon of water. Start with a smaller amount and add more if desired. Be mindful of the scent strength, especially if you have sensitivities to strong smells.
Q: Can I use this DIY floor cleaner in a spray mop?
A: Yes, this DIY floor cleaner can be used in a spray mop. However, be sure to dilute the solution properly and avoid over-saturating the mop pad. It’s also a good idea to rinse the spray mop reservoir periodically to prevent buildup.
Q: How often should I use this DIY floor cleaner?
A: The frequency of cleaning depends on your lifestyle and the amount of traffic your floors receive. Generally, cleaning your floors once or twice a week is sufficient. For high-traffic areas, you may need to clean more frequently.
Q: How should I store the DIY floor cleaner?
A: Store the DIY floor cleaner in a clean, airtight container. A glass spray bottle is a good option. Label the container clearly to avoid confusion. Keep the cleaner out of reach of children and pets.
Q: My floors are streaky after using this cleaner. What am I doing wrong?
A: Streaky floors can be caused by several factors:
* Using too much dish soap: Reduce the amount of dish soap in the recipe.
* Not rinsing the mop pad frequently enough: Rinse the mop pad thoroughly after each use.
* Hard water: If you have hard water, consider using distilled water in the cleaner.
* Residue buildup: If you’ve been using commercial cleaners, there may be residue buildup on your floors. Try cleaning your floors with plain water and a clean mop pad to remove the residue.
Q: Can I add baking soda to this DIY floor cleaner?
A: Yes, you can add a tablespoon of baking soda to the mixture for extra scrubbing power, especially for tough stains. However, be careful when using baking soda on hardwood floors, as it can be abrasive. Always test in an inconspicuous area first.
Q: Is this DIY floor cleaner safe for pets?
A: Yes, this DIY floor cleaner is generally safe for pets, as it doesn’t contain harsh chemicals. However, some essential oils can be toxic to pets if ingested in large quantities. Avoid using essential oils that are known to be harmful to pets, such as tea tree oil (melaleuca). Always keep pets away from the cleaner while you’re using it and allow the floors to dry completely before allowing them back into the area. If you’re concerned about your pet’s sensitivity to essential oils, you can omit them from the recipe altogether.

Leave a Comment