
Acid Toilet Cleaner Hacks: Are you tired of stubborn toilet stains that just won’t budge, no matter how hard you scrub? I know I was! Let’s face it, cleaning the toilet is nobody’s favorite chore, but it’s a necessary one. And sometimes, those pesky stains seem impossible to remove with regular cleaners. But don’t worry, I’ve got you covered!
For generations, people have sought effective and affordable ways to keep their toilets sparkling clean. From using natural remedies passed down through families to experimenting with different cleaning agents, the quest for a stain-free toilet is a timeless one. I’ve delved into the world of DIY cleaning solutions, and I’m excited to share some incredible acid toilet cleaner hacks that will transform your cleaning routine.
Why do you need these hacks? Because store-bought toilet cleaners can be expensive and often contain harsh chemicals that aren’t great for your plumbing or the environment. These DIY tricks offer a cost-effective and potentially more eco-friendly alternative, using ingredients you might already have in your home. Plus, they’re incredibly effective at tackling even the most stubborn stains. Get ready to say goodbye to endless scrubbing and hello to a sparkling clean toilet with these simple, yet powerful, acid toilet cleaner hacks!
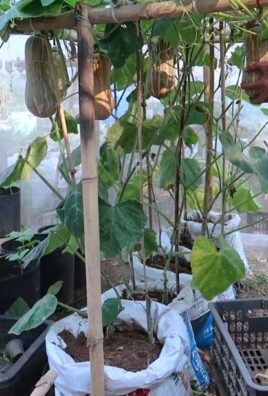
DIY Water-Based Potato Growing: A Fun and Easy Guide!
Hey there, fellow gardening enthusiasts! Ever thought about growing potatoes without all the digging and soil mess? Well, get ready to dive into the fascinating world of water-based potato growing! It’s a super cool method that’s not only space-saving but also incredibly rewarding. I’m going to walk you through everything you need to know to get started. Trust me, it’s easier than you think!
What You’ll Need
Before we get our hands dirty (or should I say, wet?), let’s gather all the necessary supplies. Here’s a comprehensive list:
* A Large Opaque Container: Think a 5-gallon bucket, a plastic storage bin, or even a repurposed trash can (thoroughly cleaned, of course!). The key is that it needs to be opaque to prevent algae growth.
* Seed Potatoes: These are potatoes specifically grown for planting. You can find them at your local garden center or online. Choose certified disease-free varieties for the best results.
* Nutrient Solution: This is the food for your potato plants. You can buy a hydroponic nutrient solution specifically formulated for vegetables, or you can create your own (more on that later!).
* An Air Pump and Air Stone: These are essential for oxygenating the water, which is crucial for healthy root development.
* Net Pots or Small Plastic Baskets: These will hold the seed potatoes and allow the roots to grow down into the nutrient solution.
* Growing Medium: Coco coir, perlite, or a mix of both works great for supporting the seed potatoes in the net pots.
* pH Testing Kit: Maintaining the correct pH level is vital for nutrient absorption. A simple pH testing kit will help you monitor and adjust the solution as needed.
* Water: Tap water is usually fine, but if your tap water is heavily chlorinated, let it sit out for 24 hours to allow the chlorine to dissipate.
* Optional: A timer for the air pump (to run it intermittently), a thermometer to monitor water temperature, and a light source if you’re growing indoors.
Preparing Your Seed Potatoes
Okay, let’s get those seed potatoes ready for their watery adventure!
1. Chitting (Sprouting): This is an optional but highly recommended step. A few weeks before planting, place your seed potatoes in a cool, bright location (but not in direct sunlight). This encourages them to sprout “eyes,” which will become the stems of your potato plants. You can place them in egg cartons or on a tray.
2. Cutting (If Necessary): If your seed potatoes are large (bigger than an egg), you can cut them into smaller pieces, ensuring that each piece has at least one or two “eyes.” Let the cut surfaces dry for a day or two to prevent rotting. This forms a callus.
3. Choosing the Best Sprouts: When planting, select the seed potatoes (or pieces) with the strongest, healthiest-looking sprouts.
Setting Up Your Water-Based Potato System
Now for the fun part – building your potato-growing oasis!
1. Prepare the Container: Thoroughly clean your container to remove any dirt or debris. If you’re using a repurposed container, make sure it’s food-grade and hasn’t been used to store any harmful chemicals.
2. Drill Holes for Net Pots: Drill holes in the lid of your container that are slightly smaller than the diameter of your net pots. The net pots should fit snugly into the holes. The number of holes will depend on the size of your container and the number of seed potatoes you want to grow. I usually aim for about 4-6 inches of space between each net pot.
3. Assemble the Air Pump and Air Stone: Connect the air stone to the air pump with the tubing provided. Place the air stone at the bottom of the container. This will oxygenate the nutrient solution.
4. Fill the Container with Nutrient Solution: Mix your nutrient solution according to the manufacturer’s instructions (or your own recipe – see below!). Fill the container with enough solution so that the bottom of the net pots will be submerged.
5. Place Seed Potatoes in Net Pots: Fill the net pots with your chosen growing medium (coco coir, perlite, or a mix). Gently nestle the seed potatoes into the growing medium, with the sprouts pointing upwards.
6. Position Net Pots in the Container: Place the net pots into the holes you drilled in the lid of the container. Make sure the bottom of the net pots is touching the nutrient solution.
7. Turn on the Air Pump: Plug in the air pump and make sure the air stone is bubbling vigorously. This is essential for providing oxygen to the roots.
Creating Your Own Nutrient Solution (Optional)
While pre-made nutrient solutions are convenient, you can also create your own! This gives you more control over the nutrient composition and can be more cost-effective. Here’s a basic recipe:
* Macronutrients:
* Calcium Nitrate: Provides calcium and nitrogen.
* Potassium Nitrate: Provides potassium and nitrogen.
* Monopotassium Phosphate: Provides phosphorus and potassium.
* Magnesium Sulfate (Epsom Salts): Provides magnesium and sulfur.
* Micronutrients: A commercially available micronutrient mix.
Important Note: The exact ratios of these nutrients will depend on the stage of growth of your potato plants. You’ll need to do some research to determine the optimal nutrient levels for each stage. There are many online resources and books that can help you with this.
Mixing Instructions:
1. Use distilled or reverse osmosis water for the best results.
2. Dissolve each nutrient separately in a small amount of water before adding it to the main container.
3. Add the nutrients to the water in the following order: Calcium Nitrate, Potassium Nitrate, Monopotassium Phosphate, Magnesium Sulfate, and then the micronutrient mix.
4. Stir well after adding each nutrient.
5. Adjust the pH of the solution to between 5.5 and 6.5.
Caring for Your Water-Based Potato Plants
Now that your system is set up, it’s time to nurture your potato plants!
1. Light: Potatoes need plenty of light to thrive. If you’re growing indoors, you’ll need to provide artificial lighting. LED grow lights are a great option. Aim for at least 12-16 hours of light per day. If you are growing outdoors, make sure the container is placed in a sunny location that receives at least 6-8 hours of direct sunlight per day.
2. Water Temperature: Keep the water temperature between 60°F and 75°F (15°C and 24°C). If the water gets too hot, it can stress the plants and promote algae growth.
3. Nutrient Solution Management:
* pH Monitoring: Check the pH of the nutrient solution regularly (at least once a week) and adjust it as needed. Use a pH adjusting solution (available at garden centers) to raise or lower the pH.
* Nutrient Replenishment: As the plants grow, they will deplete the nutrients in the solution. You’ll need to replenish the nutrients regularly. You can either add more concentrated nutrient solution to the existing solution or completely replace the solution every 2-3 weeks.
* Water Level: Monitor the water level in the container and add more nutrient solution as needed to keep the bottom of the net pots submerged.
4. Pruning: As the potato plants grow, you may need to prune them to encourage bushier growth and prevent them from becoming too leggy. Remove any yellowing or dead leaves.
5. Pest and Disease Control: While water-based growing reduces the risk of soilborne pests and diseases, it’s still important to monitor your plants for any signs of problems. If you notice any pests or diseases, treat them promptly with an appropriate organic pesticide or fungicide.
Harvesting Your Potatoes
The moment we’ve all been waiting for – harvesting those delicious potatoes!
1. Timing: Potatoes are typically ready to harvest about 80-100 days after planting. The foliage will start to turn yellow and die back when the potatoes are mature.
2. Harvesting: Carefully lift the potato plants out of the net pots. You should see potatoes forming along the roots. Gently remove the potatoes from the roots.
3. Curing: After harvesting, cure the potatoes for a week or two in a cool, dark, and well-ventilated place. This will help them to develop a thicker skin and improve their storage life.
4. Enjoy! Now you can enjoy the fruits (or rather, vegetables) of your labor! Use your homegrown potatoes in your favorite recipes.
Troubleshooting Tips
Even with the best planning, you might encounter some challenges along the way. Here are a few common problems
Conclusion
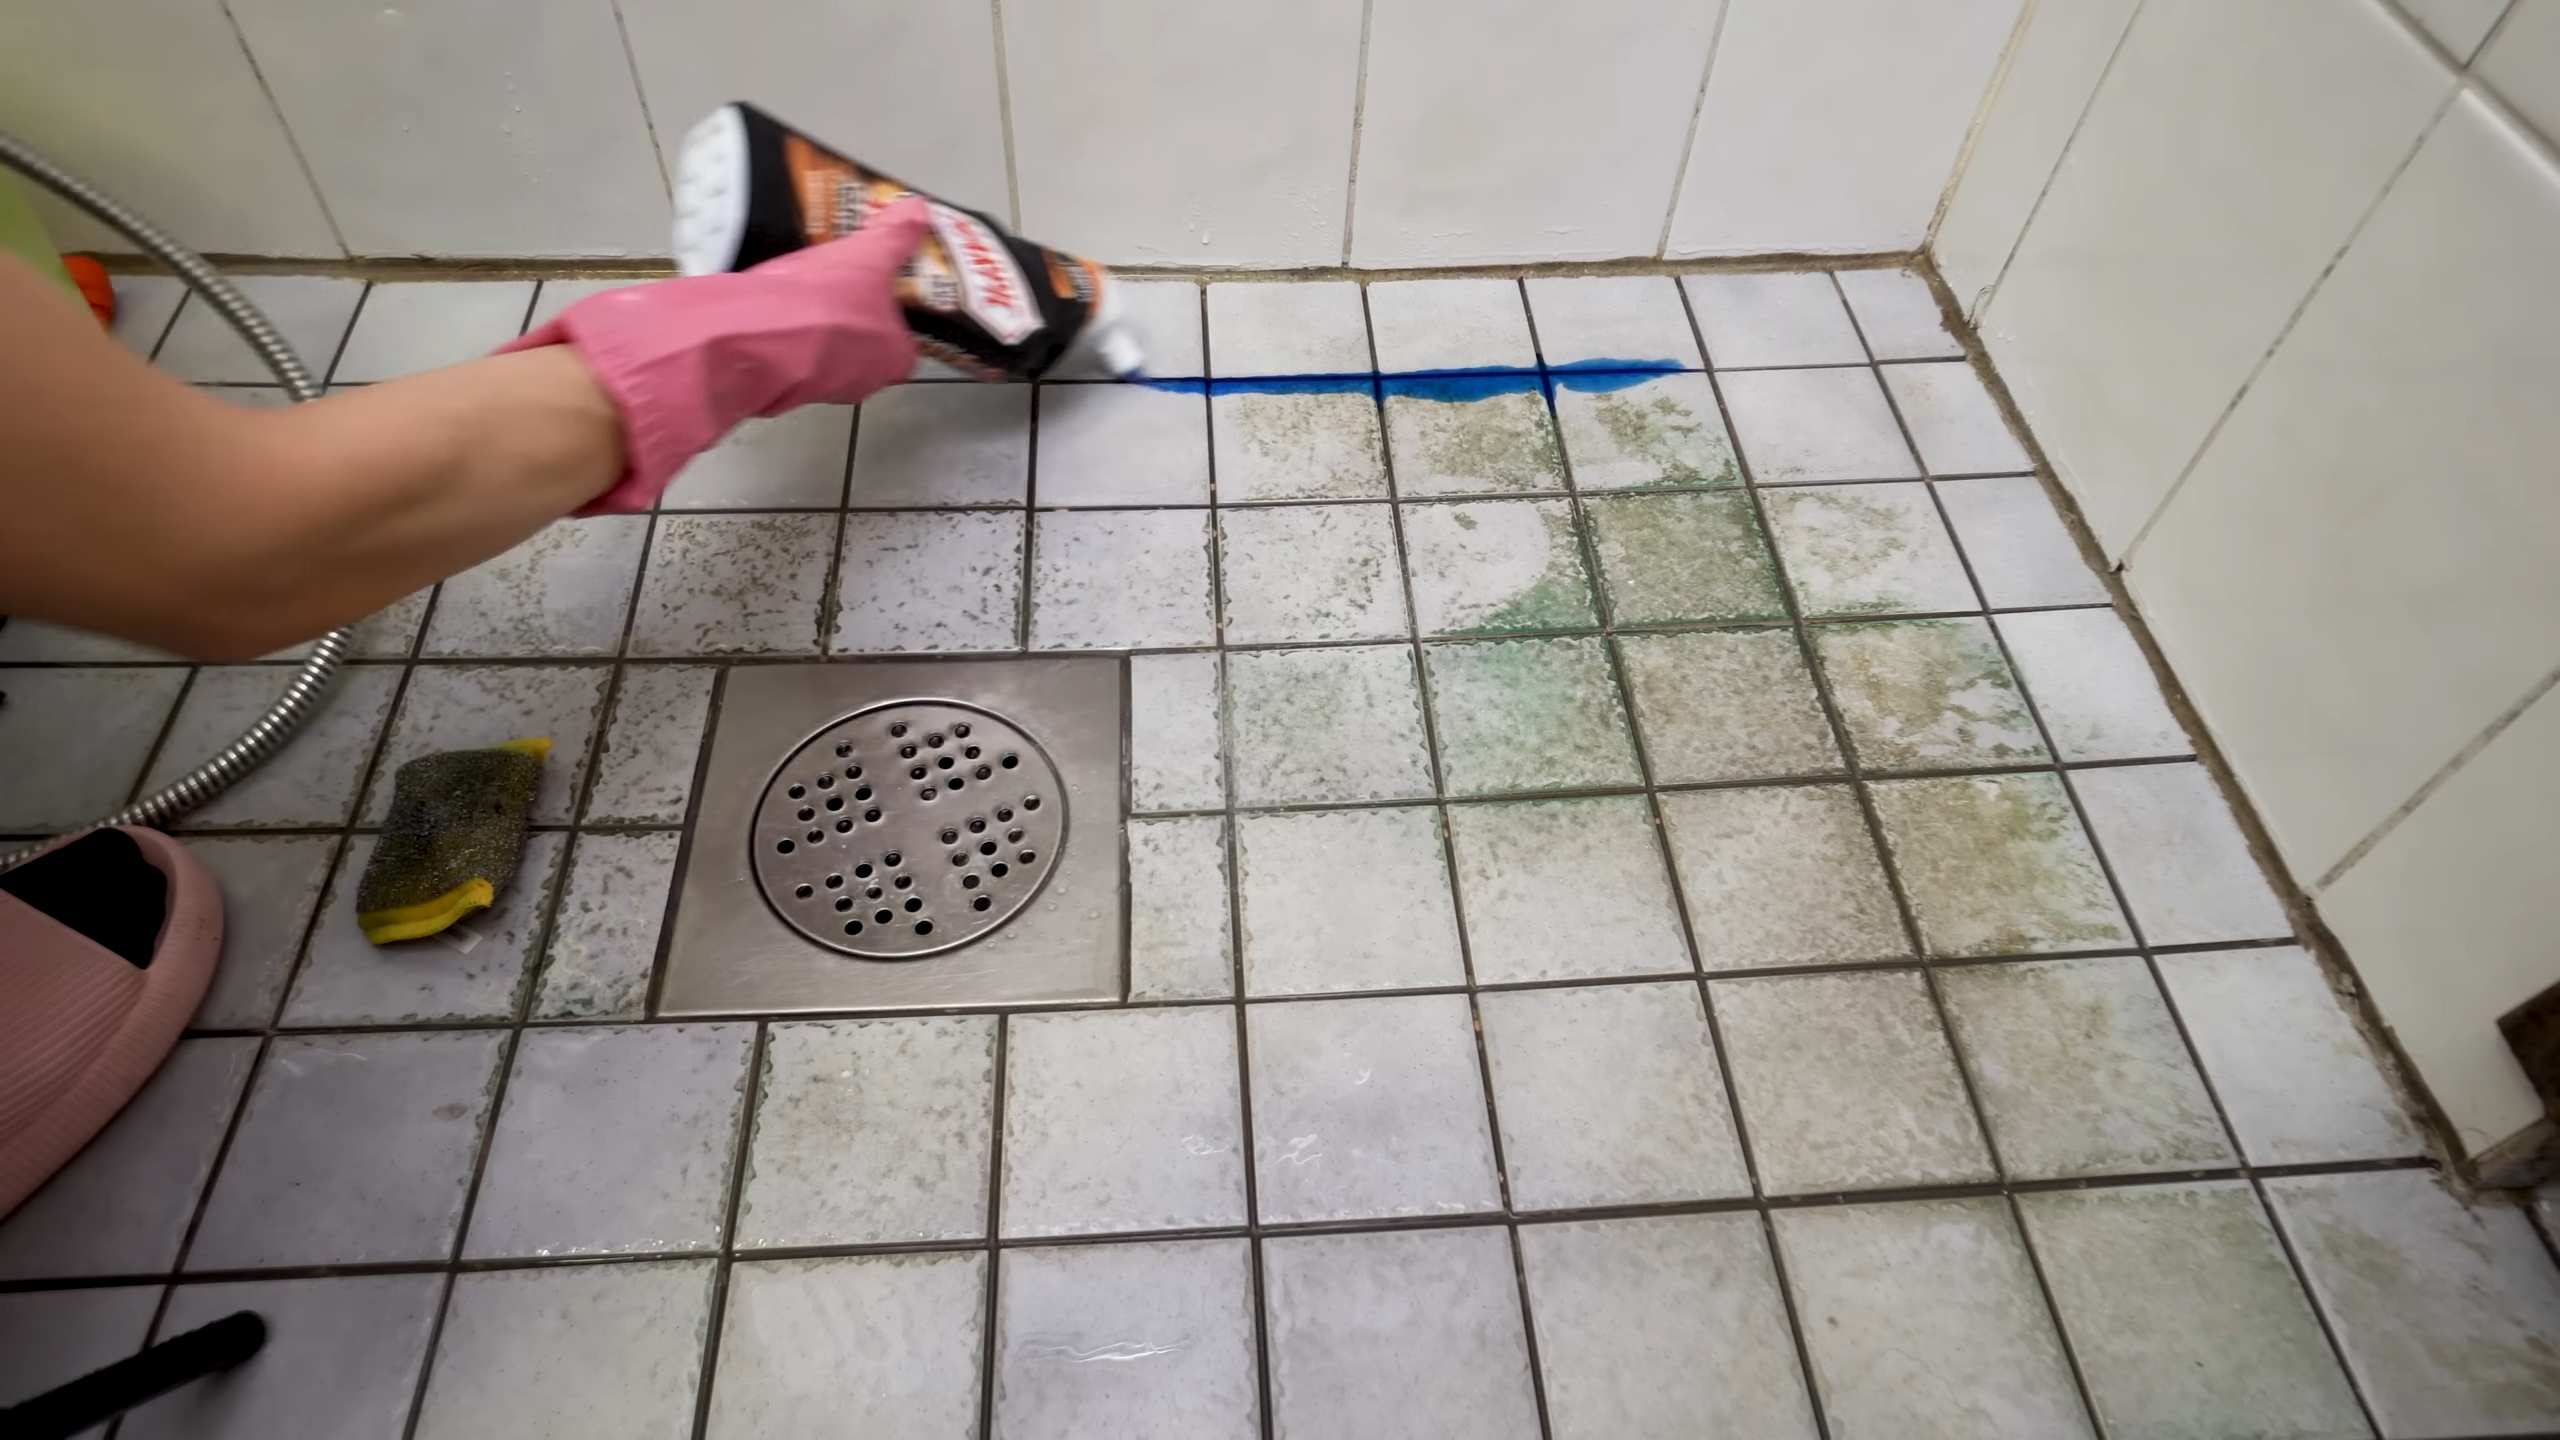
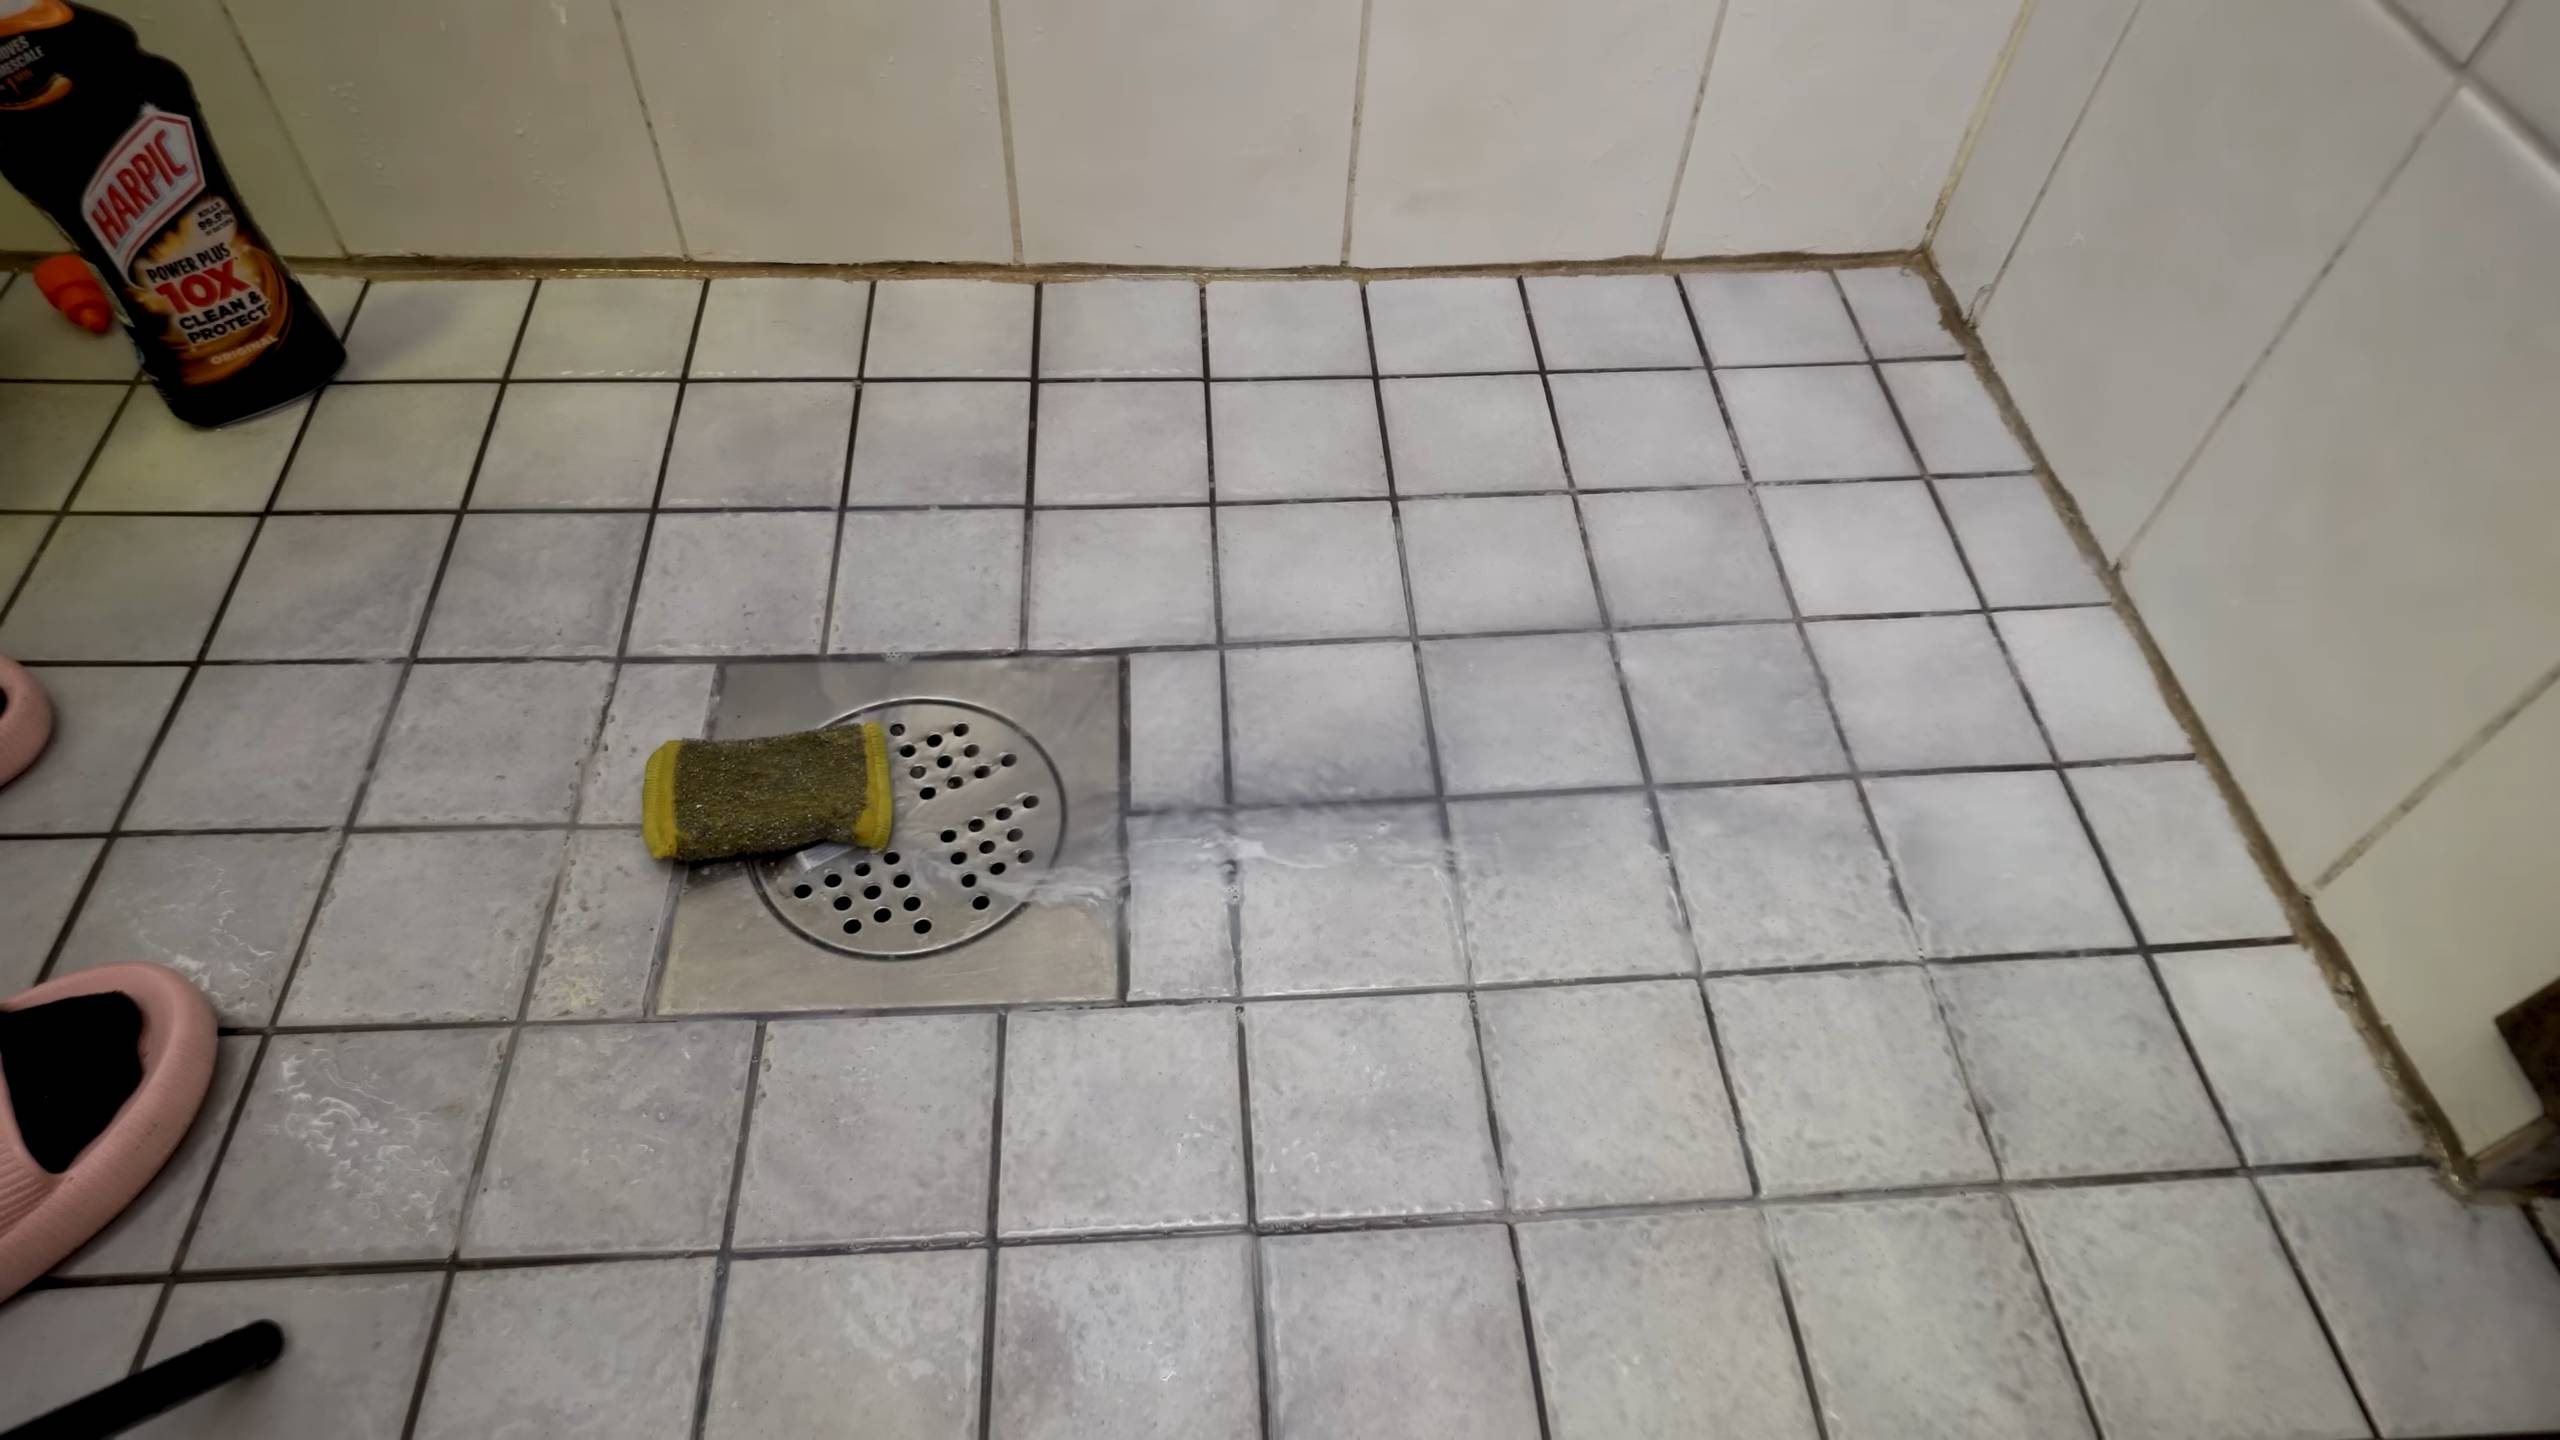
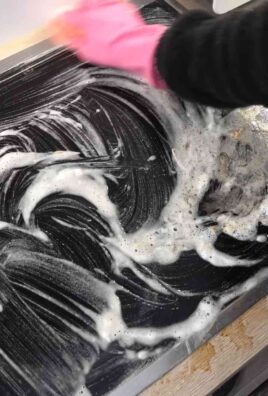
So, there you have it! Transforming your cleaning routine with these acid toilet cleaner hacks is not just about saving money; it’s about reclaiming control over the cleanliness and hygiene of your bathroom. We’ve explored how to safely and effectively dilute acid toilet cleaner for various cleaning tasks, from tackling stubborn stains in your toilet bowl to revitalizing grimy grout and even pre-treating heavily soiled laundry. The versatility of this approach is truly remarkable.
Why is this a must-try? Because it offers a powerful, cost-effective, and surprisingly adaptable solution to some of the most challenging cleaning problems in your home. Commercial cleaners often come with a hefty price tag and a long list of ingredients you can’t even pronounce. By understanding how to properly dilute and use acid toilet cleaner, you’re empowering yourself to achieve professional-level cleaning results with a fraction of the cost and a greater understanding of the chemicals you’re using.
But remember, safety is paramount. Always wear appropriate protective gear, including gloves and eye protection, and ensure adequate ventilation when working with acid toilet cleaner. Never mix it with other cleaning products, especially bleach, as this can create dangerous and potentially lethal fumes.
Now, let’s talk variations and suggestions. While we’ve focused on general cleaning applications, you can tailor these hacks to your specific needs. For instance, if you’re dealing with particularly stubborn hard water stains in your toilet bowl, you might consider a slightly stronger dilution, but always err on the side of caution. For grout cleaning, a toothbrush or small scrub brush can be incredibly effective in targeting those hard-to-reach areas. And when pre-treating laundry, remember to test the diluted solution on an inconspicuous area of the fabric first to ensure colorfastness.
Consider adding a few drops of your favorite essential oil, like lavender or eucalyptus, to the diluted solution for a more pleasant scent. This can help to mask the strong odor of the acid toilet cleaner and leave your bathroom smelling fresh and clean. However, be mindful of the essential oils you choose, as some may react with the cleaner.
We’ve also touched upon using diluted acid toilet cleaner for cleaning shower heads. This is a fantastic way to remove mineral buildup and restore optimal water flow. Simply soak the shower head in the diluted solution for a few hours, then rinse thoroughly with clean water. You’ll be amazed at the difference!
Ultimately, the key to success with these acid toilet cleaner hacks is experimentation and adaptation. Don’t be afraid to try different dilutions and techniques to find what works best for you and your home. Just remember to always prioritize safety and follow the guidelines we’ve outlined.
We are confident that once you try these DIY cleaning solutions, you’ll be amazed by the results. You’ll not only save money but also gain a deeper understanding of how to effectively clean your home. So, go ahead, give these acid toilet cleaner hacks a try!
We’re eager to hear about your experiences! Share your tips, tricks, and before-and-after photos in the comments below. Let’s create a community of savvy cleaners who are empowered to tackle any cleaning challenge with confidence and creativity. Your feedback will help others discover the power of these simple yet effective cleaning solutions. Let us know how these hacks have transformed your cleaning routine and what other creative uses you’ve found for diluted acid toilet cleaner. Together, we can unlock the full potential of this versatile cleaning agent and create a cleaner, healthier, and more affordable home.
FAQ
What exactly is acid toilet cleaner, and is it safe to use?
Acid toilet cleaner is a powerful cleaning agent typically containing hydrochloric acid or sulfuric acid. It’s designed to dissolve mineral deposits, rust, and stubborn stains in toilet bowls. While effective, it’s crucial to handle it with extreme care. Always wear gloves and eye protection to prevent skin and eye irritation. Ensure adequate ventilation to avoid inhaling fumes. Never mix it with other cleaning products, especially bleach, as this can create toxic chlorine gas. Store it out of reach of children and pets. When diluted properly and used according to instructions, it can be a safe and effective cleaning tool. However, misuse can lead to serious health risks and damage to surfaces.
How do I properly dilute acid toilet cleaner for different cleaning tasks?
The dilution ratio depends on the specific task. For general toilet bowl cleaning, follow the manufacturer’s instructions on the product label. For other applications, such as grout cleaning or pre-treating laundry, a much weaker dilution is recommended. A good starting point is a 1:10 ratio (1 part acid toilet cleaner to 10 parts water). Always add the acid to the water, never the other way around, to prevent splashing and potential burns. For more delicate surfaces or fabrics, start with an even weaker dilution and test it on an inconspicuous area first. Remember, it’s always better to start with a weaker solution and increase the concentration gradually if needed.
Can I use diluted acid toilet cleaner on all types of surfaces?
No, absolutely not. Acid toilet cleaner is not suitable for all surfaces. Avoid using it on delicate materials like marble, granite, natural stone, stainless steel, or painted surfaces, as it can cause etching, discoloration, or damage. Always test the diluted solution on an inconspicuous area first to ensure it doesn’t cause any adverse reactions. It’s best to stick to using it on porcelain, ceramic tile, and other acid-resistant surfaces. If you’re unsure whether a surface is safe to clean with acid toilet cleaner, consult the manufacturer’s instructions or contact a professional cleaner.
What safety precautions should I take when using acid toilet cleaner?
Safety is paramount when working with acid toilet cleaner. Always wear gloves and eye protection to prevent skin and eye irritation. Ensure adequate ventilation by opening windows or using a fan. Avoid inhaling fumes. Never mix it with other cleaning products, especially bleach, as this can create toxic chlorine gas. Store it out of reach of children and pets. If you accidentally get acid toilet cleaner on your skin or in your eyes, rinse immediately with plenty of water and seek medical attention. In case of ingestion, do not induce vomiting and seek immediate medical assistance.
What are some alternative cleaning solutions if I’m uncomfortable using acid toilet cleaner?
If you’re hesitant to use acid toilet cleaner, there are several alternative cleaning solutions you can try. Baking soda and vinegar are a classic combination for tackling various cleaning tasks. Lemon juice is a natural acid that can help remove stains and odors. Borax is another effective cleaning agent that can be used for laundry and general cleaning. Enzyme-based cleaners are also a good option for breaking down organic matter. For stubborn stains, you can try using a commercial cleaner specifically designed for the surface you’re cleaning. Always follow the manufacturer’s instructions and test the cleaner on an inconspicuous area first.
How can I dispose of acid toilet cleaner safely?
Proper disposal of acid toilet cleaner is essential to protect the environment and prevent accidents. Never pour it down the drain, as it can damage pipes and contaminate water sources. Contact your local waste management authority for information on hazardous waste disposal programs. They may have designated drop-off locations or special collection events for household chemicals. You can also try neutralizing the acid before disposal by adding baking soda until the solution stops fizzing. Once neutralized, it can be safely diluted with water and poured down the drain. However, it’s always best to check with your local regulations to ensure compliance.
Can diluted acid toilet cleaner be used to remove rust stains?
Yes, diluted acid toilet cleaner can be effective in removing rust stains from certain surfaces. However, it’s crucial to proceed with caution and test the solution on an inconspicuous area first. Apply the diluted solution to the rust stain, let it sit for a few minutes, and then scrub gently with a brush or sponge. Rinse thoroughly with clean water. Avoid using it on delicate materials like fabric or painted surfaces, as it can cause damage. For stubborn rust stains, you may need to repeat the process or use a stronger dilution, but always prioritize safety and follow the guidelines we’ve outlined.
Leave a Comment