
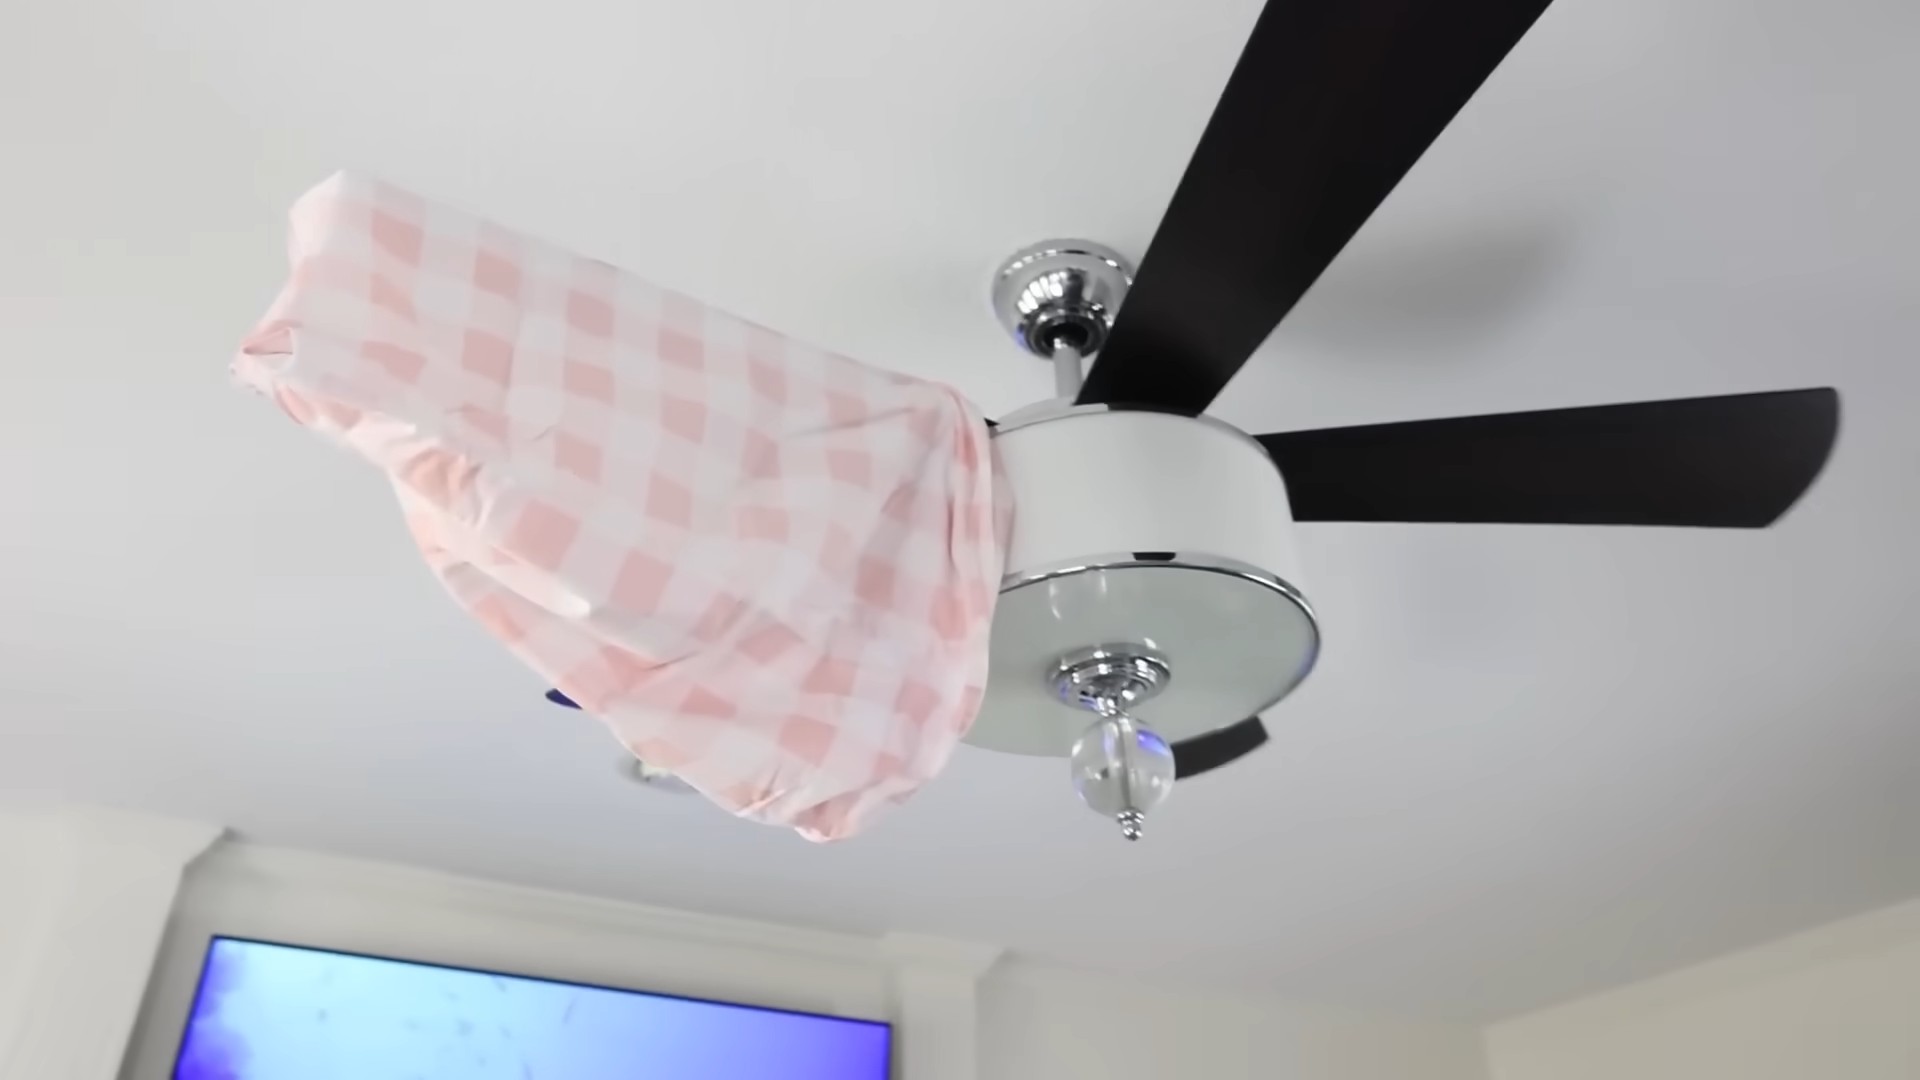
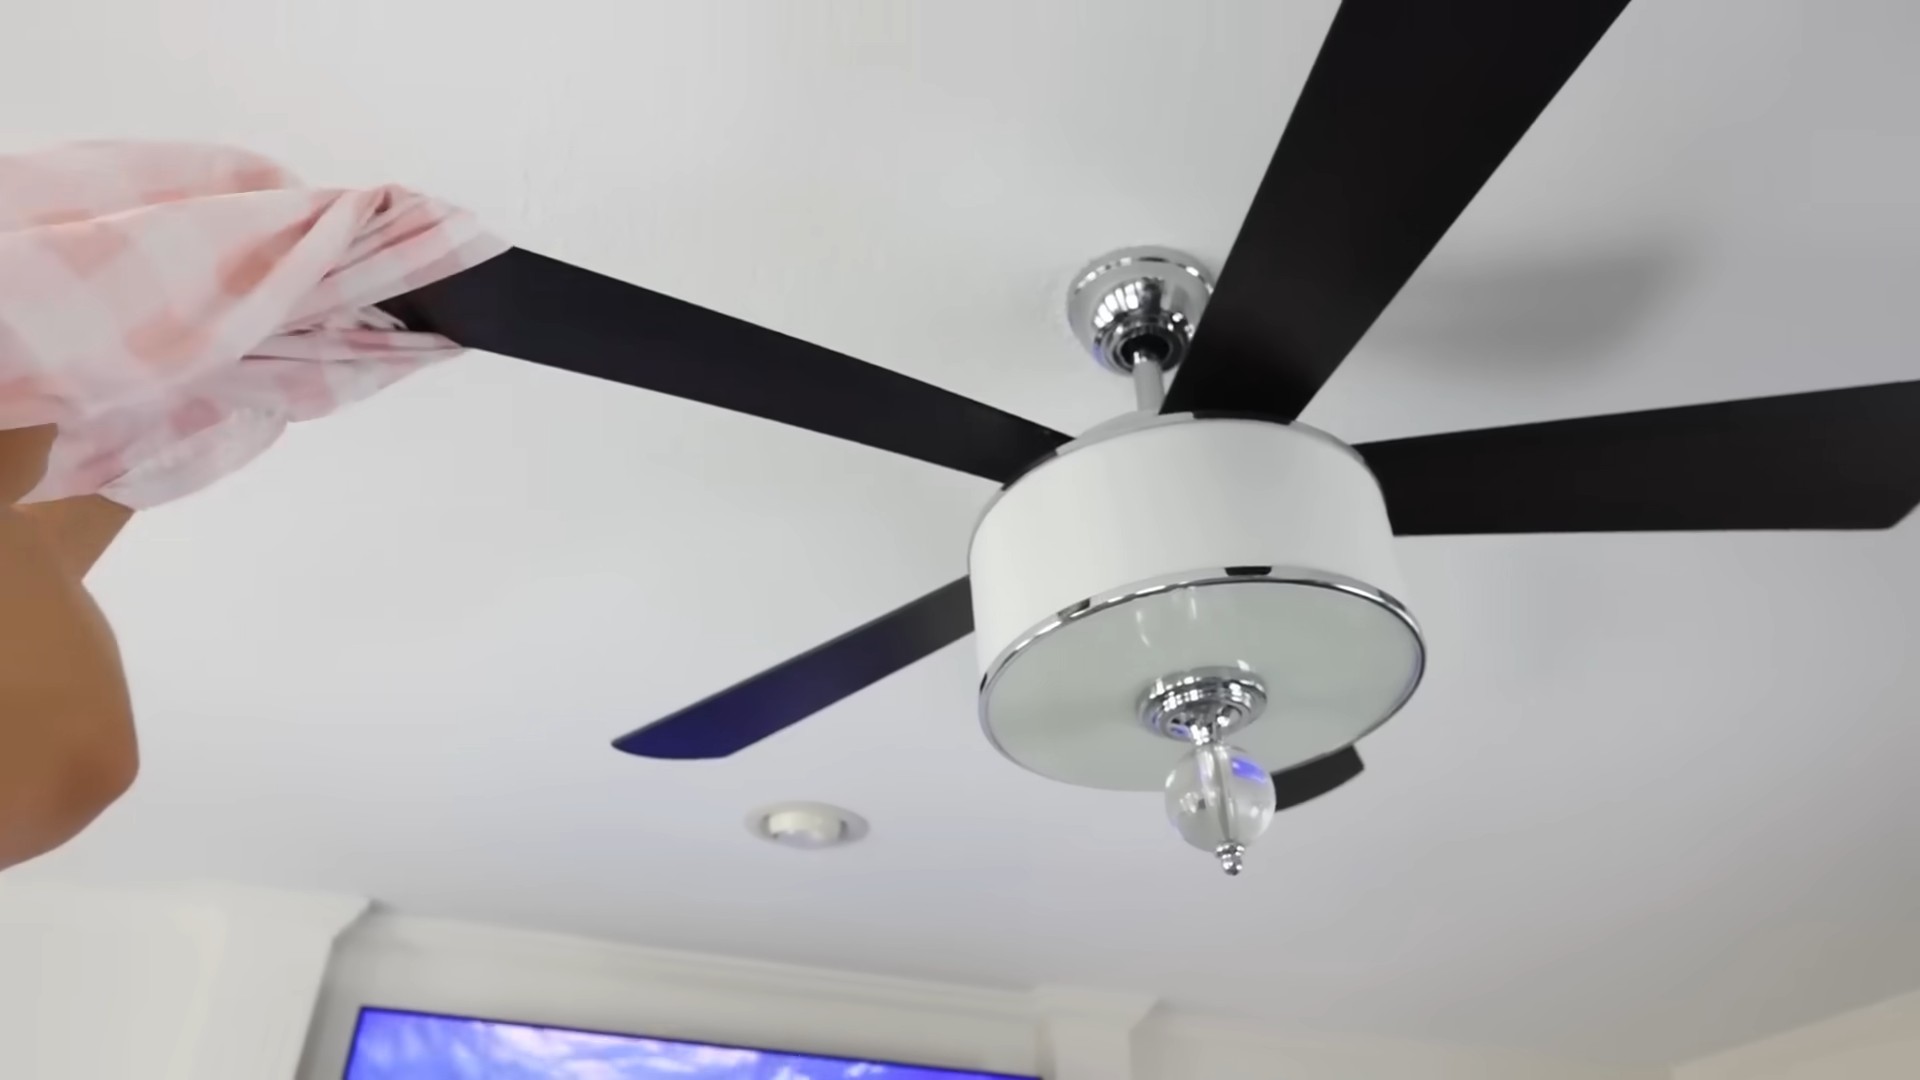
Wash Pillowcases Easily: Simple Home Gardening Tricks and DIY Hacks
I’ve always loved the feeling of freshly laundered bedding, but let’s be honest, washing pillowcases can sometimes feel like a chore. That’s why I’m excited to share some simple yet effective home gardening tricks and DIY hacks that will make this task a breeze! This isn’t just about clean pillowcases; it’s about reclaiming your time and energy, leaving you with more moments to enjoy your garden (or a well-deserved nap!).
The idea of clean linens has been a cultural constant throughout history. From ancient civilizations using natural materials to today’s modern fabrics, the pursuit of fresh, clean bedding has always been a sign of comfort and well-being. But even with modern conveniences, the process can still be tedious. That’s where these clever Wash Pillowcases Easily techniques come in.
Why do you need these DIY tricks? Because life is too short to spend hours scrubbing stubborn stains! These Wash Pillowcases Easily methods will help you tackle even the toughest grime, saving you time, water, and energy. Whether you’re dealing with makeup residue, sweat stains, or just general dirt, these simple hacks will leave your pillowcases sparkling clean. Plus, you’ll learn some clever ways to repurpose everyday items, reducing waste and embracing a more sustainable lifestyle. So, let’s dive in and discover how to make washing your pillowcases a quick and easy task!
Building a Custom Bookshelf from Reclaimed Pallet Wood
I love the look of rustic, reclaimed wood furniture, but store-bought pieces can be pricey. So, I decided to build my own bookshelf using old pallets! This project is surprisingly straightforward, even for a beginner like me. Here’s how I did it:
Phase 1: Sourcing and Preparing the Pallet Wood
- Find your pallets: This is the fun part! Check with local businesses – construction sites, breweries, or even your local hardware store – they often have pallets they’re happy to give away. Make sure to get permission before taking any.
- Inspect the wood: Not all pallet wood is created equal. Look for pallets made of sturdy, relatively clean wood. Avoid pallets that are heavily treated, damaged, or show signs of rot or insect infestation. Safety first!
- Disassemble the pallets: Use a crowbar or hammer and nail puller to carefully take apart the pallets. Be cautious of nails – wear gloves and safety glasses!
- Clean the wood: Once you have your boards, give them a good scrub with soap and water to remove dirt and debris. Let them dry completely before moving on.
- Sand the wood: This is crucial for a smooth finish. Start with a coarser grit sandpaper (around 80 grit) to remove any splinters or rough patches, then switch to a finer grit (around 120 grit) for a smoother surface. Sanding is a bit tedious, but it makes a huge difference in the final look and feel.
Phase 2: Cutting and Assembling the Shelf Components
I planned my bookshelf to be 4 shelves, 36 inches tall, 24 inches wide, and 12 inches deep. You can adjust these dimensions to fit your space and the size of your reclaimed wood.
- Measure and cut the wood: Using a measuring tape and a saw (a circular saw or miter saw works best, but a hand saw will do in a pinch), cut your boards to the correct size for the shelves and the sides. Remember to account for the thickness of the wood when calculating your measurements. For my 4-shelf design, I needed four pieces for the sides (36 inches tall), and four pieces for the shelves (24 inches wide).
- Drill pilot holes: Before screwing anything together, drill pilot holes in the wood. This prevents the wood from splitting when you drive in the screws. Use a drill bit slightly smaller than the diameter of your screws.
- Assemble the sides: Position the side pieces vertically, and attach the shelf supports using wood screws. Make sure the shelves are evenly spaced. I used a level to ensure everything was perfectly aligned.
- Attach the shelves: Once the sides are assembled, carefully place the shelves onto the supports and secure them with wood screws. Again, use a level to ensure the shelves are perfectly horizontal.
Phase 3: Finishing Touches
- Sand any rough edges: After assembling, give the bookshelf another light sanding to smooth out any rough edges or imperfections.
- Apply wood stain or paint: This is where you can get creative! I chose a dark walnut stain to enhance the natural beauty of the reclaimed wood. You can use any color stain or paint that suits your style. Follow the manufacturer’s instructions for application and drying time. Multiple coats might be needed for a rich, even finish.
- Apply a sealant (optional): A sealant will protect your bookshelf from moisture and wear. I used a polyurethane sealant, applying two thin coats, allowing each coat to dry completely before applying the next.
- Let it dry completely: Allow ample drying time for the stain and sealant to cure properly before placing any books on the shelves. This could take several hours or even overnight, depending on the products you used.
Phase 4: Addressing Potential Challenges
Dealing with Uneven Pallet Wood
Reclaimed pallet wood is rarely perfectly straight or uniform. If you encounter boards that are warped or bowed, you might need to use clamps to hold them in place while the glue and screws dry. You can also consider using shims to level out uneven surfaces.
Working with Nails
Be extra careful when disassembling pallets. Some nails might be hidden or difficult to remove. Always wear safety glasses and gloves to protect yourself from injury. If you encounter a stubborn nail, use a nail puller or pliers to remove it carefully.
Choosing the Right Screws
Using the correct type and size of screws is essential for a strong and stable bookshelf. Choose exterior-grade wood screws that are long enough to penetrate the wood sufficiently. Overly long screws can cause the wood to split, while overly short screws won’t provide enough support.
Finishing Techniques
Experiment with different finishing techniques to achieve your desired look. Consider using a clear sealant to preserve the natural color of the wood, or try a different stain or paint color to create a unique style. You can even distress the wood for a more antique look.
Safety First!
Always prioritize safety when working with tools and wood. Wear appropriate safety gear, including safety glasses, gloves, and a dust mask. Work in a well-ventilated area, and be mindful of your surroundings.
Conclusion
So there you have it! Our simple guide to washing pillowcases easily. This DIY trick isn’t just about convenience; it’s about extending the life of your pillowcases and improving your sleep hygiene. By following these straightforward steps, you’ll be amazed at how much easier it is to keep your pillowcases clean and fresh, leading to a more comfortable and hygienic sleep environment. This method saves you time, effort, and potentially money on expensive cleaning products. It’s a win-win-win! The satisfying feeling of crisp, clean pillowcases every night is a small luxury that makes a big difference to your overall well-being. This simple, yet effective, approach to pillowcase washing is a must-try for anyone looking to streamline their laundry routine and improve their sleep quality. Don’t just take our word for it – try it yourself and experience the difference! Share your results and experiences with us – we’d love to hear how this DIY trick has transformed your laundry day!
Beyond the basic method, there are several ways to customize this approach to your specific needs and preferences. For those with sensitive skin, consider using a fragrance-free detergent and thoroughly rinsing the pillowcases to remove any residual soap. If you have particularly stubborn stains, pre-treating the affected areas with a gentle stain remover before washing can be beneficial. Experiment with different wash cycles – a delicate cycle might be preferable for delicate fabrics, while a more vigorous cycle might be necessary for heavily soiled pillowcases. Remember to always check the care label on your pillowcases before washing to ensure you’re using the appropriate settings. You can also explore using natural cleaning agents like baking soda or white vinegar for a more eco-friendly approach. Adding a few drops of essential oil, like lavender or chamomile, to the rinse cycle can add a pleasant scent and promote relaxation. The possibilities are endless!
Remember, consistent cleaning is key to maintaining hygiene and extending the lifespan of your pillowcases. By incorporating this easy DIY trick into your regular laundry routine, you’ll be investing in your comfort and well-being. So, ditch the complicated cleaning methods and embrace the simplicity and effectiveness of this straightforward approach to washing pillowcases easily. We encourage you to share your experiences and any variations you discover with our community. Let’s make laundry day a little less daunting and a lot more satisfying!
Frequently Asked Questions
What type of detergent should I use?
You can use your regular laundry detergent. However, for sensitive skin, a fragrance-free and hypoallergenic detergent is recommended. Always check the care label on your pillowcases for specific detergent recommendations.
How often should I wash my pillowcases?
Ideally, you should wash your pillowcases at least once a week, or more frequently if you sweat excessively or have allergies. Clean pillowcases contribute significantly to better sleep hygiene.
Can I use a dryer to dry my pillowcases?
Yes, you can usually tumble dry your pillowcases on a low or medium heat setting. However, always check the care label on your pillowcases for specific drying instructions. Air drying is also a great option, especially for delicate fabrics, as it helps to prevent shrinkage and damage.
What if I have stubborn stains on my pillowcases?
For stubborn stains, pre-treat the affected area with a gentle stain remover before washing. Allow the stain remover to sit for a few minutes before placing the pillowcase in the washing machine. You might need to repeat the process for particularly persistent stains.
Can I wash different fabrics together?
It’s generally best to wash similar fabrics together to prevent damage or color bleeding. For example, wash cotton pillowcases with other cotton items. Always check the care labels on your pillowcases before washing to ensure compatibility with other fabrics.
What are some eco-friendly alternatives to traditional detergents?
You can explore using natural cleaning agents like baking soda or white vinegar as alternatives to traditional detergents. Baking soda can help to brighten and deodorize your pillowcases, while white vinegar can help to remove stains and soften fabrics. Remember to always rinse thoroughly after using these natural cleaning agents.
My pillowcases are still smelling after washing. What should I do?
If your pillowcases still smell after washing, ensure you’re using enough detergent and that you’re rinsing them thoroughly. You might also consider running an extra rinse cycle. If the smell persists, try using a different detergent or adding a cup of white vinegar to the rinse cycle to help neutralize odors.
What if my pillowcases are shrinking after washing?
Pillowcase shrinkage can occur if you’re using too high a heat setting in the dryer or if the fabric is not suitable for machine drying. Always check the care label for specific drying instructions. Air drying is a gentler alternative that can help prevent shrinkage.
Can I use this method for other bedding items?
Yes, this method can be adapted for other bedding items like sheets and duvet covers. However, always check the care labels for specific washing instructions for each item. Larger items might require a larger washing machine or multiple washes.
Where can I find more tips on laundry care?
You can find more laundry care tips online, in laundry care books, or from professional cleaning services. Many websites and blogs offer detailed guides on various laundry techniques and solutions for specific fabrics and stains.
Leave a Comment