
Bottle gardening kale: sounds a bit quirky, right? But trust me, it’s a game-changer for anyone who dreams of fresh, homegrown greens but is short on space, time, or even a green thumb! I’m so excited to share this incredibly simple and rewarding DIY project with you.
Humans have been cultivating kale for over 2,000 years, with its origins tracing back to the eastern Mediterranean. It was a staple food in ancient Rome and throughout Europe, prized for its hardiness and nutritional value. Now, you can continue this tradition, even if you live in a tiny apartment!
Let’s face it, buying fresh kale from the store can be expensive, and sometimes it wilts before you even get a chance to use it. Plus, there’s something incredibly satisfying about growing your own food. This bottle gardening kale trick solves all those problems. It’s a fantastic way to recycle plastic bottles, create a mini-garden in a small space, and have a constant supply of fresh, healthy kale right at your fingertips. Ready to get started? I promise, it’s easier than you think!
Bottle Gardening: Grow Kale in Recycled Plastic Bottles
Hey there, fellow gardening enthusiasts! I’m super excited to share one of my favorite DIY projects with you: growing kale in recycled plastic bottles. It’s a fantastic way to reduce waste, save space, and enjoy fresh, homegrown greens right at your fingertips. Plus, it’s surprisingly easy! Let’s dive in!
What You’ll Need
Before we get started, let’s gather all the necessary materials. Trust me, having everything ready beforehand will make the whole process much smoother.
* Plastic Bottles: The star of the show! I usually use 2-liter soda bottles, but any similar-sized bottle will work. Just make sure they’re clean and free of any sticky residue. The number of bottles depends on how much kale you want to grow.
* Kale Seeds: Choose your favorite variety of kale! There are so many options, from curly kale to dinosaur kale (lacinato).
* Potting Soil: A good quality potting mix is essential for healthy kale growth. Avoid using garden soil, as it can be too dense and may contain pests or diseases.
* Scissors or Utility Knife: For cutting the plastic bottles. Be careful!
* Drill or Nail and Hammer: To create drainage holes in the bottles.
* Measuring Cup or Spoon: For measuring soil and seeds.
* Watering Can or Spray Bottle: To keep your kale plants hydrated.
* Optional: Twine or Rope: If you want to hang your bottle gardens.
* Optional: Gravel or Small Stones: To improve drainage at the bottom of the bottles.
Preparing the Bottles
This is where we transform those discarded bottles into mini-gardens. It’s a bit like giving them a second life!
1. Clean the Bottles: Thoroughly wash the plastic bottles with soap and water to remove any dirt, debris, or sticky residue. Rinse them well and let them dry completely. This is crucial for preventing mold and ensuring a healthy growing environment for your kale.
2. Cut the Bottles: Decide how you want to orient your bottle garden. There are two main options:
* Horizontal Bottle Garden: This is my preferred method. Cut a rectangular opening along one side of the bottle, leaving a few inches of plastic intact on the bottom and sides to create a trough. The opening should be large enough to easily plant and access your kale.
* Vertical Bottle Garden: Cut the bottle in half horizontally. You’ll use the bottom half as the planting container and the top half as a sort of mini-greenhouse initially.
Safety First! Use scissors or a utility knife to carefully cut the plastic. If using a utility knife, always cut away from yourself and use a cutting board or mat to protect your work surface.
3. Create Drainage Holes: Drainage is super important to prevent waterlogging and root rot. Use a drill or a nail and hammer to create several drainage holes in the bottom of each bottle. I usually make about 4-5 holes, evenly spaced. If you’re using the vertical method, make sure to put drainage holes in the bottom half of the bottle.
4. Optional: Add Gravel for Drainage: To further improve drainage, you can add a layer of gravel or small stones to the bottom of each bottle before adding the potting soil. This will help prevent the soil from becoming waterlogged and promote healthy root growth.
Planting the Kale Seeds
Now for the fun part – planting the kale seeds! It’s amazing to think that tiny seeds can grow into such nutritious and delicious greens.
1. Fill the Bottles with Potting Soil: Carefully fill each bottle with potting soil, leaving about an inch of space at the top. Gently press down on the soil to remove any air pockets. Don’t pack it too tightly, as this can hinder root growth.
2. Sow the Kale Seeds: Sprinkle the kale seeds evenly over the surface of the soil. I usually sow a few extra seeds to ensure good germination. You can always thin them out later if too many seedlings sprout.
3. Cover the Seeds with Soil: Lightly cover the seeds with a thin layer of potting soil, about ¼ inch deep. Gently pat down the soil to ensure good contact between the seeds and the soil.
4. Water Gently: Use a watering can or spray bottle to gently water the soil. Be careful not to dislodge the seeds. The soil should be moist but not soggy.
5. Optional: Create a Mini-Greenhouse (Vertical Method): If you’re using the vertical bottle garden method, place the top half of the bottle over the bottom half to create a mini-greenhouse. This will help retain moisture and warmth, promoting faster germination. Remove the top half once the seedlings start to emerge.
Caring for Your Kale Plants
Once your kale seeds have sprouted, it’s important to provide them with the right care to ensure healthy growth.
1. Sunlight: Kale needs at least 6 hours of sunlight per day. Place your bottle gardens in a sunny location, such as a windowsill, balcony, or patio. If you don’t have enough natural light, you can supplement with grow lights.
2. Watering: Water your kale plants regularly, especially during hot and dry weather. Check the soil moisture by sticking your finger into the soil. If the top inch of soil feels dry, it’s time to water. Avoid overwatering, as this can lead to root rot.
3. Fertilizing: Kale is a heavy feeder, so it’s important to fertilize your plants regularly. Use a balanced liquid fertilizer, diluted to half strength, every 2-3 weeks. You can also add compost or other organic matter to the soil to provide additional nutrients.
4. Thinning: If too many seedlings sprout in one bottle, thin them out by gently pulling out the weaker seedlings. This will give the remaining plants more space to grow and thrive.
5. Pest Control: Keep an eye out for pests, such as aphids, cabbage worms, and slugs. If you spot any pests, you can try handpicking them off the plants or using an organic insecticide.
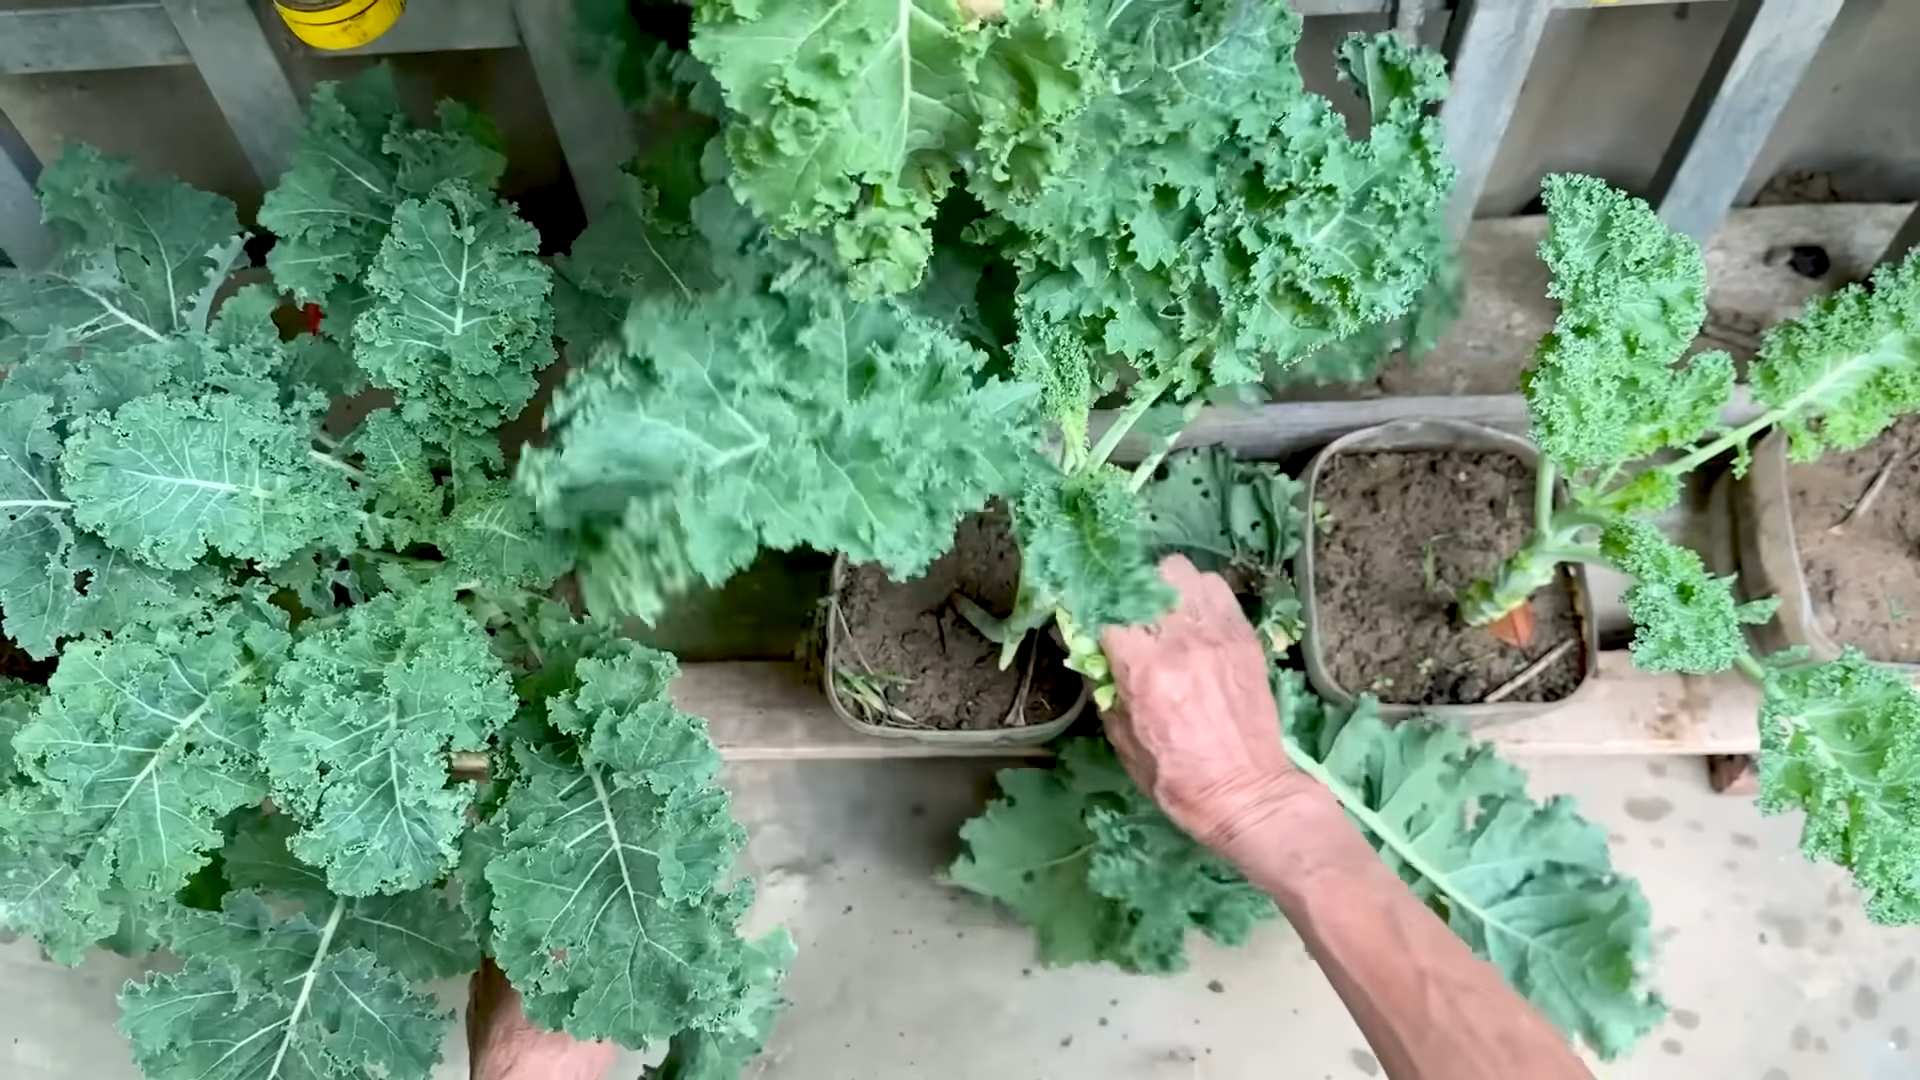
6. Harvesting: You can start harvesting kale leaves once they are about 4-6 inches long. Simply cut off the outer leaves, leaving the inner leaves to continue growing. This will allow you to harvest kale from the same plants for several weeks or even months.
Hanging Your Bottle Gardens (Optional)
If you want to save even more space, you can hang your bottle gardens. This is a great option for balconies, patios, or even indoors.
1. Drill Hanging Holes: Drill two holes on either side of the bottle, near the top. Make sure the holes are large enough to accommodate your twine or rope.
2. Thread Twine or Rope: Thread twine or rope through the holes, creating a loop for hanging. Make sure the loop is strong enough to support the weight of the bottle and the soil.
3. Hang Your Bottle Gardens: Hang your bottle gardens from a sturdy hook or railing. Make sure they are securely attached and won’t fall down.
Troubleshooting
Even with the best care, you might encounter some challenges along the way. Here are a few common problems and how to fix them:
* Yellowing Leaves: This can be caused by overwatering, underwatering, or nutrient deficiencies. Check the soil moisture and adjust your watering schedule accordingly. Fertilize your plants with a balanced liquid fertilizer.
* Leggy Growth: This is usually caused by insufficient sunlight. Move your bottle gardens to a sunnier location or supplement with grow lights.
* Pest Infestations: Inspect your plants regularly for pests. Handpick off any pests you find or use an organic insecticide.
* Slow Growth: This can be caused by poor soil, insufficient sunlight, or lack of nutrients. Use a good quality potting mix, provide plenty of sunlight, and fertilize your plants regularly.
Enjoying Your Homegrown Kale
The best part of this project is, of course, enjoying the fruits (or rather, the leaves!) of your labor. Freshly harvested kale is incredibly versatile and can be used in a variety of dishes.
* Salads: Add chopped kale to your favorite salads for a boost of nutrients.
* Smoothies: Blend kale into smoothies for a healthy and delicious drink.
* Soups and Stews: Add kale to soups and stews for added flavor and nutrition.
* Sautéed Kale: Sauté kale with garlic and olive oil for a simple and flavorful side dish.
* Kale Chips: Bake kale leaves in the oven to make crispy and healthy kale chips.
Growing kale in recycled plastic bottles is a rewarding and sustainable way to enjoy fresh, homegrown greens. It’s a fun and easy project that anyone can do, regardless of their gardening experience. So, grab some plastic bottles, kale seeds, and get ready to grow your own delicious and nutritious kale! Happy gardening!
Conclusion
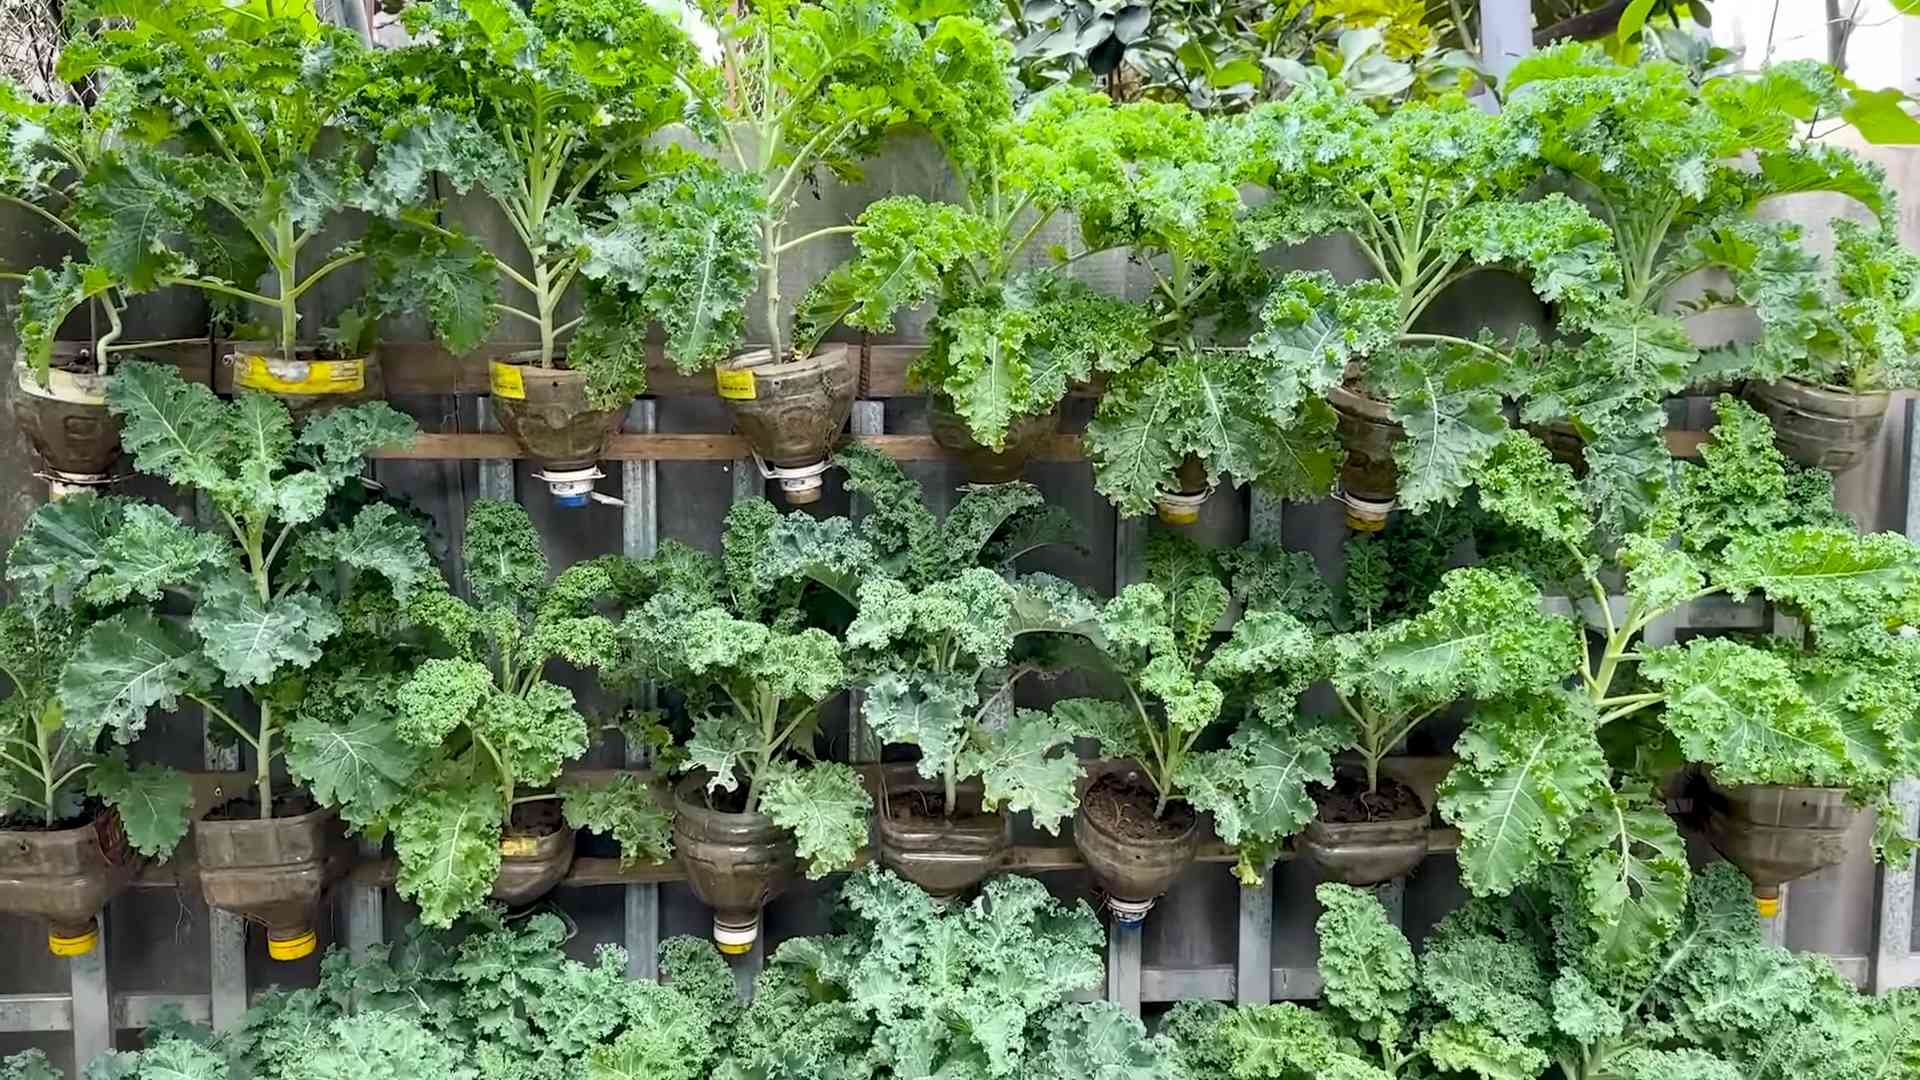
So, there you have it! Turning a simple bottle into a thriving kale garden is not just a fun project; it’s a sustainable, space-saving, and incredibly rewarding way to enjoy fresh, homegrown greens. We’ve walked you through the process, highlighting the ease and accessibility of this DIY trick. But why is this a must-try?
Firstly, it’s about reclaiming space. Whether you live in a tiny apartment with a sun-drenched balcony or a sprawling suburban home with limited gardening space, bottle gardening allows you to cultivate your own little patch of green. Kale, in particular, thrives in these contained environments, making it an ideal choice for beginners.
Secondly, it’s about sustainability. Repurposing plastic bottles reduces waste and gives these materials a new lease on life. You’re not just growing kale; you’re contributing to a more eco-conscious lifestyle. Plus, you’re reducing your reliance on store-bought produce, which often comes with a hefty carbon footprint.
Thirdly, it’s about control. You have complete control over the growing environment, from the soil composition to the watering schedule. This allows you to cultivate kale that is free from harmful pesticides and herbicides, ensuring a healthy and delicious harvest.
But the beauty of bottle gardening lies in its adaptability. Feel free to experiment with different bottle sizes and shapes. Larger bottles can accommodate more kale plants, while smaller bottles can be grouped together to create a visually appealing display.
Consider adding companion plants to your bottle garden. Herbs like basil or thyme can deter pests and enhance the flavor of your kale. You can also try growing different varieties of kale, such as curly kale, lacinato kale, or red Russian kale, to add variety to your salads and dishes.
For those looking to take their bottle gardening to the next level, consider incorporating a simple hydroponic system. This involves suspending the kale roots in a nutrient-rich water solution, which can accelerate growth and increase yields.
Remember to monitor your kale plants regularly for signs of pests or diseases. Aphids, cabbage worms, and powdery mildew are common problems that can affect kale. Treat these issues promptly with organic solutions to prevent them from spreading.
The possibilities are endless! This DIY trick is more than just a gardening project; it’s an opportunity to connect with nature, learn new skills, and enjoy the satisfaction of growing your own food.
We wholeheartedly encourage you to give bottle gardening kale a try. It’s a simple, affordable, and incredibly rewarding experience. And most importantly, don’t forget to share your experiences with us! We’d love to see your bottle gardens and hear about your successes (and challenges!). Share your photos and tips on social media using #BottleGardeningKale and join our community of fellow gardeners. Let’s inspire each other to grow more and live more sustainably. Happy gardening!
Frequently Asked Questions (FAQ)
What kind of bottles are best for bottle gardening kale?
The best bottles for bottle gardening kale are clear plastic bottles, such as those used for water, soda, or juice. The size of the bottle will depend on the variety of kale you’re growing and how many plants you want to grow in each bottle. Generally, 2-liter bottles or larger are ideal. Make sure to thoroughly clean the bottles before using them to remove any residue that could harm your plants. Avoid using bottles that have contained harsh chemicals or pesticides.
What type of soil should I use for bottle gardening kale?
Kale thrives in well-draining, nutrient-rich soil. A good potting mix specifically formulated for vegetables is an excellent choice. You can also create your own soil mix by combining equal parts of compost, perlite, and peat moss or coconut coir. Compost provides essential nutrients, perlite improves drainage, and peat moss or coconut coir helps retain moisture. Avoid using garden soil, as it can be too heavy and may contain pests or diseases.
How much sunlight does bottle gardening kale need?
Kale needs at least 6 hours of direct sunlight per day to thrive. Place your bottle garden in a sunny location, such as a south-facing window or balcony. If you don’t have enough natural sunlight, you can supplement with grow lights. LED grow lights are energy-efficient and provide the full spectrum of light that kale needs to grow.
How often should I water my bottle gardening kale?
Water your kale plants when the top inch of soil feels dry to the touch. The frequency of watering will depend on the weather, the size of the bottle, and the type of soil you’re using. In general, you’ll need to water more frequently during hot, dry weather. Avoid overwatering, as this can lead to root rot. Make sure the bottle has drainage holes to allow excess water to escape.
How do I fertilize my bottle gardening kale?
Kale is a heavy feeder, so it’s important to fertilize regularly. Use a balanced liquid fertilizer, such as a 10-10-10 or 20-20-20, diluted to half strength. Fertilize every 2-3 weeks during the growing season. You can also add compost tea to the soil to provide additional nutrients. Avoid over-fertilizing, as this can burn the roots of your plants.
What are some common pests and diseases that affect bottle gardening kale?
Common pests that affect kale include aphids, cabbage worms, and flea beetles. Aphids are small, sap-sucking insects that can cause leaves to curl and yellow. Cabbage worms are caterpillars that feed on the leaves of kale plants. Flea beetles are small, jumping insects that create small holes in the leaves. To control these pests, you can use insecticidal soap, neem oil, or Bacillus thuringiensis (Bt).
Common diseases that affect kale include powdery mildew and downy mildew. Powdery mildew is a fungal disease that causes a white, powdery coating on the leaves. Downy mildew is a fungal disease that causes yellow spots on the leaves. To prevent these diseases, provide good air circulation, avoid overwatering, and use a fungicide if necessary.
How do I harvest bottle gardening kale?
You can start harvesting kale leaves when they are about 4-6 inches long. Harvest the outer leaves first, leaving the inner leaves to continue growing. Use a sharp knife or scissors to cut the leaves off at the base of the stem. Avoid harvesting more than one-third of the plant at a time, as this can stress the plant.
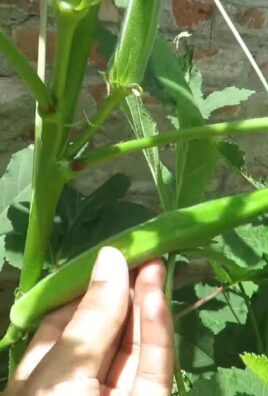
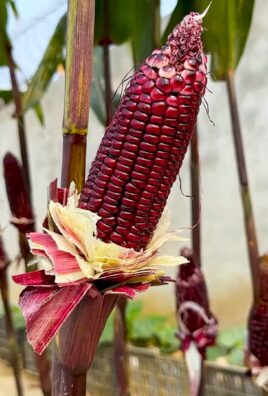
Can I grow other vegetables in bottles besides kale?
Yes, you can grow a variety of other vegetables in bottles, including lettuce, spinach, herbs, and even tomatoes and peppers (in larger bottles). The key is to choose vegetables that are well-suited to container gardening and that have similar growing requirements.
How do I overwinter my bottle gardening kale?
Kale is a cold-hardy vegetable that can tolerate light frosts. In mild climates, you can leave your bottle garden outdoors during the winter. In colder climates, you’ll need to protect your plants from freezing temperatures. You can move the bottles indoors to a sunny location or cover them with a frost blanket.
Is bottle gardening kale organic?
Bottle gardening can be organic if you use organic soil, fertilizers, and pest control methods. Choose organic potting mix and fertilizers that are certified by a reputable organization. Use natural pest control methods, such as insecticidal soap, neem oil, and handpicking. Avoid using synthetic pesticides and fertilizers.
Leave a Comment