
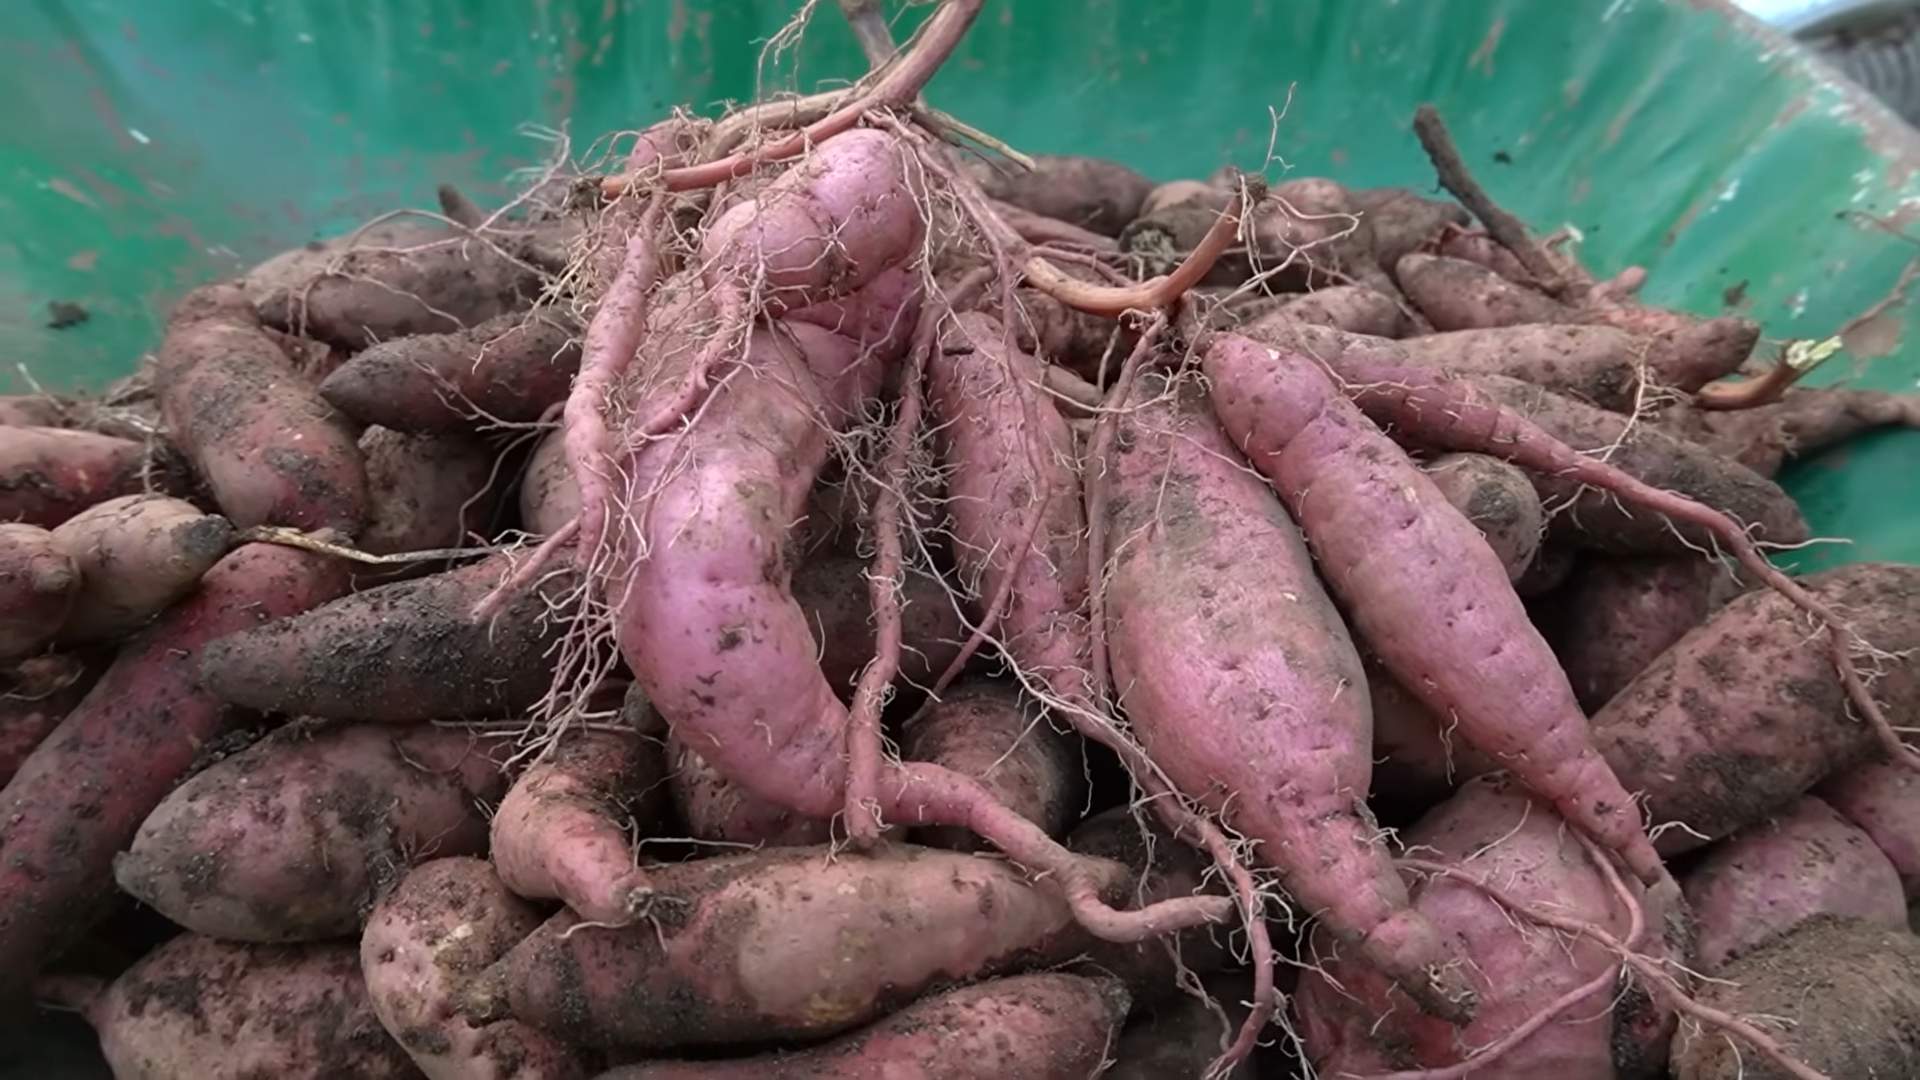
Harvest Sweet Potatoes Monthly: Imagine plucking sweet, earthy sweet potatoes from your own backyard, not just once a year, but every month! Sounds like a gardener’s dream, right? Well, it doesn’t have to be just a dream. This DIY guide is packed with clever tricks and hacks to extend your sweet potato harvest and enjoy fresh, homegrown goodness throughout the growing season.
Sweet potatoes have a rich history, dating back thousands of years in Central and South America. They’ve been a staple food source for countless cultures, prized for their nutritional value and versatility. Today, growing your own sweet potatoes connects you to that history, offering a tangible link to the earth and a delicious reward for your efforts.
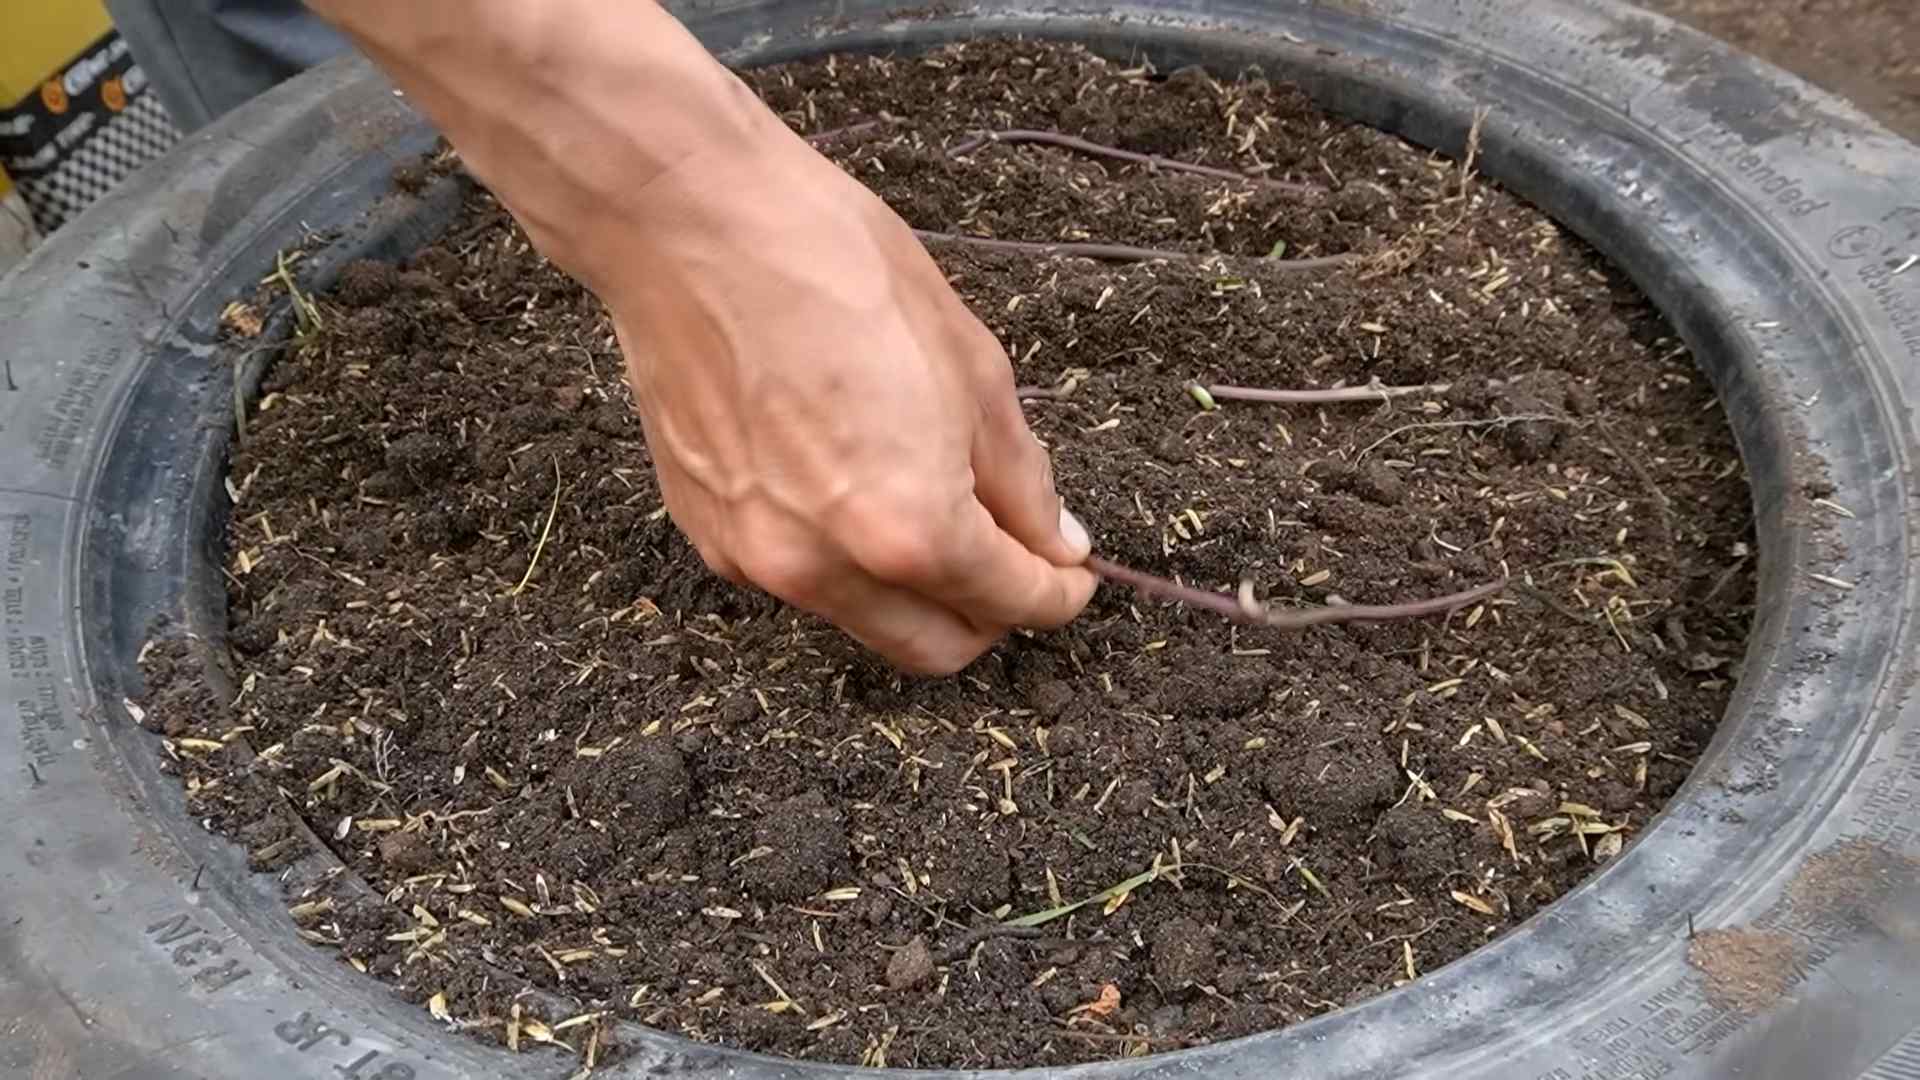
But let’s be honest, waiting for that single, end-of-season harvest can be agonizing! That’s where these DIY tricks come in. We’ll show you how to strategically plant, nurture, and harvest sweet potatoes monthly, maximizing your yield and minimizing waste. No more store-bought sweet potatoes when you can have a constant supply right outside your door! I’m excited to share these simple yet effective techniques that will transform your home garden into a sweet potato paradise. Get ready to dig in!
DIY Cleaning Powerhouse: Natural Solutions That Save You Money
Hey there, fellow DIY enthusiasts! I’m always on the lookout for ways to save money and reduce the number of harsh chemicals in my home. That’s why I’m so excited to share my favorite DIY cleaning recipes with you. These solutions are not only incredibly effective but also surprisingly simple to make using ingredients you probably already have in your pantry. Let’s ditch those expensive, store-bought cleaners and create our own cleaning powerhouse!
All-Purpose Cleaner: Your Go-To Solution
This all-purpose cleaner is perfect for wiping down countertops, cleaning sinks, and tackling everyday messes. It’s gentle enough for most surfaces but strong enough to cut through grease and grime.
Ingredients:
* 1 part white vinegar
* 1 part water
* A few drops of your favorite essential oil (lemon, lavender, or tea tree are great choices)
* Spray bottle
Instructions:
1. Combine Ingredients: In your spray bottle, mix equal parts white vinegar and water. I usually start with 1 cup of each, but you can adjust the amount depending on the size of your spray bottle.
2. Add Essential Oils: Add a few drops (5-10) of your favorite essential oil. This will not only give your cleaner a pleasant scent but also add extra cleaning power. Lemon and tea tree oil have antibacterial properties, while lavender is known for its calming scent.
3. Shake Well: Secure the spray nozzle and shake the bottle well to combine all the ingredients.
4. Test Before Use: Before using the cleaner on a large surface, test it in an inconspicuous area to make sure it doesn’t damage the material.
5. Spray and Wipe: Spray the cleaner onto the surface you want to clean and wipe it down with a clean cloth or sponge. For stubborn messes, let the cleaner sit for a few minutes before wiping.
Glass Cleaner: Streak-Free Shine
Say goodbye to streaks and hello to sparkling clean windows and mirrors with this simple glass cleaner.
Ingredients:
* 2 cups water
* 1/4 cup white vinegar
* 1/2 teaspoon liquid dish soap (optional, but helps cut through grease)
* Spray bottle
* Microfiber cloth
Instructions:
1. Mix the Solution: In your spray bottle, combine the water, white vinegar, and dish soap (if using).
2. Shake Gently: Gently shake the bottle to mix the ingredients. Avoid shaking too vigorously, as this can create excessive bubbles.
3. Spray and Wipe: Spray the cleaner onto the glass surface and wipe it down with a clean microfiber cloth. Microfiber cloths are essential for streak-free cleaning.
4. Buff Dry: If you notice any streaks, buff the surface with a dry microfiber cloth.
Toilet Bowl Cleaner: Natural Disinfectant
Keep your toilet bowl clean and fresh with this natural disinfectant.
Ingredients:
* 1/2 cup baking soda
* 1 cup white vinegar
* A few drops of tea tree oil (optional, for extra disinfecting power)
Instructions:
1. Sprinkle Baking Soda: Sprinkle the baking soda into the toilet bowl, making sure to cover the entire surface.
2. Pour in Vinegar: Pour the white vinegar over the baking soda. You’ll notice a fizzing reaction, which helps to loosen dirt and grime.
3. Add Tea Tree Oil (Optional): Add a few drops of tea tree oil for extra disinfecting power.
4. Let it Sit: Let the mixture sit for at least 15-20 minutes, or even overnight for tougher stains.
5. Scrub and Flush: Scrub the toilet bowl with a toilet brush and then flush.
Oven Cleaner: No More Harsh Chemicals
Cleaning the oven is a chore that most of us dread, but it doesn’t have to be with this natural oven cleaner.
Ingredients:
* 1/2 cup baking soda
* Water
* Spray bottle
* Spatula or scraper
Instructions:
1. Remove Oven Racks: Remove the oven racks and set them aside.
2. Make a Baking Soda Paste: In a bowl, mix the baking soda with enough water to form a thick paste.
3. Coat the Oven: Spread the baking soda paste all over the inside of the oven, avoiding the heating elements. Be sure to coat the walls, floor, and door.
4. Let it Sit Overnight: Let the baking soda paste sit overnight (at least 12 hours). This will give it time to loosen the baked-on grease and grime.
5. Scrub and Scrape: The next day, use a spatula or scraper to remove as much of the baking soda paste as possible.
6. Wipe Clean: Wipe down the inside of the oven with a damp cloth to remove any remaining residue. You may need to rinse the cloth several times.
7. Clean the Racks: Soak the oven racks in hot, soapy water for a few hours, then scrub them clean.
8. Reassemble: Once everything is clean and dry, reassemble the oven.
Drain Cleaner: Unclog Drains Naturally
Forget those harsh chemical drain cleaners! This natural solution is just as effective and much safer for your pipes and the environment.
Ingredients:
* 1/2 cup baking soda
* 1 cup white vinegar
* Boiling water
Instructions:
1. Pour in Baking Soda: Pour the baking soda down the drain.
2. Add Vinegar: Pour the white vinegar down the drain after the baking soda.
3. Let it Fizz: Let the mixture fizz for about 30 minutes. This reaction helps to break down the clog.
4. Flush with Boiling Water: After 30 minutes, carefully pour a pot of boiling water down the drain.
5. Repeat if Necessary: If the drain is still clogged, repeat the process.
Furniture Polish: Revive Your Wood Furniture
Give your wood furniture a new lease on life with this simple furniture polish.
Ingredients:
* 1/4 cup olive oil
* 1/2 cup white vinegar or lemon juice
* Soft cloth
Instructions:
1. Mix the Ingredients: In a small bowl, mix the olive oil and white vinegar or lemon juice.
2. Apply to Furniture: Dip a soft cloth into the mixture and apply it to your wood furniture in a circular motion.
3. Buff to Shine: Use a clean, dry cloth to buff the furniture to a shine.
Laundry Detergent: Clean Clothes, Happy Wallet
Making your own laundry detergent is surprisingly easy and can save you a significant amount of money.
Ingredients:
* 1 cup washing soda
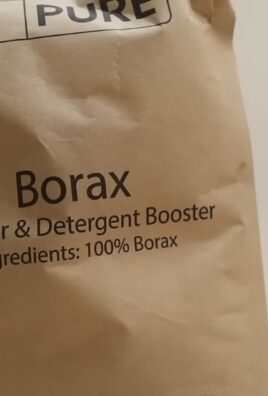
* 1 cup borax
* 1 bar of castile soap, grated (like Dr. Bronner’s)
* Optional: A few drops of essential oil for fragrance
Instructions:
1. Grate the Soap: Grate the castile soap using a cheese grater or food processor.
2. Combine Ingredients: In a large bowl, combine the washing soda, borax, and grated castile soap.
3. Add Essential Oils (Optional): If you want to add fragrance, add a few drops of your favorite essential oil.
4. Mix Well: Mix all the ingredients together thoroughly.
5. Store in an Airtight Container: Store the laundry detergent in an airtight container.
6. Use Sparingly: Use 1-2 tablespoons of laundry detergent per load, depending on the size and soil level of the load.
Disinfecting Wipes: Quick and Easy Cleaning
These DIY disinfecting wipes are perfect for quick cleanups and sanitizing surfaces.
Ingredients:
* 1 roll of paper towels (cut in half)
* 1 cup water
* 1/4 cup white vinegar
* 2 tablespoons rubbing alcohol (70% or higher)
* 10-15 drops of essential oil (tea tree, lemon, or eucalyptus)
* Airtight container
Instructions:
1. Cut the Paper Towels: Cut the roll of paper towels in half using a serrated knife.
2. Prepare the Solution: In a bowl, combine the water, white vinegar, rubbing alcohol, and essential oil.
3. Place Paper Towels in Container: Place one half of the paper towel roll in the airtight container.
4. Pour Solution Over Paper Towels: Pour the solution over the paper towels, making sure to saturate them evenly.
5. Remove Cardboard Core: Once the paper towels are saturated, remove the cardboard core from the center of the roll.
6. Pull Wipes from Center: Pull the wipes from the center
Conclusion
So, there you have it! Harvesting sweet potatoes monthly isn’t just a gardening chore; it’s a pathway to a continuous supply of fresh, vibrant, and incredibly flavorful produce right from your own backyard. We’ve explored the simple yet effective techniques that allow you to enjoy the fruits (or rather, the roots!) of your labor throughout the growing season, rather than being limited to a single, overwhelming harvest.
Think about it: no more store-bought sweet potatoes that lack that just-picked freshness. No more wondering about the growing conditions or the journey your food has taken. With this method, you’re in complete control, ensuring the highest quality and the most delicious sweet potatoes imaginable.
The beauty of this approach lies in its adaptability. While we’ve outlined the core principles, feel free to experiment with different varieties of sweet potatoes to discover your personal favorites. Perhaps you’ll find that one type thrives particularly well in your specific climate or soil conditions. You could also try companion planting to enhance the growth and flavor of your sweet potatoes. Consider planting basil or thyme nearby to deter pests and potentially improve the taste of your harvest.
Don’t be afraid to get creative with your harvesting schedule, too. While monthly harvesting is a great starting point, you might find that your sweet potatoes mature faster or slower depending on the weather and other environmental factors. Keep a close eye on your plants and adjust your harvesting frequency accordingly. Remember, the goal is to enjoy a steady stream of sweet potatoes at their peak ripeness.
This method of harvesting sweet potatoes monthly is more than just a gardening technique; it’s a way to connect with nature, to appreciate the process of growing your own food, and to savor the unparalleled taste of freshly harvested produce. It’s a rewarding experience that will not only fill your plate but also enrich your life.
We wholeheartedly encourage you to give this DIY trick a try. It’s easier than you might think, and the rewards are well worth the effort. Imagine the satisfaction of serving a meal featuring sweet potatoes that you’ve grown and harvested yourself. Picture the smiles on the faces of your family and friends as they savor the delicious flavor of your homegrown produce.
But don’t just take our word for it. Get out there, get your hands dirty, and experience the joy of harvesting sweet potatoes monthly for yourself. And once you’ve had a chance to try it, we’d love to hear about your experience. Share your tips, your successes, and even your challenges in the comments below. Let’s create a community of sweet potato enthusiasts who are passionate about growing their own food and sharing their knowledge with others. Your insights could be invaluable to someone who’s just starting out, and together, we can all learn and grow. So, what are you waiting for? Grab your gardening gloves and get ready to enjoy a continuous harvest of delicious, homegrown sweet potatoes!
Frequently Asked Questions (FAQ)
Q: What is the best time of year to start harvesting sweet potatoes monthly?
A: The ideal time to begin harvesting sweet potatoes monthly depends on your local climate and the specific variety you’re growing. Generally, you should start harvesting when the plants are about 90-120 days old, or when you notice the vines starting to yellow and die back. This typically occurs in the late summer or early fall. However, if you live in a warmer climate with a longer growing season, you may be able to start harvesting earlier. Keep a close eye on your plants and adjust your harvesting schedule accordingly.
Q: How do I know when a sweet potato is ready to be harvested?
A: There are several indicators that a sweet potato is ready to be harvested. As mentioned earlier, the vines will start to yellow and die back. You can also gently dig around the base of the plant to check the size and maturity of the sweet potatoes. They should be a good size for the variety you’re growing and have smooth, firm skin. Avoid harvesting sweet potatoes that are damaged or have signs of rot.
Q: Will harvesting some sweet potatoes affect the growth of the remaining ones?
A: Yes, harvesting some sweet potatoes can actually benefit the growth of the remaining ones. By removing the larger, more mature sweet potatoes, you’re giving the smaller ones more room to grow and develop. This can lead to a more uniform harvest and potentially increase the overall yield. Just be careful not to disturb the roots of the remaining plants when you’re harvesting.
Q: How should I store the sweet potatoes I harvest?
A: Proper storage is crucial for preserving the quality and flavor of your sweet potatoes. After harvesting, cure them for about 7-10 days in a warm, humid place (around 80-85°F and 85-90% humidity). This allows the skins to harden and any minor cuts or bruises to heal. After curing, store them in a cool, dry, and well-ventilated place (around 55-60°F). Avoid storing them in the refrigerator, as this can cause them to develop a hard core and lose their flavor.
Q: Can I harvest sweet potatoes even if the weather is cold or rainy?
A: It’s best to avoid harvesting sweet potatoes when the weather is cold or rainy, as this can increase the risk of rot and spoilage. If you must harvest them in these conditions, be extra careful to handle them gently and allow them to dry thoroughly before storing them. You may also want to shorten the curing period to prevent rot.
Q: What if I accidentally damage a sweet potato during harvesting?
A: If you accidentally damage a sweet potato during harvesting, it’s best to use it as soon as possible. Damaged sweet potatoes are more susceptible to rot and spoilage, so they won’t store as well as undamaged ones. You can use them in soups, stews, or other dishes where the appearance doesn’t matter as much.
Q: Can I grow sweet potatoes in containers?
A: Yes, you can grow sweet potatoes in containers, but you’ll need to choose a large container (at least 20 gallons) and use a well-draining potting mix. Container-grown sweet potatoes may not produce as many or as large sweet potatoes as those grown in the ground, but it’s still a great option for gardeners with limited space.
Q: What are some common pests and diseases that affect sweet potatoes?
A: Some common pests that affect sweet potatoes include sweet potato weevils, wireworms, and flea beetles. Common diseases include stem rot, black rot, and scurf. You can prevent these problems by using disease-resistant varieties, practicing crop rotation, and controlling weeds.
Q: Can I eat the sweet potato leaves?
A: Yes, sweet potato leaves are edible and nutritious. They can be cooked and eaten like spinach or other leafy greens. Choose young, tender leaves for the best flavor.
Q: Is it really worth the effort to harvest sweet potatoes monthly?
A: Absolutely! While it requires a bit more attention than a single, end-of-season harvest, the benefits of harvesting sweet potatoes monthly are well worth the effort. You’ll enjoy a continuous supply of fresh, delicious sweet potatoes throughout the growing season, and you’ll have more control over the size and maturity of your harvest. Plus, it’s a rewarding and enjoyable way to connect with nature and grow your own food. Give it a try, and we think you’ll be pleasantly surprised!


Leave a Comment