
CIF Cleaner Hacks: Unlock the sparkling potential of your home with these incredible DIY tricks! Are you tired of stubborn stains and grime that just won’t budge? Do you dream of a spotless home without spending a fortune on expensive cleaning products? Well, you’re in the right place! For generations, resourceful homeowners have been discovering clever ways to maximize the power of everyday cleaning supplies, and CIF cleaner is no exception.
I’m excited to share some of the most effective and surprising CIF Cleaner Hacks I’ve learned over the years. From tackling tough bathroom buildup to restoring shine to your kitchen surfaces, these simple techniques will transform the way you clean. Why spend hours scrubbing when you can achieve sparkling results with a fraction of the effort?
These hacks aren’t just about saving time; they’re about saving money and reducing your reliance on harsh chemicals. Plus, there’s something incredibly satisfying about discovering a new way to make your home shine. So, grab your CIF cleaner, and let’s dive into these amazing DIY tricks that will leave your home looking and feeling its absolute best!
Growing Brussels Sprouts in Pots: A Comprehensive DIY Guide
Hey there, fellow gardening enthusiasts! I’m so excited to share my experience with growing Brussels sprouts in pots. It’s totally doable, even if you don’t have a huge garden. I’ve learned a lot along the way, and I’m going to walk you through everything you need to know to successfully grow your own delicious, homegrown Brussels sprouts.
Choosing the Right Pot and Soil
First things first, let’s talk about the foundation of our little Brussels sprouts garden: the pot and the soil.
* Pot Size Matters: Brussels sprouts need room to grow, both above and below the soil. I recommend using a pot that’s at least 12 inches in diameter and 12 inches deep. Bigger is generally better, so if you have the space, go for a 15-gallon container or larger. This will give the roots plenty of space to spread out and support the plant’s growth.
* Drainage is Key: Make sure your pot has drainage holes! Brussels sprouts don’t like soggy roots. If your pot doesn’t have enough drainage, you can drill a few extra holes in the bottom.
* Soil Selection: Forget garden soil! It’s too heavy and compacts easily in pots. I always use a high-quality potting mix. Look for a mix that’s well-draining and contains organic matter like compost or peat moss. You can also amend your potting mix with perlite or vermiculite to improve drainage and aeration. I personally like to add a handful of bone meal to the mix as well, as it provides phosphorus, which is essential for root development.
Starting Your Brussels Sprouts
Now, let’s get those little sprouts started! You have two main options: starting from seed or buying transplants. I’ve done both, and I’ll share my experiences with each.
* Starting from Seed: This is the more economical option, and it gives you a wider variety of Brussels sprouts to choose from.
* Timing is Everything: Brussels sprouts need a long growing season, so you’ll need to start your seeds indoors about 6-8 weeks before the last expected frost in your area.
* Sowing the Seeds: Fill a seed tray or small pots with seed-starting mix. Moisten the mix and sow the seeds about 1/4 inch deep. Gently cover the seeds with soil and water them in.
* Creating the Ideal Environment: Keep the seed tray in a warm, bright location. A heat mat can help speed up germination. Keep the soil consistently moist, but not soggy.
* Thinning the Seedlings: Once the seedlings have their first true leaves (the second set of leaves), thin them out so that only the strongest seedling remains in each pot or cell.
* Buying Transplants: This is the easier option, especially if you’re short on time or don’t have a lot of experience with starting seeds.
* Choosing Healthy Transplants: Look for transplants that are healthy and vigorous, with green leaves and sturdy stems. Avoid plants that are yellowing, wilting, or have signs of pests or diseases.
* Hardening Off: Before planting your transplants in their final pots, you’ll need to harden them off. This means gradually exposing them to outdoor conditions over a period of about a week. Start by placing them in a sheltered location for a few hours each day, gradually increasing the amount of time they spend outdoors.
Planting Your Brussels Sprouts
Okay, we’ve got our pots, our soil, and our seedlings or transplants. Let’s get planting!
1. Fill the Pot: Fill your chosen pot with the potting mix, leaving a few inches of space at the top.
2. Dig a Hole: Dig a hole in the center of the pot that’s large enough to accommodate the root ball of your seedling or transplant.
3. Plant the Seedling/Transplant: Gently remove the seedling or transplant from its container and place it in the hole. Make sure the top of the root ball is level with the surrounding soil.
4. Backfill and Water: Backfill the hole with soil and gently firm it around the base of the plant. Water thoroughly.
Caring for Your Brussels Sprouts
Now comes the ongoing care. Brussels sprouts need consistent attention to thrive.
* Sunlight: Brussels sprouts need at least 6 hours of sunlight per day. Place your pots in a sunny location where they’ll get plenty of light. If you don’t have a sunny spot, you can supplement with grow lights.
* Watering: Water your Brussels sprouts regularly, especially during hot, dry weather. The soil should be consistently moist, but not soggy. Check the soil moisture by sticking your finger into the soil. If the top inch feels dry, it’s time to water.
* Fertilizing: Brussels sprouts are heavy feeders, so you’ll need to fertilize them regularly. I like to use a balanced liquid fertilizer every 2-3 weeks. You can also amend the soil with compost or aged manure.
* Pest Control: Brussels sprouts are susceptible to a few common pests, including cabbage worms, aphids, and flea beetles.
* Cabbage Worms: These green caterpillars can quickly devour the leaves of your Brussels sprouts. I handpick them off the plants whenever I see them. You can also use Bacillus thuringiensis (Bt), a natural insecticide that’s effective against cabbage worms.
* Aphids: These tiny insects suck the sap from the leaves of your Brussels sprouts. You can control aphids by spraying them with a strong stream of water or by using insecticidal soap.
* Flea Beetles: These tiny beetles chew small holes in the leaves of your Brussels sprouts. You can control flea beetles by covering your plants with row covers or by using insecticidal soap.
* Supporting the Plants: As your Brussels sprouts grow, they may become top-heavy and need support. You can use stakes or tomato cages to support the plants. I find that bamboo stakes work well.
* Removing Yellowing Leaves: As the plant matures, the lower leaves will naturally yellow and die. Remove these leaves to improve air circulation and prevent disease.
Harvesting Your Brussels Sprouts
The moment we’ve all been waiting for! Harvesting those delicious sprouts.
1. Timing is Key: Brussels sprouts are typically ready to harvest in the fall, after a few light frosts. The cold weather actually improves their flavor.
2. Harvesting the Sprouts: Start harvesting the sprouts from the bottom of the plant, working your way up. The sprouts should be firm and tightly closed.
3. How to Harvest: Twist or snap the sprouts off the stem. You can also use a sharp knife to cut them off.
4. Continued Harvest: Continue harvesting the sprouts as they mature. You can leave the top of the plant intact to encourage further growth.
Troubleshooting
Even with the best care, you might encounter some problems along the way. Here are a few common issues and how to address them:
* Sprouts are Loose and Open: This can be caused by hot weather or inconsistent watering. Make sure to water your plants regularly and provide shade during the hottest part of the day.
* Sprouts are Bitter: This can be caused by a lack of nutrients or by harvesting the sprouts too early. Make sure to fertilize your plants regularly and wait until after a few light frosts to harvest.
* Plants are Not Producing Sprouts: This can be caused by a lack of sunlight, poor soil, or pests. Make sure your plants are getting enough sunlight, fertilize them regularly, and control any pests.
Choosing the Right Variety
Selecting the right variety is crucial for success, especially when growing in pots. I’ve had good luck with these:
* ‘Long Island Improved’: A classic variety that produces reliable yields of medium-sized sprouts.
* ‘Jade Cross’: A hybrid variety that’s known for its disease resistance and uniform sprouts.
* ‘Redarling’: A unique variety that produces beautiful red sprouts.
Extra Tips for Success
Here are a few extra tips that I’ve learned over the years:
* Rotate Your Crops: Don’t plant Brussels sprouts in the same pot year after year. Rotate your crops to prevent soilborne diseases.
* Mulch Your Plants: Mulching helps to retain moisture in the soil and suppress weeds. I like to use straw or wood chips as mulch.
* Keep an Eye Out for Pests: Regularly inspect your plants for pests and diseases. The sooner you catch a problem, the easier it will be to solve.
* Don’t Give Up! Growing Brussels sprouts can be challenging, but it’s also very rewarding. Don’t be discouraged if you don’t have success right away. Keep learning and experimenting, and you’ll eventually get the hang of it.
Growing Brussels sprouts in
Conclusion
So, there you have it! Transforming your ordinary household ingredients into a powerful and effective CIF cleaner alternative is not only incredibly simple, but also a game-changer for your cleaning routine. We’ve walked you through the process, highlighting the ease and cost-effectiveness of creating your own cleaning solution. But why is this DIY CIF cleaner hack a must-try?
Firstly, it’s about control. You know exactly what’s going into your cleaner, eliminating harsh chemicals and potential allergens that are often found in commercial products. This is especially important for households with children, pets, or individuals with sensitivities. Secondly, it’s about sustainability. By repurposing ingredients you likely already have, you’re reducing your reliance on single-use plastic bottles and contributing to a more environmentally friendly lifestyle. And thirdly, it’s about saving money! The cost of ingredients for this DIY solution is significantly lower than purchasing brand-name CIF cleaner, freeing up your budget for other things.
But the benefits don’t stop there. This DIY CIF cleaner is incredibly versatile. While we’ve provided a base recipe, feel free to experiment with variations to suit your specific cleaning needs. For example:
* For extra degreasing power: Add a tablespoon of washing soda to the mixture. Washing soda is a powerful alkaline cleaner that cuts through grease and grime with ease.
* For a fresh, natural scent: Infuse your vinegar with citrus peels (lemon, orange, or grapefruit) for a week before using it in the recipe. This will add a subtle, uplifting fragrance to your cleaner.
* For disinfecting properties: Add a few drops of tea tree oil or eucalyptus oil to the mixture. These essential oils have natural antibacterial and antifungal properties.
* For tackling stubborn stains: Create a paste of baking soda and water and apply it to the stain before spraying with your DIY CIF cleaner. Let it sit for a few minutes, then scrub gently.
Remember to always test your DIY CIF cleaner on an inconspicuous area first, especially on delicate surfaces. While the ingredients are generally safe, it’s always best to be cautious.
We’re confident that once you try this DIY CIF cleaner hack, you’ll be amazed by its effectiveness and simplicity. It’s a win-win for your wallet, your health, and the environment. So, ditch the expensive, chemical-laden cleaners and embrace the power of DIY!
We encourage you to give this recipe a try and share your experience with us. Let us know what variations you’ve tried, what surfaces you’ve cleaned, and how it’s worked for you. Your feedback is invaluable and helps us refine and improve our recipes. Share your tips and tricks in the comments below – we can all learn from each other! Let’s revolutionize our cleaning routines together, one DIY CIF cleaner at a time.
Frequently Asked Questions (FAQ)
What surfaces can I use this DIY CIF cleaner on?
This DIY CIF cleaner is generally safe for use on a wide variety of surfaces, including:
* Kitchen countertops: Granite, quartz, laminate, and tile countertops can all be cleaned with this solution. However, always test on an inconspicuous area first, especially with natural stone surfaces.
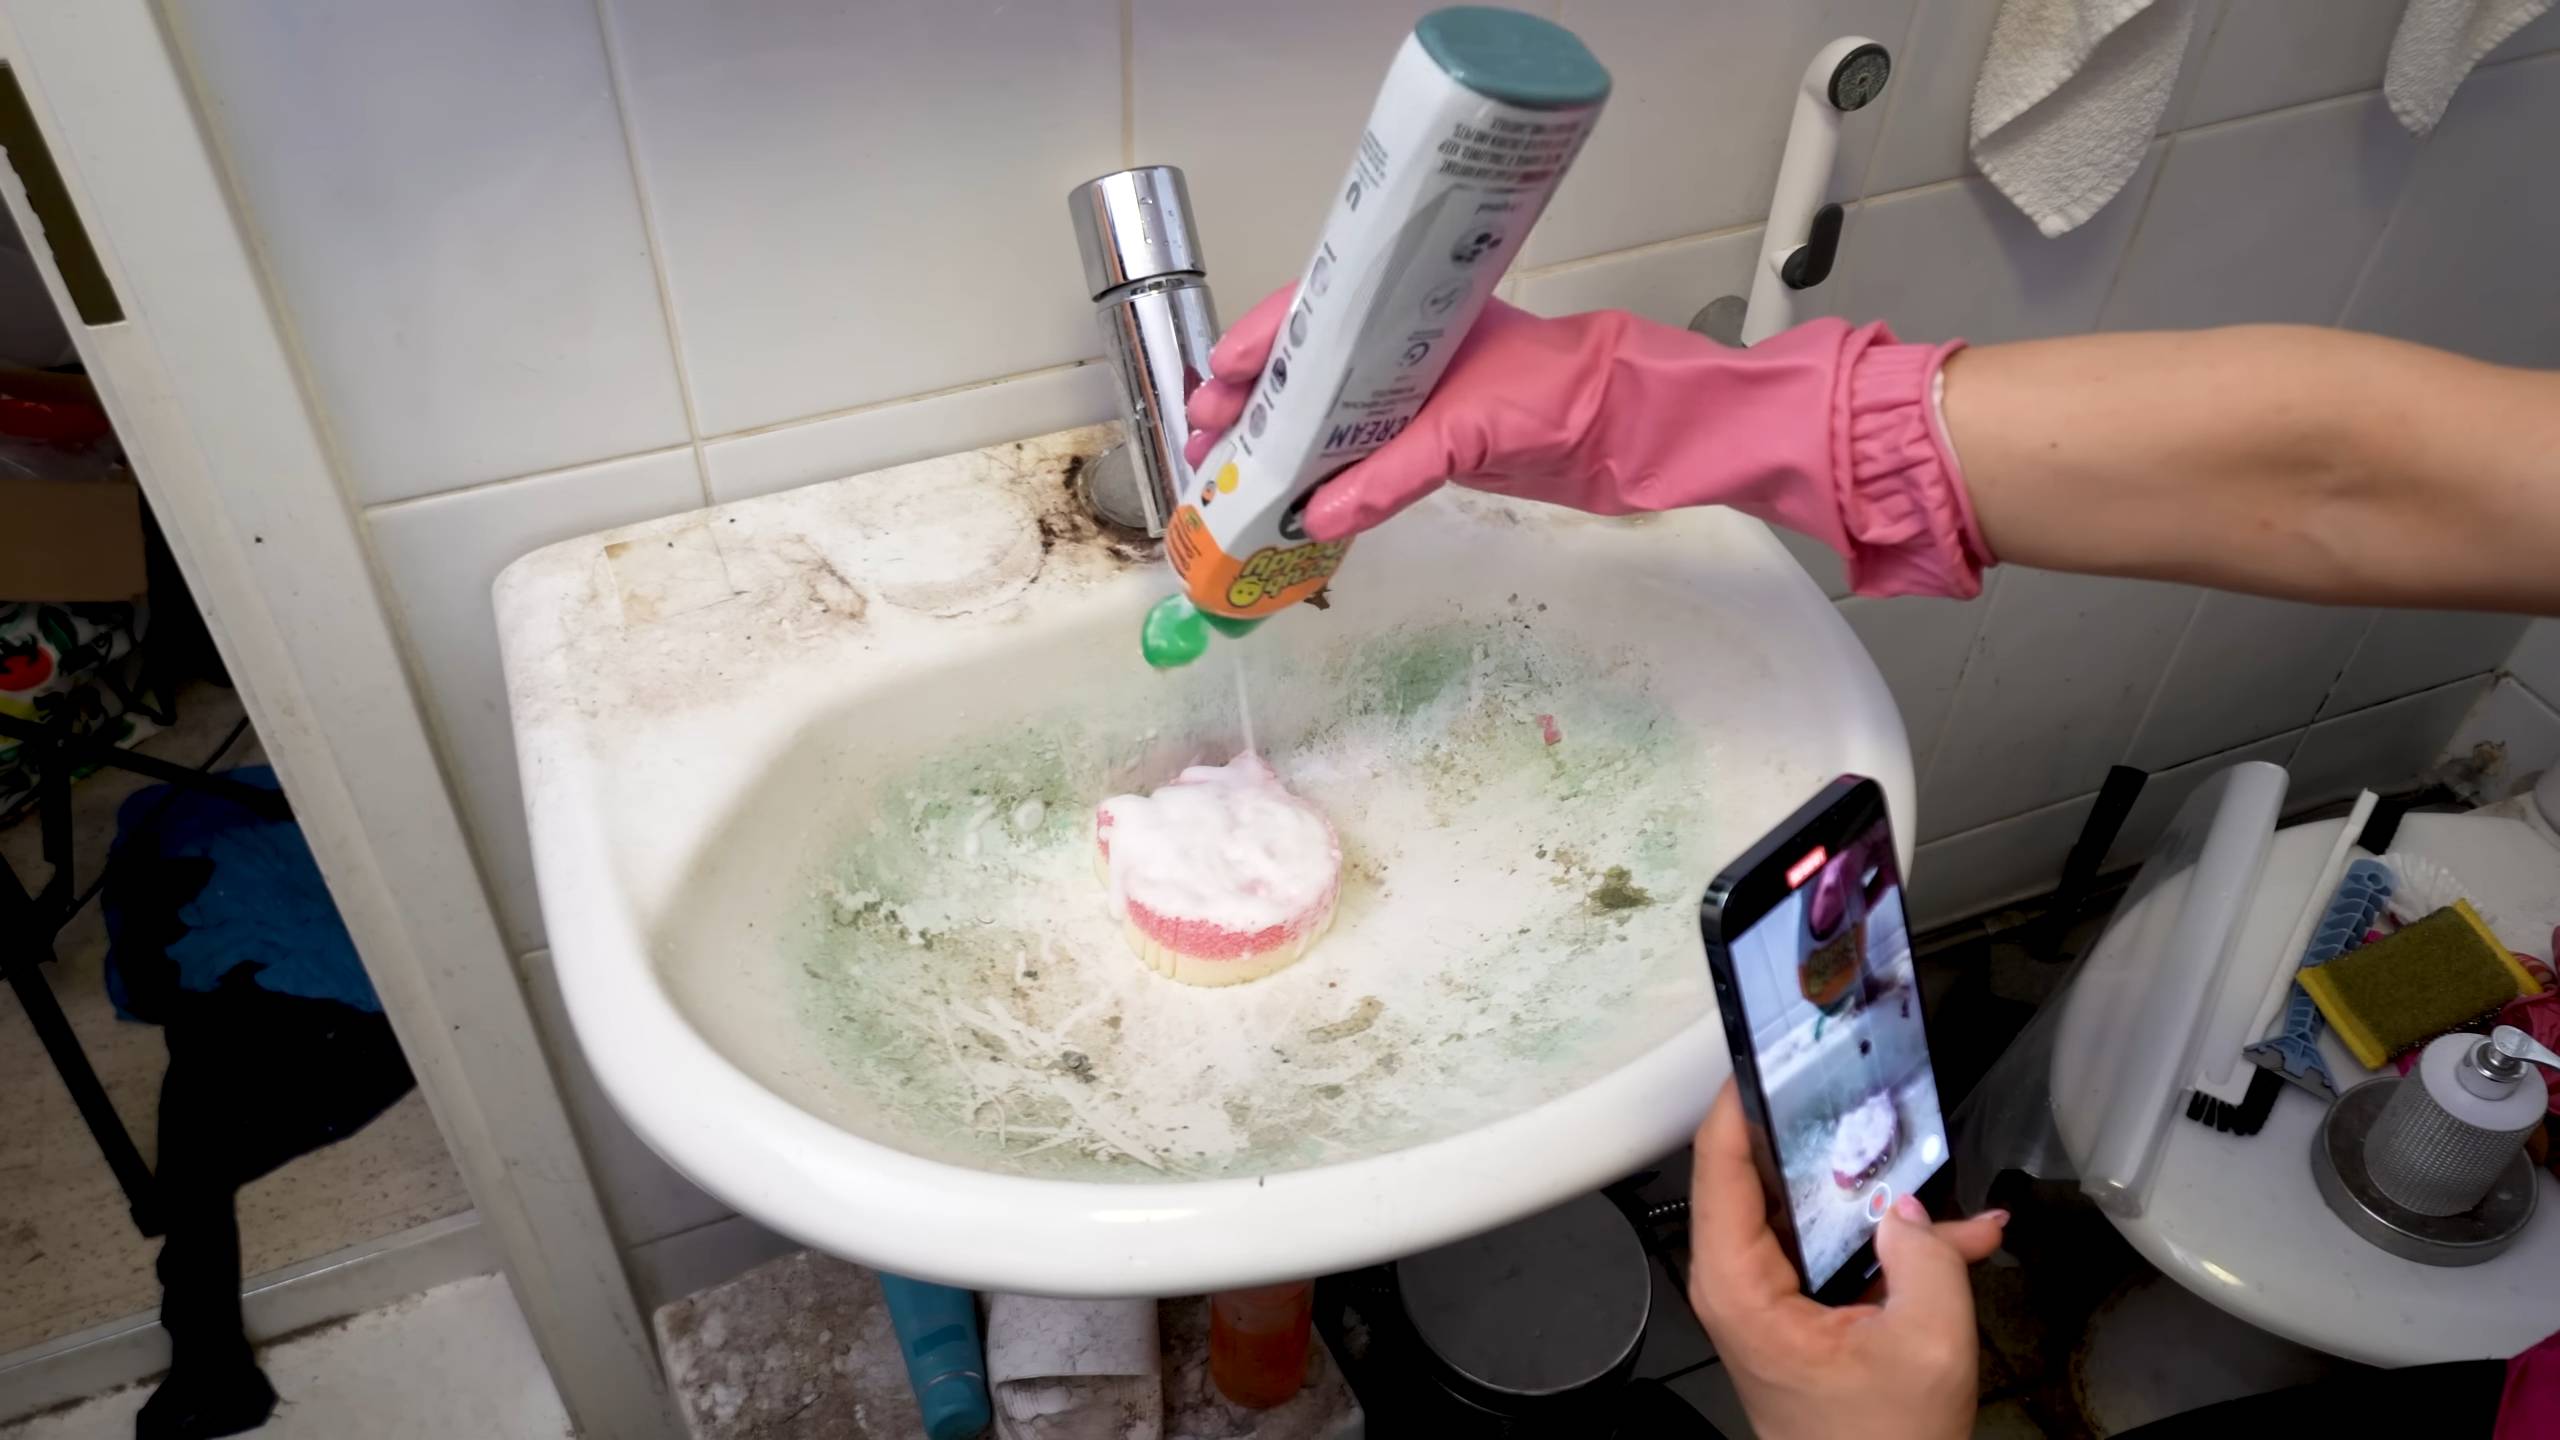
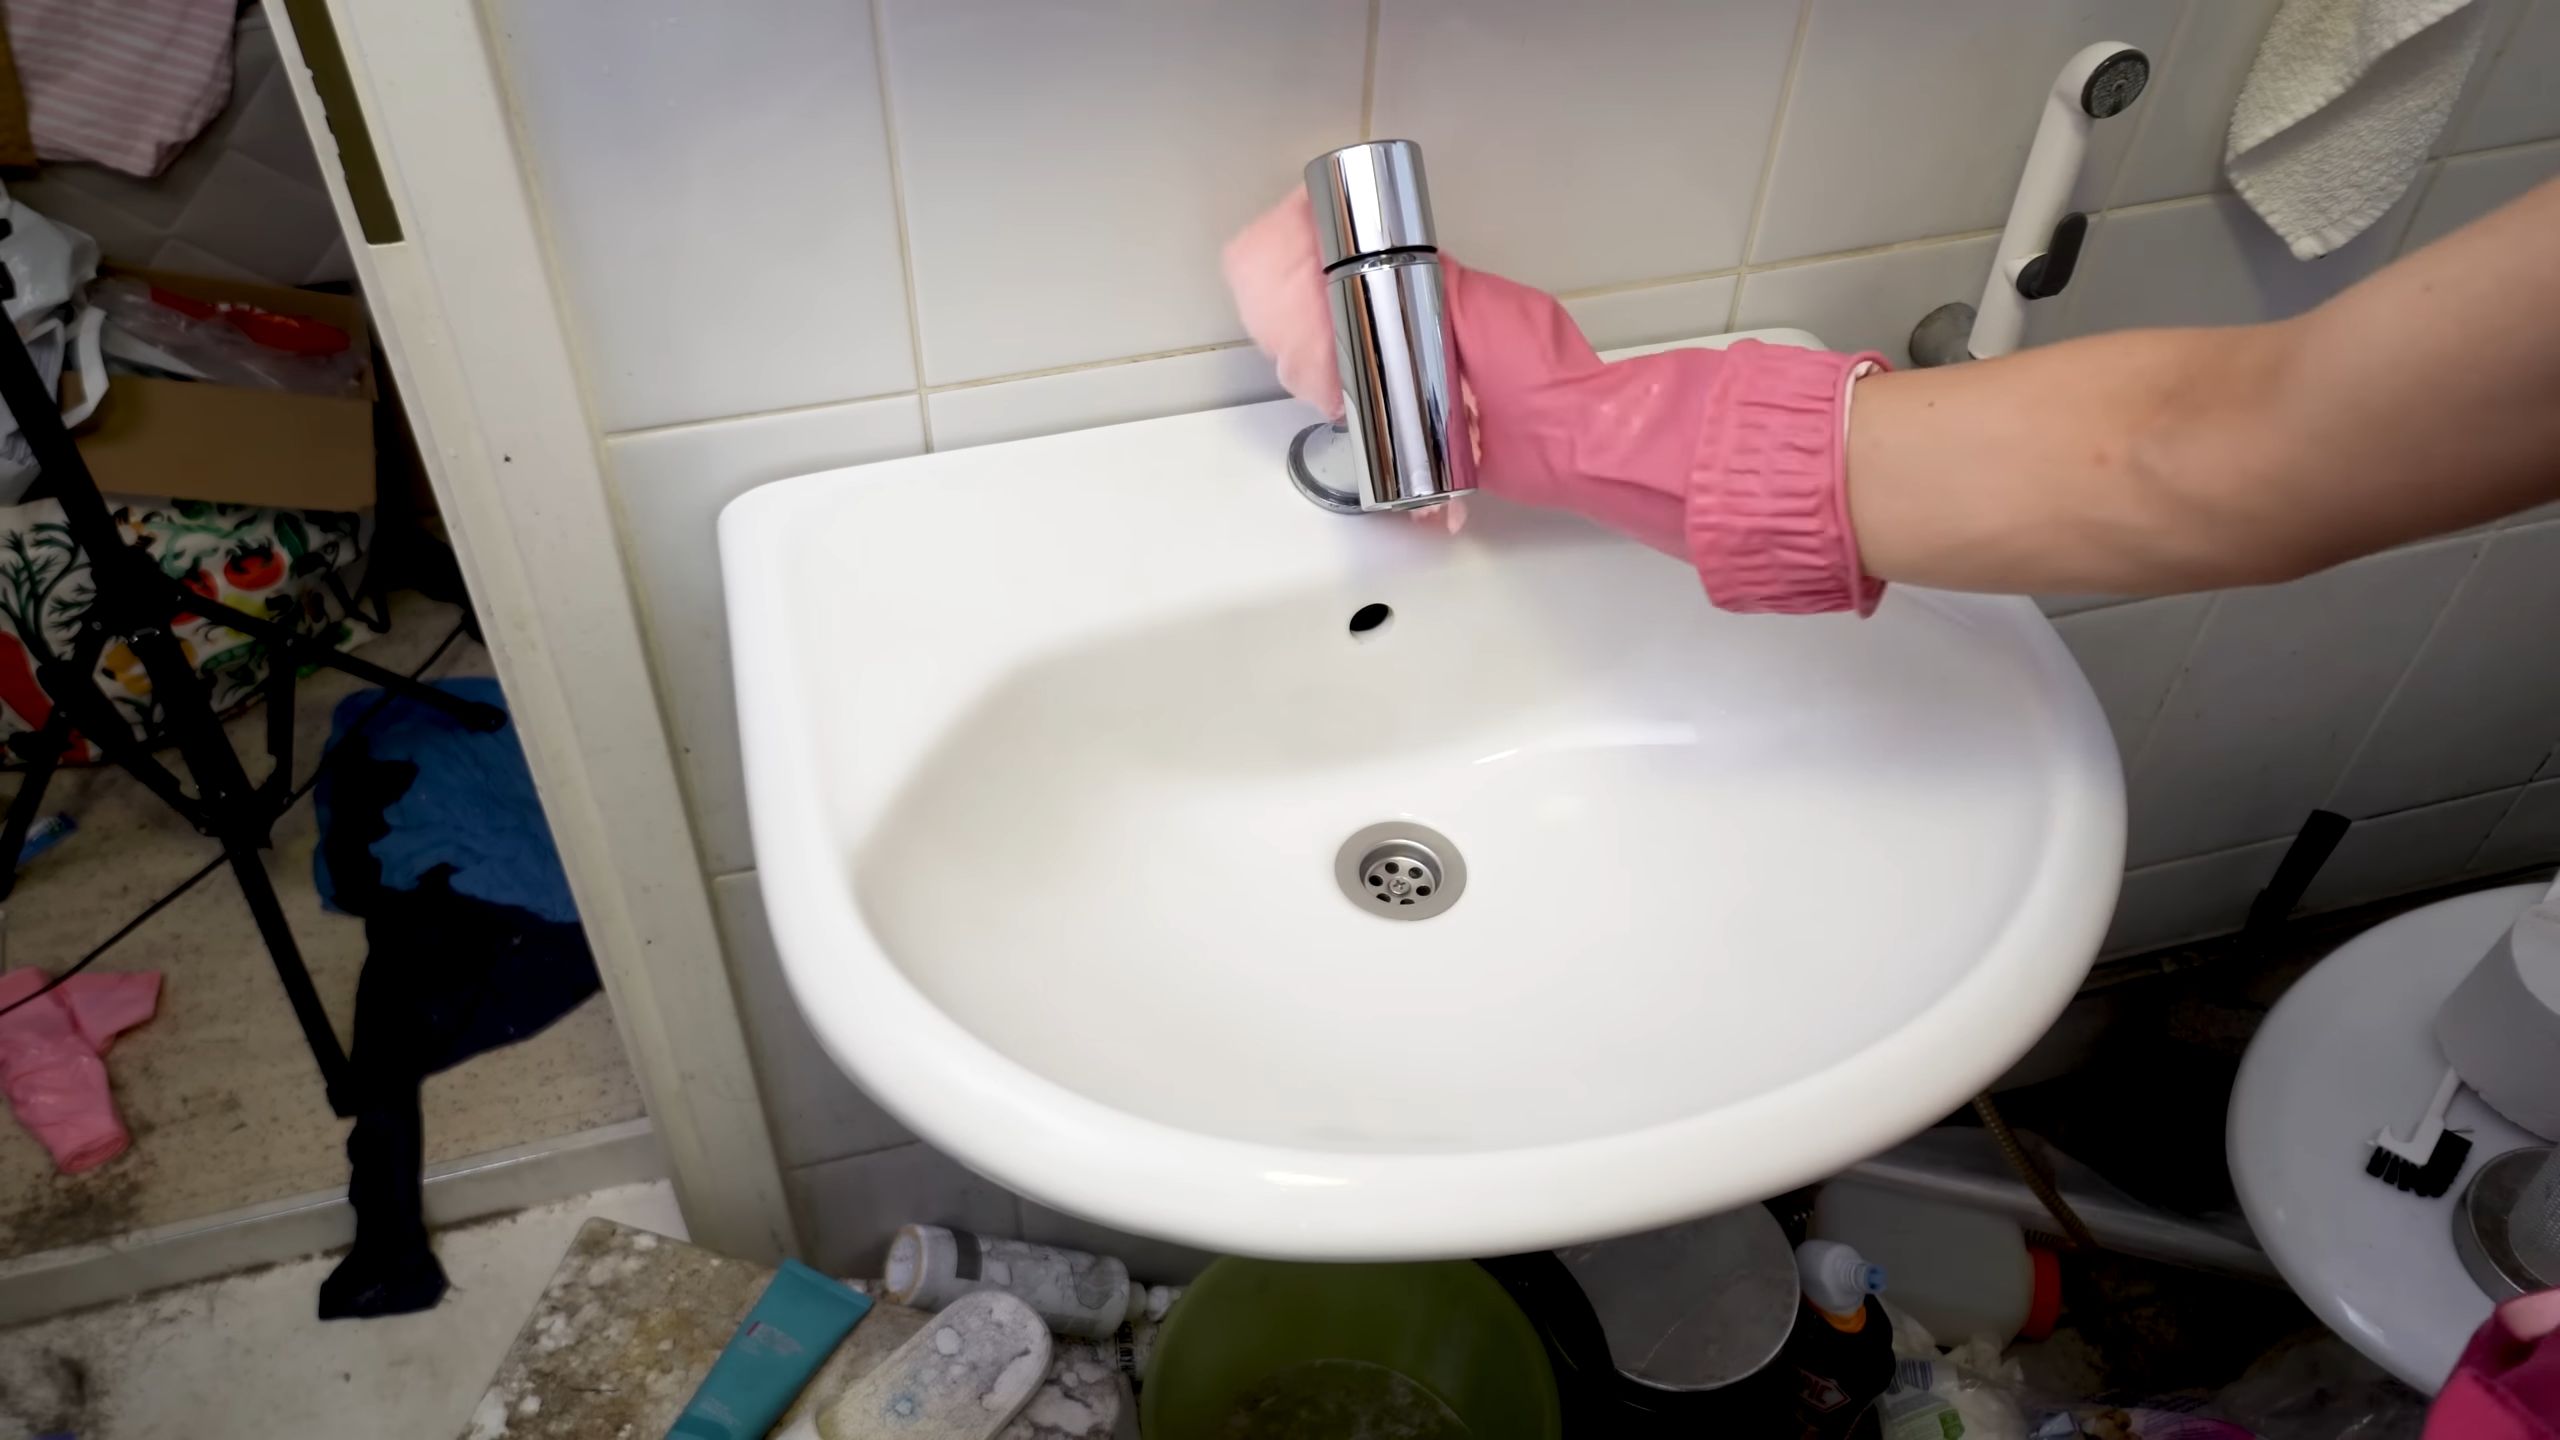
* Bathroom surfaces: Sinks, toilets, showers, and bathtubs can be effectively cleaned with this solution. It’s great for removing soap scum and hard water stains.
* Appliances: Stainless steel appliances, refrigerators, ovens, and microwaves can be cleaned with this solution. Be sure to wipe dry after cleaning to prevent water spots.
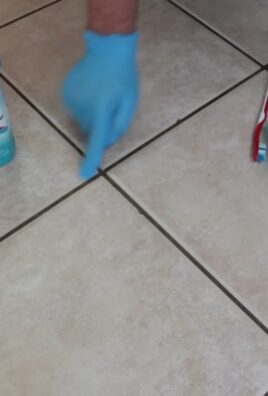
* Floors: Tile, linoleum, and vinyl floors can be cleaned with this solution. Avoid using it on hardwood floors, as the vinegar can damage the finish.
* Glass and mirrors: This solution works well as a glass cleaner, leaving surfaces streak-free.
Always test on an inconspicuous area first, especially on delicate or painted surfaces. Avoid using this cleaner on porous surfaces like unsealed grout or natural stone without proper sealing.
How long will the DIY CIF cleaner last?
This DIY CIF cleaner can last for several weeks when stored properly. To maximize its shelf life, store it in a clean, airtight spray bottle in a cool, dark place. Avoid storing it in direct sunlight or extreme temperatures, as this can degrade the ingredients.
Can I use a different type of vinegar?
While white vinegar is the most commonly recommended type of vinegar for cleaning due to its acidity and lack of color, you can experiment with other types of vinegar, such as apple cider vinegar. However, be aware that apple cider vinegar has a stronger odor and may leave a slight residue on some surfaces. Always test on an inconspicuous area first.
Is this DIY CIF cleaner safe for septic systems?
Yes, this DIY CIF cleaner is generally safe for septic systems. The ingredients are biodegradable and won’t harm the beneficial bacteria in your septic tank. However, it’s always a good idea to use cleaning products sparingly, regardless of whether they’re homemade or store-bought.
Can I add essential oils to this DIY CIF cleaner?
Yes, you can add essential oils to this DIY CIF cleaner for added fragrance and potential antibacterial or antifungal properties. Some popular essential oils for cleaning include:
* Lemon: Has a fresh, citrusy scent and is known for its degreasing properties.
* Tea tree: Has antibacterial and antifungal properties.
* Eucalyptus: Has a refreshing scent and is known for its antiseptic properties.
* Lavender: Has a calming scent and is known for its antibacterial properties.
Add a few drops of your favorite essential oil to the mixture. Be sure to use pure essential oils and avoid synthetic fragrances.
How do I remove hard water stains with this DIY CIF cleaner?
For stubborn hard water stains, you can try the following:
1. Spray the affected area with the DIY CIF cleaner.
2. Let it sit for several minutes to allow the vinegar to dissolve the mineral deposits.
3. Scrub the area with a non-abrasive sponge or brush.
4. Rinse with water and dry with a clean cloth.
For particularly stubborn stains, you can create a paste of baking soda and water and apply it to the stain before spraying with the DIY CIF cleaner. Let it sit for a few minutes, then scrub gently.
Can I use this DIY CIF cleaner on wood surfaces?
It’s generally not recommended to use this DIY CIF cleaner on hardwood floors or other finished wood surfaces, as the vinegar can damage the finish. If you must use it on wood, dilute the solution with water and test on an inconspicuous area first. Wipe dry immediately after cleaning.
What if I don’t have all the ingredients?
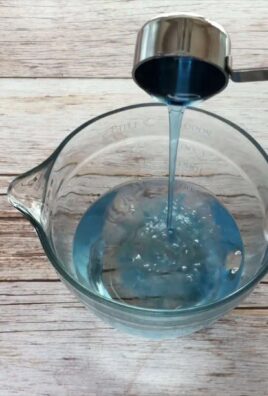
The basic recipe for this DIY CIF cleaner requires only a few simple ingredients: water, vinegar, and dish soap. If you don’t have all the optional ingredients, such as essential oils or washing soda, you can still make an effective cleaner with just the basic ingredients.
How do I make a larger batch of this DIY CIF cleaner?
To make a larger batch of this DIY CIF cleaner, simply increase the quantities of each ingredient proportionally. For example, if you want to double the recipe, double the amount of water, vinegar, and dish soap.
Is this DIY CIF cleaner safe for pets and children?
While the ingredients in this DIY CIF cleaner are generally considered safe, it’s still important to keep it out of reach of children and pets. Vinegar can be irritating if ingested, and dish soap can cause stomach upset. If your pet or child ingests the cleaner, contact your veterinarian or poison control center immediately.
Leave a Comment