
Clean and Deodorize Sink DIY: Are you tired of that lingering, unpleasant smell wafting up from your kitchen or bathroom sink? You’re not alone! A smelly sink is a common household problem, and thankfully, it’s one you can tackle yourself with a few simple ingredients and a little elbow grease. Forget expensive plumbers or harsh chemicals; I’m going to show you how to create a sparkling clean and fresh-smelling sink using easy DIY methods.
The quest for a clean and fresh-smelling home is nothing new. Throughout history, different cultures have developed their own unique methods for maintaining hygiene and eliminating odors. From ancient Egyptians using natural oils and herbs to Romans building elaborate plumbing systems, the desire for a pleasant-smelling living space has always been a priority. Now, we can tap into that historical ingenuity with modern, eco-friendly solutions.
Why is this Clean and Deodorize Sink DIY so important? Because a clean sink isn’t just about aesthetics; it’s about hygiene. Sinks can harbor bacteria and grime, leading to unpleasant odors and potentially affecting your health. Plus, let’s be honest, nobody wants to wash dishes or brush their teeth in a smelly sink! This DIY guide will provide you with simple, effective, and affordable ways to keep your sink sparkling, fresh, and germ-free, making your home a healthier and more enjoyable place to be.
DIY Deep Clean and Deodorize Your Sink: A Sparkling Transformation!
Hey there! Is your sink looking a little… lackluster? Maybe it’s got some stubborn stains, a funky smell, or just doesn’t have that sparkle it used to? Don’t worry, I’ve got you covered! This guide will walk you through a simple, effective, and totally DIY-able method to deep clean and deodorize your sink, leaving it fresh and gleaming. Let’s get started!
What You’ll Need: Your Cleaning Arsenal
Before we dive in, let’s gather our supplies. The best part? Most of these are probably already in your pantry!
* Baking Soda: Our gentle abrasive and odor absorber.
* White Vinegar: The acid that tackles grime and disinfects.
* Dish Soap: For general cleaning and grease removal.
* Lemon (optional): Adds a fresh scent and extra cleaning power.
* Salt (optional): Another gentle abrasive, great for scrubbing.
* Boiling Water: To flush out drains and dissolve buildup.
* Old Toothbrush: Perfect for scrubbing those hard-to-reach spots.
* Cleaning Cloths or Sponges: For wiping and scrubbing.
* Rubber Gloves: To protect your hands.
* Plunger (just in case): For tackling any drain clogs.
* Drain Snake or Wire Hanger (optional): For more serious clogs.
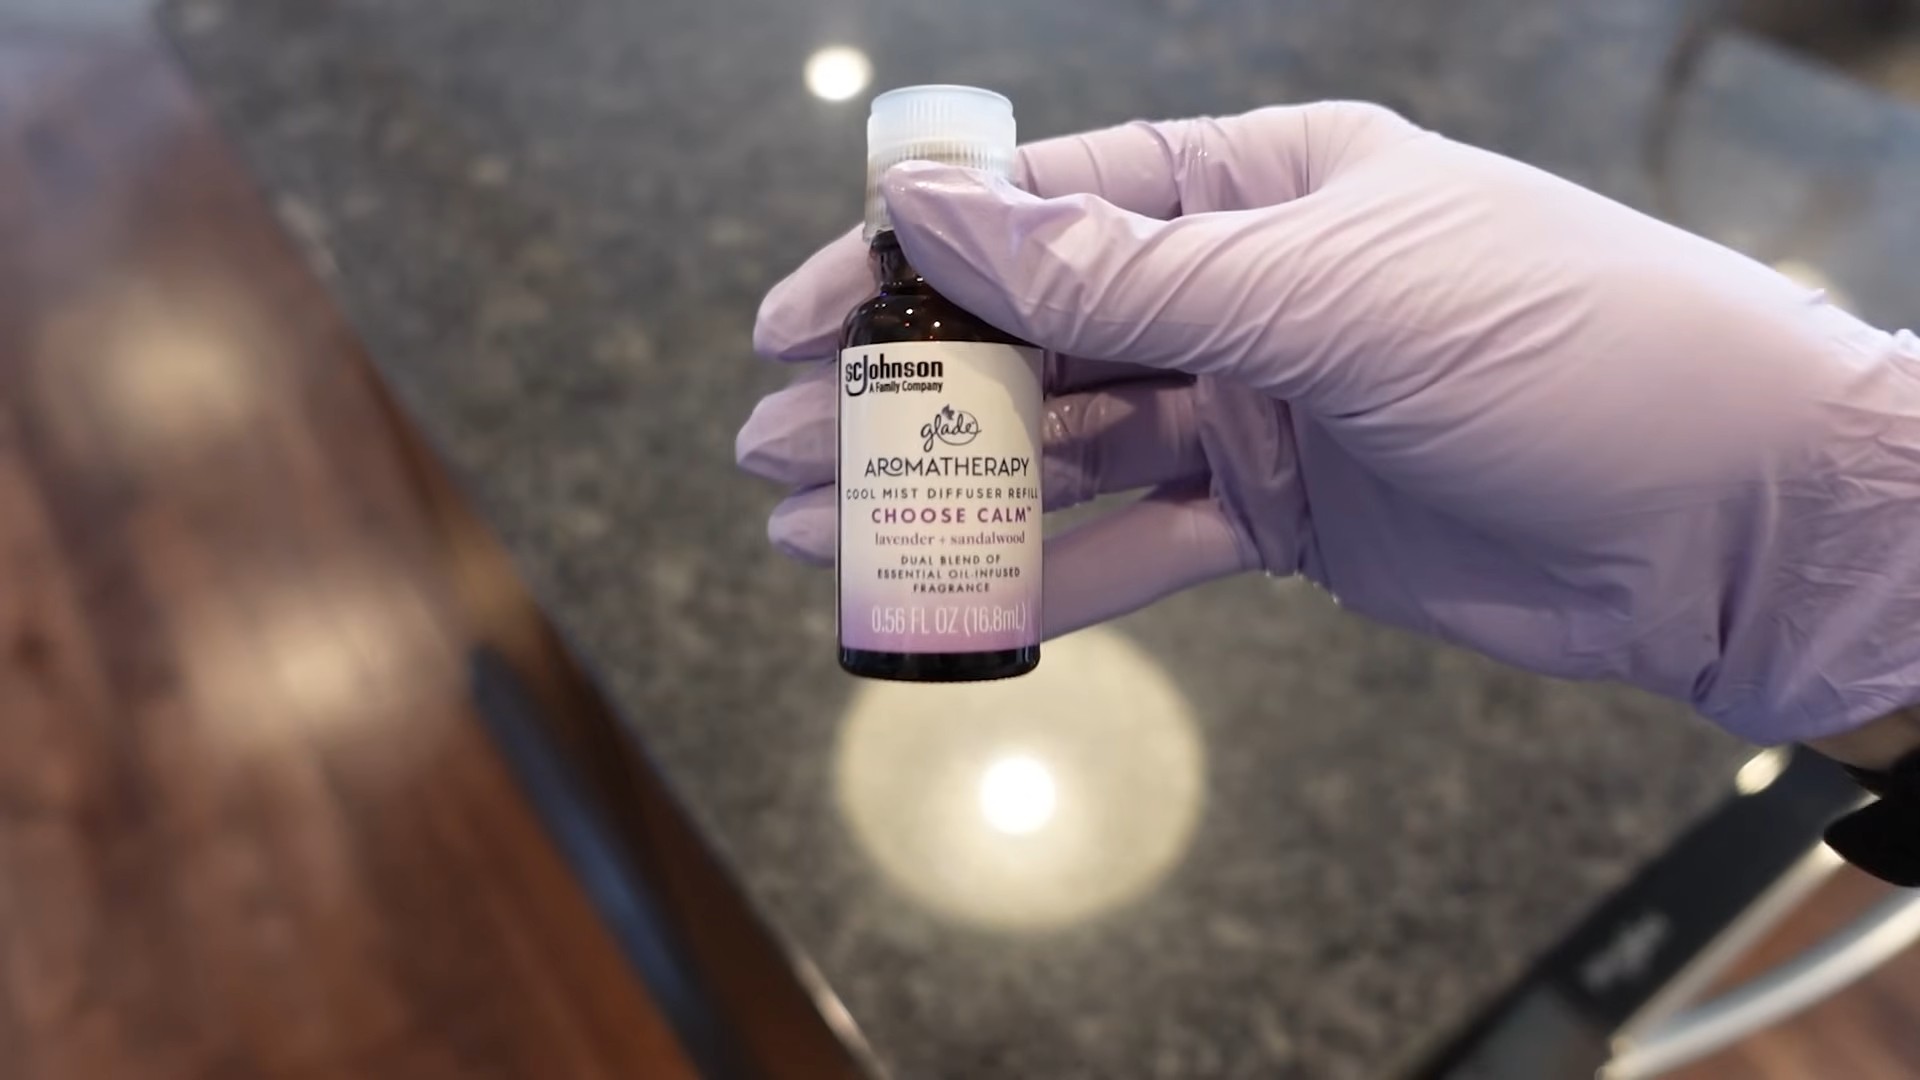
* Essential Oils (optional): For an extra boost of fragrance.
Phase 1: The Initial Scrub Down
This phase focuses on removing the surface grime and buildup.
1. Rinse the Sink: Start by giving your sink a good rinse with warm water to loosen any loose debris.
2. Apply Dish Soap: Squirt a generous amount of dish soap onto a damp sponge or cloth.
3. Scrub Thoroughly: Scrub the entire sink surface, paying close attention to areas with visible stains or grime. Don’t forget the faucet, handles, and around the drain. Use the rough side of the sponge for tougher spots.
4. Rinse Again: Rinse the sink thoroughly with warm water to remove all traces of soap.
5. Dry the Sink: Use a clean cloth to dry the sink completely. This will help you see any remaining problem areas.
Phase 2: Baking Soda and Vinegar Power!
This is where the magic happens! The combination of baking soda and vinegar creates a fizzing action that helps to lift stubborn stains and deodorize the sink.
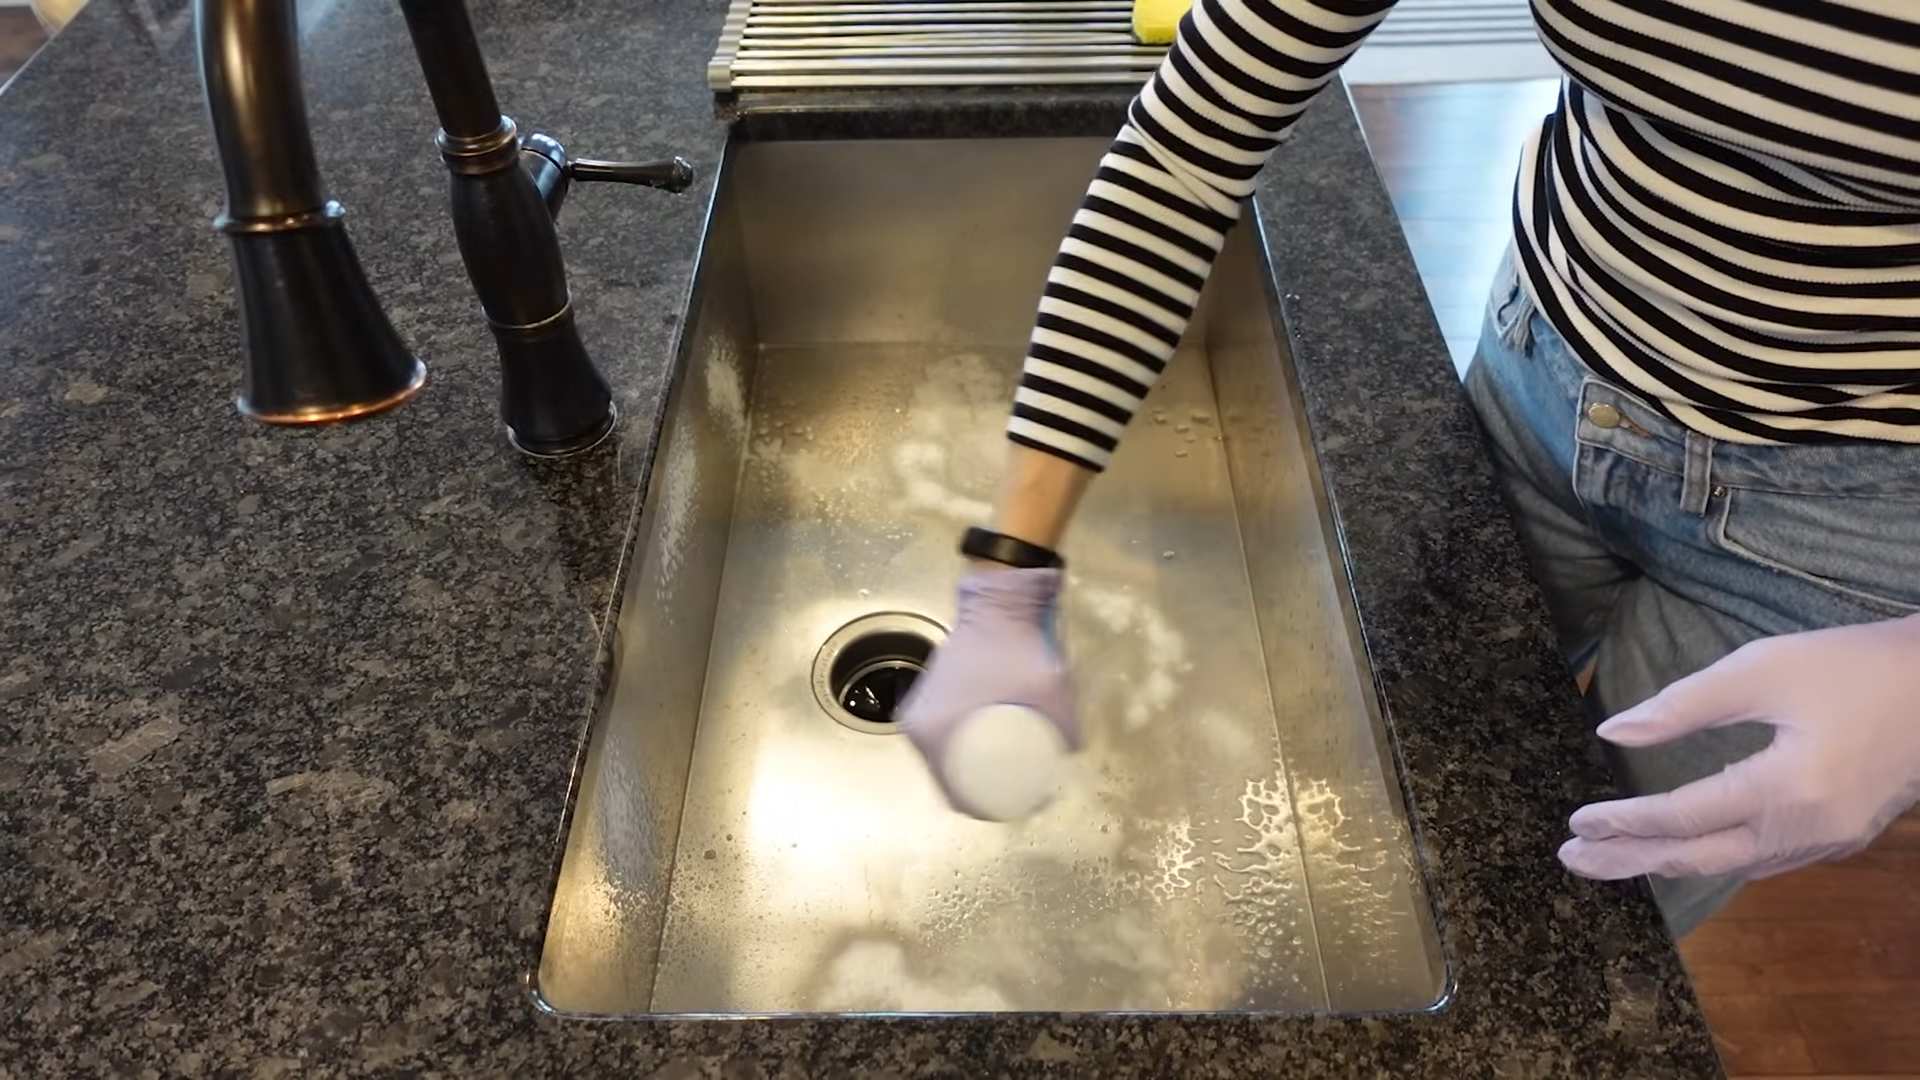
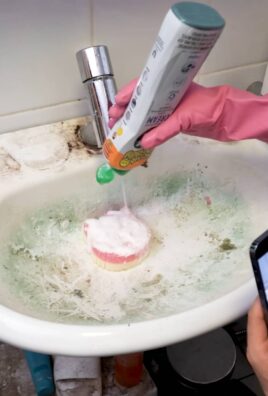
1. Sprinkle Baking Soda: Generously sprinkle baking soda all over the sink surface, covering every nook and cranny. Don’t be shy!
2. Pour Vinegar: Slowly pour white vinegar over the baking soda. You’ll see it start to fizz and bubble. This is exactly what we want!
3. Let it Fizz: Let the mixture fizz for about 5-10 minutes. This allows the baking soda and vinegar to work their magic, loosening grime and breaking down odors.
4. Scrub Again: After the fizzing subsides, use a sponge or old toothbrush to scrub the sink again. Pay extra attention to any areas with lingering stains.
5. Rinse Thoroughly: Rinse the sink thoroughly with warm water to remove all traces of baking soda and vinegar.
6. Inspect and Repeat (if needed): Take a look at your sink. If you still see any stubborn stains, repeat steps 1-5. Sometimes, a second application is all it takes!
Phase 3: Drain Deodorizing and Declogging
A clean sink isn’t complete without a clean drain! This phase focuses on removing odors and clearing any potential clogs.
1. Boiling Water Flush: Carefully pour a kettle or pot of boiling water down the drain. This helps to dissolve grease and other buildup that can cause odors and clogs. Be careful not to splash yourself with the boiling water!
2. Salt and Baking Soda Drain Treatment (Optional): If you want an extra boost of drain cleaning power, pour 1/2 cup of baking soda followed by 1/2 cup of salt down the drain. Let it sit for about 30 minutes, then flush with boiling water.
3. Lemon Power (Optional): For a fresh, citrusy scent, cut a lemon in half and squeeze the juice down the drain. You can even toss the lemon rinds down the drain and let them sit for a few hours before flushing with water. The lemon’s natural acids will help to break down grease and deodorize the drain.
4. Plunger Power (If Needed): If you suspect a clog, try using a plunger. Make sure there’s enough water in the sink to cover the cup of the plunger. Create a tight seal around the drain opening and plunge vigorously for several minutes.
5. Drain Snake or Wire Hanger (For Stubborn Clogs): If the plunger doesn’t do the trick, you may need to use a drain snake or a straightened wire hanger to manually remove the clog. Carefully insert the snake or hanger into the drain and try to break up or pull out the clog. Be careful not to damage the drainpipe!
Phase 4: Polishing and Finishing Touches
Now that your sink is clean and deodorized, let’s add some finishing touches to make it sparkle!
1. Vinegar Rinse (For Stainless Steel): If you have a stainless steel sink, a final rinse with white vinegar can help to remove water spots and leave it gleaming. Simply pour a small amount of vinegar onto a clean cloth and wipe down the sink.
2. Essential Oil Boost (Optional): For an extra boost of fragrance, add a few drops of your favorite essential oil to a damp cloth and wipe down the sink. Lavender, lemon, and tea tree oil are all great choices.
3. Dry and Buff: Use a clean, dry cloth to buff the sink and faucet. This will remove any remaining water spots and leave it looking shiny and new.
Tips and Tricks for a Sparkling Sink
* Preventative Maintenance: The best way to keep your sink clean is to prevent buildup in the first place. Rinse your sink after each use and wipe it down with a clean cloth.
* Avoid Harsh Chemicals: Harsh chemicals can damage your sink’s finish and are often unnecessary. Stick to natural cleaning solutions like baking soda, vinegar, and lemon juice.
* Don’t Pour Grease Down the Drain: Grease is a major cause of drain clogs. Always dispose of grease in a separate container.
* Use a Drain Strainer: A drain strainer can help to catch food particles and other debris before they enter the drain, preventing clogs.
* Clean Regularly: Aim to deep clean your sink at least once a week to prevent buildup and keep it looking its best.
* For Porcelain Sinks: Be gentle! Porcelain can scratch easily. Avoid abrasive cleaners and use a soft sponge or cloth.
* For Stainless Steel Sinks: Always wipe in the direction of the grain to avoid scratches.
* Tackle Hard Water Stains: If you have hard water, you may notice white, chalky stains on your sink. To remove these stains, soak a cloth in white vinegar and place it over the stains for about 30 minutes. Then, scrub with a non-abrasive cleaner and rinse thoroughly.
* Dealing with Rust Stains: For rust stains, try using a paste of baking soda and lemon juice. Apply the paste to the stain, let it sit for about 30 minutes, and then scrub with a non-abrasive cleaner.
Troubleshooting Common Sink Problems
* Slow Draining Sink: This is usually caused by a partial clog. Try using a plunger or drain snake to clear the clog. You can also try pouring a mixture of baking soda and vinegar down the drain, followed by boiling water.
* Smelly Sink: This is often caused by bacteria and food particles buildup in the drain. Try flushing the drain with boiling water and using a drain deodorizer.
* Stained Sink: Stubborn stains can be removed with a paste of baking soda and water or lemon juice. Apply the paste to the stain, let it sit for about 30 minutes, and then scrub with a non-abrasive cleaner.
* Water Spots: Water spots can be removed with a vinegar rinse. Simply wipe down the sink with a cloth dampened with white vinegar.
And there you have it! A sparkling clean and deodorized sink, all thanks to your own DIY efforts. Enjoy your fresh, gleaming sink! I hope this guide was helpful. Happy cleaning!
Conclusion
So, there you have it! A simple, effective, and surprisingly satisfying way to tackle a common household problem. This DIY method to clean and deodorize your sink isn’t just about aesthetics; it’s about maintaining a healthy and pleasant living environment. Think about it: your sink is a high-traffic area, constantly exposed to food particles, grease, and all sorts of grime. Ignoring its cleanliness can lead to unpleasant odors, bacterial growth, and even clogged drains – none of which are desirable!
This DIY approach offers a powerful alternative to harsh chemical cleaners, which can be both expensive and harmful to the environment. By using readily available ingredients like baking soda, vinegar, and lemon, you’re not only saving money but also making a conscious choice to reduce your exposure to potentially harmful substances. Plus, the satisfaction of knowing you’ve created a sparkling clean and fresh-smelling sink using natural ingredients is truly rewarding.
But the beauty of this DIY trick lies in its adaptability. Feel free to experiment with variations to suit your specific needs and preferences. For instance, if you’re dealing with a particularly stubborn clog, you can try adding a cup of boiling water after the baking soda and vinegar mixture. The heat can help to further break down any accumulated debris. Alternatively, if you’re looking for an extra boost of freshness, consider adding a few drops of your favorite essential oil to the baking soda before pouring it down the drain. Lavender, tea tree, and eucalyptus oils are all excellent choices for their antibacterial and deodorizing properties.
Another variation involves using borax instead of baking soda. Borax is a natural mineral with powerful cleaning and disinfecting properties. Simply substitute the baking soda with borax in the recipe and follow the same steps. However, it’s important to note that borax can be irritating to the skin, so be sure to wear gloves when handling it.
Don’t underestimate the power of prevention! To keep your sink clean and fresh for longer, make it a habit to rinse it thoroughly after each use. Avoid pouring grease down the drain, as it can solidify and cause clogs. Regularly flush the drain with hot water to prevent the buildup of debris. And of course, repeat this DIY cleaning and deodorizing process every few weeks to maintain optimal cleanliness.
We truly believe that this DIY trick is a game-changer for anyone looking to maintain a clean and fresh-smelling sink without resorting to harsh chemicals. It’s easy, affordable, and effective – what’s not to love?
So, go ahead and give it a try! We’re confident that you’ll be amazed by the results. And once you’ve experienced the magic of this DIY method to clean and deodorize your sink, we encourage you to share your experience with us. Let us know what variations you tried, what worked best for you, and any tips or tricks you discovered along the way. Your feedback will not only help us improve this recipe but also inspire others to embrace the power of DIY cleaning. Share your before and after photos on social media using #CleanSinkDIY – we can’t wait to see your sparkling sinks!
FAQ
What if I don’t have vinegar? Can I use something else?
Yes, you can substitute vinegar with lemon juice. Lemon juice is a natural acid that can help to break down grease and grime, and it also has a pleasant citrus scent. Use the same amount of lemon juice as you would vinegar in the recipe. However, keep in mind that vinegar is generally more effective at dissolving mineral deposits, so if you have hard water stains, vinegar is still the preferred option. If you don’t have either vinegar or lemon juice, a diluted solution of citric acid can also work, but be sure to handle it with care and wear gloves.
How often should I do this DIY cleaning method?
The frequency depends on how often you use your sink and how prone it is to clogs and odors. As a general guideline, we recommend doing this DIY cleaning method every 2-4 weeks. However, if you notice that your sink is starting to smell or drain slowly, you may need to do it more often. Conversely, if you maintain a clean sink and avoid pouring grease down the drain, you may be able to get away with doing it less frequently. Pay attention to your sink and adjust the frequency accordingly.
My sink is really clogged. Will this DIY method work for a severe clog?
This DIY method is effective for minor clogs and preventing future clogs. However, for severe clogs, it may not be strong enough. If you have a significant clog, you can try using a plunger first. If that doesn’t work, you can try a drain snake to physically remove the clog. As mentioned in the conclusion, adding boiling water after the baking soda and vinegar can sometimes help with stubborn clogs. If all else fails, you may need to call a professional plumber. Prevention is key, so regularly using this DIY method can help prevent severe clogs from forming in the first place.
Is this DIY method safe for all types of sinks?
This DIY method is generally safe for most types of sinks, including stainless steel, porcelain, and ceramic. However, if you have a more delicate sink material, such as copper or stone, it’s always a good idea to test the mixture in an inconspicuous area first to ensure that it doesn’t cause any damage or discoloration. Avoid using abrasive scrub brushes or pads, as they can scratch the surface of your sink. A soft cloth or sponge is usually sufficient for cleaning.
Can I use this method to clean my garbage disposal?
Yes, this DIY method is also excellent for cleaning and deodorizing your garbage disposal. Simply follow the same steps as you would for cleaning your sink drain. The baking soda and vinegar will help to break down any food particles and eliminate odors. After pouring the mixture down the drain, run the garbage disposal for a few seconds to ensure that it reaches all parts of the disposal. You can also add a few ice cubes to the disposal while it’s running to help scrub away any debris.
What if I don’t like the smell of vinegar?
The smell of vinegar can be strong, but it dissipates quickly. As mentioned earlier, you can add a few drops of your favorite essential oil to the baking soda before pouring it down the drain to mask the vinegar smell. Lemon, lavender, tea tree, and eucalyptus oils are all good choices. You can also try using apple cider vinegar instead of white vinegar, as it has a slightly milder scent. Alternatively, you can simply open a window or turn on the exhaust fan to ventilate the area while you’re cleaning.
Can I use this method to clean other drains in my house, like the shower drain?
Yes, this DIY method can be used to clean and deodorize other drains in your house, such as the shower drain or bathtub drain. The process is the same: pour baking soda down the drain, followed by vinegar, let it fizz, and then flush with hot water. Shower drains often accumulate hair and soap scum, so you may need to use a drain snake to remove any large clumps of debris before using this DIY method.
Is there anything I should avoid pouring down the drain?
Yes, there are several things you should avoid pouring down the drain to prevent clogs and damage to your plumbing system. These include grease, oil, coffee grounds, eggshells, flour, pasta, rice, and any other solid food particles. These items can accumulate in your pipes and cause blockages. It’s also important to avoid pouring harsh chemicals down the drain, as they can damage your pipes and harm the environment.

Leave a Comment