
Cleaning hacks – who doesn’t love them? Let’s be honest, tackling household chores can feel like a never-ending battle. But what if I told you there are clever, simple ways to conquer that mountain of laundry, banish bathroom grime, and make your kitchen sparkle, all without spending hours scrubbing?
For centuries, people have sought out shortcuts and clever methods to maintain clean and comfortable homes. From ancient Roman bathhouses to the meticulously kept homes of the Victorian era, the desire for cleanliness has always been a part of human culture. While our tools and technologies have evolved, the underlying need for efficient and effective cleaning remains the same.
In today’s busy world, time is a precious commodity. We’re all juggling work, family, and personal commitments, leaving little room for extensive cleaning routines. That’s where these cleaning hacks come in! They’re designed to save you time, money, and energy, allowing you to enjoy a cleaner, more organized home without sacrificing your precious free time. I’m excited to share some of my favorite DIY cleaning tricks that will transform your chores from a dreaded task into a manageable and even enjoyable experience. Get ready to discover some game-changing tips that will make your life a whole lot easier!
DIY Toilet Cleaning Power-Up: Harpic Hack for a Sparkling Throne
Okay, let’s face it, cleaning the toilet isn’t exactly anyone’s favorite chore. But a sparkling clean toilet bowl? That’s something we can all appreciate. Today, I’m going to share my go-to Harpic hack that takes your regular toilet cleaning routine to the next level. This isn’t just about a quick scrub; it’s about deep cleaning, stain removal, and leaving your toilet smelling fresh and looking brand new.
What You’ll Need: Your Arsenal of Clean
Before we dive in, let’s gather our supplies. Having everything ready will make the process smooth and efficient.
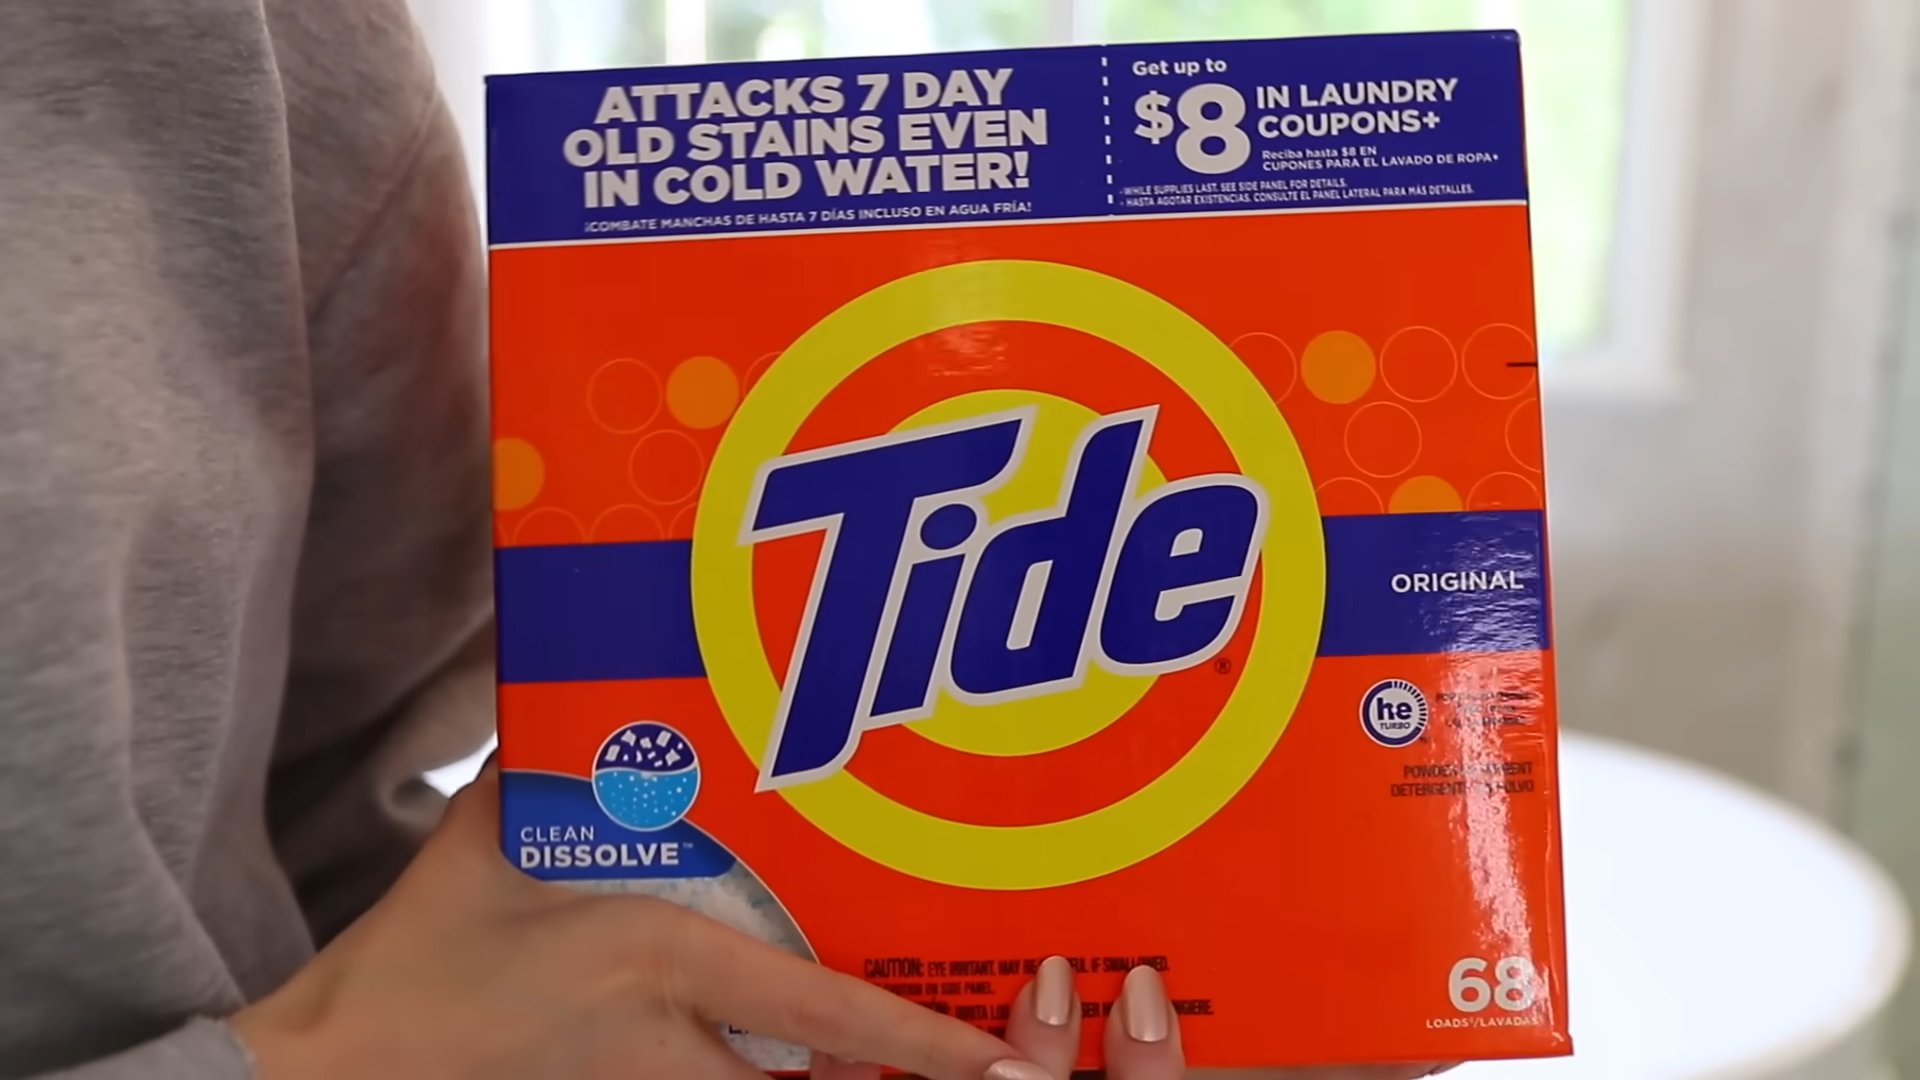
* Harpic Toilet Cleaner (Original or Power Plus): This is the star of the show! I prefer the Power Plus for extra stubborn stains, but the original works great for regular cleaning.
* Baking Soda: This is our secret weapon for tackling tough stains and deodorizing.
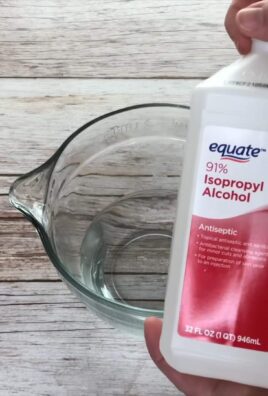
* White Vinegar: Vinegar is a natural disinfectant and helps to dissolve mineral deposits.
* Toilet Brush: A sturdy toilet brush is essential for scrubbing.
* Rubber Gloves: Protect your hands! Trust me, you’ll thank me later.
* Old Toothbrush: Perfect for getting into those hard-to-reach areas.
* Spray Bottle: For diluting the vinegar.
* Toilet Bowl Cleaner Tablets (Optional): For maintaining cleanliness between deep cleans.
* Paper Towels or Cleaning Cloths: For wiping down the exterior of the toilet.
* Eye Protection (Optional): If you’re particularly sensitive, wearing eye protection is always a good idea.
Phase 1: The Pre-Soak Power Play
This is where we lay the groundwork for a super-effective clean. Soaking the toilet bowl with a powerful cleaning solution loosens up grime and makes scrubbing much easier.
1. Flush the Toilet: Start with a clean slate by flushing the toilet to remove any loose debris.
2. Apply Harpic Generously: Squirt Harpic toilet cleaner liberally around the rim of the toilet bowl, ensuring it coats the entire surface. Let it drip down the sides and into the water.
3. Strategic Soak Time: Now, the key is patience. Let the Harpic sit for at least 30 minutes. For really tough stains, I sometimes let it soak for a couple of hours, or even overnight! The longer it sits, the better it works.
4. Baking Soda Boost (Optional): If you have stubborn stains or hard water deposits, sprinkle about half a cup of baking soda into the toilet bowl after applying the Harpic. The baking soda will react with the Harpic, creating a fizzing action that helps to lift stains.
Phase 2: The Scrub-a-Dub-Dub Showdown
Now that the Harpic has had time to work its magic, it’s time to get scrubbing! This is where we put in a little elbow grease to remove any remaining grime and stains.
1. Grab Your Toilet Brush: Put on your rubber gloves and grab your trusty toilet brush.
2. Scrub with Vigor: Start scrubbing the toilet bowl thoroughly, paying close attention to the areas under the rim and around the water line. Use a circular motion to dislodge any remaining stains or deposits.
3. The Old Toothbrush Trick: For those hard-to-reach areas, like the crevices around the hinges and the underside of the rim, use your old toothbrush. This will allow you to get into those tight spots and remove any stubborn grime.
4. Flush and Repeat (If Necessary): After scrubbing, flush the toilet to rinse away the loosened dirt and grime. If you still see any stains or deposits, repeat the scrubbing process.
Phase 3: Vinegar Victory: Disinfect and Deodorize
Vinegar is a fantastic natural disinfectant and deodorizer. It also helps to dissolve mineral deposits and leave your toilet bowl sparkling clean.
1. Empty the Bowl (If Needed): If the toilet bowl is still full of water after flushing, you may need to use a plunger to remove some of the water so that the vinegar can effectively coat the surface.
2. Vinegar Spray Down: Fill your spray bottle with white vinegar. Spray the entire inside of the toilet bowl with vinegar, making sure to coat all surfaces, including under the rim.
3. Let it Sit (Again!): Allow the vinegar to sit for about 15-20 minutes. This will give it time to disinfect and dissolve any remaining mineral deposits.
4. Final Flush: After the vinegar has had time to work, flush the toilet one last time.
Phase 4: Exterior Excellence: Shine and Sanitize
We’ve tackled the inside, now let’s give the outside of the toilet some love. A clean exterior is just as important for hygiene and overall appearance.
1. Vinegar Wipe Down: Using a clean paper towel or cleaning cloth, spray it with vinegar and wipe down the entire exterior of the toilet, including the seat, lid, tank, and base.
2. Focus on High-Touch Areas: Pay special attention to the handle, seat, and lid, as these are the areas that are most frequently touched.
3. Dry and Buff: Use a dry paper towel or cleaning cloth to dry and buff the exterior of the toilet, leaving it shiny and clean.
4. Floor Clean-Up: Don’t forget to wipe down the floor around the base of the toilet to remove any spills or splatters.
Bonus Tips for Toilet Triumph
* Toilet Bowl Cleaner Tablets: To maintain cleanliness between deep cleans, use toilet bowl cleaner tablets. These tablets release cleaning agents with each flush, helping to prevent stains and keep your toilet smelling fresh.
* Regular Cleaning Schedule: The key to a consistently clean toilet is to establish a regular cleaning schedule. I recommend deep cleaning your toilet at least once a week, and doing a quick wipe-down of the exterior every few days.
* Hard Water Woes: If you have hard water, you may need to clean your toilet more frequently to prevent mineral deposits from building up. You can also use a hard water stain remover to help dissolve stubborn deposits.
* Ventilation is Key: Always ensure that your bathroom is well-ventilated when cleaning with chemicals. Open a window or turn on the exhaust fan to prevent the build-up of fumes.
* Safety First: Always wear rubber gloves when cleaning the toilet to protect your hands from harsh chemicals. If you have sensitive skin, you may also want to wear eye protection.
* Don’t Mix Chemicals: Never mix different cleaning chemicals together, as this can create dangerous fumes.
* DIY Cleaning Solutions: For a more natural approach, you can try using a DIY toilet cleaner made from baking soda, vinegar, and essential oils. There are tons of recipes online!
* Preventative Measures: Consider using a toilet bowl brush after each use to prevent stains from setting in.
* Check for Leaks: While you’re cleaning, take a moment to check for any leaks around the base of the toilet or the water tank. Addressing leaks promptly can prevent water damage and save you money on your water bill.
* Proper Disposal: Dispose of used paper towels and cleaning cloths properly. Do not flush them down the toilet, as this can clog your plumbing.
Troubleshooting Toilet Troubles
* Stubborn Stains: If you have stubborn stains that won’t come off with scrubbing, try making a paste of baking soda and water and applying it to the stains. Let it sit for a few hours or overnight, then scrub and flush.
* Hard Water Deposits: For hard water deposits, try using a commercial hard water stain remover or a solution of vinegar and water. Let it soak for a few hours, then scrub and flush.
* Clogged Toilet: If your toilet is clogged, try using a plunger to dislodge the blockage. If the plunger doesn’t work, you may need to use a toilet auger or call a plumber.
* Smelly Toilet: If your toilet smells bad even after cleaning, try pouring a cup of baking soda down the drain and letting it sit overnight. Then, flush the toilet in the morning. You can also try using a toilet bowl deodorizer.
With these tips and tricks, you’ll be able to keep your toilet sparkling clean and fresh-smelling. Happy cleaning!
Conclusion
So, there you have it! This simple yet incredibly effective DIY cleaning hack is a game-changer for anyone looking to streamline their chores and reclaim their precious time. We’ve shown you how to create a powerful, all-purpose cleaner using ingredients you likely already have in your pantry. Forget spending a fortune on commercial cleaning products filled with harsh chemicals; this homemade solution is not only budget-friendly but also environmentally conscious.
Why is this DIY cleaning hack a must-try? Because it works! It cuts through grease, grime, and everyday messes with ease, leaving your surfaces sparkling clean and fresh. It’s versatile enough to be used on countertops, sinks, appliances, and even floors (always test in an inconspicuous area first!). Plus, knowing exactly what’s in your cleaner gives you peace of mind, especially if you have children or pets.
But the beauty of this DIY approach lies in its adaptability. Feel free to experiment with different essential oils to create your own signature scent. Lavender, lemon, tea tree, and eucalyptus are all excellent choices, each offering unique antibacterial and aromatic properties. For extra cleaning power on stubborn stains, consider adding a tablespoon of borax or washing soda to the mix. You can also adjust the concentration of vinegar depending on the surface you’re cleaning; delicate surfaces may benefit from a more diluted solution.
Don’t be afraid to get creative and tailor this cleaning hack to your specific needs and preferences. The possibilities are endless!
We are confident that once you try this DIY cleaning hack, you’ll wonder how you ever lived without it. It’s a simple, effective, and sustainable way to keep your home clean and healthy. So, ditch the expensive store-bought cleaners and embrace the power of homemade!
We encourage you to give this DIY cleaning hack a try and share your experience with us. Let us know what variations you’ve tried, what scents you love, and how it’s transformed your cleaning routine. Your feedback is invaluable and helps us continue to provide you with the best cleaning solutions. Share your tips and tricks in the comments below – let’s build a community of happy, clean homes together! This is truly one of the best cleaning hacks you can implement today.
Frequently Asked Questions (FAQs)
What exactly are the ingredients needed for this DIY cleaning hack?
The basic recipe typically involves white vinegar, water, and a few drops of your favorite essential oil for fragrance. Some variations might include baking soda, borax, or washing soda for extra cleaning power. The specific ratios will depend on the recipe you choose, but a common starting point is a 1:1 ratio of vinegar and water.
Is vinegar safe to use on all surfaces?
While vinegar is a fantastic natural cleaner, it’s not suitable for all surfaces. Avoid using it on marble, granite, or other natural stone countertops, as the acidity can etch and damage them. It’s also best to avoid using vinegar on waxed wood furniture, as it can strip the wax finish. Always test the cleaner in an inconspicuous area first to ensure it doesn’t cause any discoloration or damage.
Can I use this DIY cleaner on my floors?
Yes, you can use this DIY cleaner on many types of floors, but it’s crucial to dilute it properly. For hardwood floors, use a very diluted solution and avoid leaving any standing water. For tile and linoleum floors, a slightly stronger solution can be used. Always test in an inconspicuous area first to ensure it doesn’t damage the finish. Avoid using vinegar-based cleaners on natural stone floors.
How long will this DIY cleaner last?
This DIY cleaner typically has a good shelf life, especially if stored properly. The vinegar acts as a natural preservative, helping to prevent bacterial growth. However, it’s best to use the cleaner within a few months for optimal effectiveness. Store it in a cool, dark place in a tightly sealed spray bottle.
What essential oils are best to use in this DIY cleaner?
The best essential oils to use in this DIY cleaner depend on your personal preferences and desired benefits. Lavender is known for its calming and antibacterial properties, lemon is a great degreaser and has a refreshing scent, tea tree oil is a powerful antiseptic and antifungal, and eucalyptus is effective for disinfecting and has a invigorating aroma. Experiment with different combinations to find your favorite scent and cleaning power.
Can I use this cleaner to disinfect surfaces?
While vinegar and some essential oils have antibacterial properties, this DIY cleaner may not be as effective as commercial disinfectants for killing all germs and viruses. For disinfecting purposes, consider adding a few drops of tea tree oil or using a higher concentration of vinegar. If you need a stronger disinfectant, you may want to consider using a commercial disinfectant product.
Is this DIY cleaner safe for pets and children?
This DIY cleaner is generally safer than commercial cleaners, as it doesn’t contain harsh chemicals. However, it’s still important to keep it out of reach of children and pets. Vinegar can be irritating if ingested, and some essential oils can be toxic to pets. Always store the cleaner in a labeled container and supervise children when they are using it.
Can I use this cleaner to clean my bathroom?
Yes, this DIY cleaner is excellent for cleaning bathrooms. It can be used on sinks, toilets, showers, and tubs. The vinegar helps to remove soap scum and hard water stains, while the essential oils provide a fresh scent. For tougher stains, you can create a paste of baking soda and water and apply it to the affected area before cleaning with the DIY cleaner.
What if I don’t like the smell of vinegar?
If you don’t like the smell of vinegar, don’t worry! The scent typically dissipates quickly after cleaning. You can also mask the vinegar smell by adding a generous amount of essential oils to the cleaner. Lemon, orange, and grapefruit essential oils are particularly effective at masking the vinegar scent.
Can I use this cleaner to remove mold?
Vinegar can be effective at killing some types of mold, but it may not be effective for all types of mold. For mold removal, use undiluted white vinegar and spray it directly onto the affected area. Let it sit for at least an hour before wiping it away. For severe mold infestations, it’s best to consult with a professional mold remediation service.
What are some other variations of this DIY cleaning hack?
Besides adding different essential oils, you can also experiment with other ingredients to customize this DIY cleaning hack. Adding a tablespoon of borax or washing soda can boost its cleaning power for tough stains. You can also add a few drops of dish soap for extra degreasing power. For a more abrasive cleaner, you can add a small amount of baking soda.
How do I store this DIY cleaner?
Store this DIY cleaner in a clean, labeled spray bottle. Keep it in a cool, dark place away from direct sunlight and heat. Make sure the bottle is tightly sealed to prevent evaporation. It’s also a good idea to label the bottle with the date you made the cleaner so you know how long it’s been stored.
What if the DIY cleaner leaves streaks on my surfaces?
If the DIY cleaner leaves streaks on your surfaces, it could be due to using too much cleaner or not wiping the surface dry enough. Try using less cleaner and wiping the surface thoroughly with a clean, dry cloth. You can also try diluting the cleaner with more water.
Is this DIY cleaner septic-safe?
Yes, this DIY cleaner is generally considered septic-safe, as it doesn’t contain harsh chemicals that can harm your septic system. Vinegar and baking soda are both natural ingredients that are safe for septic systems. However, it’s always a good idea to use any cleaning product sparingly to avoid overloading your septic system.
Leave a Comment