
Dawn dish soap cleaning tricks – who knew such a humble household staple could unlock a treasure trove of cleaning power? I’m constantly amazed by the versatility of this blue bottle, and I’m excited to share some of my favorite DIY hacks with you! For generations, Dawn has been a trusted name in kitchens, tackling greasy dishes with ease. But its cleaning prowess extends far beyond the sink.
Think about it: our homes are our sanctuaries, but they’re also battlegrounds against dirt, grime, and stubborn stains. We all crave a sparkling clean space, but who has the time (or the budget!) for endless specialty cleaning products? That’s where these Dawn dish soap cleaning tricks come in. They’re simple, effective, and often use ingredients you already have on hand.
From banishing hard water stains in your bathroom to reviving your beloved houseplants, I’m going to show you how to harness the degreasing and stain-lifting power of Dawn to tackle a multitude of cleaning challenges. Get ready to ditch those harsh chemicals and embrace a more natural, budget-friendly approach to keeping your home fresh and sparkling. Let’s dive into these amazing DIY cleaning solutions!
Planting Sweet Potatoes: A Beginner’s Guide to Bountiful Harvests
Okay, so you’re thinking about growing sweet potatoes? Awesome! They’re delicious, nutritious, and surprisingly easy to grow once you get the hang of it. I’ve been growing them for a few years now, and I’m excited to share my tips and tricks with you. This guide will walk you through everything you need to know, from preparing your slips to harvesting your sweet potato bounty. Let’s get started!
Preparing Your Sweet Potato Slips
Before you can plant anything, you need slips! What are slips, you ask? They’re basically baby sweet potato plants that sprout from a mature sweet potato. You can buy them online or from a local nursery, but it’s also super rewarding (and cheaper!) to grow your own.
Here’s how I do it:
* Choosing Your Sweet Potato: Select a healthy, organic sweet potato. Organic is important because you don’t want any chemicals leaching into your slips. Look for one that’s firm and free from blemishes.
* Sprouting the Sweet Potato: There are two main methods: water propagation and soil propagation. I prefer water propagation because it’s easier to monitor the progress.
* Water Propagation:
* Grab a glass jar or container that’s wide enough to hold the sweet potato.
* Insert toothpicks around the middle of the sweet potato, spacing them evenly. These will act as supports to suspend the potato in the water.
* Fill the jar with water, making sure the bottom half of the sweet potato is submerged.
* Place the jar in a warm, sunny location. A windowsill is perfect!
* Change the water every few days to prevent mold and bacteria growth.
* Wait patiently! It can take several weeks for sprouts (slips) to appear.
* Soil Propagation:
* Fill a container with moist potting soil.
* Bury the sweet potato halfway in the soil.
* Place the container in a warm, sunny location.
* Keep the soil consistently moist, but not soggy.
* Wait for the slips to emerge.
* Separating the Slips: Once the slips are about 6-8 inches long and have a good set of roots, it’s time to separate them from the mother potato.
* Gently twist or cut the slips off the sweet potato.
* Place the slips in a glass of water to encourage further root development. I usually let them sit for a few days until the roots are a couple of inches long.
Preparing Your Garden Bed
Sweet potatoes love sunshine and well-drained soil. Here’s how I prep my garden bed for them:
* Location, Location, Location: Choose a spot that gets at least 6-8 hours of direct sunlight per day.
* Soil Preparation: Sweet potatoes thrive in loose, sandy loam soil. If your soil is heavy clay, you’ll need to amend it with organic matter like compost or well-rotted manure. This will improve drainage and aeration.
* Tilling or Digging: Till or dig the soil to a depth of at least 12 inches. This will loosen the soil and make it easier for the sweet potatoes to develop.
* Creating Mounds or Ridges: Sweet potatoes grow best in mounds or ridges. This helps with drainage and warms the soil. I usually create mounds that are about 12 inches high and 12 inches wide, spacing them about 3 feet apart.
Planting Your Sweet Potato Slips
Now for the fun part – planting!
1. Water the Slips: Before planting, give your slips a good soak in water. This will help them get established in the soil.
2. Dig a Hole: Dig a small hole in the top of each mound or ridge, deep enough to accommodate the roots of the slip.
3. Plant the Slip: Gently place the slip in the hole, burying the roots and about half of the stem.
4. Water Thoroughly: Water the newly planted slips thoroughly.
5. Spacing: Space the mounds or ridges about 3 feet apart. This gives the sweet potatoes plenty of room to grow.
6. Mulching (Optional): I like to mulch around the plants with straw or hay. This helps to retain moisture, suppress weeds, and regulate soil temperature.
Caring for Your Sweet Potato Plants
Sweet potatoes are relatively low-maintenance, but here are a few things to keep in mind:
* Watering: Water regularly, especially during dry periods. Sweet potatoes need consistent moisture to thrive. However, avoid overwatering, as this can lead to root rot. I usually water deeply once or twice a week, depending on the weather.
* Weeding: Keep the area around your sweet potato plants free of weeds. Weeds compete with the plants for nutrients and water.
* Fertilizing (Optional): Sweet potatoes don’t need a lot of fertilizer. In fact, too much nitrogen can lead to excessive vine growth and fewer sweet potatoes. If you feel the need to fertilize, use a low-nitrogen fertilizer or compost tea.
* Vine Training (Optional): Sweet potato vines can spread quite a bit. If you’re short on space, you can train the vines to grow in a specific direction. You can also prune the vines to encourage more sweet potato production. I usually just let them sprawl, but it depends on your garden setup.
* Pest Control: Sweet potatoes are generally pest-resistant, but they can be susceptible to certain pests like sweet potato weevils and flea beetles. Inspect your plants regularly for signs of pests. If you find any, you can use organic pest control methods like insecticidal soap or neem oil.
Harvesting Your Sweet Potatoes
The moment you’ve been waiting for! Harvesting sweet potatoes is so rewarding.
* Timing: Sweet potatoes are typically ready to harvest about 90-120 days after planting. The leaves will start to turn yellow and the vines will begin to die back.
* Weather: Choose a dry day to harvest your sweet potatoes. Avoid harvesting after a heavy rain, as the soil will be too wet.
* Digging: Use a garden fork or shovel to carefully dig around the sweet potato plants. Be careful not to damage the sweet potatoes.
* Lifting: Gently lift the sweet potatoes out of the ground.
* Curing: Curing is essential for developing the sweet flavor and improving the storage life of sweet potatoes.
* Cleaning: Gently brush off any excess soil from the sweet potatoes. Avoid washing them, as this can promote rot.
* Drying: Place the sweet potatoes in a warm, humid location (80-85°F and 85-90% humidity) for about 7-10 days. A greenhouse or a warm garage works well. You can also use a humidifier to increase the humidity.
* Storing: After curing, store the sweet potatoes in a cool, dry, and well-ventilated location (55-60°F). A root cellar or a cool basement is ideal. Avoid storing them in the refrigerator, as this can cause them to develop a hard core.
Troubleshooting
Sometimes things don’t go exactly as planned. Here are a few common problems and how to fix them:
* Slips Not Sprouting: If your slips aren’t sprouting, make sure the sweet potato is in a warm, sunny location and that the water is changed regularly. You can also try scoring the sweet potato with a knife to encourage sprouting.
* Yellowing Leaves: Yellowing leaves can be a sign of nutrient deficiency or overwatering. Check the soil moisture and adjust your watering accordingly. You can also try fertilizing with a low-nitrogen fertilizer.
* Small Sweet Potatoes: Small sweet potatoes can be caused by poor soil, lack of sunlight, or overcrowding. Make sure your soil is well-drained and amended with organic matter. Choose a location that gets at least 6-8 hours of direct sunlight per day. Space your plants adequately.
* Pest Problems: If you’re having pest problems, identify the pest and use organic pest control methods like insecticidal soap or neem oil.
Enjoying Your Harvest
Now that you’ve harvested and cured your sweet potatoes, it’s time to enjoy them! Sweet potatoes are incredibly versatile and can be used in a variety of dishes. You can bake them, roast them, mash them, fry them, or even grill them. They’re also delicious in pies, casseroles, and soups.
I hope this guide has been helpful! Growing sweet potatoes is a rewarding experience, and I encourage you to give it a try. With a little bit of planning and effort, you can enjoy a bountiful harvest of delicious, homegrown sweet potatoes. Happy gardening!
Conclusion
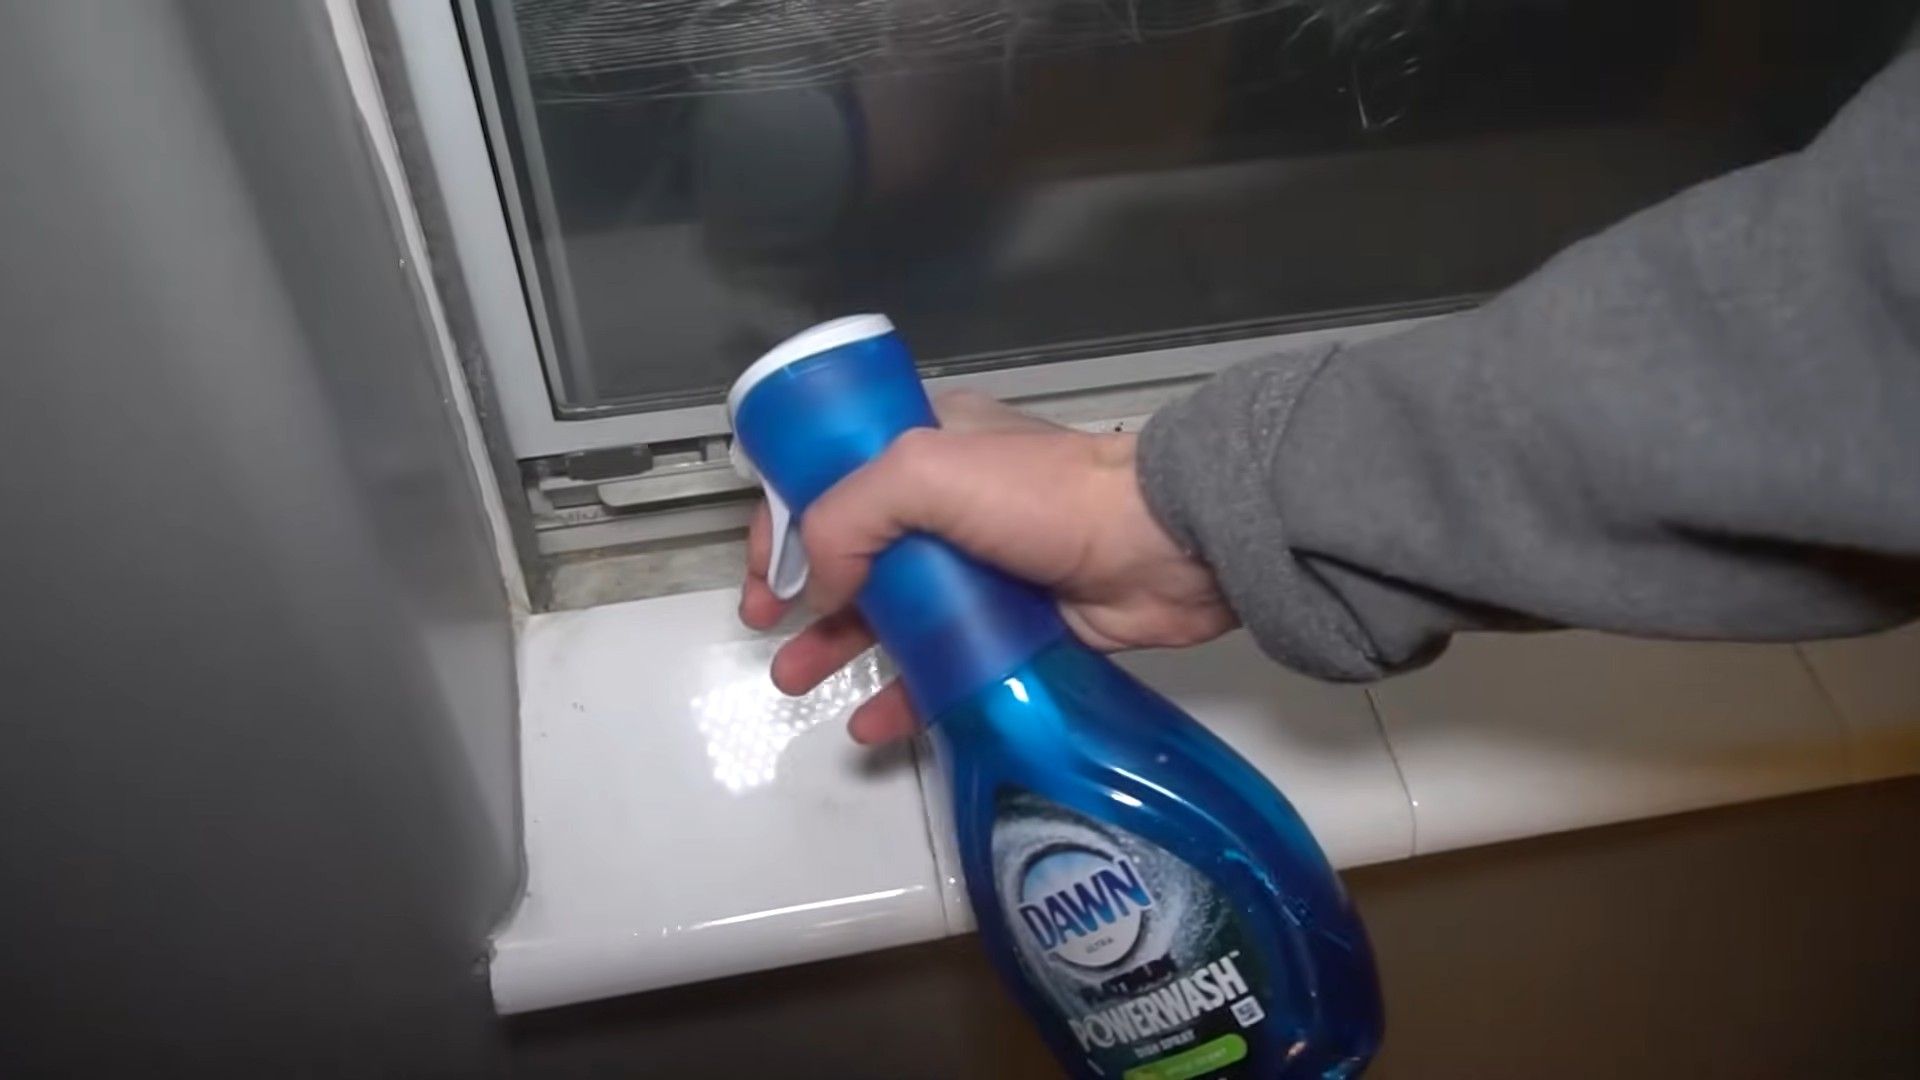
So, there you have it! Unlocking the cleaning power of Dawn dish soap goes far beyond just washing dishes. This simple, readily available product is a true multi-tasker, capable of tackling grease, grime, and stains throughout your home and even beyond. From sparkling windows to stain-free carpets, the versatility of Dawn is truly remarkable.
Why is this DIY cleaning approach a must-try? Because it’s effective, affordable, and often gentler than harsh chemical cleaners. You’re likely already using Dawn in your kitchen, so you’re just a few steps away from harnessing its full potential. Think about the money you’ll save by reducing your reliance on specialized cleaning products! Plus, you’ll be minimizing your exposure to potentially harmful chemicals, creating a healthier environment for yourself and your family.
But the benefits don’t stop there. The ease of these DIY solutions is a game-changer. No more complicated mixing instructions or long lists of ingredients. Most of these tricks require just Dawn, water, and perhaps a few common household items like vinegar or baking soda. The simplicity makes them incredibly accessible, even for those who are short on time or cleaning experience.
Ready to take your cleaning game to the next level?
Here are a few suggestions and variations to get you started:
* **Scent Customization:** While the original Dawn scent is a classic, feel free to add a few drops of your favorite essential oil to your cleaning solutions for a personalized aroma. Lavender, lemon, or eucalyptus can add a refreshing touch to your cleaning routine.
* **Concentration Adjustments:** Depending on the severity of the stain or grime, you may need to adjust the concentration of Dawn in your cleaning solution. Start with a diluted mixture and gradually increase the amount of Dawn until you achieve the desired results. Always test on an inconspicuous area first.
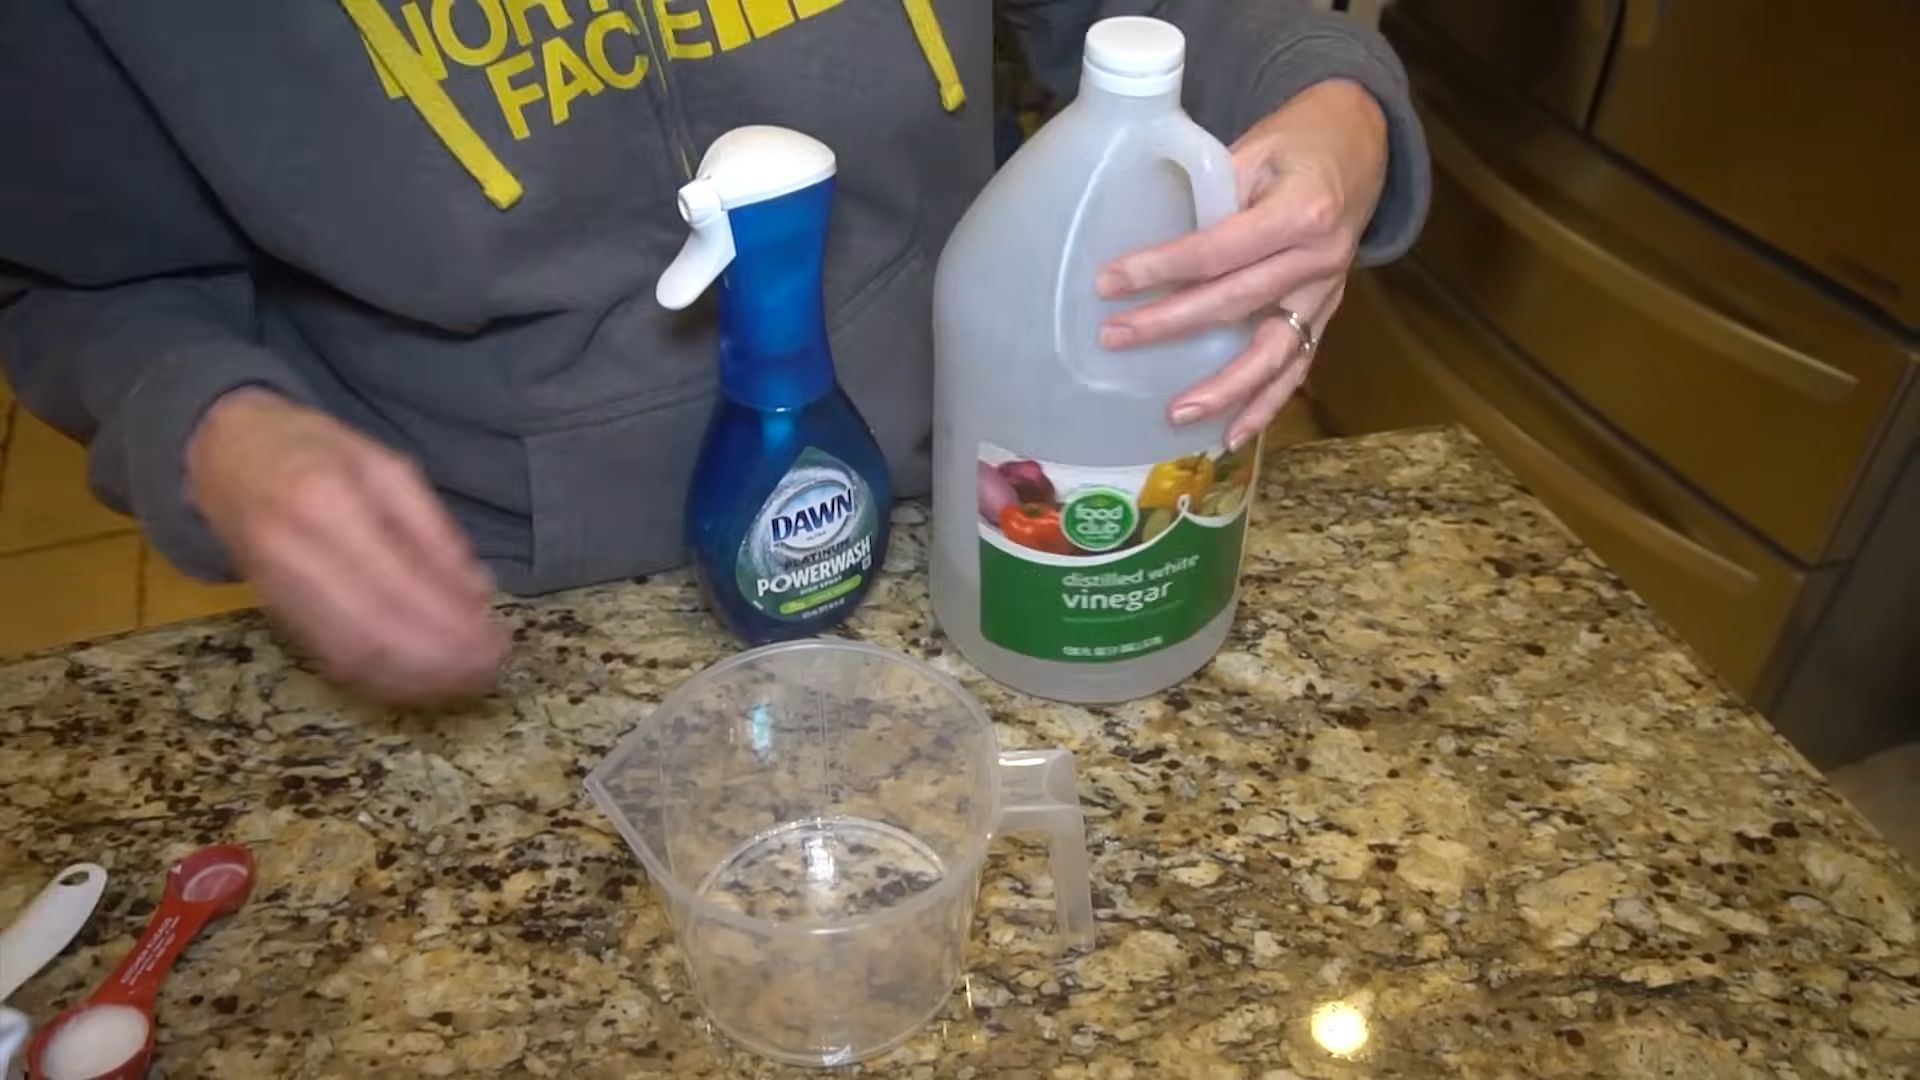
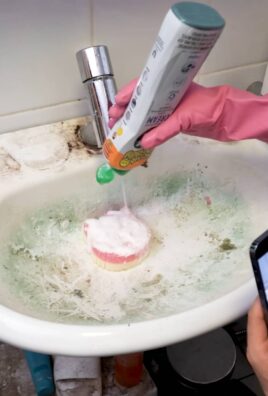
* **Dawn Powerwash Alternative:** For a super-powered cleaning boost, try creating your own version of Dawn Powerwash. Mix equal parts Dawn dish soap, rubbing alcohol, and water in a spray bottle. This is excellent for tackling tough grease and grime in the kitchen and bathroom.
* **Gentle Jewelry Cleaner:** Dawn is surprisingly effective at cleaning jewelry. Simply soak your jewelry in a solution of warm water and a few drops of Dawn for 15-20 minutes, then gently scrub with a soft brush and rinse thoroughly.
* Bug Remover for Cars: A diluted Dawn solution can safely remove bugs and grime from your car’s exterior without damaging the paint.
We’re confident that once you experience the cleaning magic of Dawn dish soap cleaning tricks, you’ll be hooked. It’s a simple, effective, and economical way to keep your home sparkling clean.
Don’t just take our word for it – try these DIY tricks for yourself! We encourage you to experiment, adapt the recipes to your specific needs, and most importantly, share your experiences with us. Let us know which tricks worked best for you, any variations you discovered, and any surprising uses you found for Dawn. Your feedback will help us continue to refine and improve these cleaning solutions for everyone. Share your stories in the comments below!
Frequently Asked Questions (FAQs)
Is Dawn dish soap safe to use on all surfaces?
While Dawn is generally considered safe for most surfaces, it’s always a good idea to test it in an inconspicuous area first, especially on delicate or sensitive materials like painted walls, wood furniture, or certain types of fabrics. A small, diluted solution applied to a hidden spot will help you determine if there are any adverse reactions, such as discoloration or damage. Avoid using Dawn on surfaces that are specifically labeled as requiring specialized cleaning products. For example, some types of stone countertops may require pH-neutral cleaners to prevent etching.
Can I use any brand of dish soap, or does it have to be Dawn?
While other brands of dish soap may offer some cleaning power, Dawn is particularly effective due to its grease-cutting properties. Its formulation is specifically designed to break down oils and fats, making it ideal for a wide range of cleaning tasks beyond just washing dishes. While you can experiment with other brands, you may not achieve the same level of results as you would with Dawn. Many people swear by Dawn’s unique formula for its superior cleaning abilities.
How much Dawn should I use in my cleaning solutions?
The amount of Dawn you use will depend on the specific cleaning task and the severity of the grime or stain. As a general rule, start with a small amount and gradually increase it until you achieve the desired results. For most cleaning solutions, a few drops to a teaspoon of Dawn per cup of water is usually sufficient. For tougher stains or grease, you may need to use a slightly more concentrated solution. Always err on the side of caution and avoid using excessive amounts of Dawn, as this can leave behind a soapy residue.
Will Dawn dish soap damage my car’s paint?
When used in a diluted solution, Dawn is generally considered safe for washing cars. However, it’s important to use it sparingly and rinse thoroughly to prevent any potential damage to the paint or wax coating. Avoid using Dawn on a regular basis for car washing, as it can strip away the wax over time, leaving the paint vulnerable to the elements. For regular car washing, it’s best to use a car wash soap specifically designed for automotive paint.
Can I use Dawn to clean my pet?
Dawn is often recommended by veterinarians for cleaning pets, especially in cases of oil spills or exposure to harmful substances. However, it’s important to use it carefully and avoid getting it in your pet’s eyes, ears, or mouth. Use a small amount of Dawn and rinse thoroughly to remove all traces of soap. If your pet has sensitive skin or a specific skin condition, consult with your veterinarian before using Dawn. There are also pet-specific shampoos available that are formulated to be gentle and safe for your furry friends.
How do I remove soapy residue after using Dawn?
If you notice a soapy residue after using Dawn, simply rinse the area thoroughly with clean water. You can also use a damp cloth to wipe away any remaining residue. For stubborn residue, try adding a small amount of vinegar to the rinse water. Vinegar’s acidity helps to neutralize the soap and prevent it from leaving a film.
Is Dawn safe for septic systems?
Dawn is generally considered safe for septic systems when used in moderation. However, excessive use of any soap can potentially disrupt the balance of bacteria in the septic tank. To minimize the risk, use Dawn sparingly and avoid pouring large amounts of it down the drain. If you have concerns about your septic system, consult with a septic system professional.
What are some other uses for Dawn dish soap?
Beyond the cleaning tricks mentioned in this article, Dawn has a wide range of other uses. It can be used to remove stains from clothing, clean makeup brushes, unclog drains, and even create bubbles for kids. Its versatility makes it a valuable addition to any household.
Where can I find more information about Dawn dish soap cleaning tricks?
You can find more information about Dawn dish soap cleaning tricks online through various websites, blogs, and forums. You can also consult with cleaning professionals or experienced homeowners for tips and advice. Remember to always research and verify any information you find online before trying it yourself.
Leave a Comment