
Dish Soap and Vinegar Mix: Your Secret Weapon for a Thriving Garden!
Have you ever dreamt of a lush, vibrant garden bursting with healthy plants, but felt overwhelmed by the thought of harsh chemicals and complicated solutions? I know I have! For centuries, gardeners have sought natural, effective ways to nurture their green spaces, often turning to time-tested remedies passed down through generations. Think of it as a modern twist on grandma’s gardening wisdom!
That’s where the magic of a simple dish soap and vinegar mix comes in. This dynamic duo isn’t just for sparkling dishes; it’s a surprisingly potent tool for tackling common garden woes. From pesky aphids munching on your prized roses to stubborn weeds threatening to take over your vegetable patch, this DIY solution offers a gentle yet effective alternative to commercial pesticides and herbicides.
Why is this so important? Well, many of us are increasingly concerned about the impact of harsh chemicals on our environment, our families, and even our beloved pets. Plus, let’s be honest, who wants to spend a fortune on expensive gardening products when you likely already have the ingredients for this amazing dish soap and vinegar mix sitting in your kitchen cabinet? In this article, I’m going to show you exactly how to harness the power of this simple solution to create a healthier, happier, and more bountiful garden, all while saving money and protecting our planet. Let’s get started!
DIY Drain Cleaner: Dish Soap and Vinegar Powerhouse
Okay, so you’ve got a slow drain, maybe even a completely clogged one. Before you reach for those harsh chemical drain cleaners (which, let’s be honest, smell awful and aren’t great for the environment), let’s try a simple, effective, and budget-friendly DIY solution: dish soap and vinegar! I’ve used this trick countless times, and it’s surprisingly powerful.
Why This Works
Dish soap and vinegar might seem like an odd combination, but they work together beautifully to break down grease, grime, and other gunk that’s causing your drain problems.
* Dish Soap: Acts as a lubricant and helps to loosen the blockage. It’s designed to cut through grease, which is a common culprit in clogged drains.
* Vinegar: A mild acid that helps to dissolve mineral buildup and break down organic matter. When combined with hot water, it creates a flushing action that helps to clear the drain.
What You’ll Need
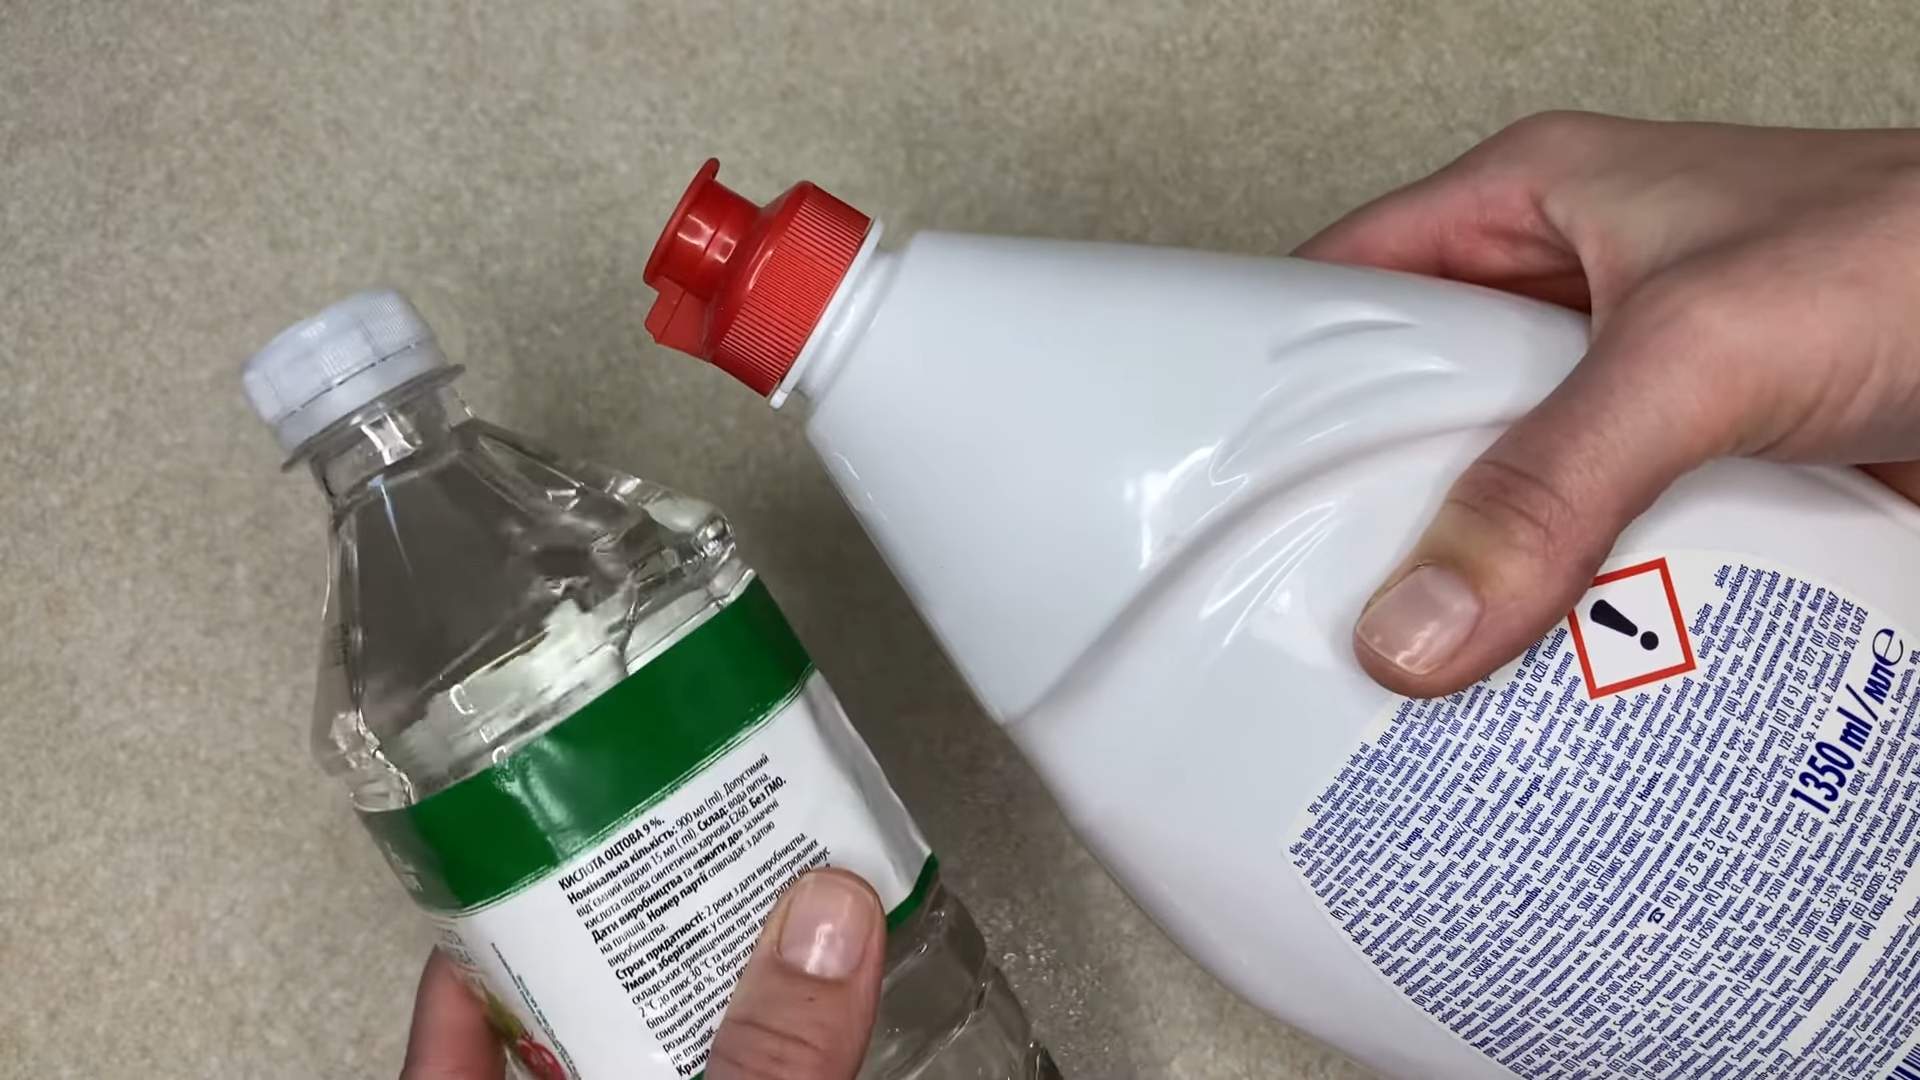
* 1/2 cup dish soap (any kind will do, but I prefer a grease-cutting formula)
* 1 cup white vinegar
* A kettle or pot for boiling water
* A measuring cup
* Optional: Baking soda (for extra cleaning power)
* Optional: A plunger (if the drain is severely clogged)
Step-by-Step Instructions
Here’s how to tackle that clogged drain with dish soap and vinegar:
1. Clear the Standing Water: If there’s standing water in your sink or tub, you’ll need to remove it first. You can use a cup, a small bucket, or even a wet/dry vacuum to get rid of the excess water. This is important because you want the dish soap and vinegar to directly target the clog, not just dilute in the standing water.
2. Pour in the Dish Soap: Measure out 1/2 cup of dish soap and pour it directly down the drain. Try to get it as close to the drain opening as possible. The dish soap will start working to loosen the grease and grime.
3. Add the Vinegar: Next, pour 1 cup of white vinegar down the drain, following the dish soap. You might see some fizzing – that’s a good sign! It means the vinegar is reacting with any baking soda residue (if you’ve used it before) or other substances in the drain.
4. Let it Sit: This is the crucial part! Let the dish soap and vinegar mixture sit in the drain for at least 30 minutes. For tougher clogs, I recommend letting it sit for an hour or even overnight. The longer it sits, the more time it has to break down the blockage.
5. Flush with Hot Water: After the waiting period, carefully pour a kettle or pot of boiling water down the drain. Be careful not to splash yourself with the hot water. The hot water will help to flush away the loosened debris and clear the drain.
6. Test the Drain: Turn on the faucet and see if the water drains freely. If it does, great! You’ve successfully cleared the clog. If the drain is still slow, repeat steps 2-5.
7. Optional: Plunge if Necessary: If the drain is still clogged after a couple of tries, you can try using a plunger. Make sure there’s enough water in the sink or tub to cover the cup of the plunger. Create a tight seal around the drain opening and plunge vigorously for several minutes.
8. Repeat if Needed: Sometimes, stubborn clogs require multiple treatments. Don’t be discouraged if it doesn’t work the first time. Just repeat the process until the drain is clear.
Boosting the Power: Adding Baking Soda
For extra cleaning power, you can add baking soda to the mix. Here’s how:
1. Pour Baking Soda: Start by pouring about 1/2 cup of baking soda down the drain.
2. Add Vinegar: Follow the baking soda with 1 cup of white vinegar. You’ll notice a lot more fizzing this time, which is the chemical reaction between the baking soda and vinegar.
3. Let it Fizz: Let the mixture fizz and bubble for about 30 minutes. This reaction helps to loosen and break down the clog.
4. Flush with Hot Water: After the fizzing subsides, flush the drain with a kettle or pot of boiling water.
5. Test and Repeat: Test the drain and repeat the process if necessary.
Dealing with Stubborn Clogs
Sometimes, even the dish soap, vinegar, and baking soda combination isn’t enough to clear a really stubborn clog. Here are a few other things you can try:
* Drain Snake: A drain snake (also known as a plumbing snake) is a flexible tool that you can insert into the drain to break up or pull out the clog. You can find drain snakes at most hardware stores. Be careful when using a drain snake, as you don’t want to damage your pipes.
* Wet/Dry Vacuum: A wet/dry vacuum can be used to suck out the clog. Place the hose of the vacuum over the drain opening and create a tight seal. Turn on the vacuum and see if it can pull out the blockage.
* Check the P-Trap: The P-trap is the curved pipe under your sink. It’s designed to trap debris and prevent sewer gases from entering your home. Sometimes, the P-trap can become clogged. You can remove the P-trap and clean it out. Be sure to place a bucket underneath to catch any water.
Preventing Future Clogs
Prevention is always better than cure! Here are a few tips to help prevent future drain clogs:
* Avoid pouring grease down the drain: Grease is a major culprit when it comes to clogged drains. Always dispose of grease in a separate container.
* Use a drain strainer: A drain strainer will catch hair, food scraps, and other debris before they can enter the drain.
* Flush the drain regularly: Once a week, flush your drains with hot water to help prevent buildup.
* Avoid flushing non-flushable items: Only flush toilet paper down the toilet. Avoid flushing items like feminine hygiene products, wipes, and cotton balls.
Safety First!
* Always be careful when working with boiling water.
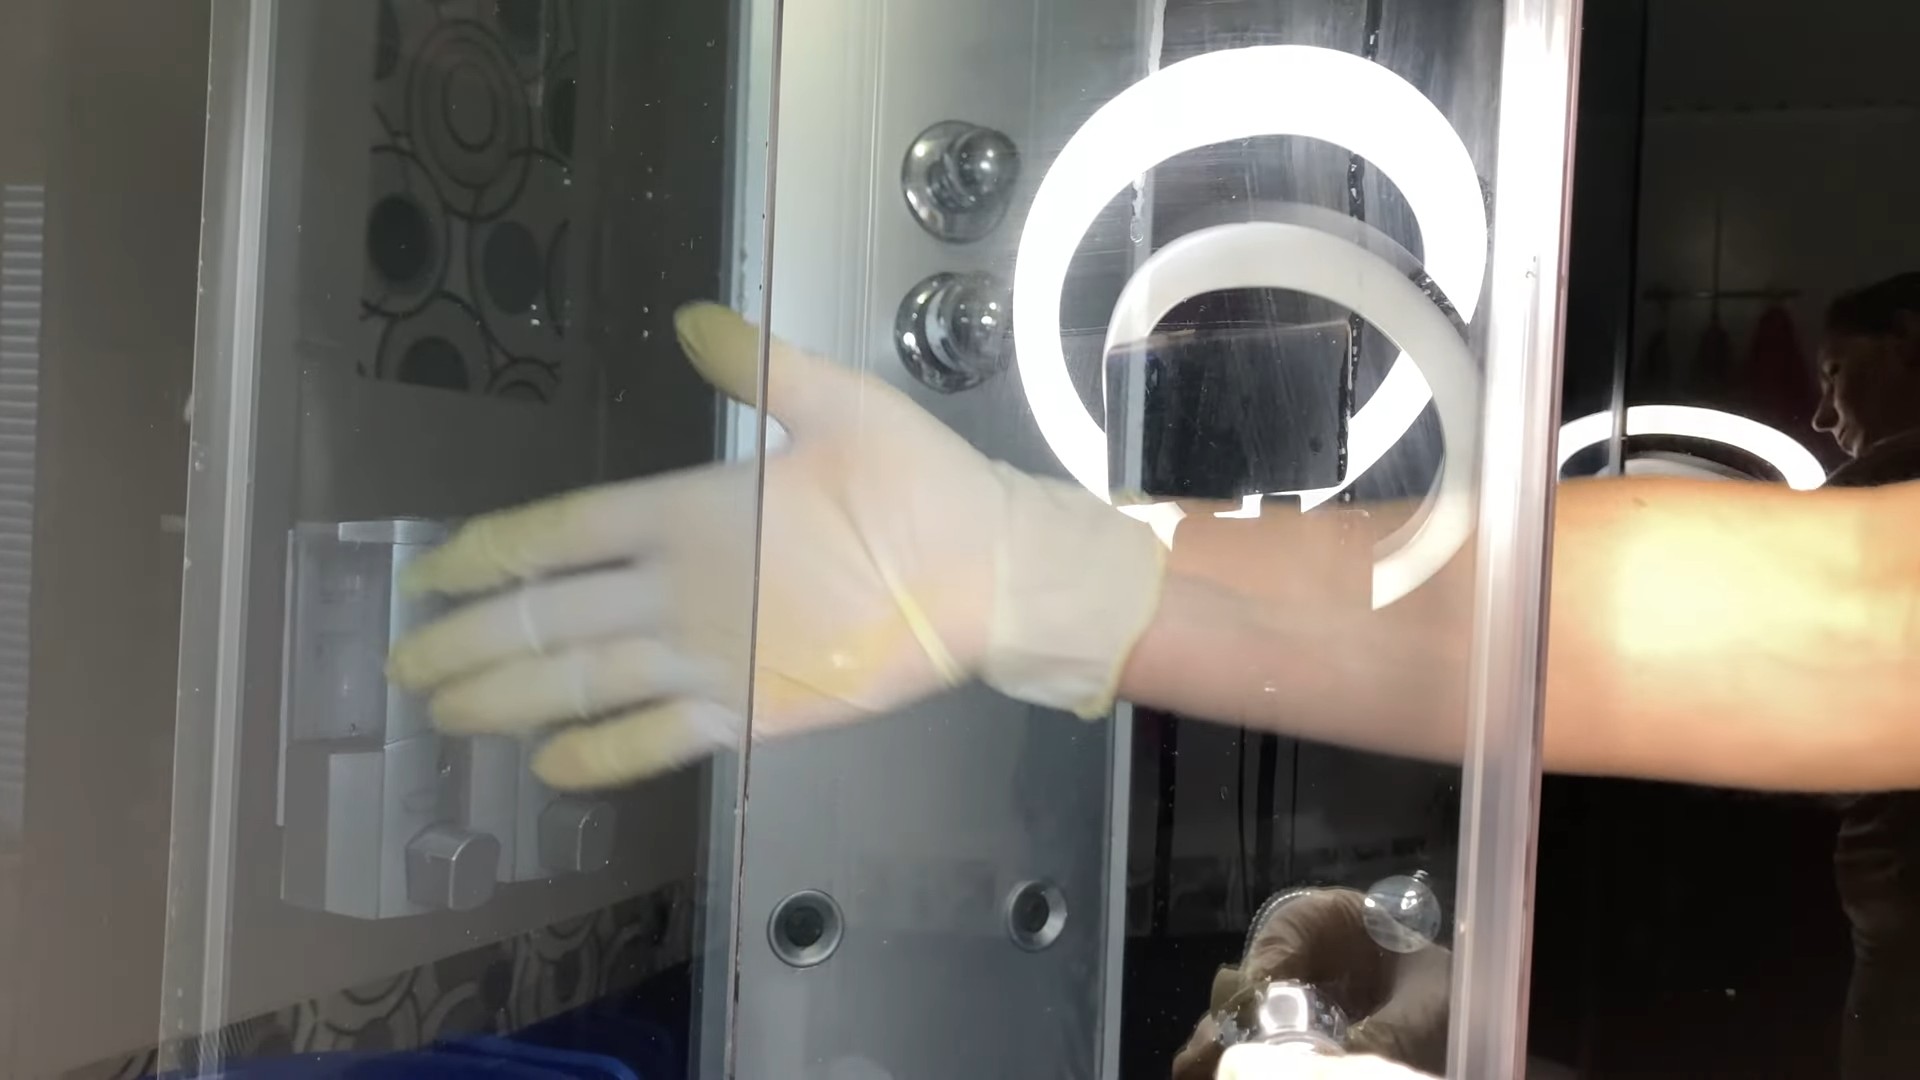
* Wear gloves to protect your hands from harsh chemicals and bacteria.
* If you’re using a drain snake, be careful not to damage your pipes.
* If you’re not comfortable working on your plumbing, call a professional plumber.
My Personal Experience
I remember one time, my kitchen sink was completely clogged. I tried everything – plunging, hot water, even a chemical drain cleaner (which I regretted immediately because of the smell!). Nothing worked. Finally, I remembered this dish soap and vinegar trick. I was skeptical, but I figured I had nothing to lose. I followed the steps, let the mixture sit overnight, and the next morning, I flushed it with hot water. To my surprise, the drain cleared right up! I was so relieved and impressed. Now, it’s the first thing I try whenever I have a slow or clogged drain.
Final Thoughts
This DIY drain cleaner is a simple, effective, and affordable way to clear clogged drains. It’s also a much safer and more environmentally friendly option than harsh chemical drain cleaners. So, the next time you have a slow drain, give this trick a try. You might be surprised at how well it works! Good luck, and happy unclogging!
Conclusion
So, there you have it! This simple yet incredibly effective Dish Soap and Vinegar Mix is more than just a cleaning solution; it’s a game-changer for anyone looking to tackle stubborn grime, soap scum, and hard water stains without resorting to harsh chemicals. We’ve explored its versatility, from sparkling shower doors to gleaming kitchen sinks, and hopefully, you’re now convinced of its power.
Why is this DIY trick a must-try? Because it’s economical, eco-friendly, and surprisingly potent. Store-bought cleaners often come with a hefty price tag and a list of ingredients that are difficult to pronounce, let alone understand. This Dish Soap and Vinegar Mix, on the other hand, utilizes ingredients you likely already have in your pantry, making it a budget-friendly alternative. Furthermore, by choosing this natural solution, you’re reducing your exposure to potentially harmful chemicals and contributing to a cleaner, healthier environment. It’s a win-win!
But the beauty of this DIY cleaner lies not only in its simplicity and effectiveness but also in its adaptability. Feel free to experiment with variations to suit your specific needs and preferences. For instance, if you’re dealing with particularly stubborn stains, try heating the vinegar slightly before mixing it with the dish soap. The warmth can help to loosen the grime and make it easier to remove. Alternatively, add a few drops of your favorite essential oil, such as lemon or lavender, to give your cleaner a pleasant scent. Just be sure to choose an essential oil that is safe for use on the surfaces you intend to clean.
Another variation involves adjusting the ratio of dish soap to vinegar. While a 1:1 ratio is generally effective, you may find that a slightly higher concentration of vinegar works better for certain tasks. For example, when cleaning showerheads, soaking them in a solution that is primarily vinegar can help to dissolve mineral deposits more effectively. Conversely, for delicate surfaces, you may want to dilute the mixture with a bit of water to prevent any potential damage.
We encourage you to embrace the spirit of experimentation and discover what works best for you. The possibilities are endless!
Now, it’s your turn to put this Dish Soap and Vinegar Mix to the test. We’re confident that you’ll be amazed by the results. Don’t just take our word for it; try it out and see for yourself! And most importantly, we want to hear about your experiences. Share your before-and-after photos, your favorite uses for the cleaner, and any variations you’ve discovered in the comments section below. Let’s create a community of DIY cleaning enthusiasts and learn from each other. Together, we can make our homes cleaner, greener, and healthier, one vinegar-and-dish-soap-powered cleaning session at a time. So go ahead, give it a try, and let us know what you think! We can’t wait to hear from you!
Frequently Asked Questions (FAQs)
What kind of dish soap should I use for the Dish Soap and Vinegar Mix?
The best type of dish soap to use is a clear, non-bleach formula. Avoid dish soaps that contain added moisturizers or lotions, as these can leave a residue on surfaces. A basic, concentrated dish soap will work perfectly. Dawn dish soap is a popular and effective choice, but any similar brand will do. The key is to ensure it’s a grease-cutting formula to maximize its cleaning power when combined with vinegar.
Is it safe to use the Dish Soap and Vinegar Mix on all surfaces?
While the Dish Soap and Vinegar Mix is generally safe for most surfaces, it’s always a good idea to test it in an inconspicuous area first, especially on delicate or sensitive materials. Avoid using it on natural stone surfaces like marble or granite, as the acidity of the vinegar can etch and damage them. It’s also not recommended for use on waxed wood furniture, as it can strip the wax finish. For these surfaces, a pH-neutral cleaner is a better option. Always check the manufacturer’s instructions for specific cleaning recommendations for your surfaces.
Why does the Dish Soap and Vinegar Mix sometimes smell strongly of vinegar?
Vinegar has a distinct odor that some people find unpleasant. The smell is more noticeable when the mixture is first applied, but it typically dissipates quickly as the vinegar evaporates. To minimize the vinegar smell, you can add a few drops of your favorite essential oil, such as lemon, lavender, or eucalyptus. These essential oils not only mask the vinegar odor but also add a pleasant fragrance to your cleaning solution. Ensure the essential oils you choose are safe for the surfaces you are cleaning.
How long does the Dish Soap and Vinegar Mix last?
The Dish Soap and Vinegar Mix doesn’t have a specific expiration date, but it’s best to use it within a few weeks for optimal effectiveness. Over time, the mixture may separate slightly, but this doesn’t affect its cleaning power. Simply shake the bottle well before each use to re-emulsify the ingredients. Store the mixture in a cool, dark place to prolong its shelf life. If you notice any significant changes in color or consistency, it’s best to discard the mixture and make a fresh batch.
Can I use this Dish Soap and Vinegar Mix to clean my toilet?
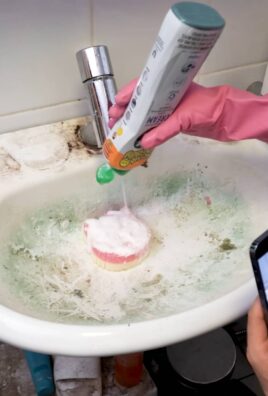
Yes, the Dish Soap and Vinegar Mix can be used to clean your toilet. The vinegar helps to dissolve mineral deposits and hard water stains, while the dish soap cuts through grime and bacteria. Simply pour the mixture into the toilet bowl, let it sit for 15-20 minutes, scrub with a toilet brush, and flush. For stubborn stains, you can let the mixture sit overnight before scrubbing. This is a great way to naturally clean and deodorize your toilet without using harsh chemicals.
Will the Dish Soap and Vinegar Mix disinfect surfaces?
While the Dish Soap and Vinegar Mix has some antibacterial properties, it’s not a substitute for a dedicated disinfectant. Vinegar is effective against some common household germs, but it doesn’t kill all bacteria and viruses. If you need to disinfect a surface, especially in areas where food is prepared or where there’s a risk of spreading illness, it’s best to use a certified disinfectant cleaner. However, for everyday cleaning and removing grime, the Dish Soap and Vinegar Mix is a great natural alternative.
Can I use this mix in a spray bottle?
Yes, the Dish Soap and Vinegar Mix works perfectly in a spray bottle. Make sure the spray bottle is clean and empty before filling it with the mixture. A spray bottle allows for easy and even application of the cleaner to various surfaces. When spraying, hold the bottle a few inches away from the surface and apply a light, even coat. Wipe the surface clean with a microfiber cloth or sponge.
What if the Dish Soap and Vinegar Mix doesn’t seem to be working?
If you find that the Dish Soap and Vinegar Mix isn’t effectively cleaning a particular surface, there are a few things you can try. First, make sure you’re using the correct ratio of dish soap to vinegar. A 1:1 ratio is generally effective, but you may need to adjust it depending on the severity of the grime. Second, try letting the mixture sit on the surface for a longer period of time before wiping it clean. This allows the vinegar to penetrate and loosen the grime. Finally, for stubborn stains, you may need to use a bit more elbow grease and scrub the surface with a brush or sponge. If all else fails, consider using a stronger cleaning solution specifically designed for the type of stain you’re dealing with.

Leave a Comment