
DIY Cleaning Solutions: Unlock the secrets to a sparkling home without breaking the bank or exposing your family to harsh chemicals! Have you ever wondered if those expensive, store-bought cleaners are really worth the cost, or if there’s a better, more natural way to achieve a spotless space? I certainly have! For generations, resourceful homemakers have relied on simple, readily available ingredients to keep their homes clean and fresh. Think back to your grandmother’s cleaning rituals – chances are, she had a few DIY tricks up her sleeve!
The beauty of DIY cleaning solutions lies in their simplicity, affordability, and eco-friendliness. In today’s world, where we’re increasingly conscious of the impact our choices have on the environment and our health, creating your own cleaning products is a powerful way to take control. Not only can you customize your solutions to target specific cleaning challenges, but you can also avoid the harsh chemicals that can irritate skin, trigger allergies, and pollute our waterways.
This article is your ultimate guide to creating effective and safe DIY cleaning solutions. I’ll share my favorite recipes, tips, and tricks for tackling everything from stubborn stains to grimy surfaces, all while saving money and protecting your family’s well-being. Get ready to ditch the store-bought bottles and embrace the power of natural cleaning!
DIY Cleaning Solutions: Ditch the Chemicals, Embrace the Natural!
Okay, friends, let’s talk cleaning! I’m a big believer in keeping a clean home, but I’m not a fan of all the harsh chemicals that come with most store-bought cleaners. Not only are they often expensive, but they can also be irritating to skin, bad for the environment, and let’s be honest, they just smell…artificial. So, I’ve dived headfirst into the world of DIY cleaning solutions, and I’m here to share my favorite recipes and tips with you. Get ready to ditch the chemicals and embrace the power of natural ingredients!
All-Purpose Cleaner: Your New Best Friend
This is my go-to cleaner for pretty much everything – countertops, sinks, appliances (inside and out!), you name it. It’s simple, effective, and smells amazing!
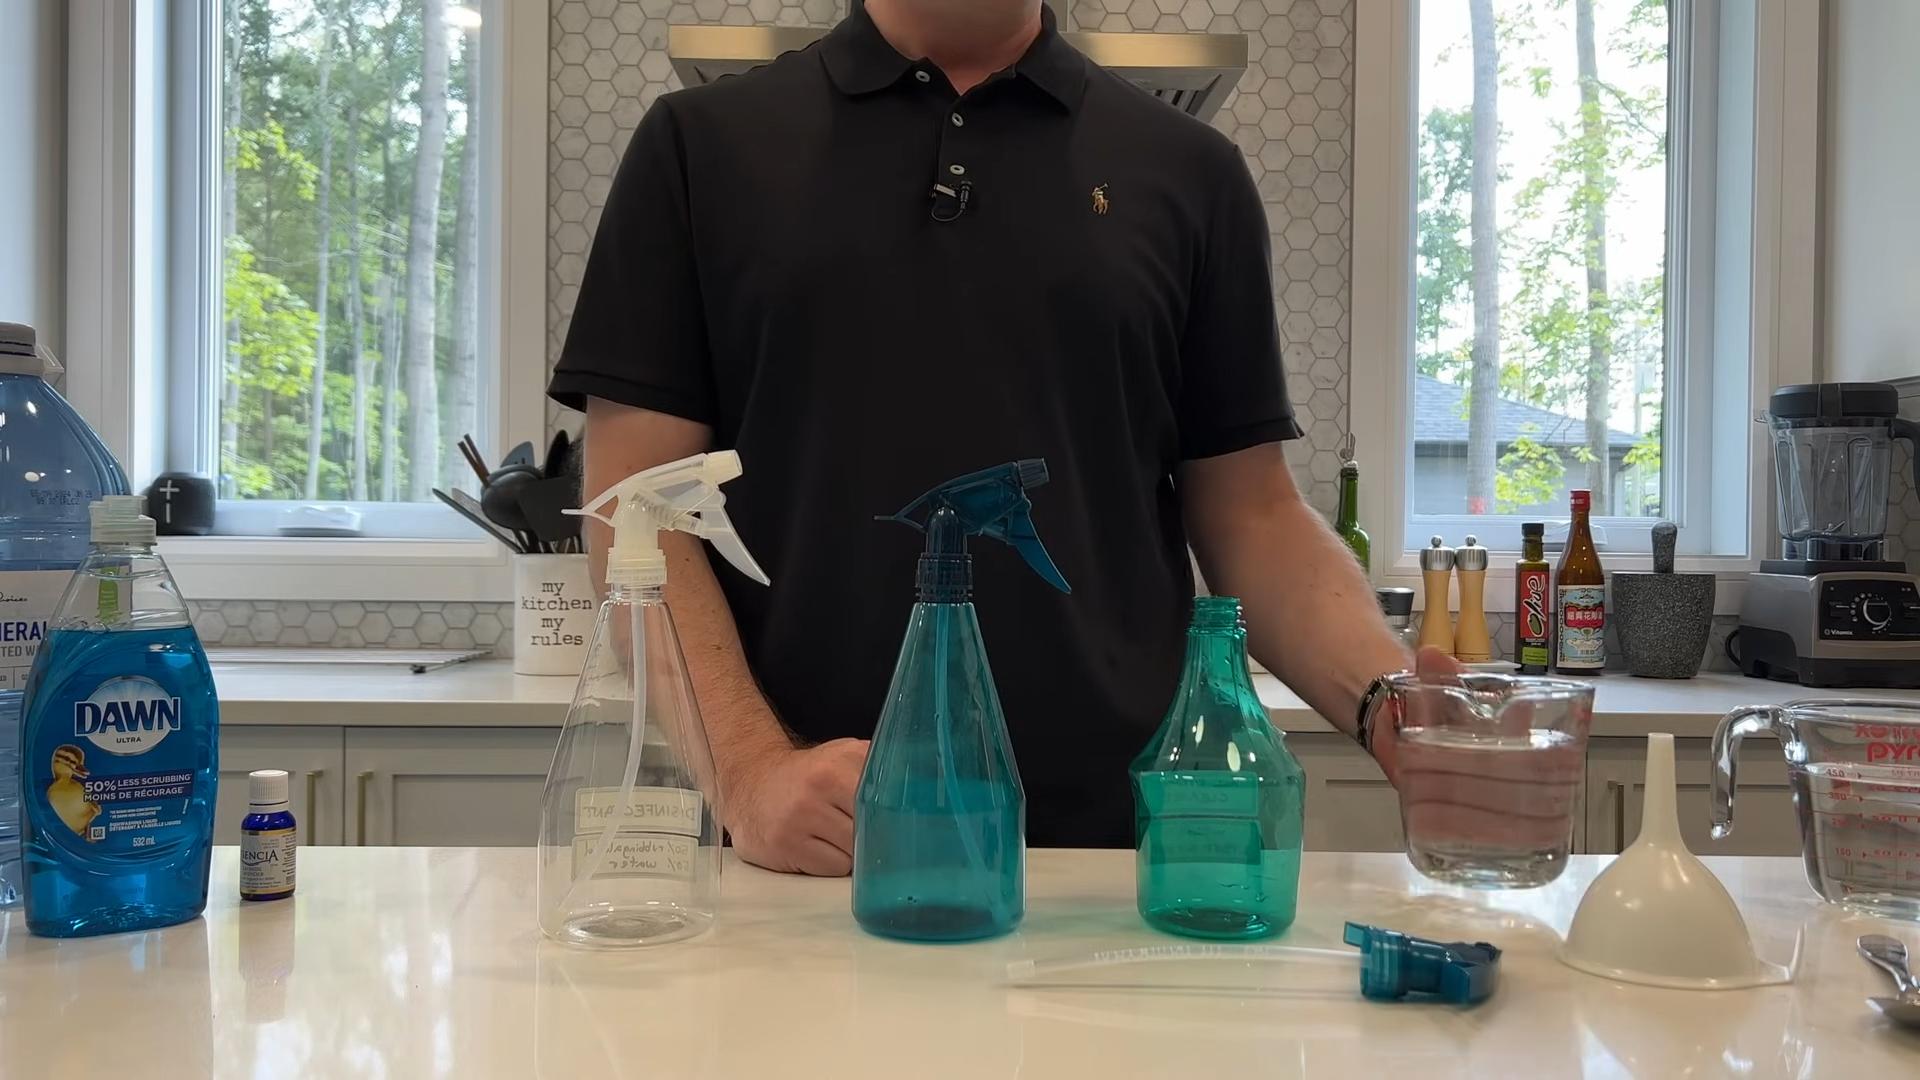
Ingredients You’ll Need:
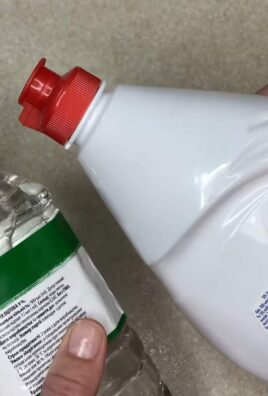
* 1/2 cup white vinegar
* 1/4 cup baking soda
* 1 liter hot water
* 10-15 drops of your favorite essential oil (I love lemon, lavender, or tea tree)
* Spray bottle
Step-by-Step Instructions:
1. Combine the Baking Soda and Vinegar: In a large bowl or measuring cup, slowly pour the vinegar into the baking soda. Be prepared for it to fizz – that’s the chemical reaction happening! Don’t worry, it’s perfectly safe.
2. Add the Hot Water: Once the fizzing subsides, carefully add the hot water. Stir gently to combine.
3. Incorporate Essential Oils: Add your essential oils. These not only provide a pleasant scent but also have antibacterial and antiseptic properties. Lemon is great for cutting grease, lavender is calming and disinfecting, and tea tree is a powerful antibacterial agent.
4. Transfer to a Spray Bottle: Carefully pour the mixture into a clean spray bottle. A funnel can be helpful here to avoid spills.
5. Label and Store: Label your spray bottle clearly with the contents and date. Store in a cool, dark place.
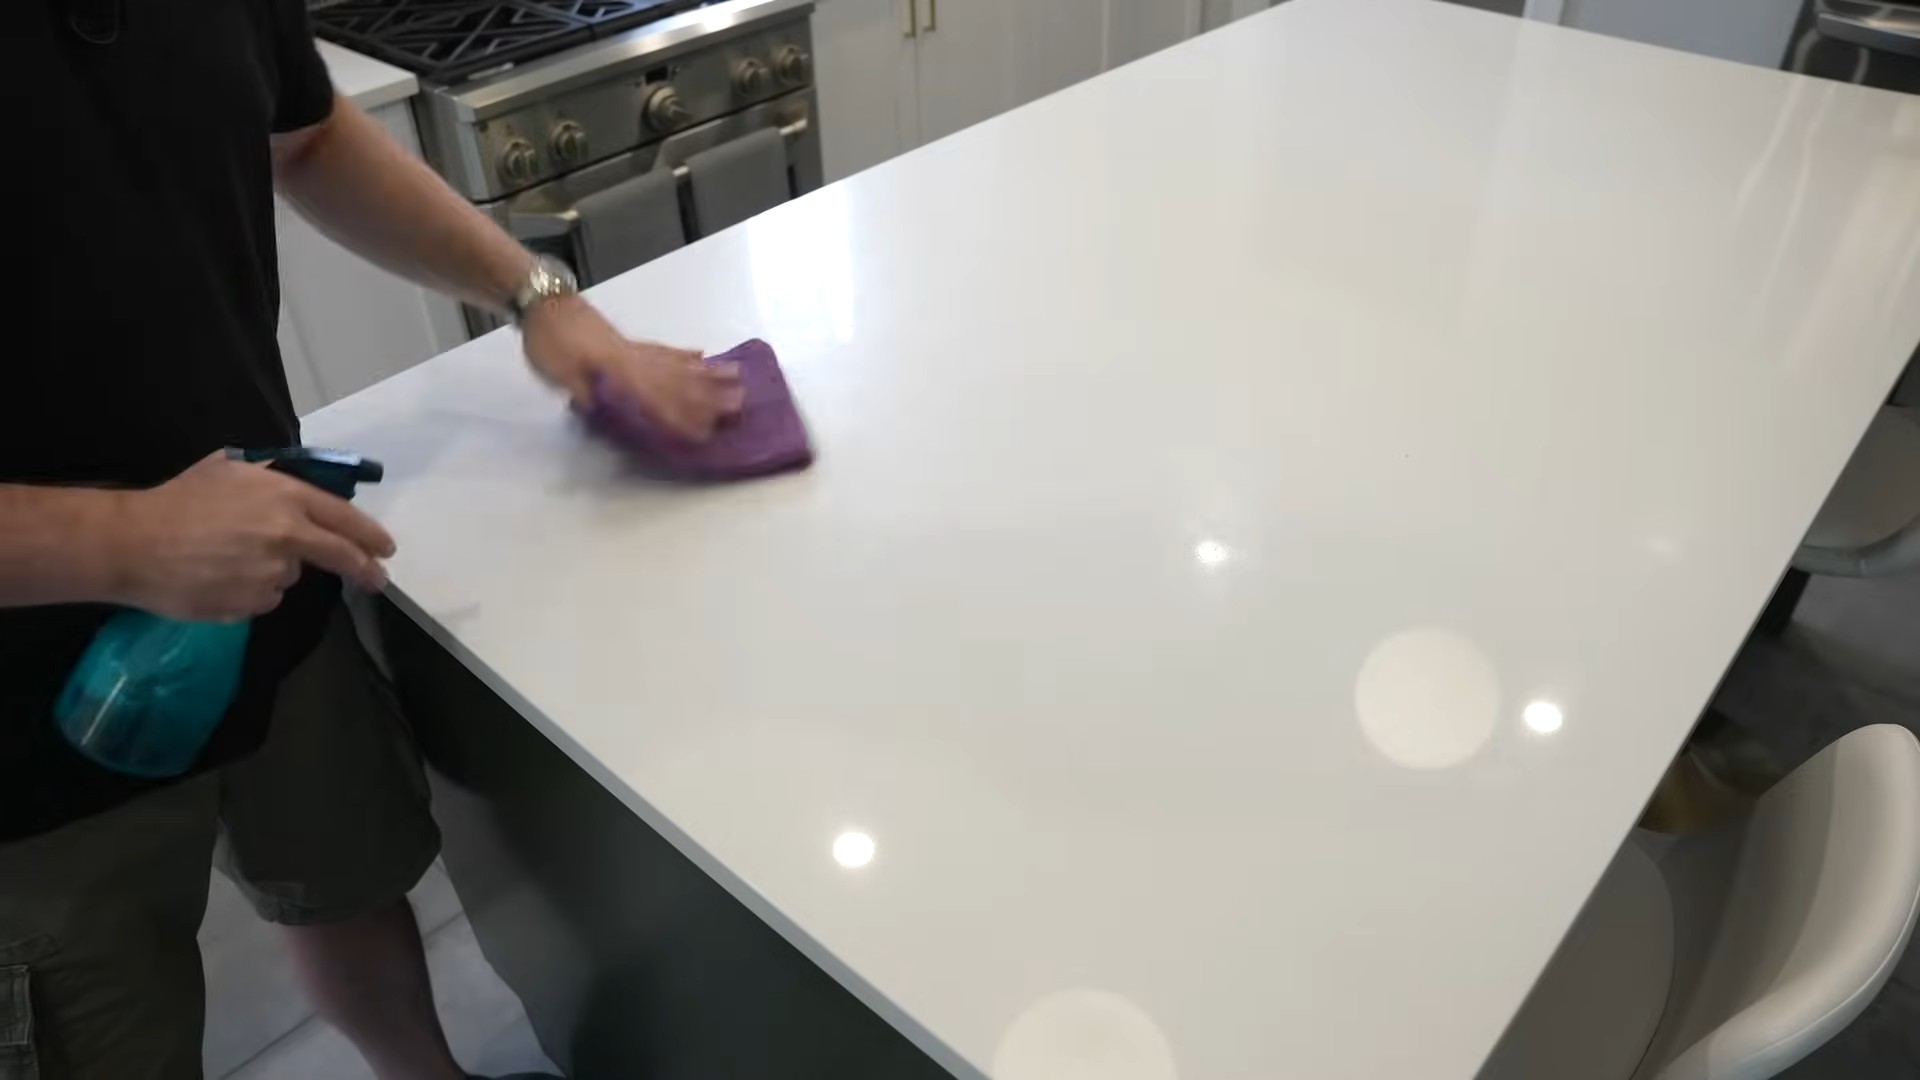
How to Use:
Spray the cleaner onto the surface you want to clean. Let it sit for a minute or two to loosen any dirt or grime. Wipe clean with a damp cloth or sponge. For tougher stains, you might need to scrub a little harder.
Glass Cleaner: Streak-Free Shine Guaranteed
Say goodbye to streaks and hello to sparkling clean windows and mirrors! This glass cleaner is incredibly easy to make and works just as well (if not better!) than the store-bought stuff.
Ingredients You’ll Need:
* 1/4 cup white vinegar
* 2 cups water
* Spray bottle
* Microfiber cloth
Step-by-Step Instructions:
1. Mix the Vinegar and Water: In a spray bottle, combine the vinegar and water.
2. Shake Well: Shake the bottle well to ensure the ingredients are mixed thoroughly.
3. Label and Store: Label your spray bottle clearly with the contents and date.
How to Use:
Spray the cleaner onto the glass surface. Wipe clean with a microfiber cloth. Microfiber cloths are key to achieving a streak-free finish. Avoid using paper towels, as they can leave lint behind.
Toilet Bowl Cleaner: Keep it Fresh and Clean
Nobody likes cleaning the toilet, but this DIY toilet bowl cleaner makes the job a little less dreadful. It’s effective at removing stains and odors, and it’s much gentler on your plumbing than harsh chemical cleaners.
Ingredients You’ll Need:
* 1/2 cup baking soda
* 1/4 cup white vinegar
* 5-10 drops tea tree essential oil (optional, but adds extra disinfecting power)
Step-by-Step Instructions:
1. Sprinkle Baking Soda: Sprinkle the baking soda evenly around the inside of the toilet bowl.
2. Pour in Vinegar: Slowly pour the vinegar over the baking soda. It will fizz – again, this is normal!
3. Add Essential Oil (Optional): Add the tea tree essential oil, if using.
4. Let it Sit: Let the mixture sit for at least 15-20 minutes, or even longer for tougher stains.
5. Scrub and Flush: Scrub the toilet bowl with a toilet brush to loosen any remaining stains. Flush the toilet to rinse.
Tips and Tricks:
* For stubborn stains, you can let the mixture sit overnight before scrubbing.
* You can also add a few drops of your favorite essential oil to the toilet bowl after flushing for a fresh scent.
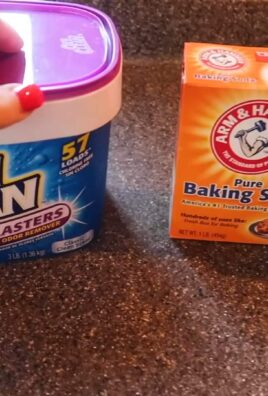
Drain Cleaner: Unclog Those Pesky Drains Naturally
Clogged drains are a common household problem, but you don’t need to resort to harsh chemical drain cleaners to fix them. This DIY drain cleaner is a safe and effective alternative.
Ingredients You’ll Need:
* 1/2 cup baking soda
* 1 cup white vinegar
* Boiling water
Step-by-Step Instructions:
1. Pour Baking Soda Down the Drain: Pour the baking soda down the clogged drain.
2. Pour in Vinegar: Follow with the vinegar. Again, it will fizz!
3. Let it Fizz: Let the mixture fizz for about 30 minutes. This will help to break down any buildup in the drain.
4. Flush with Boiling Water: After 30 minutes, carefully pour a pot of boiling water down the drain. This will help to flush away any remaining debris.
5. Repeat if Necessary: If the drain is still clogged, repeat the process.
Important Note:
* Be very careful when pouring boiling water. Avoid splashing and protect your hands.
* If the clog is severe, you may need to repeat the process several times or consult a professional plumber.
Furniture Polish: Restore Shine and Protect Your Wood
Give your wooden furniture a new lease on life with this simple DIY furniture polish. It’s made with natural ingredients that will nourish the wood and protect it from damage.
Ingredients You’ll Need:
* 1/4 cup olive oil
* 1/4 cup white vinegar or lemon juice
* Soft cloth
Step-by-Step Instructions:
1. Combine Ingredients: In a small bowl, combine the olive oil and vinegar or lemon juice.
2. Apply to Furniture: Dip a soft cloth into the mixture and apply it to your wooden furniture in a circular motion.
3. Buff to Shine: Use a clean, dry cloth to buff the furniture to a shine.
Tips and Tricks:
* Always test the polish on an inconspicuous area of the furniture first to make sure it doesn’t damage the finish.
* Use a very small amount of polish to avoid leaving a greasy residue.
Oven Cleaner: Tackle Baked-On Grease and Grime
Cleaning the oven is one of those chores that everyone dreads, but it doesn’t have to be a nightmare. This DIY oven cleaner is made with just two ingredients and is surprisingly effective at removing baked-on grease and grime.
Ingredients You’ll Need:
* Baking soda
* Water
* Spray bottle
* Spatula or scraper
Step-by-Step Instructions:
1. Make a Baking Soda Paste: In a bowl, mix baking soda with enough water to form a thick paste.
2. Coat the Oven: Spread the baking soda paste evenly over the inside of your oven, avoiding the heating elements.
3. Let it Sit: Let the paste sit for at least 12 hours, or even overnight.
4. Scrub and Wipe Clean: After the paste has sat, use a spatula or scraper to remove as much of the dried paste as possible. Then, use a damp cloth to wipe away any remaining residue.
5. Spray with Vinegar (Optional): For any stubborn spots, you can spray them with vinegar and let it sit for a few minutes before wiping clean.
Important Note:
* Make sure your oven is completely cool before applying the baking soda paste.
* Wear gloves to protect your hands.
Dish Soap: Gentle on Hands, Tough on Grease
Commercial dish soaps can be harsh on your hands and contain chemicals that you might prefer to avoid. This DIY dish soap is a gentle and effective alternative.
Ingredients You’ll Need:
* 1 cup grated castile soap (like Dr. Bronner’s)
* 1/4 cup washing soda (sodium carbonate, not baking soda)
* 10-15 drops essential oil (lemon, grapefruit, or orange are great for degreasing)
* Hot water
Step-by-Step Instructions:
1. Melt the Castile Soap: Gently melt the grated castile soap in a double boiler or in the microwave in short intervals, stirring frequently. Be careful not to overheat it.
2.
Conclusion
So, there you have it! Ditching the harsh chemicals and embracing these simple, yet incredibly effective, DIY cleaning solutions is more than just a trend; it’s a conscious choice for a healthier home, a happier planet, and a lighter wallet. We’ve explored how readily available ingredients can be transformed into powerful cleaners, tackling everything from stubborn grime to lingering odors.
Why is this a must-try? Because it empowers you to take control of your cleaning routine. You know exactly what’s going into your solutions, eliminating the worry of hidden toxins and allergens. Plus, the satisfaction of creating something useful from scratch is surprisingly rewarding.
But the beauty of DIY lies in its adaptability. Feel free to experiment with different essential oils to customize the scents of your cleaners. Lavender, lemon, tea tree, and eucalyptus are all fantastic options, each offering unique aromatherapy benefits alongside their cleaning power. For a more abrasive scrub, consider adding a bit of baking soda to your all-purpose cleaner. If you’re dealing with particularly tough stains, a paste of baking soda and water can work wonders. Remember to always test your DIY cleaning solutions on an inconspicuous area first, especially on delicate surfaces.
Beyond the basic recipes, consider exploring specialized solutions. A simple mixture of vinegar and water can be an excellent glass cleaner, leaving your windows sparkling without streaks. For your wooden furniture, a blend of olive oil and lemon juice can restore its natural shine and protect it from drying out. And don’t forget about your laundry! Washing soda and borax, combined with your favorite essential oils, can create a powerful and eco-friendly laundry detergent.
We truly believe that once you experience the effectiveness and simplicity of these DIY cleaning solutions, you’ll never go back to store-bought alternatives. The benefits are simply too compelling to ignore.
Now, it’s your turn! We wholeheartedly encourage you to try these DIY cleaning solutions and discover the difference for yourself. Start with the all-purpose cleaner or the vinegar-based glass cleaner – they’re both incredibly easy to make and deliver impressive results.
Most importantly, we want to hear about your experiences! Share your successes, your variations, and any tips you discover along the way. Did you find a particular essential oil blend that works wonders? Did you adapt a recipe to suit your specific needs? Let us know in the comments below! Your insights could help other readers on their journey to a cleaner, greener home. Embrace the power of DIY cleaning solutions and join the movement towards a healthier and more sustainable lifestyle. We can’t wait to see what you create!
Frequently Asked Questions (FAQs)
What are the benefits of using DIY cleaning solutions compared to store-bought ones?
DIY cleaning solutions offer a multitude of advantages. Firstly, they are often significantly cheaper than commercially available cleaners. The ingredients, such as vinegar, baking soda, and essential oils, are typically inexpensive and readily available. Secondly, DIY solutions allow you to control the ingredients, eliminating the risk of exposure to harsh chemicals, artificial fragrances, and potentially harmful additives found in many store-bought products. This is particularly beneficial for individuals with allergies, sensitivities, or concerns about the environmental impact of conventional cleaners. Thirdly, DIY cleaning promotes sustainability by reducing plastic waste from disposable bottles and containers. You can reuse existing spray bottles and containers, minimizing your environmental footprint. Finally, creating your own cleaning solutions can be a fun and empowering experience, allowing you to customize scents and formulas to suit your specific needs and preferences.
Are DIY cleaning solutions as effective as store-bought cleaners?
Yes, in many cases, DIY cleaning solutions can be just as effective, if not more so, than their store-bought counterparts. Ingredients like vinegar and baking soda possess natural cleaning and disinfecting properties. Vinegar, for example, is a powerful disinfectant and deodorizer, effective against mold, mildew, and bacteria. Baking soda is a mild abrasive that can scrub away grime and neutralize odors. Essential oils, such as tea tree and eucalyptus, offer antimicrobial and antiseptic benefits. While some heavy-duty cleaning tasks may require specialized products, DIY solutions are generally sufficient for everyday cleaning needs. The key is to use the right ingredients for the specific task and to follow the recipes carefully.
What are some essential ingredients to have on hand for making DIY cleaning solutions?
A well-stocked DIY cleaning arsenal should include the following essential ingredients:
* **White Vinegar:** A versatile cleaner, disinfectant, and deodorizer.
* **Baking Soda:** A mild abrasive, deodorizer, and pH regulator.
* **Washing Soda:** A powerful cleaner and degreaser (more alkaline than baking soda).
* **Borax:** A natural mineral with cleaning, disinfecting, and deodorizing properties.
* **Essential Oils:** Add fragrance and offer antimicrobial benefits (e.g., lemon, lavender, tea tree).
* **Castile Soap:** A gentle and effective all-purpose cleaner.
* **Distilled Water:** Used as a base for many cleaning solutions.
* **Spray Bottles:** For storing and dispensing your DIY cleaners.
* **Microfiber Cloths:** For effective and lint-free cleaning.
Are there any surfaces or materials that I should avoid using DIY cleaning solutions on?
While DIY cleaning solutions are generally safe and effective, there are certain surfaces and materials that should be avoided:
* **Marble and Granite:** Acidic cleaners like vinegar can etch and damage these natural stone surfaces. Use pH-neutral cleaners specifically designed for stone.
* **Waxed Wood Floors:** Vinegar and other acidic cleaners can strip the wax finish from wood floors. Use a mild soap and water solution or a cleaner specifically formulated for waxed wood.
* **Electronics:** Avoid spraying cleaning solutions directly onto electronic devices. Instead, dampen a microfiber cloth with a small amount of cleaner and gently wipe the surface.
* **Unsealed Grout:** Vinegar can erode unsealed grout over time. Use a baking soda paste or a grout cleaner specifically designed for unsealed grout.
* **Certain Fabrics:** Test any DIY cleaning solution on an inconspicuous area of fabric before applying it to the entire surface. Some fabrics may be sensitive to vinegar or other ingredients.
How should I store my DIY cleaning solutions?
Proper storage is essential for maintaining the effectiveness and safety of your DIY cleaning solutions. Store your cleaners in labeled spray bottles or containers, clearly indicating the contents and any relevant precautions. Keep them out of reach of children and pets. Store them in a cool, dark place away from direct sunlight and heat, which can degrade the ingredients over time. Most DIY cleaning solutions have a shelf life of several months, but it’s best to use them within a reasonable timeframe for optimal effectiveness. If you notice any changes in color, odor, or consistency, discard the solution and make a fresh batch.
Can I mix different DIY cleaning solutions together?
It’s generally not recommended to mix different DIY cleaning solutions together, as this can create hazardous chemical reactions. For example, mixing vinegar and bleach can produce toxic chlorine gas, which is extremely dangerous. Always use cleaning solutions separately and avoid combining them unless you are absolutely certain that they are compatible. When in doubt, err on the side of caution and use each solution individually.
How can I make my DIY cleaning solutions smell better?
Essential oils are a fantastic way to add fragrance and therapeutic benefits to your DIY cleaning solutions. Some popular essential oils for cleaning include lemon, lavender, tea tree, eucalyptus, peppermint, and orange. Add a few drops of your favorite essential oil or blend to your cleaning solution for a pleasant and refreshing scent. You can also infuse vinegar with citrus peels or herbs for a natural and subtle fragrance. Remember to use high-quality essential oils and to dilute them properly before adding them to your cleaning solutions.
What are some safety precautions to keep in mind when making and using DIY cleaning solutions?
Safety should always be a top priority when making and using DIY cleaning solutions. Wear gloves to protect your hands from irritation. Avoid getting cleaning solutions in your eyes or mouth. Work in a well-ventilated area to minimize exposure to fumes. Keep cleaning solutions out of reach of children and pets. Never mix different cleaning solutions together unless you are certain that they are compatible. Always test cleaning solutions on an inconspicuous area before applying them to the entire surface. If you experience any adverse reactions, such as skin irritation or respiratory problems, discontinue use and consult a healthcare professional.
Leave a Comment