
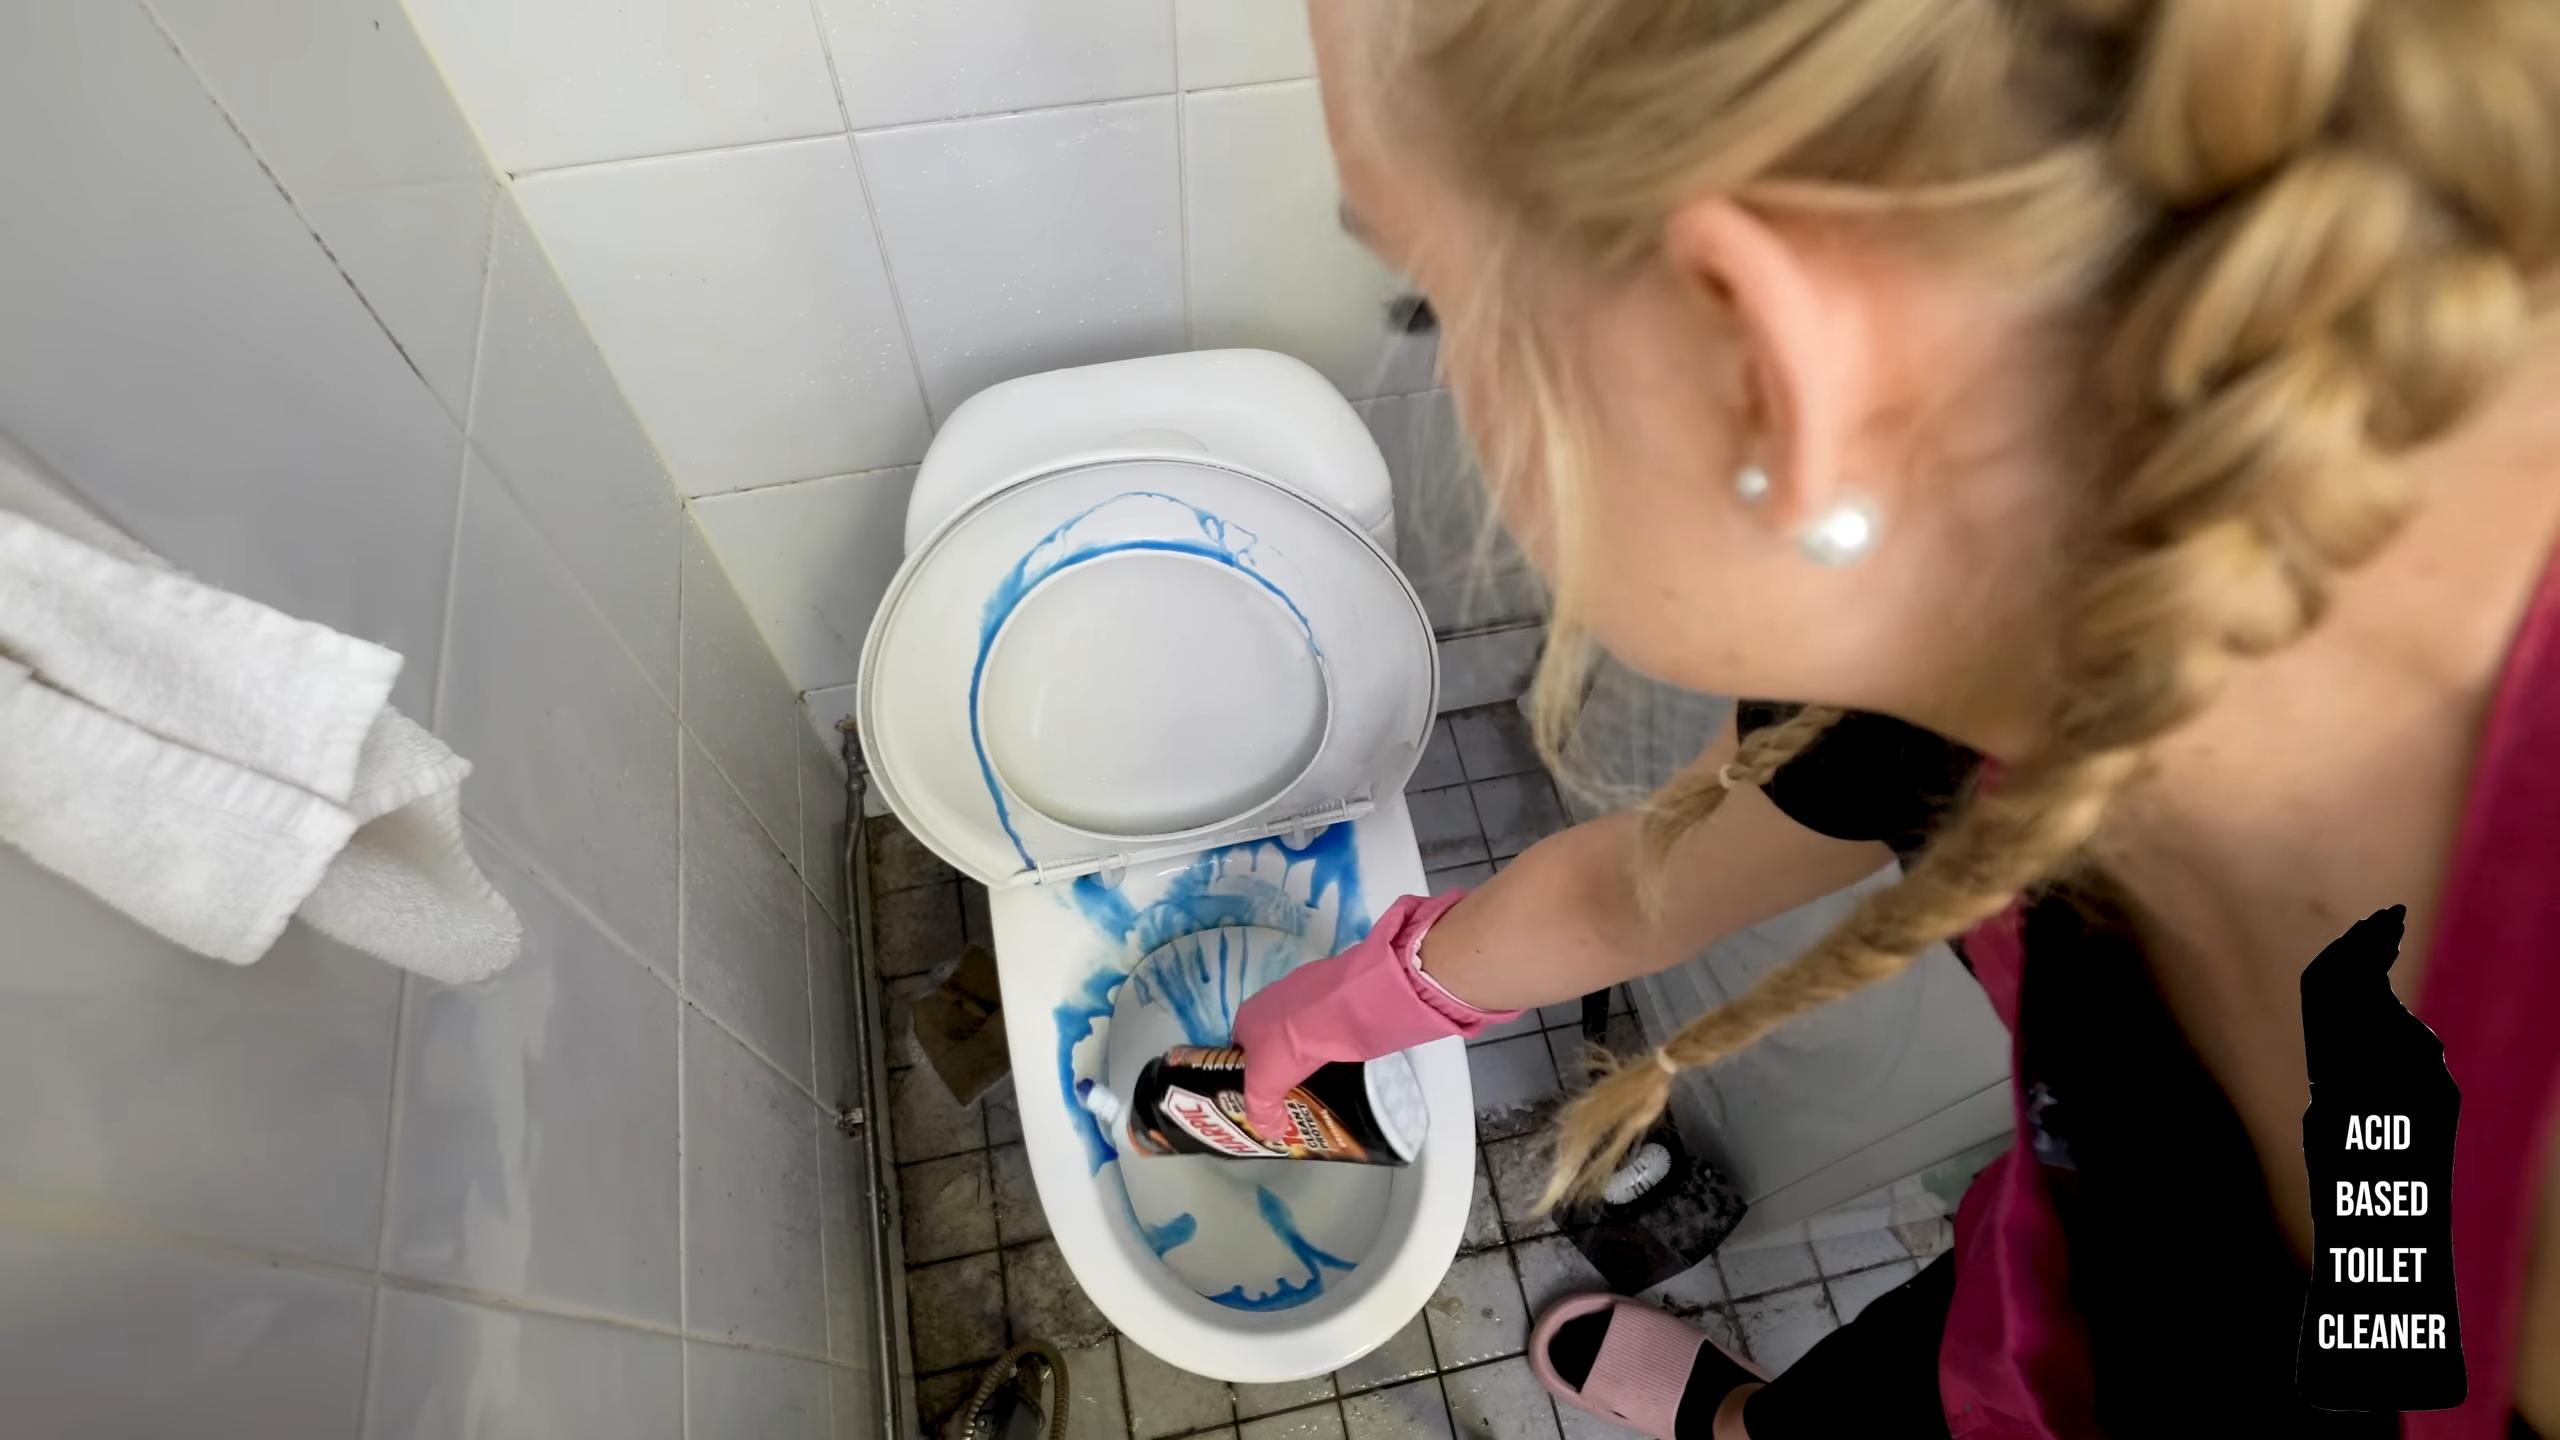
Toilet Cleaning Acid Tricks: Are you tired of stubborn stains and lingering odors in your toilet bowl? I know I was! Let’s face it, cleaning the toilet is nobody’s favorite chore, but it’s a necessary one. For centuries, maintaining hygiene in our homes has been a priority, and the toilet, well, it’s a focal point for cleanliness. But what if I told you there are some powerful, DIY tricks using toilet cleaning acid that can make this dreaded task easier and more effective?
This isn’t just about scrubbing harder; it’s about working smarter. Many of us struggle with hard water stains, mineral buildup, and persistent grime that regular cleaners just can’t tackle. That’s where these toilet cleaning acid tricks come in. I’m going to share some insider tips and techniques that will help you achieve a sparkling clean toilet bowl with minimal effort. We’ll explore safe handling practices, the best types of acid-based cleaners to use, and step-by-step instructions to banish those unsightly stains for good. Get ready to transform your toilet cleaning routine and say goodbye to those embarrassing bathroom woes!
DIY Toilet Bowl Cleaning Powerhouse: Acid-Free Tricks for a Sparkling Throne
Okay, let’s face it, cleaning the toilet isn’t anyone’s favorite chore. But a sparkling clean toilet bowl is a must-have for a hygienic and pleasant bathroom. While harsh chemical cleaners, especially those containing strong acids, can seem like the quick fix, they often come with a hefty price: fumes, potential damage to your plumbing, and environmental concerns. So, I’m going to share some of my favorite DIY, acid-free tricks to get your toilet bowl looking brand new without the nasty side effects.
Understanding the Enemy: What We’re Fighting
Before we dive into the cleaning methods, let’s understand what we’re up against. The common culprits in a dirty toilet bowl are:
* Hard Water Stains: These are usually calcium and magnesium deposits that leave a chalky, white or brownish ring around the bowl.
* Rust Stains: Often caused by iron in the water supply, these stains appear as reddish-brown streaks.
* Organic Matter: This includes everything from bacteria and mold to, well, you know… the stuff that ends up in the toilet.
The Arsenal: Gathering Your Supplies
The beauty of these DIY methods is that you probably already have most of the ingredients in your pantry! Here’s what you’ll need:
* Baking Soda: A natural deodorizer and mild abrasive.
* White Vinegar: A powerful disinfectant and descaler.
* Borax: A natural mineral that acts as a disinfectant and cleaner.
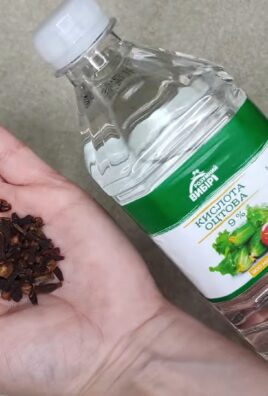
* Lemon Juice: Contains citric acid, a natural cleaning agent.
* Dish Soap: Helps to break down grease and grime.
* Essential Oils (Optional): For a fresh, clean scent (tea tree, lavender, or eucalyptus are great choices).
* Toilet Brush: A must-have for scrubbing.
* Spray Bottle: For applying cleaning solutions.
* Pumice Stone: For stubborn hard water stains (use with caution!).
* Rubber Gloves: To protect your hands.
* Eye Protection (Optional): Just in case of splashes.
Method 1: The Baking Soda and Vinegar Fizz
This is my go-to method for general cleaning and deodorizing. It’s simple, effective, and creates a fun fizzing action that helps loosen grime.
Step-by-Step Instructions:
1. Prepare the Bowl: Flush the toilet to wet the bowl.
2. Add Baking Soda: Pour about one cup of baking soda into the toilet bowl, making sure to coat the sides as much as possible.
3. Introduce the Vinegar: Slowly pour about two cups of white vinegar into the bowl. Get ready for the fizz!
4. Let it Fizz: Allow the mixture to fizz and sit for at least 30 minutes, or even better, overnight. The longer it sits, the more effective it will be at loosening stains and grime.
5. Scrub-a-dub-dub: After the soaking time, use your toilet brush to thoroughly scrub the entire bowl, paying extra attention to any stained areas.
6. Flush Away: Flush the toilet to rinse away the cleaning solution and any loosened debris.
7. Inspect and Repeat: If you still see any stubborn stains, repeat the process or try one of the other methods below.
Method 2: Borax Power for Tough Stains
Borax is a natural mineral that’s a bit stronger than baking soda, making it great for tackling tougher stains and disinfecting.
Step-by-Step Instructions:
1. Dry the Bowl (Mostly): Turn off the water supply to the toilet (usually a valve behind the toilet) and flush to empty the bowl as much as possible. You don’t need it completely dry, just mostly empty.
2. Apply Borax: Sprinkle about half a cup of borax powder directly onto the stains and around the bowl.
3. Let it Sit: Allow the borax to sit for at least an hour, or preferably overnight, to work its magic.
4. Scrub Vigorously: Use your toilet brush to scrub the stained areas thoroughly. You might need to put in a little extra elbow grease for this one.
5. Turn on the Water and Flush: Turn the water supply back on and flush the toilet to rinse away the borax and loosened stains.
6. Repeat if Necessary: If the stains persist, repeat the process or try combining borax with vinegar for an extra boost.
Method 3: Lemon Juice for a Fresh Scent and Gentle Cleaning
Lemon juice is a natural source of citric acid, which is a mild cleaning agent and a fantastic deodorizer. This method is great for light cleaning and leaving your bathroom smelling fresh.
Step-by-Step Instructions:
1. Squeeze the Lemons: You’ll need about half a cup of lemon juice. You can use fresh lemons or bottled lemon juice.
2. Apply the Juice: Pour the lemon juice directly into the toilet bowl, making sure to coat the sides.
3. Let it Sit: Allow the lemon juice to sit for at least 30 minutes, or preferably a few hours.
4. Scrub and Flush: Use your toilet brush to scrub the bowl and then flush to rinse.
5. Optional: For an extra boost, add a few drops of your favorite essential oil to the lemon juice before applying it to the bowl.
Method 4: The Pumice Stone Solution for Hard Water Rings
This method is for those stubborn hard water rings that just won’t budge. However, it’s crucial to use a pumice stone carefully to avoid scratching the porcelain.
Step-by-Step Instructions:
1. Wet the Pumice Stone: Thoroughly wet the pumice stone with water. This is essential to prevent scratching.
2. Wet the Toilet Bowl: Make sure the area you’re cleaning is also wet.
3. Gently Rub: Gently rub the pumice stone against the hard water ring, using light pressure. Avoid pressing too hard, as this can scratch the porcelain.
4. Rinse Frequently: Rinse the pumice stone and the toilet bowl frequently with water to remove any debris.
5. Inspect and Repeat: Continue rubbing until the hard water ring is gone. Be patient, as this may take some time.
6. Flush and Admire: Flush the toilet to rinse away any remaining debris and admire your sparkling clean bowl.
Important Note: Always test the pumice stone in an inconspicuous area of the toilet bowl first to ensure it doesn’t scratch the surface. If you notice any scratching, discontinue use.
Method 5: Dish Soap and Baking Soda for a Quick Clean
This is a great method for a quick clean when you don’t have a lot of time. The dish soap helps to break down grime, while the baking soda provides a gentle abrasive action.
Step-by-Step Instructions:
1. Add Dish Soap: Squirt a generous amount of dish soap into the toilet bowl.
2. Sprinkle Baking Soda: Sprinkle about half a cup of baking soda over the dish soap.
3. Let it Sit: Allow the mixture to sit for about 15-20 minutes.
4. Scrub and Flush: Use your toilet brush to scrub the bowl and then flush to rinse.
Preventative Measures: Keeping Your Toilet Bowl Clean Longer
Once you’ve achieved a sparkling clean toilet bowl, you’ll want to keep it that way! Here are a few preventative measures I use:
* Flush Regularly: Flush the toilet after each use to prevent buildup.
* Regular Cleaning: Clean your toilet bowl at least once a week to prevent stains from setting in.
* Toilet Bowl Tablets: Use natural toilet bowl tablets (you can even make your own with baking soda, citric acid, and essential oils) to help keep the bowl clean and fresh between cleanings.
* Water Softener: If you have hard water, consider installing a water softener to reduce mineral buildup.
A Word of Caution: Safety First!
While these DIY methods are generally safe, it’s always a good idea to take a few precautions:
* Wear Gloves: Protect your hands from cleaning solutions and bacteria.
* Avoid Mixing Chemicals: Never mix different cleaning products together, as this can create dangerous fumes.
* Ventilate the Area: Open a window or turn on the bathroom fan to ensure proper ventilation.
* Keep Out of Reach of Children and Pets: Store cleaning supplies in a safe place where children and pets cannot access them.
By following these DIY, acid-free tricks, you can achieve a sparkling clean toilet bowl without the harsh chemicals and potential risks. Happy cleaning!
Conclusion
So, there you have it! This simple yet powerful DIY toilet cleaning acid trick is a game-changer for anyone battling stubborn stains, mineral buildup, and lingering odors in their toilet bowl. We’ve walked you through the process, highlighting the safety precautions and emphasizing the incredible cleaning power you can unlock with readily available ingredients.
Why is this a must-try? Because it’s effective, affordable, and allows you to ditch harsh chemical cleaners that can be harmful to your health and the environment. Commercial toilet bowl cleaners often contain aggressive chemicals that irritate the skin, eyes, and respiratory system. This DIY alternative offers a gentler, yet equally potent, solution.
Beyond the basic recipe, there’s room for customization. For a boost of freshness, consider adding a few drops of your favorite essential oil, such as tea tree (known for its antibacterial properties) or lemon (for its invigorating scent). If you’re dealing with particularly tough stains, you can increase the concentration of citric acid or let the solution sit for a longer period before scrubbing. Remember to always test a small, inconspicuous area first to ensure compatibility with your toilet bowl material, especially if you have an older or more delicate fixture.
Another variation involves using a combination of baking soda and vinegar before applying the citric acid solution. The fizzing action of baking soda and vinegar can help loosen stubborn grime, making the subsequent acid treatment even more effective. Just be sure to rinse thoroughly between applications to avoid any unwanted chemical reactions.
We understand that trying something new can be daunting, but we’re confident that you’ll be amazed by the results. This DIY toilet cleaning acid trick is not just about cleaning; it’s about taking control of your cleaning routine and creating a healthier, more sustainable home.
Don’t just take our word for it – give it a try! We’re eager to hear about your experiences. Did it work wonders on your toilet bowl? Did you discover any helpful variations? Share your tips, tricks, and before-and-after photos in the comments below. Let’s build a community of DIY cleaning enthusiasts and help each other achieve sparkling clean toilets without relying on harsh chemicals. Your feedback is invaluable and will help us refine and improve this guide for future readers. So, grab your ingredients, put on your gloves, and get ready to transform your toilet cleaning routine! We believe in you, and we know you can achieve a sparkling clean toilet with this simple, effective, and eco-friendly method. Let us know how it goes!
Frequently Asked Questions (FAQs)
Is this DIY toilet cleaning acid trick safe for all types of toilets?
While generally safe, it’s crucial to exercise caution and test the solution on a small, inconspicuous area of your toilet bowl before applying it to the entire surface. This is particularly important for older toilets or those made from delicate materials. Avoid using this method on toilets with damaged or cracked enamel, as the acid could potentially worsen the damage. If you’re unsure about the material of your toilet bowl, consult the manufacturer’s instructions or contact a plumbing professional. Always wear gloves and eye protection when handling any cleaning solution, even homemade ones.
How often can I use this DIY toilet cleaning acid trick?
The frequency of use depends on the severity of the staining and mineral buildup in your toilet bowl. For heavily stained toilets, you may need to use it once a week initially. However, for regular maintenance, using it once or twice a month should be sufficient to keep your toilet bowl clean and fresh. Overuse of any cleaning agent, even a mild acid like citric acid, can potentially damage the toilet bowl surface over time. Observe your toilet bowl closely and adjust the frequency of cleaning accordingly.
What if the stains are extremely stubborn and don’t come off easily?
For extremely stubborn stains, you can try a few different approaches. First, increase the concentration of citric acid in the solution. You can also try letting the solution sit for a longer period, even overnight, before scrubbing. Another effective technique is to create a paste of baking soda and water and apply it to the stains before applying the citric acid solution. The baking soda will help to loosen the grime and make it easier for the acid to penetrate. Finally, consider using a pumice stone specifically designed for cleaning toilets. Wet the pumice stone thoroughly and gently rub it over the stains. Be careful not to scratch the toilet bowl surface.
Can I use other types of acid instead of citric acid?
While citric acid is a relatively mild and safe option, other acids, such as vinegar or hydrochloric acid (muriatic acid), can also be used for toilet cleaning. However, it’s crucial to exercise extreme caution when using stronger acids like hydrochloric acid, as they can be corrosive and harmful. Always wear appropriate protective gear, including gloves, eye protection, and a respirator, and ensure adequate ventilation. Vinegar is a milder alternative, but it may not be as effective as citric acid for removing stubborn stains. We strongly recommend sticking with citric acid for its safety and effectiveness.
Is this DIY toilet cleaning acid trick safe for my septic system?
Citric acid is generally considered safe for septic systems when used in moderation. Unlike harsh chemical cleaners, it doesn’t contain ingredients that can kill beneficial bacteria in the septic tank. However, it’s still important to avoid using excessive amounts of citric acid, as it can potentially disrupt the pH balance of the septic system. If you have concerns about the impact of citric acid on your septic system, consult with a septic system professional.
Can I use this solution to clean other bathroom fixtures?
While this DIY toilet cleaning acid trick is primarily designed for cleaning toilet bowls, it can also be used to clean other bathroom fixtures, such as sinks and bathtubs, that are prone to mineral buildup and soap scum. However, it’s important to test the solution on a small, inconspicuous area first to ensure compatibility with the material of the fixture. Avoid using it on delicate surfaces, such as marble or granite, as the acid could potentially damage them.
What are the environmental benefits of using this DIY toilet cleaning acid trick?
One of the main benefits of using this DIY toilet cleaning acid trick is that it’s more environmentally friendly than using commercial toilet bowl cleaners. Commercial cleaners often contain harsh chemicals that can pollute waterways and harm aquatic life. Citric acid, on the other hand, is a natural and biodegradable substance that is less harmful to the environment. By making your own toilet cleaner, you can reduce your reliance on harmful chemicals and contribute to a more sustainable lifestyle.
Where can I find citric acid?
Citric acid is readily available in most grocery stores, pharmacies, and online retailers. It’s often sold in the baking or canning section of grocery stores. You can also find it in bulk at health food stores or online retailers specializing in cleaning supplies. When purchasing citric acid, make sure to choose a food-grade or pharmaceutical-grade product to ensure its purity and safety.
What if I accidentally get the solution in my eyes or on my skin?
If you accidentally get the solution in your eyes, rinse them immediately with plenty of water for at least 15 minutes. Seek medical attention if irritation persists. If you get the solution on your skin, wash it off with soap and water. If you experience any skin irritation, consult a doctor. Always wear gloves and eye protection when handling any cleaning solution to prevent accidental exposure.
How should I store the leftover solution?
Store any leftover solution in a tightly sealed container in a cool, dry place, away from children and pets. Label the container clearly to avoid accidental ingestion. It’s best to use the solution within a few months, as its effectiveness may decrease over time. Never mix the solution with other cleaning products, as this could create dangerous fumes.

Leave a Comment