
DIY Home Repair: The words themselves might conjure images of weekend warriors battling leaky faucets or triumphant homeowners admiring their freshly painted walls. But let’s be honest, the thought can also be a little daunting, right? I get it! The idea of tackling home repairs yourself can feel overwhelming, but trust me, with the right knowledge and a little elbow grease, you can save a ton of money and gain a huge sense of accomplishment.
From ancient civilizations using rudimentary tools to build their dwellings to the modern-day surge in online tutorials, the desire to maintain and improve our living spaces is deeply ingrained in human history. Think about it – our homes are our sanctuaries, and being able to fix them ourselves connects us to a long line of resourceful individuals.
Why is DIY Home Repair so important today? Well, for starters, professional repair services can be expensive! But beyond the financial benefits, learning these skills empowers you to take control of your home’s upkeep. Imagine being able to fix that running toilet without waiting days for a plumber, or patching up a hole in the wall yourself. These aren’t just handy skills; they’re confidence boosters. This article is packed with easy-to-follow tricks and hacks that will transform you from a DIY novice to a home repair hero. Let’s get started!
DIY Miracle Cream: Vinegar and Vaseline for Amazing Skin!
Hey everyone! I’m so excited to share this incredible DIY beauty hack with you. I stumbled upon this combination of vinegar and Vaseline while researching natural skincare remedies, and let me tell you, the results have been amazing! It’s super simple, affordable, and can address a whole range of skin issues. I’m talking dry skin, cracked heels, rough elbows, even minor skin irritations. So, ditch those expensive creams and let’s get started!
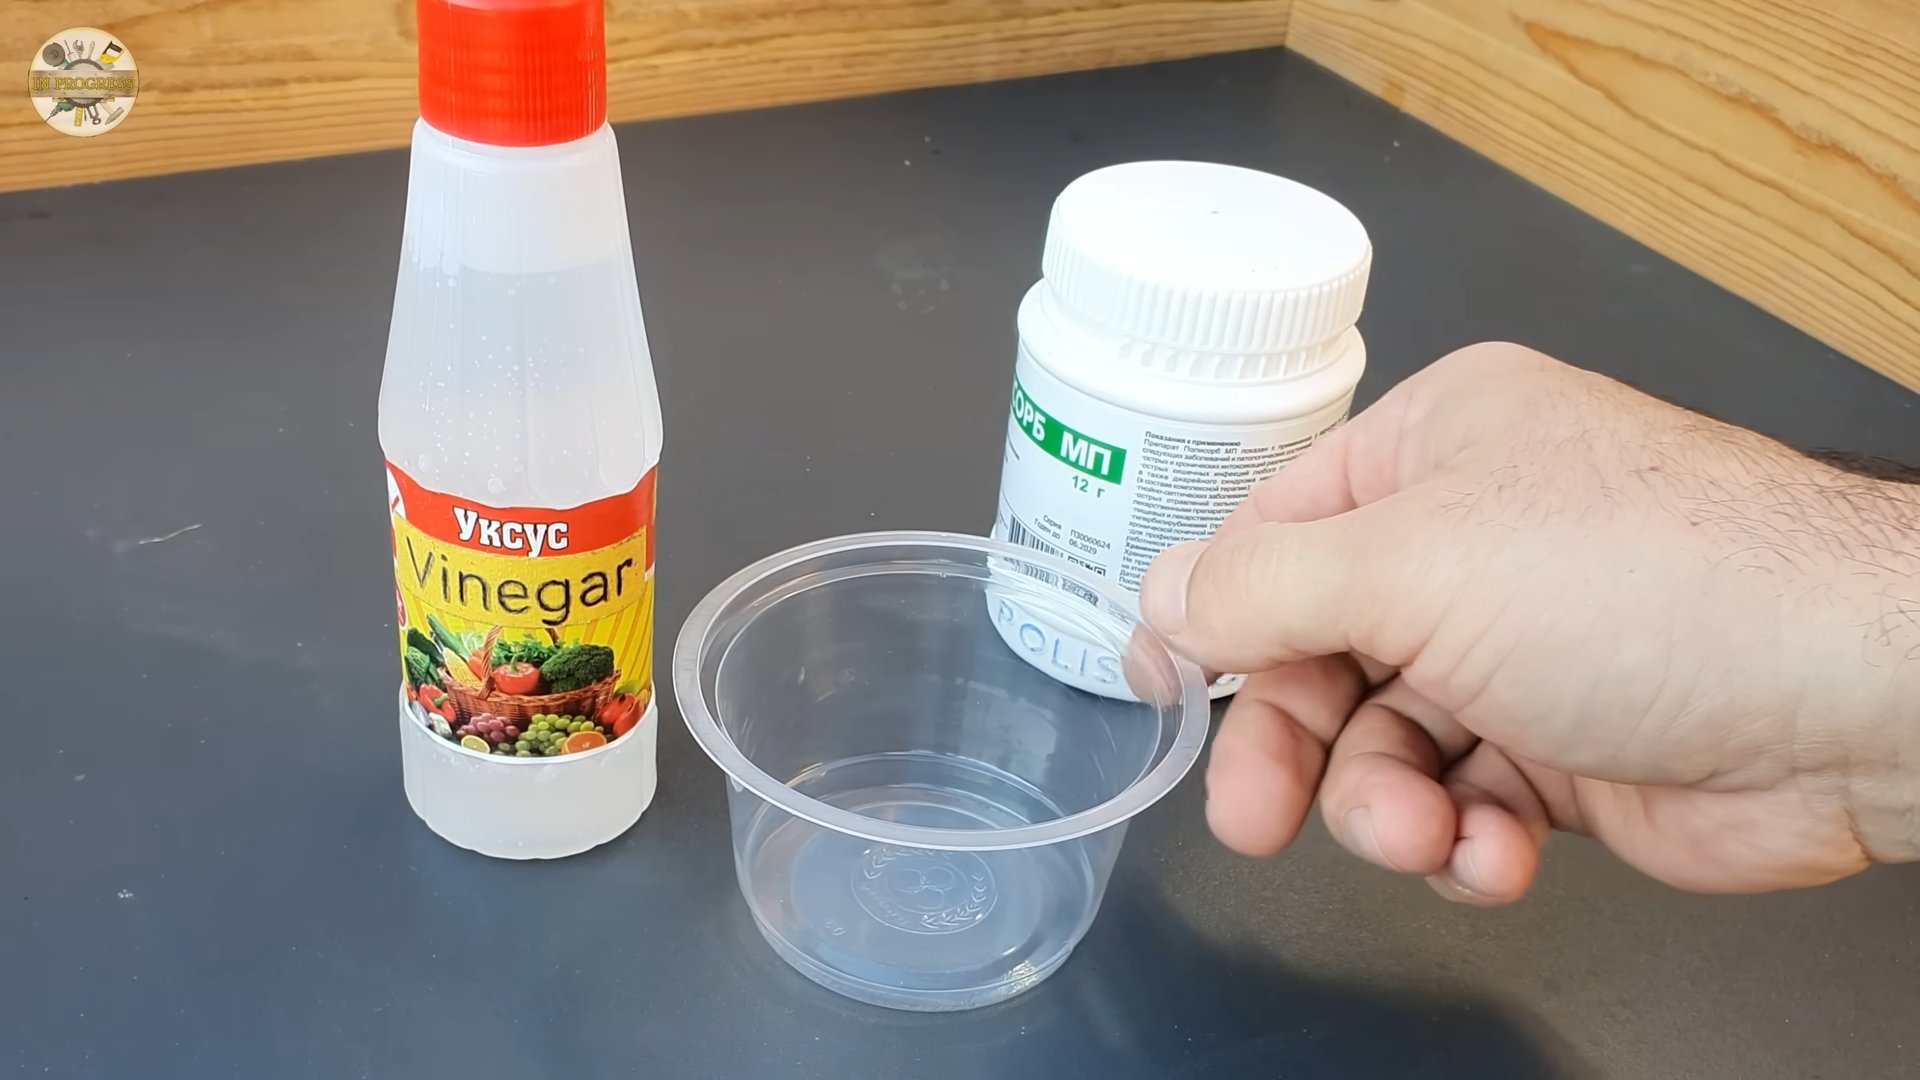
What You’ll Need
Before we dive in, let’s gather our supplies. This is a pretty minimalist recipe, which is one of the things I love about it!
* White Vinegar: Plain white vinegar is what we’re after. Don’t use apple cider vinegar or any other flavored kind. The acidity helps exfoliate and balance the skin’s pH.
* Vaseline (Petroleum Jelly): This is the moisturizing powerhouse. It creates a protective barrier, locking in moisture and helping to heal dry, cracked skin.
* A Small, Clean Jar or Container: To store your finished cream. Make sure it’s clean to prevent contamination.
* A Mixing Spoon or Spatula: For combining the ingredients.
* Measuring Spoons: To ensure accurate ratios.
Understanding the Magic: Why This Works
Okay, so you might be thinking, “Vinegar and Vaseline? That sounds…interesting.” I get it! But trust me, there’s some serious science behind this seemingly odd pairing.
* Vinegar’s Exfoliating Power: The acetic acid in vinegar is a mild exfoliant. It helps to gently remove dead skin cells, revealing brighter, smoother skin underneath. This is especially helpful for rough patches like elbows and heels.
* Vaseline’s Moisture Barrier: Vaseline is an occlusive moisturizer, meaning it forms a protective barrier on the skin’s surface. This barrier prevents moisture from escaping, keeping your skin hydrated and supple. It’s like a little shield against dryness.
* The pH Balance Act: Our skin has a natural pH level that’s slightly acidic. Many soaps and skincare products can disrupt this balance, leading to dryness and irritation. Vinegar helps to restore the skin’s natural pH, promoting healthier skin.
The Recipe: Getting the Ratios Right
The key to this DIY cream is getting the ratio of vinegar to Vaseline just right. Too much vinegar, and it could irritate your skin. Too little, and you won’t get the exfoliating benefits. I’ve found that this ratio works perfectly for me, but feel free to adjust it slightly based on your skin’s sensitivity.
* For a Small Batch: 1 tablespoon of white vinegar and 2 tablespoons of Vaseline.
* For a Larger Batch: 2 tablespoons of white vinegar and 4 tablespoons of Vaseline.
I usually start with a small batch to test it out and see how my skin reacts. You can always make more later!
Step-by-Step Instructions: Making Your Miracle Cream
Alright, let’s get down to business! Here’s how to make your own vinegar and Vaseline cream:
1. Prepare Your Workspace: Make sure you have a clean and organized workspace. This will make the process much smoother. Gather all your ingredients and tools.
2. Scoop the Vaseline: Using your measuring spoon, scoop the desired amount of Vaseline into your clean jar or container.
3. Add the Vinegar: Carefully pour the measured amount of white vinegar into the jar with the Vaseline.
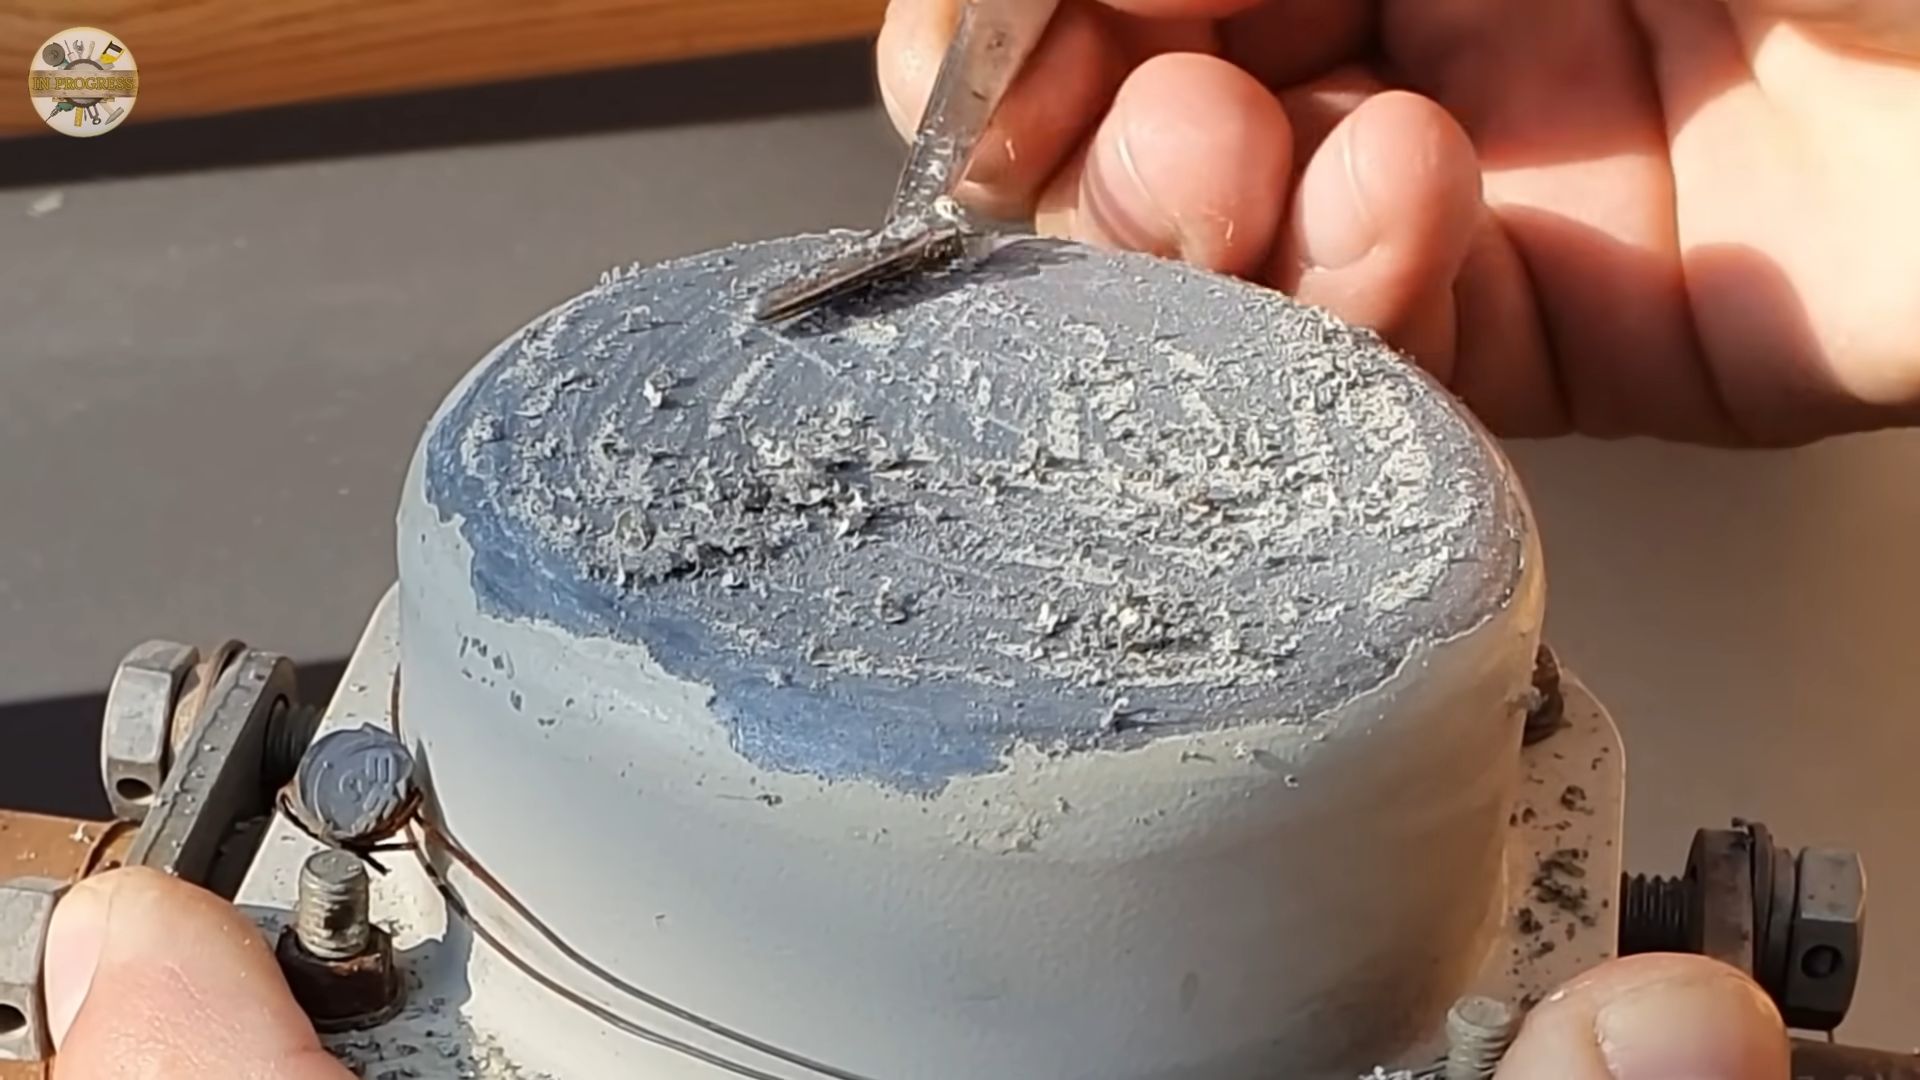
4. Mix Thoroughly: Now, it’s time to mix! Use your spoon or spatula to combine the vinegar and Vaseline. This might take a little elbow grease, as the vinegar and Vaseline don’t immediately blend together. Keep stirring until you achieve a smooth, creamy consistency. It should look like a slightly cloudy, opaque cream.
5. Store Properly: Once your cream is well mixed, seal the jar tightly. Store it in a cool, dry place away from direct sunlight. It should last for several weeks, if not months, as long as you keep it clean and sealed.
Using Your Miracle Cream: Application Tips and Tricks
Now that you’ve made your cream, let’s talk about how to use it effectively. Remember, a little goes a long way!
1. Cleanse Your Skin: Before applying the cream, make sure your skin is clean and dry. This will help the cream absorb better.
2. Apply a Thin Layer: Scoop out a small amount of the cream and apply it to the desired area. Remember, you only need a thin layer.
3. Massage Gently: Gently massage the cream into your skin using circular motions. This will help to improve circulation and promote absorption.
4. Leave it On: For best results, leave the cream on overnight. This will give it plenty of time to work its magic.
5. Wash Off (Optional): In the morning, you can wash off any excess cream with warm water and a gentle cleanser, if you feel it’s necessary. Some people prefer to leave a thin layer on.
6. Frequency: I recommend using this cream 2-3 times per week. You can adjust the frequency based on your skin’s needs and sensitivity.
Targeting Specific Skin Concerns: Where to Use It
This cream is incredibly versatile and can be used to address a variety of skin concerns. Here are some of my favorite ways to use it:
* Dry, Cracked Heels: This is where I’ve seen the most dramatic results! Apply a generous layer to your heels before bed, put on some socks, and wake up to noticeably softer, smoother heels.
* Rough Elbows: Elbows tend to get dry and rough, especially during the colder months. Apply the cream to your elbows daily to keep them soft and supple.
* Dry Hands: If you suffer from dry, cracked hands, especially after washing them frequently, this cream can be a lifesaver. Apply it after washing your hands to lock in moisture.
* Minor Skin Irritations: The soothing properties of Vaseline, combined with the exfoliating action of vinegar, can help to relieve minor skin irritations like eczema or psoriasis flare-ups. However, always consult with a dermatologist if you have a serious skin condition.
* Cuticle Care: Apply a small amount to your cuticles to keep them moisturized and prevent them from cracking.
* Dry Patches on Face (Use with Caution): If you have dry patches on your face, you can try applying a very thin layer of this cream. However, be very careful, as the vinegar can be irritating to sensitive facial skin. I recommend doing a patch test first.
Important Considerations: Safety First!
While this DIY cream is generally safe for most people, there are a few things to keep in mind:
* Patch Test: Before applying the cream to a large area of your skin, always do a patch test. Apply a small amount to a discreet area, like your inner arm, and wait 24 hours to see if you experience any irritation.
* Avoid Sensitive Areas: Do not apply this cream to sensitive areas like your eyes, mouth, or open wounds.
* Sun Sensitivity: Vinegar can make your skin more sensitive to the sun. Be sure to wear sunscreen when using this cream, especially during the day.
* Skin Conditions: If you have any underlying skin conditions, such as eczema or psoriasis, consult with a dermatologist before using this cream.
* Vinegar Sensitivity: If you know you are sensitive to vinegar, avoid using this cream.
* Discontinue Use: If you experience any irritation, redness, or itching, discontinue use immediately.
Troubleshooting: Common Issues and Solutions
Sometimes, things don’t go exactly as planned. Here are some common issues you might encounter and how to fix them:
* Cream is Too Runny: If your cream is too runny, it means you’ve added too much vinegar. Add a little more Vaseline to thicken it up.
* Cream is Too Thick: If your cream is too thick, it means you haven’t added enough vinegar. Add a little more vinegar, a drop at a time, until you reach the desired consistency.
* Skin Irritation: If you experience skin irritation, it means the vinegar is too strong for your skin. Reduce the amount of vinegar in the recipe or discontinue use altogether.
* No Noticeable Results: If you’re not seeing any noticeable results, it could be that you’re not using the cream consistently enough. Try using it more frequently or increasing the amount you apply.
Variations and Add-Ins: Customizing Your Cream
Once you’ve mastered the basic recipe, you can start experimenting with variations and add-ins to customize your cream to your specific needs. Here are a few ideas:
* Essential Oils: Add a few drops of your favorite essential oil for added benefits and fragrance. Lavender
Conclusion
So, there you have it! This simple yet effective DIY home repair trick is more than just a quick fix; it’s a game-changer for maintaining the beauty and functionality of your home without breaking the bank. We’ve shown you how to tackle those minor imperfections that can slowly chip away at your home’s value and your peace of mind. By mastering this technique, you’re not just patching up a hole or smoothing out a dent; you’re investing in the long-term health and aesthetics of your living space.
Why is this DIY approach a must-try? Because it empowers you to take control of your home’s upkeep. No more waiting for expensive contractors to schedule a visit for a small repair. No more living with unsightly blemishes that detract from your home’s appeal. This method is cost-effective, time-saving, and incredibly satisfying. The sense of accomplishment you’ll feel after successfully completing a repair yourself is truly rewarding.
But the beauty of this DIY home repair doesn’t stop there. Feel free to experiment with variations to suit your specific needs and preferences. For instance, if you’re dealing with a larger hole, consider using a mesh patch for added reinforcement before applying the filler. If you’re working with a textured surface, you can use a sponge or brush to replicate the texture after the filler has dried. And for those who are feeling particularly creative, why not try adding a touch of color to the filler to match your existing paint? The possibilities are endless!
Don’t be afraid to get your hands dirty and embrace the DIY spirit. This is your chance to learn a valuable skill, save money, and take pride in your home. We are confident that with a little practice, you’ll be amazed at what you can achieve.
We wholeheartedly encourage you to try this DIY home repair trick and see the difference it can make in your home. Once you’ve given it a go, we’d love to hear about your experience! Share your before-and-after photos, tips, and any variations you’ve tried in the comments below. Let’s build a community of DIY enthusiasts who are passionate about maintaining their homes and sharing their knowledge with others. Your insights could be invaluable to someone else who’s just starting out on their DIY journey. So, grab your tools, gather your materials, and get ready to transform your home, one repair at a time. Happy DIY-ing!
Frequently Asked Questions (FAQ)
What types of surfaces is this DIY home repair trick suitable for?
This DIY home repair method is generally suitable for a wide range of surfaces, including drywall, plaster, wood, and even some types of concrete. However, it’s essential to assess the specific surface you’re working with before you begin. For example, if you’re repairing a hole in drywall, you’ll want to use a drywall filler or spackle. If you’re repairing a crack in wood, you’ll need a wood filler. For concrete, use a concrete patching compound. Always read the product instructions carefully to ensure it’s compatible with the surface you’re repairing. Also, consider the location of the repair. Interior walls will require different products than exterior walls that are exposed to the elements.
How do I choose the right type of filler for my repair?
Choosing the right filler is crucial for a successful repair. Consider the material you’re repairing (drywall, wood, plaster, etc.) and the size of the repair. For small holes and cracks in drywall, spackle is a good choice. For larger holes, you might need to use a drywall patch and then apply joint compound. For wood repairs, wood filler is specifically designed to bond with wood and can be sanded and stained. For plaster, use a plaster patching compound. Read the product descriptions carefully and choose a filler that is specifically designed for the material you’re working with. Also, consider whether the filler is paintable and sandable, as these are important factors for achieving a smooth, professional finish.
What tools do I need for this DIY home repair?
The basic tools you’ll need include:
* A putty knife or spackle knife (various sizes are helpful)
* Sandpaper (various grits, from coarse to fine)
* A sanding block or sponge
* A damp cloth or sponge
* A container for mixing filler (if necessary)
* A drop cloth or plastic sheeting to protect your work area
* Safety glasses and a dust mask (especially when sanding)
* A utility knife (for trimming patches)
* Primer and paint (to match your existing wall color)
Depending on the specific repair, you might also need a drill, screws, a mesh patch, or other specialized tools.
How do I prepare the surface before applying the filler?
Proper surface preparation is essential for a long-lasting repair. Start by cleaning the area around the damage with a damp cloth to remove any dirt, dust, or loose debris. If there are any loose pieces of drywall or plaster, carefully remove them with a utility knife or scraper. For larger holes, you might need to reinforce the area with a mesh patch. Make sure the patch is securely attached to the surrounding surface. If you’re repairing a crack, widen the crack slightly with a utility knife to create a better surface for the filler to adhere to. Finally, lightly sand the area around the damage to create a slightly rough surface that will help the filler bond.
How long does it take for the filler to dry?
Drying time varies depending on the type of filler you’re using, the size of the repair, and the humidity in the air. Generally, spackle and joint compound take several hours to dry, while some wood fillers can dry in as little as 30 minutes. Always check the product instructions for specific drying times. It’s important to let the filler dry completely before sanding or painting. If you try to sand or paint the filler before it’s dry, you’ll end up with a messy, uneven finish. You can speed up the drying process by using a fan or dehumidifier.
How do I sand the filler to create a smooth finish?
Once the filler is completely dry, use sandpaper to smooth out any imperfections. Start with a coarser grit sandpaper (e.g., 120-grit) to remove any large bumps or ridges. Then, switch to a finer grit sandpaper (e.g., 220-grit) to create a smooth, even surface. Use a sanding block or sponge to distribute the pressure evenly and avoid creating dips or gouges. Be careful not to sand too much, as this can remove the filler and expose the underlying surface. After sanding, wipe the area with a damp cloth to remove any dust.
How do I paint the repaired area to match the existing wall color?
Before painting, apply a coat of primer to the repaired area. This will help the paint adhere better and create a more uniform finish. Let the primer dry completely before painting. Then, use a high-quality paint that matches the existing wall color. Apply the paint in thin, even coats, allowing each coat to dry completely before applying the next. You may need to apply two or three coats to achieve full coverage. To blend the repaired area seamlessly with the surrounding wall, feather the edges of the paint.
What if I make a mistake?
Don’t worry, mistakes happen! If you apply too much filler, simply scrape off the excess with a putty knife before it dries. If you sand too much, you can always apply another coat of filler. The key is to be patient and take your time. If you’re really unhappy with the results, you can always start over. The beauty of DIY is that you have the freedom to experiment and learn from your mistakes.
Is this DIY home repair trick suitable for beginners?
Yes, this DIY home repair trick is definitely suitable for beginners. It’s a relatively simple and straightforward process that requires minimal tools and skills. However, it’s important to take your time, follow the instructions carefully, and don’t be afraid to ask for help if you need it. There are plenty of online resources and tutorials that can guide you through the process. With a little practice, you’ll be amazed at what you can achieve.
Where can I find the materials needed for this DIY home repair?
You can find all the materials you need at most hardware stores, home improvement centers, and online retailers. Look for products specifically designed for the type of repair you’re doing (e.g., drywall filler, wood filler, concrete patching compound). Don’t be afraid to ask for help from the store staff if you’re unsure which products to choose.
Leave a Comment