
Cheap cleaning products – who doesn’t love saving money while keeping their home sparkling? I know I do! For generations, resourceful homemakers have relied on simple, readily available ingredients to tackle dirt and grime. Think about it: our grandmothers and great-grandmothers didn’t have aisles overflowing with specialized cleaners. They used what they had – vinegar, baking soda, lemon – and their homes were spotless!
This tradition of DIY cleaning isn’t just about frugality; it’s about sustainability and knowing exactly what you’re bringing into your home. In a world saturated with harsh chemicals, many of us are seeking gentler, more natural alternatives. That’s where the magic of cheap cleaning products comes in.
But let’s be honest, sometimes the sheer volume of DIY cleaning recipes online can be overwhelming. Which ones actually work? Which are safe for my surfaces? That’s why I’ve put together this guide – to share my tried-and-true, budget-friendly cleaning hacks that will leave your home fresh and clean without breaking the bank. Get ready to ditch the expensive store-bought cleaners and embrace the power of simple, effective, and affordable cleaning!
DIY Oven Cleaner: A Sparkling Clean Oven Without Harsh Chemicals
Okay, let’s face it: cleaning the oven is probably the chore we all dread the most. The baked-on grease, the burnt food remnants – it’s a sticky, smelly mess. But what if I told you there’s a way to get your oven sparkling clean without resorting to those harsh, chemical-laden cleaners? That’s right! We’re going to make our own DIY oven cleaner using ingredients you probably already have in your pantry. This method is not only effective but also safer for you, your family, and the environment. So, grab your supplies, and let’s get started!
What You’ll Need:
Before we dive in, let’s gather all the necessary tools and ingredients. This will make the whole process smoother and more efficient.
* Baking Soda: This is our main cleaning agent. Baking soda is a mild alkali that helps to dissolve grease and grime.
* Water: We’ll use water to create a paste with the baking soda.
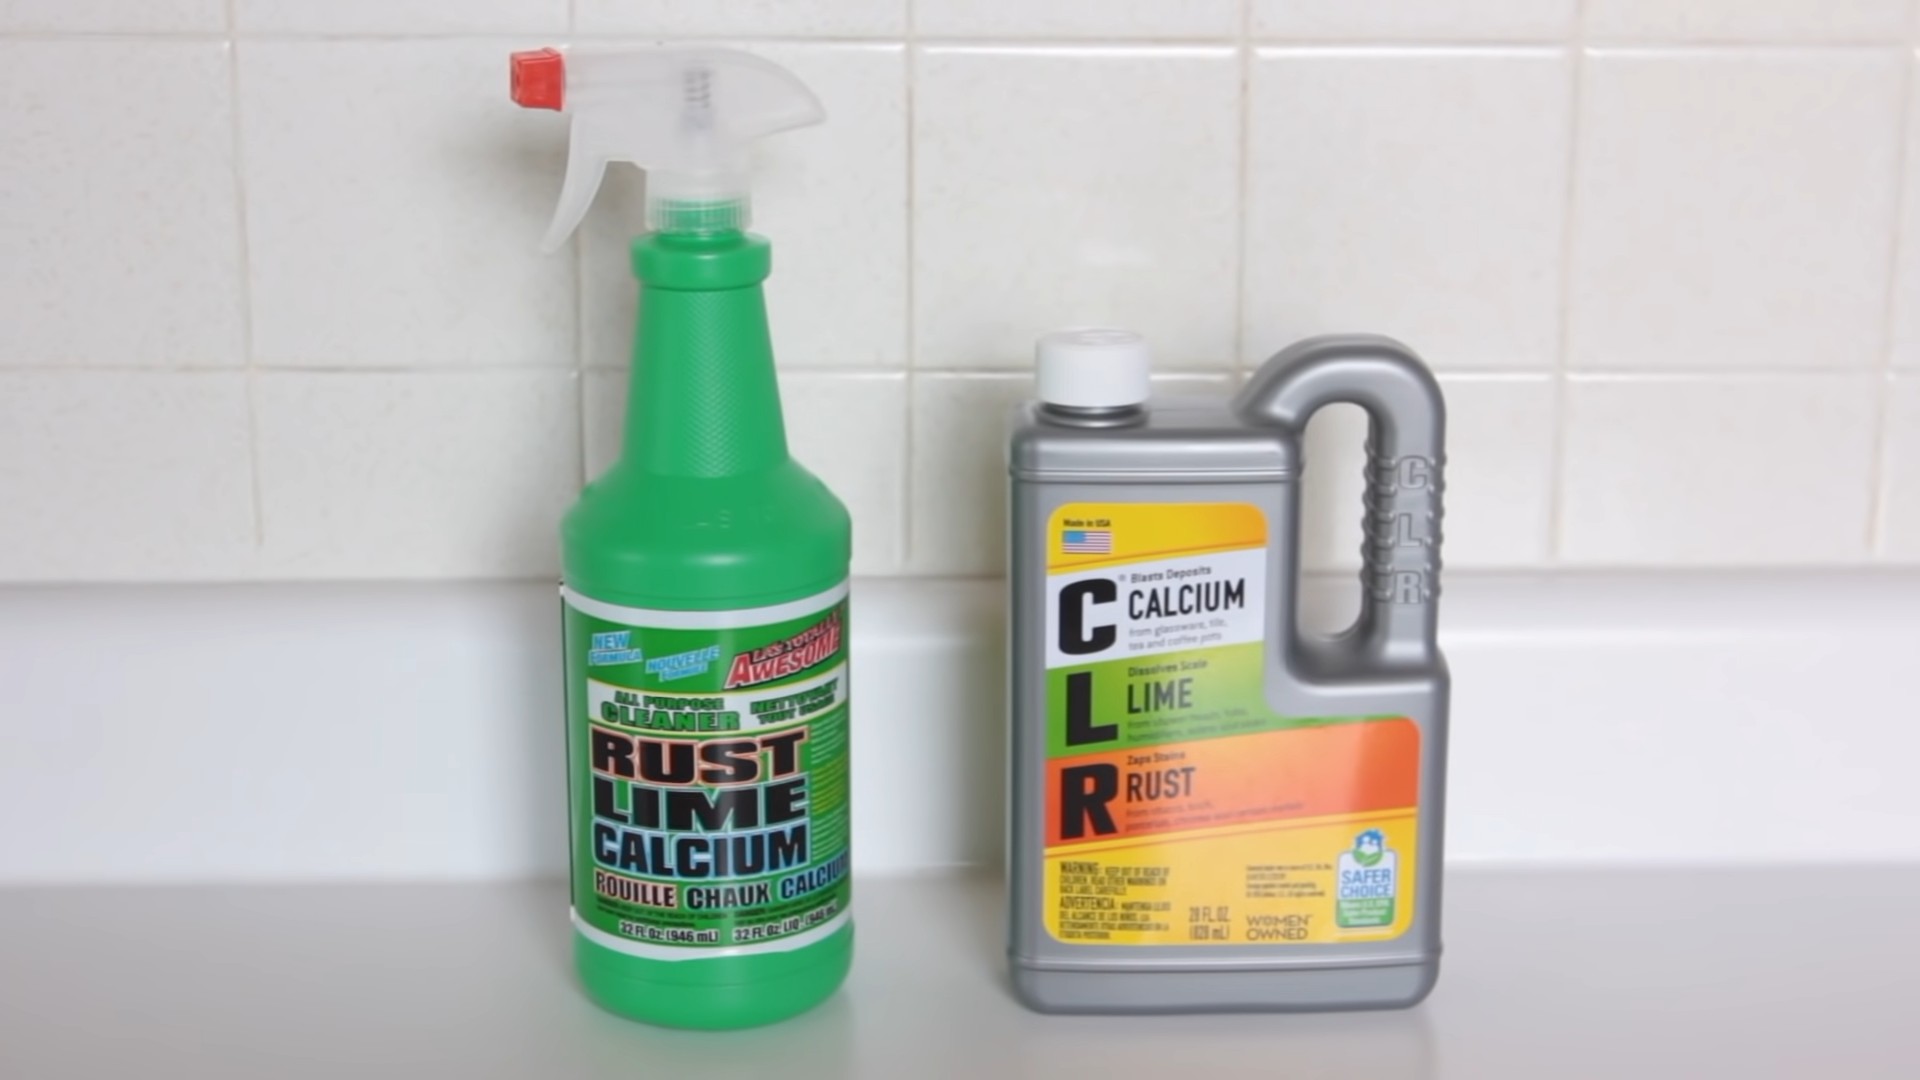
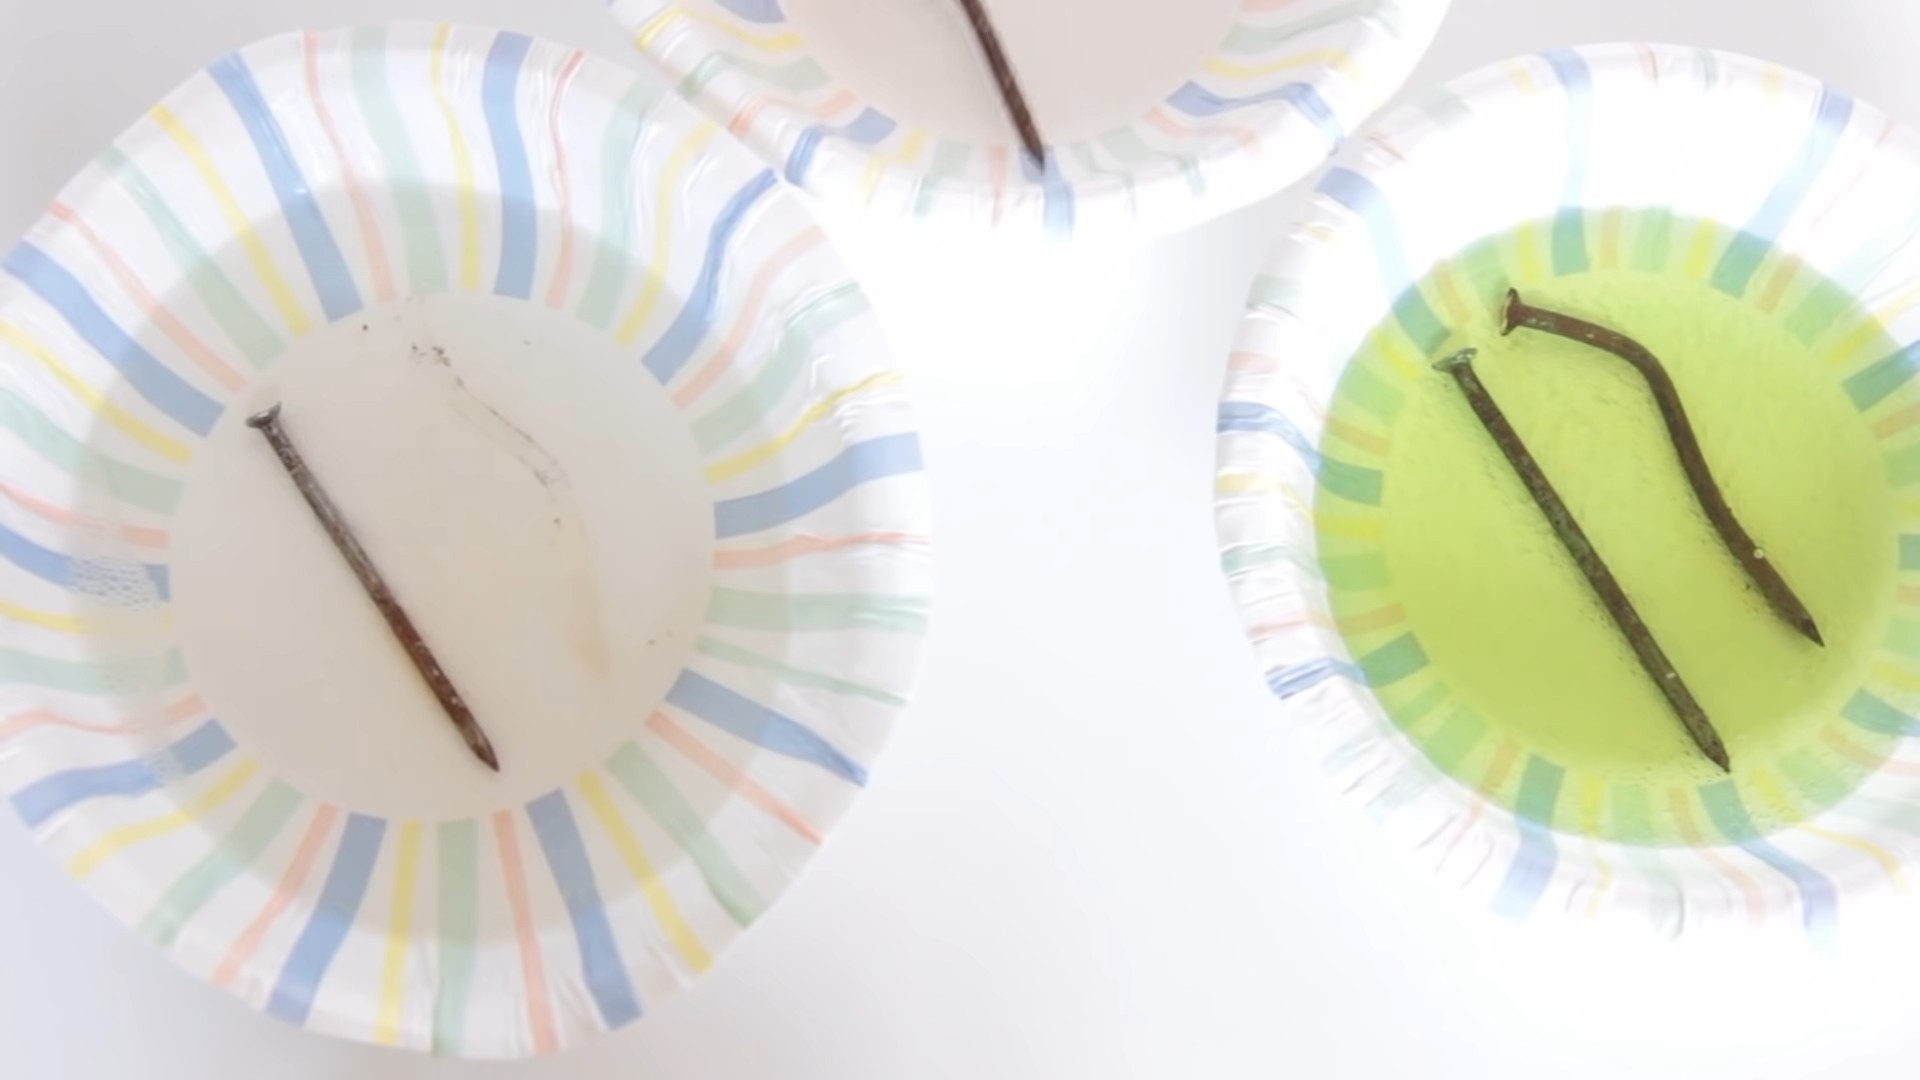
* White Vinegar: Vinegar is a natural disinfectant and helps to break down stubborn stains.
* Spray Bottle: For easy application of the vinegar.
* Spatula or Scraper: To help remove the baking soda paste after it’s done its job.
* Rubber Gloves: To protect your hands from the baking soda and vinegar.
* Old Rags or Sponges: For wiping down the oven.
* Bowl: For mixing the baking soda paste.
* Optional: Essential Oils (Lemon, Orange, or Tea Tree): For a fresh, clean scent.
Step-by-Step Instructions:
Now that we have everything we need, let’s get down to the nitty-gritty of cleaning that oven!
Phase 1: Preparing the Oven
1. Remove Oven Racks and Accessories: The first thing you need to do is take out all the oven racks, baking sheets, pizza stones, or anything else that’s inside your oven. We’ll clean these separately later.
2. Clean the Racks (Optional): If your oven racks are particularly grimy, you can soak them in a bathtub filled with hot, soapy water. Add a cup of baking soda to the water for extra cleaning power. Let them soak for a few hours, or even overnight, then scrub them clean with a brush or sponge. Alternatively, you can lay them on an old towel outside and spray them with oven cleaner (if you have some on hand and prefer to use it for this part). Rinse thoroughly.
3. Wipe Up Loose Debris: Use a damp cloth or paper towel to wipe up any loose crumbs, food particles, or spills from the bottom of the oven. This will help the baking soda paste adhere better.
Phase 2: Applying the Baking Soda Paste
1. Make the Baking Soda Paste: In your bowl, mix together ½ cup of baking soda and a few tablespoons of water. Add the water gradually until you form a thick, spreadable paste. You want it to be thick enough to stick to the oven walls but not so thick that it’s difficult to apply. If you want to add essential oils, now is the time. A few drops of lemon, orange, or tea tree oil will give your oven a fresh, clean scent.
2. Coat the Oven Interior: Using your hands (with rubber gloves on, of course!), spread the baking soda paste all over the inside of your oven. This includes the walls, the bottom, the top, and the door. Avoid the heating elements! You want a nice, even layer of paste covering all the greasy, dirty areas.
3. Be Generous with the Paste: Don’t be shy with the baking soda paste. The thicker the layer, the better it will work at loosening the grime. Pay special attention to areas with heavy buildup.
4. Leave it Overnight (or for at Least 12 Hours): This is the most important step! The baking soda needs time to work its magic. Let the paste sit in your oven for at least 12 hours, or even better, overnight. The longer it sits, the easier it will be to remove the grime.
Phase 3: Cleaning and Finishing Up
1. Wipe Away the Baking Soda Paste: After the baking soda has had its time to work, use a damp sponge or rag to wipe away as much of the paste as possible. You might need to use a spatula or scraper to loosen any stubborn areas.
2. Rinse Thoroughly: Once you’ve removed most of the baking soda paste, rinse the oven with a clean, damp cloth. You might need to rinse several times to remove all the residue.
3. Spray with Vinegar: Now, fill your spray bottle with white vinegar and spray it all over the inside of the oven. The vinegar will react with any remaining baking soda, creating a fizzing action that helps to loosen any remaining grime.
4. Wipe Again: After spraying with vinegar, wipe down the oven again with a clean, damp cloth. This will remove any remaining vinegar and baking soda residue.
5. Dry the Oven: Use a clean, dry cloth to dry the inside of the oven. This will prevent any water spots from forming.
6. Replace the Racks and Accessories: Once the oven is completely dry, replace the racks and any other accessories you removed earlier.
7. Optional: Run the Oven on Low Heat: To ensure the oven is completely dry and to eliminate any lingering odors, you can run it on low heat (around 200 degrees Fahrenheit) for about 15-20 minutes. Keep a close eye on it and make sure there’s no smoke or burning smell.
Tips and Tricks for a Sparkling Clean Oven:
* For Extra Stubborn Stains: If you have some really stubborn stains that just won’t budge, you can try making a stronger baking soda paste. Add a little bit of salt or cream of tartar to the paste for extra cleaning power.
* Clean Regularly: The best way to keep your oven clean is to clean it regularly. Try to wipe up any spills or splatters as soon as they happen. A quick wipe-down after each use can prevent buildup and make deep cleaning much easier.
* Use Oven Liners: Oven liners can help to catch spills and prevent them from baking onto the bottom of your oven. You can find reusable or disposable oven liners at most grocery stores.
* Self-Cleaning Ovens: If you have a self-cleaning oven, you can use this method as a supplement to the self-cleaning cycle. The DIY cleaner can help to loosen any stubborn grime before you run the self-cleaning cycle, making it more effective. However, be sure to remove all traces of the baking soda paste before running the self-cleaning cycle, as it can damage the oven.
* Ventilation is Key: When cleaning your oven, make sure you have good ventilation. Open a window or turn on the exhaust fan to help dissipate any odors.
* Safety First: Always wear rubber gloves when cleaning your oven to protect your hands from the baking soda and vinegar. Avoid getting the baking soda paste on the heating elements or the oven door seal.
Why This DIY Oven Cleaner Works:
The magic behind this DIY oven cleaner lies in the chemical reactions between the baking soda, water, and vinegar.
* Baking Soda (Sodium Bicarbonate): Baking soda is a mild alkali that helps to dissolve grease and grime. It’s also a gentle abrasive, which helps to scrub away stubborn stains.
* Water: Water acts as a solvent, helping to dissolve the baking soda and create a paste that can be easily applied to the oven surfaces.
* Vinegar (Acetic Acid): Vinegar is a mild acid that reacts with the baking soda, creating carbon dioxide gas. This fizzing action helps to loosen any remaining grime and lift it away from the oven surfaces.
The combination of these three ingredients creates a powerful cleaning solution that is both effective and safe. Unlike harsh chemical cleaners, this DIY cleaner doesn’t contain any harmful fumes or toxins, making it a much healthier option for you and your family.
Cleaning the Oven Door Glass:
The oven door glass can often be the dirtiest part of the oven. Here’s how to tackle it:
1. Apply Baking Soda Paste: Just like with the rest of the oven, apply a thick layer of baking soda paste to the inside of the oven door glass.
2. Let it Sit: Let the paste sit for at least 30 minutes, or even longer for stubborn stains.
3. Scrub Gently: Use a non-abrasive sponge or cloth to gently scrub the glass. Avoid using anything too harsh, as it could scratch the glass.
4. Wipe Clean: Wipe away the baking soda paste with a damp cloth.
5. Vinegar Spray: Spray the glass with white vinegar and wipe clean again.
6. Dry: Dry
Conclusion
So, there you have it! Ditching expensive, chemical-laden cleaners and embracing these simple, yet incredibly effective, DIY cleaning solutions is a game-changer for your home and your wallet. We’ve shown you how to create powerful cleaning agents using ingredients you likely already have in your pantry. From tackling stubborn grime to freshening up your living spaces, these recipes offer a natural and budget-friendly alternative to store-bought products.
Why is this a must-try? Because it’s not just about saving money; it’s about creating a healthier environment for yourself and your family. You’re reducing your exposure to harsh chemicals, minimizing plastic waste, and gaining a deeper understanding of what goes into keeping your home clean. Plus, the satisfaction of creating something yourself is an added bonus!
But the beauty of DIY lies in its adaptability. Feel free to experiment with different essential oils to customize the scents of your cleaners. For example, add a few drops of tea tree oil to your all-purpose cleaner for its antibacterial properties, or use lemon essential oil for a refreshing citrus scent. You can also adjust the ratios of ingredients to suit your specific cleaning needs. If you’re dealing with particularly stubborn stains, try increasing the concentration of vinegar or baking soda in your cleaning paste.
Consider these variations:
* Citrus Infusion: Infuse your vinegar with citrus peels (lemon, orange, grapefruit) for a few weeks before using it in your cleaners. This will add a pleasant scent and boost its cleaning power.
* Herb Power: Add fresh herbs like rosemary or thyme to your vinegar infusion for a more complex and aromatic cleaner.
* Borax Boost: For extra cleaning power on tough stains, add a tablespoon of borax to your all-purpose cleaner (use with caution and always wear gloves).
* DIY Dish Soap: Combine castile soap, water, and a few drops of essential oil for a gentle and effective dish soap.
We are confident that once you try these cheap cleaning products, you’ll never go back to buying expensive, store-bought alternatives. They are effective, eco-friendly, and incredibly affordable.
Now it’s your turn! We encourage you to try these DIY cleaning recipes and see the difference for yourself. Share your experiences, tips, and variations in the comments below. Let’s build a community of DIY cleaning enthusiasts and create a cleaner, healthier world together! We can’t wait to hear about your success stories and any creative twists you add to these recipes. Happy cleaning!
FAQ
What are the benefits of using DIY cleaning products?
DIY cleaning products offer a multitude of benefits. Firstly, they are significantly cheaper than store-bought alternatives. You’re using common household ingredients like vinegar, baking soda, and lemon juice, which are far more affordable than specialized cleaning solutions. Secondly, they are environmentally friendly. By making your own cleaners, you’re reducing your reliance on plastic packaging and minimizing the number of harsh chemicals released into the environment. Thirdly, they are healthier for you and your family. You’re avoiding exposure to potentially harmful chemicals found in commercial cleaners, which can cause skin irritation, respiratory problems, and other health issues. Finally, you have complete control over the ingredients, allowing you to customize your cleaners to suit your specific needs and preferences.
Are DIY cleaning products as effective as store-bought cleaners?
Yes, in many cases, DIY cleaning products can be just as effective, if not more so, than store-bought cleaners. Ingredients like vinegar and baking soda have natural cleaning and disinfecting properties that can tackle a wide range of household cleaning tasks. Vinegar is a great disinfectant and can cut through grease and grime. Baking soda is a mild abrasive that can scrub away stains and deodorize surfaces. Lemon juice is a natural degreaser and disinfectant. While some specialized cleaning tasks may require stronger solutions, for everyday cleaning, DIY products are more than capable.
What are some safety precautions I should take when making and using DIY cleaning products?
While DIY cleaning products are generally safer than commercial cleaners, it’s still important to take certain safety precautions. Always label your cleaning solutions clearly to avoid accidental ingestion or misuse. Store them in a safe place, out of reach of children and pets. Never mix bleach with vinegar or ammonia, as this can create toxic fumes. When using essential oils, be sure to dilute them properly, as they can be irritating to the skin and respiratory system in concentrated form. Wear gloves when cleaning, especially if you have sensitive skin. And always test your cleaning solution on a small, inconspicuous area first to ensure it doesn’t damage the surface.
Can I use essential oils in my DIY cleaning products?
Yes, essential oils can be a great addition to your DIY cleaning products. They not only add a pleasant scent but also offer additional cleaning and disinfecting properties. Some popular essential oils for cleaning include tea tree oil (antibacterial), lemon oil (degreasing), lavender oil (antiseptic), and eucalyptus oil (antiviral). When using essential oils, be sure to use them sparingly and dilute them properly. A few drops are usually sufficient for a standard-sized cleaning bottle. Also, be aware that some essential oils may not be safe for use around pets or pregnant women, so do your research before using them.
How long do DIY cleaning products last?
The shelf life of DIY cleaning products can vary depending on the ingredients used. Solutions made with water and essential oils may only last for a few weeks, as the water can become contaminated with bacteria over time. Solutions made with vinegar or alcohol will generally last longer, as these ingredients have natural preservative properties. To extend the shelf life of your DIY cleaners, store them in a cool, dark place and use clean containers. If you notice any changes in color, odor, or consistency, it’s best to discard the solution and make a fresh batch. As a general rule, it’s best to make your DIY cleaners in small batches and use them within a few months.
What surfaces can I clean with DIY cleaning products?
DIY cleaning products can be used on a wide variety of surfaces, but it’s important to test them on a small, inconspicuous area first to ensure they don’t cause any damage. Vinegar is generally safe for use on most surfaces, but it can damage natural stone, such as marble or granite. Baking soda is a mild abrasive that can be used to scrub away stains on sinks, tubs, and countertops, but it can scratch delicate surfaces. Lemon juice is a natural degreaser that can be used to clean greasy stovetops and ovens, but it can also bleach some surfaces. When in doubt, always test your cleaning solution on a small area first.
What are some common mistakes to avoid when making DIY cleaning products?
One common mistake is not labeling your cleaning solutions clearly. This can lead to accidental ingestion or misuse. Another mistake is mixing incompatible ingredients, such as bleach and vinegar, which can create toxic fumes. It’s also important to use the correct ratios of ingredients. Too much vinegar can damage some surfaces, while too little baking soda may not be effective at cleaning. Finally, be sure to store your DIY cleaners properly to prevent contamination and extend their shelf life.
Where can I find more information about DIY cleaning products?
There are many resources available online and in libraries that can provide more information about DIY cleaning products. You can find recipes, tips, and safety guidelines on websites dedicated to natural cleaning and sustainable living. You can also consult books and articles on the topic. Additionally, you can join online forums and communities where people share their experiences and ideas about DIY cleaning. Remember to always do your research and consult multiple sources before trying any new cleaning recipe.

Leave a Comment