
DIY vinegar cleaner recipe: it’s the secret weapon your grandmother swore by, and trust me, she was onto something! Forget those expensive, chemical-laden cleaners lining supermarket shelves. I’m about to let you in on a little secret that will not only save you money but also create a sparkling clean home using ingredients you probably already have in your pantry.
Vinegar’s cleaning prowess isn’t exactly new. In fact, its use dates back centuries! Ancient civilizations, from the Romans to the Egyptians, utilized vinegar for its disinfectant and cleaning properties. They understood its power long before we had fancy labels and marketing campaigns. It’s a testament to the effectiveness of simple, natural solutions.
But why should you bother with a DIY vinegar cleaner recipe in today’s world? Well, for starters, it’s incredibly budget-friendly. Think about how much you spend on cleaning supplies each month. This simple recipe can drastically reduce that expense. More importantly, it’s a fantastic way to reduce your exposure to harsh chemicals. Many commercial cleaners contain ingredients that can be harmful to your health and the environment. By making your own cleaner, you’re in control of what goes into your home and what you’re exposing yourself and your family to. Plus, it’s incredibly satisfying to create something useful and effective with your own two hands. So, let’s dive in and discover how easy it is to make your own powerful, all-natural cleaner!
DIY All-Purpose Vinegar Cleaner: Your Guide to a Sparkling Home
Hey there, fellow DIY enthusiasts! I’m so excited to share my go-to recipe for an all-purpose vinegar cleaner. It’s incredibly effective, super affordable, and eco-friendly 鈥?a triple win in my book! Forget those harsh chemicals and expensive store-bought cleaners. This simple solution will leave your home sparkling clean and smelling fresh (with a little help from essential oils, of course!).
What You’ll Need
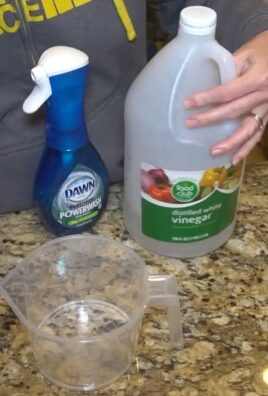
Before we dive in, let’s gather our supplies. This is a pretty straightforward recipe, so you probably already have most of these items on hand.
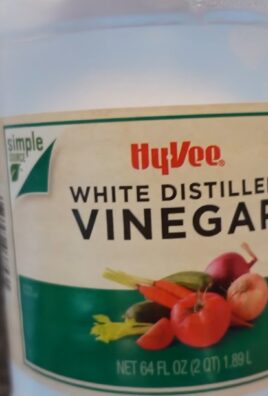
* White Distilled Vinegar: The star of the show! Make sure it’s white distilled vinegar, as other types might stain or leave unwanted residue.
* Water: Tap water is perfectly fine.
* Essential Oils (Optional): This is where you can customize your cleaner’s scent. I love using lemon, lavender, tea tree, or eucalyptus.
* Spray Bottle: A clean, empty spray bottle is essential for easy application.
* Measuring Cup or Spoons: For accurate measurements.
* Funnel (Optional): Makes pouring liquids into the spray bottle much easier and less messy.
* Baking Soda (Optional, for extra cleaning power): Great for tackling tough stains and grime.
Step-by-Step Instructions
Alright, let’s get down to business! Follow these steps, and you’ll have your own homemade all-purpose cleaner in no time.
1. Prepare Your Spray Bottle: Make sure your spray bottle is clean and dry. Any residue from previous cleaners could react with the vinegar. I usually rinse mine out with hot water and let it air dry completely.
2. Combine Vinegar and Water: This is where the magic happens! The standard ratio is a 1:1 mixture of vinegar and water. So, if you’re using a 16-ounce spray bottle, you’ll need 8 ounces of vinegar and 8 ounces of water. Pour the water into the spray bottle first, then add the vinegar. This helps to prevent excessive bubbling.
3. Add Essential Oils (Optional): Now for the fun part 鈥?scenting your cleaner! Essential oils not only make your cleaner smell amazing, but some also have antibacterial and antiviral properties. I usually add about 10-20 drops of essential oil per 16-ounce bottle. Start with a smaller amount and add more until you reach your desired scent strength. Here are some of my favorite combinations:
* Lemon and Tea Tree: A fresh, clean scent with antibacterial benefits.
* Lavender and Eucalyptus: Calming and refreshing, perfect for bathrooms.
* Orange and Clove: A warm, spicy scent that’s great for fall and winter.
* Peppermint and Rosemary: Invigorating and energizing, ideal for kitchens.
Important Note: Be careful when using essential oils around pets, as some can be toxic. Always do your research before using essential oils if you have furry friends.
4. Add Baking Soda (Optional, for extra cleaning power): If you’re dealing with tough stains or grime, adding a teaspoon of baking soda can give your cleaner an extra boost. Add the baking soda slowly to avoid excessive fizzing.
5. Shake Well: Once you’ve added all the ingredients, put the spray nozzle back on the bottle and shake well to combine everything.
6. Label Your Bottle: This is crucial! Clearly label your spray bottle as “Vinegar Cleaner” to avoid any confusion. You might also want to include the date you made it.
Using Your All-Purpose Vinegar Cleaner
Now that you have your homemade cleaner, let’s put it to work! Here are some of the surfaces you can safely clean with this solution:
* Countertops: This cleaner works great on most countertops, including laminate, tile, and sealed granite. However, avoid using it on marble or other porous surfaces, as the vinegar can etch the stone.
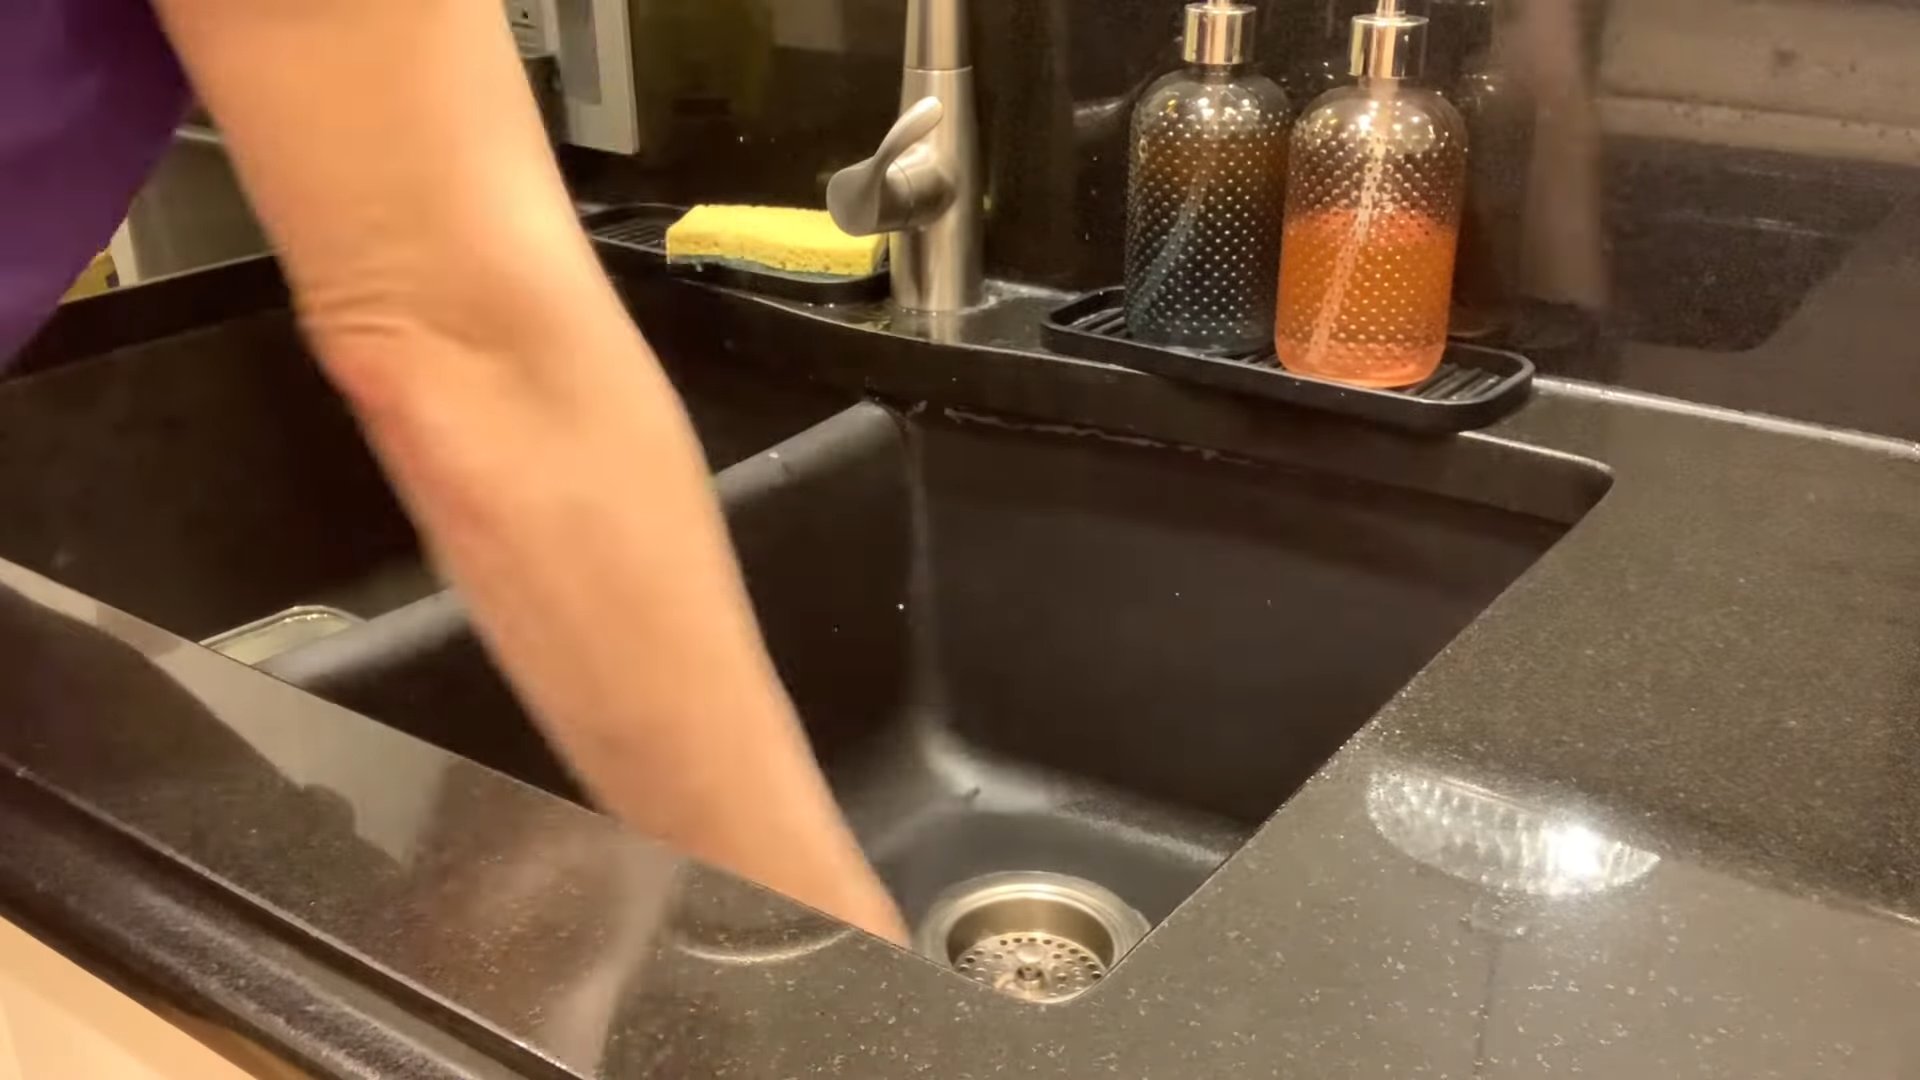
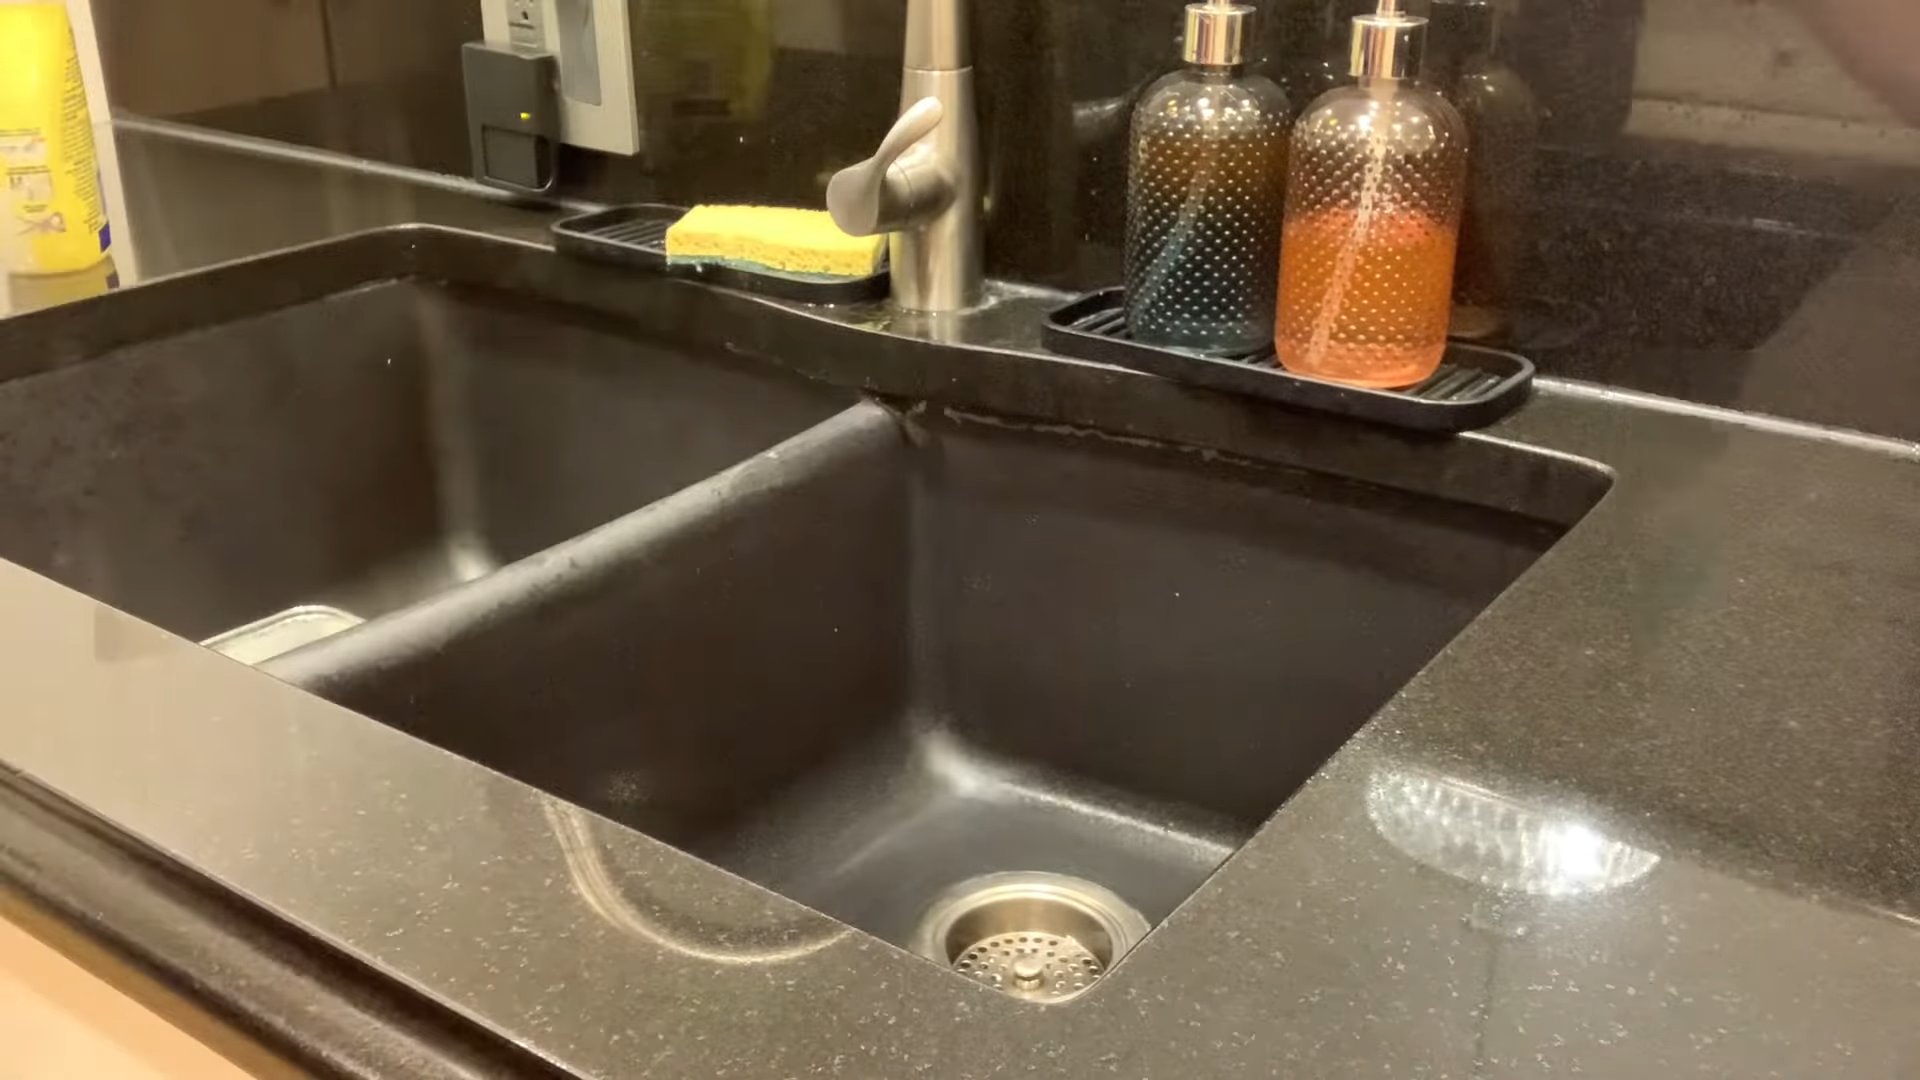
* Sinks: Vinegar is excellent for removing soap scum and hard water stains from sinks.
* Showers and Tubs: Say goodbye to mildew and grime! This cleaner will leave your shower and tub sparkling clean.
* Toilets: Vinegar is a natural disinfectant and deodorizer, making it perfect for cleaning toilets.
* Floors: You can use this cleaner on most hard floors, including tile, linoleum, and vinyl. However, avoid using it on hardwood floors, as the vinegar can damage the finish.
* Windows and Mirrors: Vinegar is a fantastic window cleaner! It leaves them streak-free and sparkling.
* Appliances: You can use this cleaner to wipe down the exterior of your appliances, such as your refrigerator, oven, and microwave.
Tips and Tricks for Maximum Cleaning Power
Here are a few extra tips and tricks to help you get the most out of your homemade vinegar cleaner:
* Test in an Inconspicuous Area: Before cleaning an entire surface, always test the cleaner in a small, inconspicuous area to make sure it doesn’t damage the material.
* Let it Sit: For tough stains, spray the cleaner on the affected area and let it sit for a few minutes before wiping it away.
* Use a Microfiber Cloth: Microfiber cloths are excellent for cleaning because they trap dirt and grime without leaving streaks.
* Rinse with Water: After cleaning, rinse the surface with clean water to remove any vinegar residue.
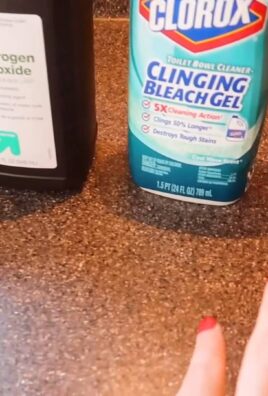
* Don’t Mix with Bleach: Never mix vinegar with bleach, as this can create toxic fumes.
* Store in a Cool, Dark Place: Store your vinegar cleaner in a cool, dark place to prolong its shelf life. It should last for several months.
* For extra stubborn grime on shower doors: I like to spray the doors with the vinegar cleaner, then sprinkle baking soda on a damp sponge and scrub. The combination is amazing!
Troubleshooting
Sometimes, things don’t go exactly as planned. Here are a few common issues you might encounter and how to fix them:
* Strong Vinegar Smell: If you find the vinegar smell too strong, try adding more essential oils or diluting the cleaner with more water. The vinegar smell will dissipate quickly after cleaning.
* Streaky Surfaces: If you’re getting streaks, try using a clean, dry microfiber cloth to buff the surface after cleaning. You might also be using too much cleaner.
* Clogged Spray Nozzle: If your spray nozzle gets clogged, try running it under hot water or soaking it in vinegar.
Vinegar Cleaner Variations
Want to get a little more creative? Here are a few variations on the basic vinegar cleaner recipe:
Citrus Infused Vinegar Cleaner
This variation adds a bright, citrusy scent and extra cleaning power.
1. Gather Citrus Peels: Save the peels from oranges, lemons, limes, or grapefruits.
2. Place Peels in a Jar: Put the citrus peels in a clean glass jar.
3. Cover with Vinegar: Pour white distilled vinegar over the peels, making sure they are completely submerged.
4. Seal and Steep: Seal the jar tightly and let it steep for 2-3 weeks in a cool, dark place.
5. Strain the Vinegar: After steeping, strain the vinegar through a cheesecloth or fine-mesh sieve to remove the peels.
6. Dilute and Use: Dilute the infused vinegar with water in a 1:1 ratio and use it as you would regular vinegar cleaner.
Herbal Infused Vinegar Cleaner
This variation adds a refreshing herbal scent and potential antibacterial benefits.
1. Gather Fresh Herbs: Use herbs like rosemary, thyme, lavender, or mint.
2. Place Herbs in a Jar: Put the fresh herbs in a clean glass jar.
3. Cover with Vinegar: Pour white distilled vinegar over the herbs, making sure they are completely submerged.
4. Seal and Steep: Seal the jar tightly and let it steep for 2-3 weeks in a cool, dark place.
5. Strain the Vinegar: After steeping, strain the vinegar through a cheesecloth or fine-mesh sieve to remove the herbs.
6. Dilute and Use: Dilute the infused vinegar with water in a 1:1 ratio and use it as you would regular vinegar cleaner.
Vinegar and Castile Soap Cleaner
This variation adds extra cleaning power and a gentle scent.
1. Combine Ingredients: In a spray bottle, combine 1/4 cup of white distilled vinegar, 1 tablespoon of liquid castile soap (like Dr. Bronner’s), and 1 3/4 cups of water.
2. Add Essential Oils (Optional): Add 10-20 drops of your favorite essential oils.
3. Shake Well:
Conclusion
So, there you have it! This simple, effective, and incredibly affordable DIY vinegar cleaner recipe is a game-changer for anyone looking to ditch harsh chemicals and embrace a more natural approach to cleaning. We’ve walked you through the easy steps, highlighted the versatility of this solution, and even offered some exciting variations to tailor it to your specific needs and preferences.
Why is this a must-try? Because it’s more than just a cleaner; it’s a conscious choice. It’s a step towards a healthier home, a lighter environmental footprint, and a fatter wallet. Think about it: no more trips to the store for expensive, brand-name cleaners packed with ingredients you can’t even pronounce. No more worrying about the fumes irritating your family or pets. Just pure, clean, and simple effectiveness.
But the benefits don’t stop there. Remember those stubborn hard water stains in your bathroom? Or the greasy buildup on your stovetop? This DIY vinegar cleaner tackles them all with surprising ease. And with the addition of essential oils, you can customize the scent to create a truly personalized cleaning experience. Lavender for a calming effect in the bedroom, citrus for an energizing boost in the kitchen 鈥?the possibilities are endless!
Consider these variations to elevate your DIY vinegar cleaner even further:
* **Infused Citrus Cleaner:** Steep citrus peels (lemon, orange, grapefruit) in the vinegar for a week or two before diluting. This adds a powerful cleaning punch and a delightful fragrance.
* **Herbal Infusion:** Add sprigs of rosemary, thyme, or mint to the vinegar for a refreshing and naturally antibacterial cleaner.
* **Baking Soda Boost:** For extra scrubbing power, sprinkle baking soda on surfaces before spraying with the vinegar cleaner. The fizzing action helps to lift dirt and grime.
* **Castile Soap Addition:** A small amount of castile soap (about a teaspoon per cup of diluted cleaner) can enhance the cleaning power, especially for greasy surfaces.
We truly believe that this DIY vinegar cleaner will revolutionize your cleaning routine. It’s a testament to the fact that simple solutions are often the most effective. It’s time to reclaim your cleaning power and create a healthier, happier home.
Now, we want to hear from you! Give this DIY vinegar cleaner recipe a try and share your experience in the comments below. What variations did you try? What surfaces did you clean? What were your results? Your feedback will not only help other readers but also inspire us to continue sharing valuable DIY tips and tricks. Let’s build a community of conscious cleaners, one spray bottle at a time! Don’t forget to share this article with your friends and family so they can experience the magic of DIY cleaning too. Let’s spread the word about this fantastic, eco-friendly, and budget-friendly cleaning solution!
Frequently Asked Questions (FAQ)
What kind of vinegar should I use for cleaning?
White distilled vinegar is the best choice for cleaning. It has a high acidity level (around 5%) which makes it effective at cutting through grease, grime, and bacteria. Avoid using other types of vinegar, such as apple cider vinegar or balsamic vinegar, as they may contain sugars or coloring that could leave a sticky residue or stain surfaces. The clear, odorless nature of white distilled vinegar makes it ideal for a wide range of cleaning tasks without leaving behind unwanted scents or discoloration.
Will vinegar damage certain surfaces?
While vinegar is a versatile cleaner, it’s not suitable for all surfaces. Avoid using it on natural stone surfaces like marble, granite, and limestone, as the acidity can etch and damage them. It’s also best to avoid using vinegar on waxed wood furniture, as it can strip the wax finish. Be cautious when using it on electronics screens, as the liquid can seep into the device and cause damage. Always test the vinegar cleaner on an inconspicuous area first to ensure it doesn’t cause any discoloration or damage. When in doubt, consult the manufacturer’s instructions for cleaning specific surfaces.
How do I get rid of the vinegar smell?
The vinegar smell is a common concern, but it dissipates quickly after cleaning. To minimize the odor, ensure proper ventilation by opening windows or turning on a fan. Adding essential oils to your DIY vinegar cleaner can also help mask the smell and leave a pleasant fragrance. Citrus oils like lemon, orange, and grapefruit are particularly effective at neutralizing the vinegar scent. You can also try rinsing the cleaned surface with plain water after wiping it down with the vinegar cleaner. The smell should disappear completely within a few hours, leaving your home fresh and clean.
Can I use this DIY vinegar cleaner on all types of floors?
It’s generally safe to use a diluted vinegar cleaner on sealed hardwood floors, tile floors, and laminate floors. However, avoid using it on unsealed wood floors, as the moisture can seep into the wood and cause damage. Always test the cleaner on an inconspicuous area first to ensure it doesn’t dull the finish or cause any discoloration. Use a microfiber mop or cloth to apply the cleaner and avoid oversaturating the floor. For best results, follow up with a dry mop or cloth to remove any excess moisture.
How long does the DIY vinegar cleaner last?
The DIY vinegar cleaner has a long shelf life and can last indefinitely when stored properly. Keep it in a cool, dark place away from direct sunlight. The acidity of the vinegar acts as a natural preservative, preventing the growth of bacteria and mold. However, if you add essential oils or other ingredients, the scent may fade over time. It’s best to use the cleaner within a few months to ensure the fragrance remains strong. Always check the cleaner for any signs of spoilage, such as discoloration or a foul odor, before using it.
Can I use this cleaner to disinfect surfaces?
While vinegar has some antibacterial properties, it’s not as effective as commercial disinfectants at killing all types of germs and viruses. For disinfecting surfaces, especially in areas prone to bacteria growth like bathrooms and kitchens, consider using a stronger disinfectant. However, the DIY vinegar cleaner is still a great option for general cleaning and removing dirt, grime, and grease. It can also help to inhibit the growth of mold and mildew. For a more powerful disinfecting solution, you can combine vinegar with hydrogen peroxide, but never mix them directly in the same container, as this can create a harmful gas.
Is it safe to use vinegar cleaner around pets and children?
Yes, the DIY vinegar cleaner is generally safe to use around pets and children, as it doesn’t contain harsh chemicals or toxic ingredients. However, it’s still important to take precautions to prevent accidental ingestion. Keep the cleaner out of reach of children and pets, and avoid spraying it directly on them. If your pet or child ingests the cleaner, it may cause mild irritation or upset stomach. Contact your veterinarian or doctor if you have any concerns. Always supervise children when they are helping with cleaning tasks.
Can I use this cleaner in my laundry?
Yes, vinegar can be a great addition to your laundry routine. You can add a cup of vinegar to the washing machine during the rinse cycle to help soften clothes, remove odors, and brighten colors. It can also help to remove detergent residue and prevent static cling. Vinegar is a natural alternative to fabric softeners and dryer sheets. However, avoid using vinegar with bleach, as this can create a harmful gas.
What essential oils work best in this DIY cleaner?
Many essential oils work well in a DIY vinegar cleaner, depending on your preferences and desired benefits. Some popular choices include:
* **Lemon:** For a fresh, citrusy scent and degreasing properties.
* **Tea Tree:** For its antibacterial and antifungal properties.
* **Lavender:** For a calming scent and antiseptic properties.
* **Eucalyptus:** For a refreshing scent and antibacterial properties.
* **Peppermint:** For a invigorating scent and insect-repelling properties.
Experiment with different combinations to find your favorite scent. Start with a few drops and adjust to your liking. Always use pure, high-quality essential oils for the best results.
Leave a Comment