
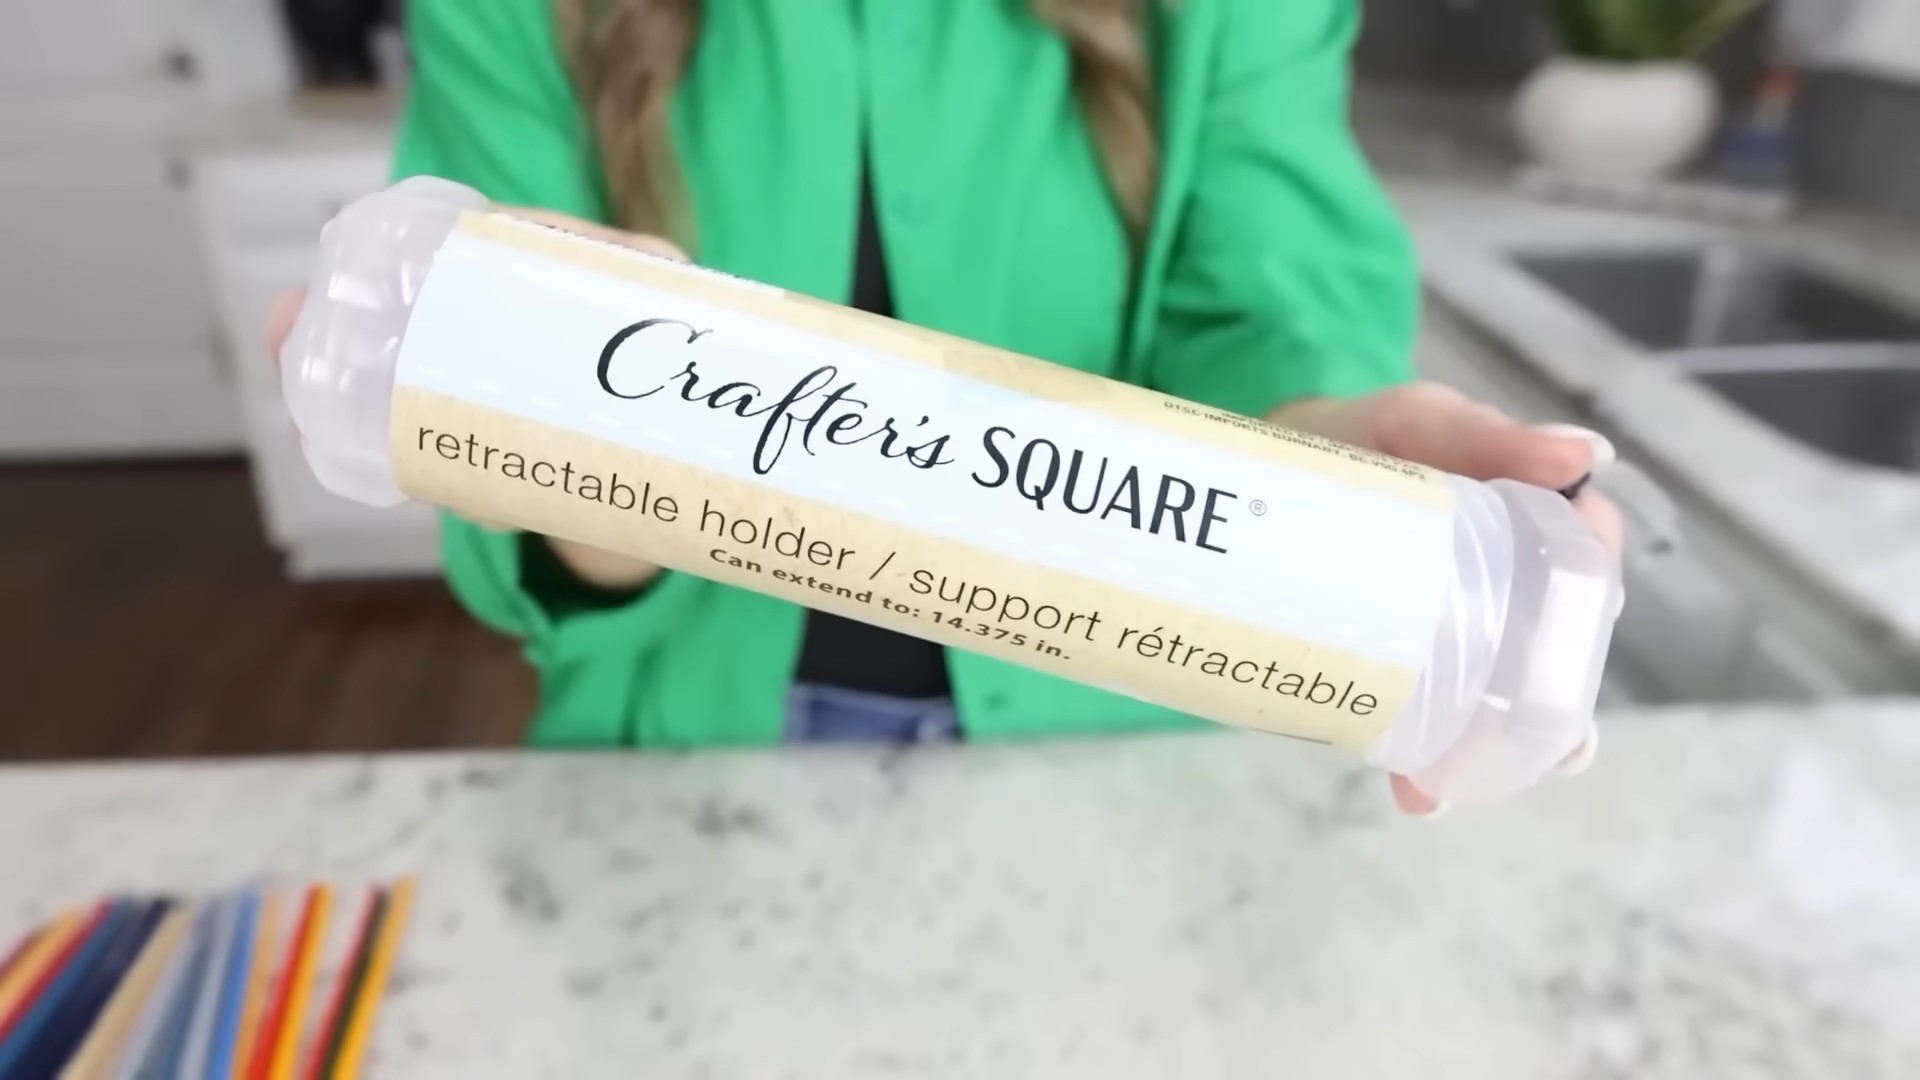
DIY Space-Saving Paint Brush Holder
I love gardening, but let’s be honest, one of the biggest challenges is keeping everything organized! That’s why I’m so excited to share this fantastic DIY space-saving paint brush holder project with you. It’s a simple, yet incredibly effective solution to a common problem faced by home gardeners – where to store all those paintbrushes after a long day of tending to your beautiful plants and flowerbeds. We’ve all been there, haven’t we? Paintbrushes strewn across the workbench, bristles getting damaged, and the whole area looking cluttered.
The history of gardening tools is rich and varied, reflecting the evolution of agricultural practices across cultures. While paintbrushes might not be the oldest gardening tool, their importance in tasks like seed starting, plant marking, and even decorative painting of pots is undeniable. Finding a way to efficiently store these essential tools is crucial for maintaining a productive and enjoyable gardening experience.
This DIY space-saving paint brush holder isn’t just about tidiness; it’s about protecting your investment. Properly stored brushes last longer, maintaining their shape and usability. A well-organized workspace also contributes to a more efficient and enjoyable gardening process. You’ll spend less time searching for the right brush and more time enjoying the fruits (and flowers!) of your labor. This project is perfect for both seasoned gardeners and enthusiastic beginners alike, offering a practical and aesthetically pleasing solution to a common problem. So, let’s get started and create your own custom DIY space-saving paint brush holder!
Building a Custom Bookshelf from Reclaimed Wood
I love the look of reclaimed wood, and I’ve always wanted a unique bookshelf. So, I decided to build my own! This project took a bit of time, but the result is a beautiful, one-of-a-kind piece of furniture that I’m incredibly proud of. Here’s how I did it:
Gathering Your Materials
- Reclaimed wood planks (I used about 10-12, varying lengths and widths, but aim for a consistent thickness). Make sure the wood is clean and dry.
- Wood glue
- Wood screws (various lengths depending on the thickness of your planks)
- Wood filler
- Sandpaper (various grits, starting with coarser and moving to finer)
- Wood stain (your choice of color)
- Polyurethane sealant (clear or satin)
- Measuring tape
- Level
- Drill with drill bits (matching your screw sizes)
- Safety glasses
- Work gloves
- Clamps (several, to hold the wood together while the glue dries)
- Putty knife
- Brushes (for stain and sealant)
- Drop cloths or old newspapers to protect your work area
Preparing the Wood
1. Clean the wood: Before you start, thoroughly clean your reclaimed wood planks. I used a stiff brush and a damp cloth to remove any dirt, debris, or loose pieces of bark. Let them dry completely.
2. Assess and cut: Lay out your planks to visualize your bookshelf design. I wanted a slightly asymmetrical look, so I didn’t worry about perfectly matching lengths. However, you’ll need to cut some planks to size to create the shelves and sides. Use a saw (circular saw or hand saw, depending on your comfort level and the wood’s thickness) to make your cuts. Always wear safety glasses when using power tools.
3. Sand the wood: Once you have all your pieces cut, sand each one thoroughly. Start with a coarser grit sandpaper (around 80-100 grit) to remove any rough spots or imperfections. Then, gradually move to finer grits (120, 180, and finally 220 grit) for a smooth finish. Sand in the direction of the wood grain to avoid scratches.
Assembling the Bookshelf
1. Apply glue and assemble the sides: I chose to build the sides of my bookshelf first. Apply a generous amount of wood glue to the ends of the vertical planks that will form the sides. Carefully align them and clamp them together tightly. Let the glue dry completely according to the manufacturer’s instructions (usually around 30-60 minutes).
2. Attach the shelves: Once the sides are dry, position your shelves between the side supports. Apply wood glue to the top and bottom edges of each shelf where it meets the sides. Pre-drill pilot holes to prevent the wood from splitting when you screw it in. Then, secure the shelves to the sides using wood screws. Make sure the shelves are level using a level. Clamp the shelves in place while the glue dries.
3. Fill any gaps: Once the glue is dry, inspect your bookshelf for any gaps or imperfections. Use wood filler to fill any gaps between the planks. Let the filler dry completely, then sand it smooth.
Finishing Touches
1. Stain the wood: Once the wood filler is dry and sanded, apply your chosen wood stain. Follow the manufacturer’s instructions for application and drying time. I applied two coats for a richer color. Make sure to work in a well-ventilated area.
2. Seal the wood: After the stain has dried completely, apply a coat of polyurethane sealant. This will protect your bookshelf from moisture and wear. I used a satin finish, but you can choose a clear or gloss finish depending on your preference. Again, apply two coats for better protection. Let each coat dry completely before applying the next.
3. Clean up: Once the sealant is dry, clean up any excess stain or sealant with a damp cloth. Your custom bookshelf is now ready to be enjoyed!
Troubleshooting
Uneven Shelves
If your shelves are uneven after assembly, you can use shims (small pieces of wood) to level them before screwing them in place.
Gaps Between Planks
Larger gaps can be filled with wood filler. For smaller gaps, you can use wood glue and clamps to close them before the stain and sealant are applied.
Wood Splitting
Always pre-drill pilot holes before screwing into the wood, especially when using hardwoods. This will prevent the wood from splitting.
Safety First
Remember to always wear safety glasses and work gloves when using power tools or working with wood. Work in a well-ventilated area when using stains and sealants. Take your time and enjoy the process! Building your own bookshelf is a rewarding experience.
Conclusion
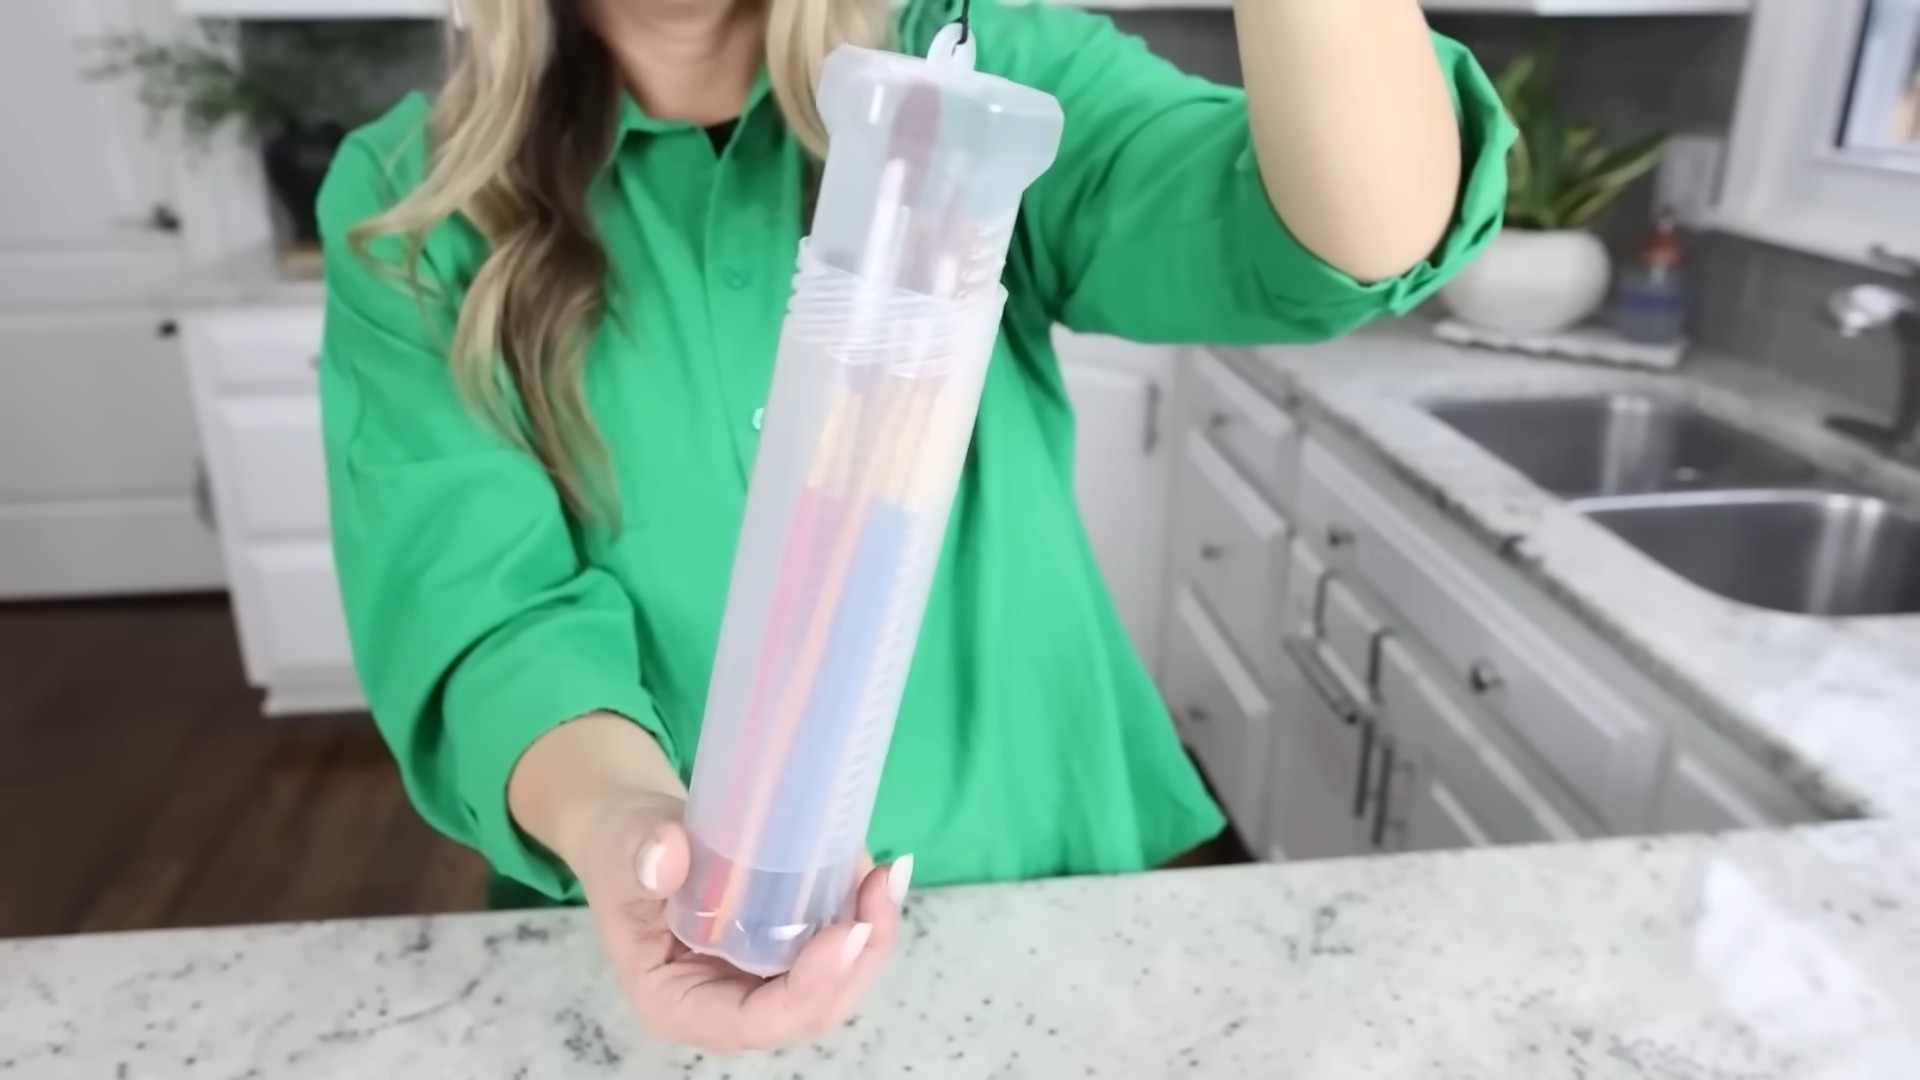
So there you have it – a simple, effective, and incredibly satisfying DIY space-saving paint brush holder! This project proves that sometimes the most ingenious solutions are the simplest. By repurposing everyday items, you not only save valuable space in your craft room or garage, but you also reduce waste and add a touch of personalized organization to your workspace. This method is far superior to bulky, store-bought holders that often cost a fortune and take up unnecessary room. The beauty of this DIY space-saving paint brush holder lies in its adaptability. You can customize it to fit your specific needs and the size of your brushes, making it a truly versatile solution for any artist or DIY enthusiast. The satisfaction of creating something functional and beautiful from recycled materials is unparalleled. It’s a project that combines practicality with a sense of accomplishment, leaving you with a clean, organized space and a renewed sense of creativity. This DIY project is a must-try for anyone looking to declutter and optimize their workspace. It’s a perfect weekend project, requiring minimal time, effort, and resources.
Beyond the basic design, the possibilities are endless. Experiment with different materials! Try using a wider or narrower container depending on your brush collection. Consider painting your holder to match your existing décor or adding decorative elements like ribbon or stencils for a more personalized touch. If you have a large collection of very long brushes, you might consider using a taller container, perhaps even a repurposed vase or a cylindrical tin. For smaller brushes, a smaller container like a spice jar or a repurposed food can will work perfectly. Don’t be afraid to get creative and adapt the design to suit your individual preferences and the specific dimensions of your brushes. The key is to find a container that securely holds your brushes upright, preventing them from falling over and damaging the bristles.
We strongly encourage you to try this DIY space-saving paint brush holder and share your experience with us! Show us your creations on social media using #DIYBrushHolder and tag us – we’d love to see your unique designs and variations. Your feedback and photos will inspire others to embark on this simple yet rewarding project. Let’s create a community of crafty individuals who are passionate about organization, sustainability, and clever DIY solutions. Remember, the best part of DIY projects is the personal touch and the satisfaction of transforming something ordinary into something extraordinary. So grab those recycled containers, gather your brushes, and get ready to experience the joy of a well-organized and aesthetically pleasing workspace. You won’t regret it!
Frequently Asked Questions
What types of containers can I use for this DIY project?
Almost any container that’s deep enough to hold your paintbrushes upright will work! Think about repurposing things you already have around the house. Examples include: empty tin cans (thoroughly cleaned!), glass jars (like those used for spices or pasta sauce), plastic containers, PVC pipes (cut to the desired length), or even decorative vases. The key is to choose a container that is stable and won’t easily tip over.
How do I prevent the brushes from getting damaged?
To prevent damage, ensure the container is deep enough to hold the brushes securely without their bristles touching the bottom. You can also add a layer of padding at the bottom of the container, such as a piece of foam or a soft cloth, to cushion the brushes and absorb any excess paint. Avoid using containers with sharp edges or rough surfaces that could scratch or damage the brush handles.
Can I use this method for other types of art supplies?
Absolutely! This method isn’t limited to paintbrushes. You can adapt it to store other art supplies like pencils, markers, calligraphy pens, or even knitting needles. Just make sure the container is appropriately sized and the items are stored securely to prevent damage.
What if my brushes are different sizes?
That’s perfectly fine! The beauty of this DIY project is its adaptability. You can use a container that’s wide enough to accommodate brushes of varying sizes. You might even consider using dividers or small containers within the larger container to separate brushes by size or type.
What if I don’t have any suitable containers at home?
Don’t worry! You can easily find suitable containers at thrift stores, dollar stores, or even recycling centers. Look for containers that are sturdy, clean, and the right size for your brushes. Remember, the more creative you are with repurposing, the more unique and personalized your brush holder will be!
How do I clean the container before using it?
Thoroughly wash and dry any container you choose to use. If it’s a recycled container, make sure to remove any food residue or labels completely. For metal containers, you might want to consider using a mild abrasive cleaner to remove any stubborn stains or residue. Ensure the container is completely dry before adding your paintbrushes to prevent mold or mildew.
Can I customize the look of my DIY paint brush holder?
Absolutely! Once you’ve created your basic brush holder, you can personalize it to match your style and décor. Consider painting it, adding decorative elements like ribbon or stencils, or even decoupaging it with fabric or paper. Let your creativity shine and make your brush holder a unique reflection of your personality.
Leave a Comment