
Fast cleaning tricks – who doesn’t want them? Let’s be honest, spending hours scrubbing and tidying isn’t exactly anyone’s idea of a good time. We all crave a sparkling clean home, but the thought of the effort involved can be seriously daunting. From the ancient Romans, who meticulously cleaned their bathhouses with pumice stones and olive oil, to the modern-day Marie Kondo, the quest for efficient cleaning has been a constant throughout history.
But what if I told you that you could reclaim your weekends and still have a spotless sanctuary? This article is your ultimate guide to unlocking the secrets of lightning-fast cleaning. Forget those all-day cleaning marathons! I’m going to share my favorite DIY hacks and time-saving techniques that will transform your cleaning routine from a chore into a breeze.
In today’s busy world, time is precious. These fast cleaning tricks are essential because they allow you to maintain a healthy and comfortable living space without sacrificing your valuable free time. Imagine spending less time cleaning and more time doing the things you love – reading a book, spending time with family, or pursuing your hobbies. Sounds good, right? So, let’s dive in and discover how to make your home sparkle in record time!
DIY Speed Cleaning: Conquer Your Home in Record Time!
Okay, let’s be honest, nobody *really* enjoys cleaning. But sometimes, life gets hectic, and you need to whip your house into shape, FAST. I’m going to share my favorite speed cleaning hacks that will leave your home looking and feeling fresh, without sacrificing your entire weekend. Get ready to reclaim your time!
The Speed Cleaning Mindset
Before we dive into the nitty-gritty, let’s talk strategy. Speed cleaning isn’t about perfection; it’s about efficiency. It’s about making the biggest impact in the shortest amount of time. Think of it as damage control, not a deep clean.
* Prioritize: Focus on the areas that make the biggest difference visually. Think entryway, living room, kitchen counters, and bathrooms.
* Gather Your Supplies: Having everything you need within arm’s reach is crucial. No running back and forth for cleaning solutions!
* Set a Timer: This keeps you on track and prevents you from getting bogged down in one area. I like to use my phone and set it for 20-30 minute bursts.
* Multi-task: While waiting for a cleaner to soak, tackle another task nearby.
* Don’t Get Distracted: Resist the urge to check your phone or start a new project. Focus on the task at hand.
Essential Cleaning Supplies for Speed Cleaning
Having the right tools makes all the difference. Here’s my go-to arsenal:
* All-Purpose Cleaner: A good all-purpose cleaner is your best friend. I prefer a spray bottle for easy application.
* Glass Cleaner: For streak-free windows and mirrors.
* Bathroom Cleaner: Specifically designed for tackling soap scum and grime.
* Disinfectant Wipes: Perfect for quick wipe-downs of high-touch surfaces.
* Microfiber Cloths: These are super absorbent and won’t leave lint behind.
* Paper Towels: For those extra messy situations.
* Dusting Spray: To quickly remove dust from furniture and surfaces.
* Vacuum Cleaner: A lightweight vacuum is essential for quick floor cleanups.
* Mop: For tackling spills and dirty floors.
* Cleaning Caddy or Bucket: To keep all your supplies organized and portable.
* Trash Bags: For quick disposal of clutter and debris.
* Rubber Gloves: Protect your hands from harsh chemicals.
Speed Cleaning Checklist: Room by Room
Now, let’s get down to business! I’ll walk you through my speed cleaning routine, room by room.
The Entryway: First Impressions Matter
The entryway is the first thing guests see, so it’s important to make a good impression.
1. Declutter: Toss any junk mail, shoes, or coats that don’t belong. Place shoes neatly on a rack or in a basket.
2. Wipe Down Surfaces: Use an all-purpose cleaner to wipe down any tables, shelves, or benches.
3. Sweep or Vacuum: Quickly sweep or vacuum the floor to remove dirt and debris.
4. Mirror Check: Give the entryway mirror a quick wipe with glass cleaner.
The Living Room: The Heart of the Home
The living room is where you relax and entertain, so it needs to be inviting.
1. Fluff and Arrange: Fluff pillows and throws on the sofa and chairs. Arrange them neatly for a polished look.
2. Clear Surfaces: Remove clutter from coffee tables, end tables, and shelves. Place items in their designated spots or in a basket for later sorting.
3. Dust: Use a dusting spray and microfiber cloth to quickly dust furniture, shelves, and picture frames.
4. Vacuum or Sweep: Vacuum or sweep the floor, paying attention to high-traffic areas.
5. Spot Clean: Address any spills or stains on the carpet or upholstery with a spot cleaner.
The Kitchen: The Hub of Activity
The kitchen is often the busiest room in the house, so it can quickly become messy.
1. Clear the Counters: Remove everything from the countertops. This is the most important step!
2. Wipe Down Counters and Backsplash: Use an all-purpose cleaner to wipe down the countertops and backsplash. Pay attention to spills and splatters.
3. Clean the Sink: Scrub the sink with a cleaning brush and dish soap. Rinse thoroughly.
4. Wipe Down Appliances: Wipe down the exterior of the refrigerator, oven, and dishwasher with an all-purpose cleaner.
5. Sweep or Mop: Sweep or mop the floor to remove crumbs and spills.
6. Quick Dish Wash: Load the dishwasher or quickly wash any dishes in the sink. Even a quick rinse and stack makes a huge difference.
The Bathroom: A Sanctuary of Cleanliness
A clean bathroom is essential for hygiene and relaxation.
1. Spray and Soak: Spray the shower and toilet with bathroom cleaner and let it soak for a few minutes.
2. Wipe Down Surfaces: Wipe down the countertops, sink, and mirror with an all-purpose cleaner.
3. Scrub the Toilet: Scrub the toilet bowl with a toilet brush and flush.
4. Clean the Shower: Scrub the shower walls and floor with a cleaning brush or sponge. Rinse thoroughly.
5. Wipe Down the Floor: Wipe down the bathroom floor with a damp mop or disinfectant wipes.
6. Replace Towels: Hang fresh towels for a clean and inviting look.
Speed Cleaning Hacks: Pro Tips for Maximum Efficiency
Here are a few extra tricks I’ve learned over the years to make speed cleaning even faster and more effective:
* Shower Power: Keep a spray bottle of vinegar and water in your shower. After each shower, give the walls and door a quick spray to prevent soap scum buildup.
* Microwave Magic: To clean a dirty microwave, place a bowl of water with a few slices of lemon inside and microwave for 3-5 minutes. The steam will loosen the grime, making it easy to wipe clean.
* Dusting Delight: Use a dryer sheet to dust furniture and electronics. The dryer sheet will repel dust and leave a fresh scent.
* Mirror, Mirror: Use coffee filters to clean mirrors and windows. They won’t leave streaks like paper towels.
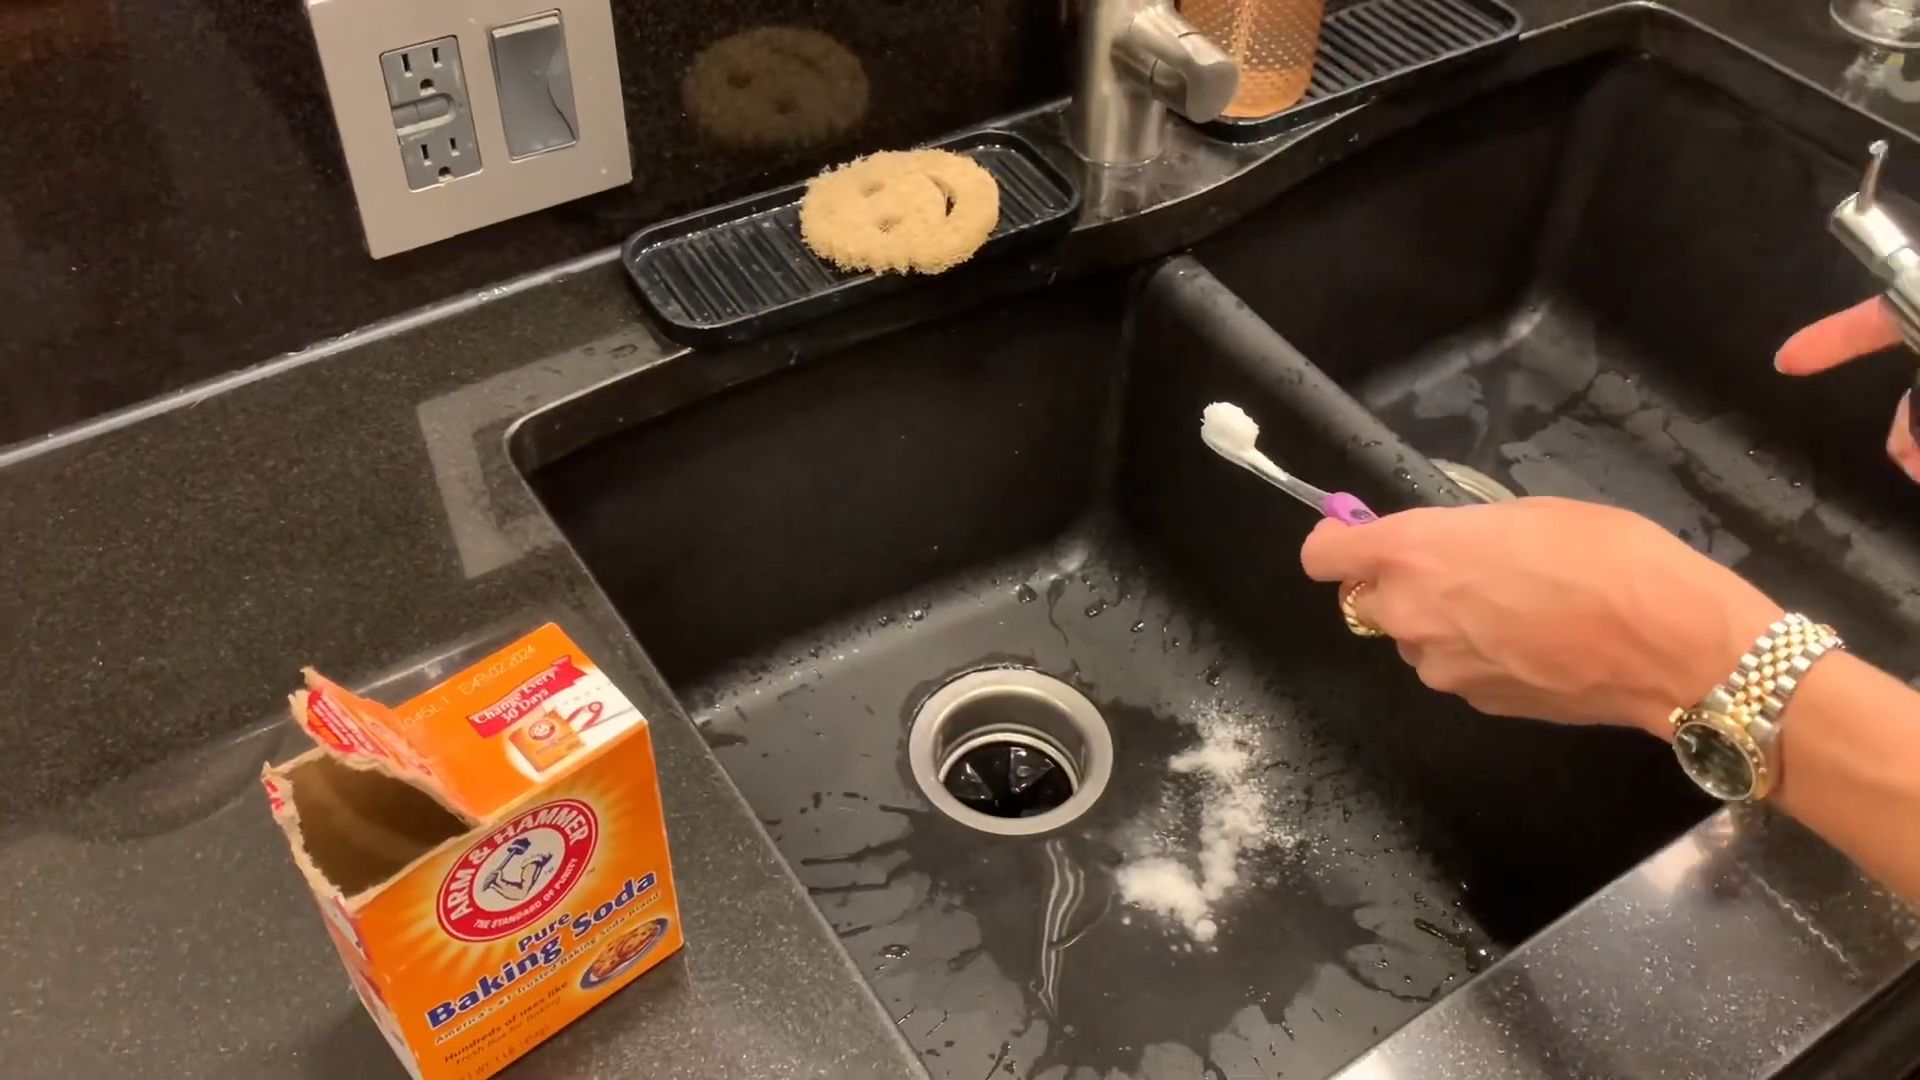
* Garbage Disposal Refresh: Toss a few lemon or lime wedges into the garbage disposal and run it with cold water to freshen it up.
* Hidden Clutter Baskets: Keep decorative baskets in strategic locations to quickly stash clutter when guests are coming over. You can sort through them later.
* The Power of Music: Put on some upbeat music to make cleaning more enjoyable and keep you motivated.
* Enlist Help: If you have family members, delegate tasks to them. Even small children can help with simple tasks like putting away toys.
* Preventative Measures: The best way to speed clean is to prevent messes in the first place. Wipe up spills immediately, put things away after you use them, and make it a habit to declutter regularly.
* Focus on the “Hot Spots”: Identify the areas in your home that tend to get the messiest the quickest. For me, it’s the kitchen counter and the entryway. By focusing on these areas regularly, you can prevent them from becoming overwhelming.
* Use a Cleaning Schedule: Even a simple cleaning schedule can help you stay on top of things. Break down cleaning tasks into smaller, manageable chunks and assign them to specific days of the week.
* Don’t Be Afraid to Delegate: If you’re really short on time or simply don’t enjoy cleaning, consider hiring a cleaning service. Even a once-a-month cleaning can make a big difference.
* Embrace Imperfection: Remember, speed cleaning is about making your home look presentable, not perfect. Don’t get bogged down in the details. Focus on the big picture and celebrate your progress.
* Invest in Good Tools: A good quality vacuum cleaner, mop, and microfiber cloths can make cleaning much easier and more efficient.
* Make it a Habit: The more you speed clean, the faster and easier it will become. Try to incorporate speed cleaning into your routine a few times a week.
* Reward Yourself: After you’ve finished speed cleaning, reward yourself with something you enjoy, like a relaxing bath, a good book, or a cup of coffee. This will help you stay motivated to keep your home clean.
Maintaining Your Speed Cleaning Success
The key to keeping your home looking great is to maintain your speed cleaning efforts. Here’s how:
* Daily Touch-Ups: Spend a few minutes each day tidying up and wiping down surfaces.
* Weekly Deep Clean: Schedule
Conclusion
So, there you have it! This simple yet incredibly effective DIY cleaning trick is a game-changer for anyone looking to streamline their cleaning routine and reclaim precious time. We’ve all been there, staring down a mountain of chores, feeling overwhelmed and dreading the hours it will take to conquer it all. But with this method, those days are over. This isn’t just about cleaning; it’s about creating a more efficient and enjoyable living space, freeing you up to focus on the things you truly love.
The beauty of this fast cleaning trick lies in its adaptability. Feel free to experiment with different essential oils to create a scent that invigorates you and complements your home. Lavender for relaxation, lemon for a burst of freshness, or eucalyptus for a clean, invigorating aroma – the possibilities are endless! You can also adjust the concentration of ingredients to suit your specific needs and preferences. If you have particularly stubborn grime, a slightly stronger solution might be in order. Conversely, for lighter cleaning tasks, you can dilute the mixture further.
Beyond the basic recipe, consider these variations to tailor the cleaning solution to different surfaces. For wood furniture, add a tablespoon of olive oil to the mixture for added shine and protection. For stainless steel appliances, a splash of white vinegar can help remove water spots and fingerprints. And for bathroom tiles, a few drops of tea tree oil can provide extra antibacterial power.
This DIY cleaning trick is more than just a recipe; it’s a philosophy. It’s about embracing simplicity, resourcefulness, and a proactive approach to maintaining a clean and healthy home. It’s about taking control of your cleaning routine and making it work for you, not the other way around.
We are confident that once you try this fast cleaning trick, you’ll wonder how you ever lived without it. It’s a cost-effective, eco-friendly, and incredibly efficient way to keep your home sparkling clean. But don’t just take our word for it – give it a try and see for yourself!
We’re eager to hear about your experiences with this DIY cleaning trick. Did you find it as effective as we did? Did you experiment with different variations or scents? Share your tips, tricks, and feedback in the comments below. Let’s create a community of cleaning enthusiasts who are passionate about making their homes shine! Your insights could help others discover the joy of a clean and organized living space. So, grab your supplies, mix up a batch of this amazing cleaning solution, and get ready to experience the transformative power of a truly effective cleaning trick. Happy cleaning!
Frequently Asked Questions (FAQs)
What exactly makes this cleaning trick “fast”?
The speed comes from a few key factors. First, the all-in-one nature of the solution means you’re not switching between multiple products for different tasks. You can use it on a variety of surfaces, saving time and effort. Second, the ingredients work synergistically to quickly lift dirt and grime, reducing the need for excessive scrubbing. Finally, the ease of preparation and application means you can whip up a batch in minutes and get straight to cleaning. It’s about efficiency and effectiveness combined.
Is this DIY cleaning solution safe for all surfaces?
While this solution is generally safe for most surfaces, it’s always a good idea to test it in an inconspicuous area first, especially on delicate or sensitive materials like unfinished wood, natural stone, or antique furniture. Avoid using it on surfaces that are known to be damaged by water or acidic solutions. For example, marble can be etched by vinegar, so it’s best to avoid using this solution on marble countertops. When in doubt, consult the manufacturer’s instructions for the specific surface you’re cleaning.
Can I use different essential oils? What are some good alternatives?
Absolutely! The beauty of this DIY cleaning trick is its versatility. You can customize the scent and even the cleaning properties by using different essential oils. Some excellent alternatives include:
* **Tea Tree Oil:** Known for its antibacterial and antifungal properties, making it ideal for bathrooms and kitchens.
* **Lemon Oil:** A natural degreaser and disinfectant with a bright, uplifting scent.
* **Peppermint Oil:** Provides a refreshing and invigorating aroma, and can also help repel insects.
* **Eucalyptus Oil:** Has antiseptic and decongestant properties, making it great for cleaning during cold and flu season.
* **Orange Oil:** A powerful degreaser with a sweet, citrusy scent.
* **Grapefruit Oil:** Similar to lemon and orange, grapefruit oil is a great degreaser and has a refreshing scent.
When choosing essential oils, be sure to use high-quality, pure essential oils for the best results and to avoid any potential irritants.
How long does this DIY cleaning solution last?
This DIY cleaning solution typically lasts for about 2-3 weeks when stored in an airtight container in a cool, dark place. Over time, the essential oils may lose their potency, and the solution may become less effective. To ensure optimal performance, it’s best to make a fresh batch every few weeks. You can also add a natural preservative like grapefruit seed extract to extend the shelf life.
Can I use this cleaning solution on my floors?
Yes, you can use this cleaning solution on most types of floors, but it’s important to dilute it properly. For hardwood floors, use a very diluted solution and avoid excessive moisture. For tile and laminate floors, you can use a slightly stronger concentration. Always test the solution in an inconspicuous area first to ensure it doesn’t damage the finish. Avoid using this solution on waxed floors, as it may strip the wax.
Is this cleaning solution safe for pets and children?
While the ingredients in this cleaning solution are generally considered safe, it’s still important to exercise caution when using it around pets and children. Keep the solution out of reach of children and pets, and avoid spraying it directly on them. If your pet or child ingests the solution, contact a veterinarian or poison control center immediately. When cleaning, ensure the area is well-ventilated to minimize exposure to fumes.
Can I use this cleaning solution to clean my windows and mirrors?
Yes, this cleaning solution can be used to clean windows and mirrors, but you may need to adjust the recipe slightly. To prevent streaks, use distilled water instead of tap water and add a splash of white vinegar. Wipe the surface with a clean microfiber cloth for a streak-free shine.
What if I don’t have all the ingredients listed in the recipe?
While the specific ingredients in the recipe are recommended for optimal results, you can make substitutions if necessary. For example, if you don’t have castile soap, you can use a mild dish soap instead. If you don’t have essential oils, you can omit them altogether, although they do add a pleasant scent and additional cleaning benefits. The key is to use ingredients that are gentle, effective, and safe for the surfaces you’re cleaning.
How do I dispose of the cleaning solution when I’m finished with it?
This DIY cleaning solution is generally safe to dispose of down the drain, as the ingredients are biodegradable. However, it’s always a good idea to check with your local regulations regarding the disposal of cleaning products. If you’re concerned about the environmental impact, you can dilute the solution with plenty of water before disposing of it.
What are the benefits of using a DIY cleaning solution compared to commercial cleaners?
There are several benefits to using a DIY cleaning solution compared to commercial cleaners:
* **Cost-effective:** DIY cleaning solutions are typically much cheaper to make than commercial cleaners.
* **Eco-friendly:** DIY cleaning solutions often use natural, biodegradable ingredients, reducing your environmental impact.
* **Customizable:** You can customize the scent and cleaning properties of DIY cleaning solutions to suit your specific needs and preferences.
* **Safer:** DIY cleaning solutions often contain fewer harsh chemicals than commercial cleaners, making them safer for your family and pets.
* **Reduces Plastic Waste:** By making your own cleaning solutions, you reduce the amount of plastic waste generated from disposable cleaning bottles.

Leave a Comment