
Fast Growing Container Spinach: Imagine stepping outside your door and harvesting fresh, vibrant spinach leaves for your salad, all grown right in your own container! It’s easier than you think, and I’m here to show you how. For centuries, spinach has been a nutritional powerhouse, cultivated from its origins in ancient Persia to becoming a staple in gardens and kitchens worldwide. Its ease of growth and incredible health benefits have made it a beloved vegetable for generations.
But let’s face it, not everyone has a sprawling garden. That’s where the magic of container gardening comes in! This DIY guide is your ticket to enjoying delicious, homegrown spinach, even if you only have a small balcony or patio. I’ll share my favorite tricks and hacks for ensuring your fast growing container spinach thrives, from choosing the right container and soil to mastering watering and harvesting techniques.
Why do you need this? Because store-bought spinach simply can’t compare to the taste and satisfaction of growing your own. Plus, you’ll know exactly where your food comes from and avoid harmful pesticides. Get ready to unleash your inner gardener and enjoy a continuous supply of fresh, healthy spinach right at your fingertips!
DIY: Supercharge Your Container Spinach for a Bumper Crop!
Hey there, fellow gardening enthusiasts! I’m so excited to share my secrets for growing spinach like crazy in containers. Forget those tiny, sad spinach leaves you find at the grocery store. We’re talking about a constant supply of fresh, vibrant, and delicious spinach right at your fingertips! This guide is packed with tips and tricks I’ve learned over the years, and I promise, even if you’re a beginner, you can totally nail this. Let’s get started!
Choosing the Right Container and Soil
This is where it all begins! The right foundation is crucial for happy spinach.
* Container Size Matters: Don’t underestimate the importance of space. Spinach needs room for its roots to spread. I recommend a container that’s at least 6-8 inches deep and 12 inches in diameter. A rectangular planter box works great too! The bigger, the better, especially if you plan on growing multiple plants.
* Drainage is Key: Spinach hates soggy feet! Make sure your container has plenty of drainage holes. If not, you can drill some yourself. Trust me, this is a non-negotiable step.
* Soil Selection: Forget garden soil! It’s often too heavy and compacts easily. Instead, opt for a high-quality potting mix. I personally love using a mix that’s specifically formulated for vegetables. Look for one that’s well-draining and contains plenty of organic matter. You can also amend a regular potting mix with compost for added nutrients.
Planting Your Spinach Seeds
Now for the fun part! Getting those little seeds into the soil.
* Choosing Your Spinach Variety: There are tons of spinach varieties out there, but some are better suited for container gardening than others. I’ve had great success with ‘Baby’s Leaf,’ ‘Space,’ and ‘Bloomsdale Long Standing.’ These varieties are known for their fast growth and resistance to bolting (going to seed).
* Sowing the Seeds: Spinach seeds are tiny, so handle them with care. I like to sow them about 陆 inch deep and 1 inch apart. You can either sprinkle them evenly over the surface of the soil or create small furrows.
* Watering After Planting: Gently water the soil after planting, making sure not to dislodge the seeds. A spray bottle works wonders for this. Keep the soil consistently moist, but not waterlogged.
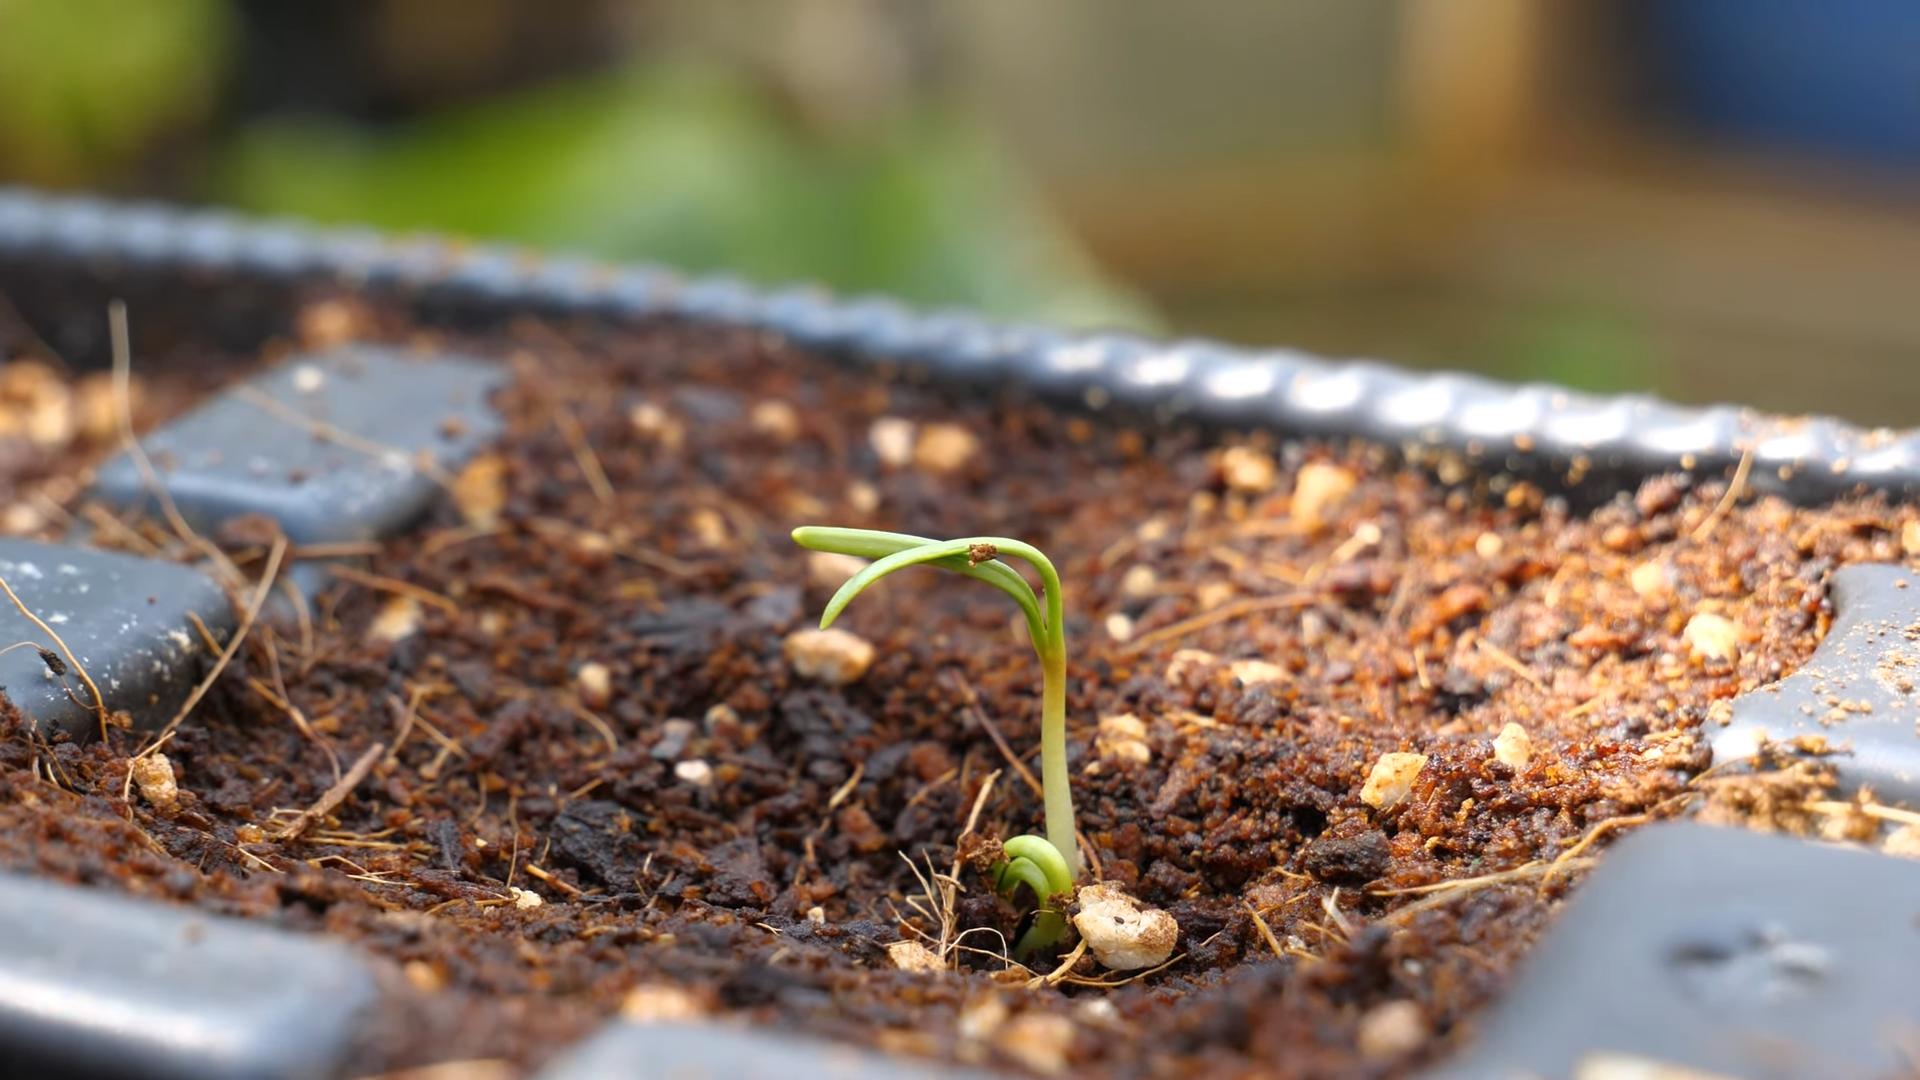
* Thinning Seedlings (If Necessary): Once your seedlings emerge (usually within 5-10 days), you might need to thin them out if they’re too crowded. Aim for about 2-3 inches between plants. This will give them enough room to grow and prevent overcrowding.
Sunlight, Watering, and Fertilizing
These are the three pillars of spinach success!
* Sunlight Requirements: Spinach loves sunshine, but it can also tolerate partial shade, especially in hotter climates. Aim for at least 4-6 hours of direct sunlight per day. If you live in a particularly hot area, consider providing some afternoon shade to prevent the leaves from wilting.
* Watering Schedule: Consistent watering is crucial, especially during hot weather. Check the soil moisture regularly by sticking your finger about an inch into the soil. If it feels dry, it’s time to water. Avoid overwatering, as this can lead to root rot. I usually water deeply every 2-3 days, depending on the weather.
* Fertilizing Your Spinach: Spinach is a heavy feeder, so it needs regular fertilization to thrive. I recommend using a balanced liquid fertilizer every 2-3 weeks. Look for a fertilizer that’s specifically formulated for leafy greens. You can also amend the soil with compost tea for an extra boost of nutrients.
Dealing with Pests and Diseases
Even in containers, pests and diseases can sometimes be a problem. But don’t worry, I’ve got you covered!
* Common Pests: Aphids, spider mites, and slugs are the most common pests that attack spinach.
* Aphids: These tiny insects suck the sap from the leaves, causing them to curl and distort. You can get rid of them by spraying the plants with a strong stream of water or using insecticidal soap.
* Spider Mites: These tiny pests create webs on the leaves and cause them to turn yellow. You can control them by spraying the plants with water or using horticultural oil.
* Slugs: These slimy creatures love to munch on spinach leaves, especially at night. You can trap them by placing shallow dishes of beer near your plants or using slug bait.
* Common Diseases: Downy mildew and leaf spot are the most common diseases that affect spinach.
* Downy Mildew: This fungal disease causes yellow spots on the upper surface of the leaves and a gray, fuzzy growth on the underside. You can prevent it by providing good air circulation and avoiding overhead watering. If you see signs of downy mildew, remove the affected leaves and spray the plants with a fungicide.
* Leaf Spot: This fungal disease causes small, brown spots on the leaves. You can prevent it by providing good air circulation and avoiding overhead watering. If you see signs of leaf spot, remove the affected leaves and spray the plants with a fungicide.
* Prevention is Key: The best way to deal with pests and diseases is to prevent them from occurring in the first place.
* Choose Disease-Resistant Varieties: When selecting your spinach variety, look for ones that are resistant to common diseases.
* Provide Good Air Circulation: Make sure your plants have plenty of space between them to allow for good air circulation.
* Avoid Overhead Watering: Water the soil directly, rather than spraying the leaves.
* Inspect Your Plants Regularly: Check your plants regularly for signs of pests or diseases. The sooner you catch them, the easier they will be to control.
Harvesting Your Spinach
This is the moment you’ve been waiting for! Time to reap the rewards of your hard work.
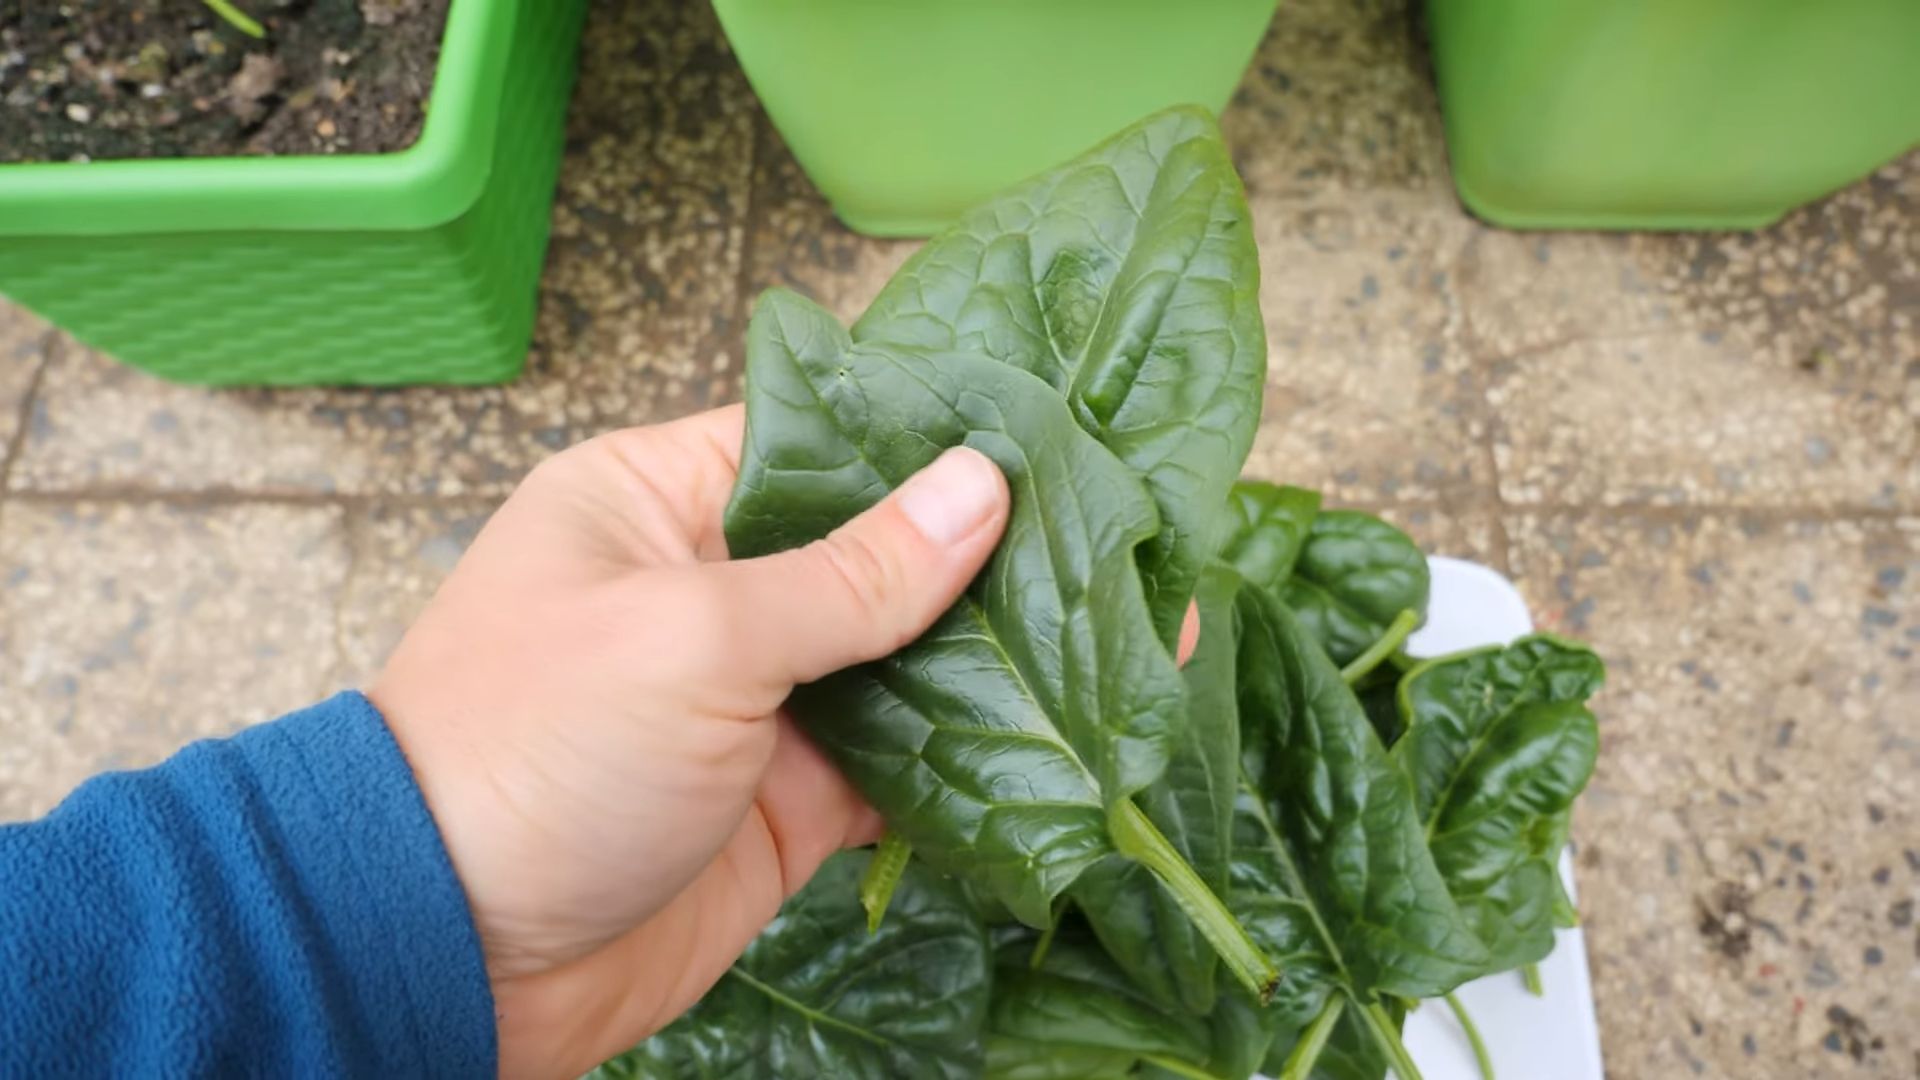
* When to Harvest: You can start harvesting spinach leaves as soon as they’re big enough to eat, usually about 4-6 weeks after planting. I like to harvest the outer leaves first, leaving the inner leaves to continue growing.
* How to Harvest: Use a sharp knife or scissors to cut the leaves off at the base of the plant. Avoid pulling the leaves, as this can damage the plant.
* Succession Planting: To ensure a continuous supply of spinach, plant new seeds every 2-3 weeks. This is called succession planting, and it’s a great way to keep your garden productive all season long.
Boosting Growth: My Secret Weapon
Okay, I’m going to let you in on a little secret that has seriously boosted my spinach growth. It’s all about creating a mini-greenhouse effect!
1. Gather Your Supplies: You’ll need some clear plastic wrap (the kind you use for food), some sturdy sticks or dowels, and some clothespins or clips.
2. Create a Frame: Insert the sticks or dowels into the soil around the perimeter of your container, creating a frame that’s taller than your spinach plants.
3. Cover with Plastic Wrap: Drape the plastic wrap over the frame, creating a tent-like structure. Secure the plastic wrap to the frame with clothespins or clips.
4. Ventilation is Key: Make sure to leave some openings for ventilation, especially on warm days. You don’t want to overheat your spinach!
5. Remove When Weather Warms: Once the weather warms up consistently, you can remove the plastic wrap altogether.
This mini-greenhouse effect helps to trap heat and moisture, creating the perfect environment for spinach to thrive. I’ve noticed a significant increase in growth and yield since I started using this technique.
Troubleshooting Tips
Even with the best planning, sometimes things don’t go exactly as expected. Here are a few common problems and how to fix them:
* Spinach is Bolting (Going to Seed): Bolting is when spinach plants start to produce flowers and seeds, which makes the leaves bitter and unpalatable. This is usually caused by hot weather or stress.
* Solution: Choose bolt-resistant varieties, provide shade during hot weather, and water regularly. If your spinach starts to bolt, harvest the leaves immediately.
* Leaves are Turning Yellow: Yellowing leaves can be a sign of nutrient deficiency, overwatering, or underwatering.
* Solution: Check the soil moisture and adjust your watering schedule accordingly. Fertilize the plants with a balanced liquid fertilizer.
* Slow Growth: Slow growth can be caused by a lack of sunlight, poor soil, or pests and diseases.
* Solution: Make sure your plants are getting enough sunlight. Amend the soil with compost or fertilizer. Check for signs of pests or diseases and treat accordingly.
Extra Tips for Super Spinach!
* Companion Planting: Plant
Conclusion
So, there you have it! Growing your own fast-growing container spinach is not only achievable, but it’s also incredibly rewarding. Forget those limp, pre-packaged greens from the grocery store. Imagine stepping out onto your balcony or patio and harvesting vibrant, fresh spinach leaves bursting with flavor and nutrients. This simple DIY trick transforms even the smallest space into a thriving edible garden, providing you with a constant supply of healthy greens right at your fingertips.
Why is this a must-try? Because it’s about more than just spinach. It’s about reclaiming control over your food source, reducing your carbon footprint, and experiencing the pure joy of nurturing something from seed to table. It’s about knowing exactly what’s going into your body, free from pesticides and unnecessary processing. And let’s be honest, the taste difference is undeniable. Homegrown spinach has a sweetness and vibrancy that you simply can’t find in store-bought varieties.
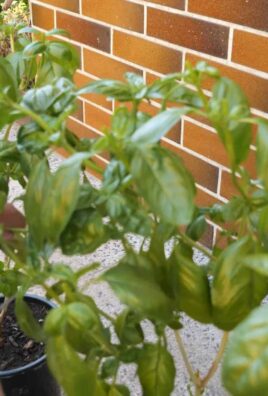
But the beauty of this method lies in its adaptability. Feel free to experiment with different spinach varieties. Try ‘Baby’s Leaf Hybrid’ for tender, mild leaves, or ‘Bloomsdale Long Standing’ for a more robust flavor. You can also interplant your spinach with other compatible herbs like basil or chives to create a truly diverse and productive container garden. Consider adding a layer of mulch, such as straw or shredded leaves, to help retain moisture and suppress weeds. And if you live in a particularly hot climate, providing some afternoon shade can prevent your spinach from bolting (going to seed prematurely).
Don’t be intimidated if you’re a beginner gardener. This method is designed to be accessible and straightforward. The key is to start small, pay attention to your plants, and learn as you go. Observe how much sunlight your container receives, adjust your watering schedule accordingly, and don’t be afraid to ask for help or advice from fellow gardeners.
We are confident that once you experience the satisfaction of harvesting your own fresh, delicious spinach, you’ll be hooked. It’s a simple, sustainable, and incredibly rewarding way to add more greens to your diet and connect with nature.
So, what are you waiting for? Grab a container, some potting mix, and some spinach seeds, and get growing! We encourage you to try this DIY trick for fast-growing container spinach and share your experiences with us. Tell us about your favorite spinach varieties, your tips and tricks, and any challenges you encounter along the way. Let’s create a community of container spinach enthusiasts and inspire others to grow their own food! Share your photos and stories on social media using #ContainerSpinachSuccess and let’s celebrate the joy of homegrown goodness together. Happy gardening!
Frequently Asked Questions (FAQ)
What is the best type of container to use for growing spinach?
The ideal container for growing spinach should be at least 6-8 inches deep and wide. This allows sufficient space for the roots to develop properly. You can use plastic pots, terracotta pots, fabric grow bags, or even repurposed containers like buckets or tubs. Ensure the container has drainage holes to prevent waterlogging, which can lead to root rot. Dark-colored containers can heat up quickly in direct sunlight, so consider using lighter colors or providing shade during the hottest part of the day.
How often should I water my container spinach?
Spinach prefers consistently moist soil, but not soggy. Water your container spinach whenever the top inch of soil feels dry to the touch. The frequency of watering will depend on factors like the weather, the type of container, and the potting mix you’re using. In hot, dry weather, you may need to water daily, while in cooler, wetter weather, you may only need to water every few days. Avoid overwatering, as this can lead to root rot. A good rule of thumb is to water deeply until you see water draining from the bottom of the container.
What kind of fertilizer should I use for my container spinach?
Spinach is a leafy green, so it benefits from a fertilizer that is high in nitrogen. You can use a balanced liquid fertilizer diluted to half strength, or a slow-release granular fertilizer specifically formulated for vegetables. Apply fertilizer according to the package instructions, typically every 2-3 weeks. Avoid over-fertilizing, as this can lead to excessive leaf growth and a bitter taste. Organic options like compost tea or fish emulsion are also excellent choices for feeding your spinach plants.
How much sunlight does container spinach need?
Spinach thrives in full sun (6-8 hours of direct sunlight per day), but it can also tolerate partial shade, especially in hot climates. If you live in a region with intense summer heat, providing some afternoon shade can help prevent your spinach from bolting. Observe your plants closely and adjust their location as needed to ensure they are receiving the optimal amount of sunlight. If you’re growing spinach indoors, you’ll need to supplement with grow lights to provide sufficient light.
How do I know when my spinach is ready to harvest?
You can start harvesting spinach leaves as soon as they are large enough to eat, typically when they are 4-6 inches long. Harvest the outer leaves first, leaving the inner leaves to continue growing. This cut-and-come-again method allows you to harvest spinach continuously for several weeks. Avoid harvesting more than one-third of the plant at a time, as this can stress the plant and reduce its productivity. The best time to harvest spinach is in the morning, when the leaves are crisp and cool.
What causes spinach to bolt, and how can I prevent it?
Bolting is when spinach plants prematurely produce flower stalks and seeds, which makes the leaves bitter and unpalatable. Bolting is typically triggered by hot weather or long days. To prevent bolting, choose bolt-resistant spinach varieties, provide shade during the hottest part of the day, and keep the soil consistently moist. You can also try succession planting, sowing new seeds every few weeks to ensure a continuous supply of fresh spinach throughout the growing season.
Can I grow spinach indoors?
Yes, you can absolutely grow spinach indoors! Choose a sunny windowsill that receives at least 6 hours of direct sunlight per day, or supplement with grow lights. Use a well-draining potting mix and water regularly to keep the soil moist. Indoor spinach may require more frequent fertilization than outdoor spinach, as the nutrients in the potting mix can be depleted quickly.
What are some common pests and diseases that affect spinach?
Common pests that can affect spinach include aphids, spider mites, and leaf miners. You can control these pests by handpicking them off the plants, spraying them with insecticidal soap, or introducing beneficial insects like ladybugs. Common diseases that can affect spinach include downy mildew and powdery mildew. To prevent these diseases, ensure good air circulation around the plants, avoid overhead watering, and choose disease-resistant spinach varieties.
How do I store harvested spinach?
To store harvested spinach, wash it thoroughly and pat it dry with a clean towel or salad spinner. Store the spinach in a plastic bag or container in the refrigerator. It’s best to use the spinach within a few days for optimal freshness and flavor. You can also freeze spinach for longer storage. To freeze spinach, blanch it in boiling water for 2 minutes, then plunge it into ice water to stop the cooking process. Drain the spinach well and store it in freezer bags or containers.
What are some creative ways to use my homegrown spinach?
The possibilities are endless! You can use your homegrown spinach in salads, smoothies, soups, stews, omelets, quiches, and pasta dishes. It’s also delicious saut茅ed with garlic and olive oil, or added to dips and spreads. Get creative and experiment with different recipes to discover your favorite ways to enjoy your fresh, homegrown spinach.

Leave a Comment