
Glass Cleaning Hacks: Are you tired of streaks and smudges ruining the view from your windows? I know I was! For centuries, people have struggled to achieve that crystal-clear shine on their glass surfaces. From ancient civilizations using rudimentary cleaning methods to the modern-day obsession with spotless windows, the quest for perfect glass cleaning is a tale as old as time.
Let’s be honest, nobody enjoys spending hours scrubbing, only to be left with frustrating streaks. That’s where these DIY glass cleaning hacks come in! Imagine effortlessly achieving sparkling, streak-free windows and mirrors with ingredients you probably already have in your pantry.
This article is your ultimate guide to unlocking the secrets of pristine glass. I’m going to share my favorite tried-and-true DIY methods that will save you time, money, and a whole lot of elbow grease. Get ready to say goodbye to those annoying streaks and hello to a world of sparkling clarity! Let’s dive in and discover the magic of simple, effective glass cleaning!
DIY Streak-Free Glass Cleaning Hacks: My Secret Weapon!
Okay, friends, let’s talk about something we all struggle with: streaky, smudged glass. Whether it’s windows, mirrors, shower doors, or even your car windshield, achieving that crystal-clear shine can feel like an impossible task. But fear not! I’m here to share my tried-and-true DIY glass cleaning hacks that will leave your surfaces sparkling. I’ve experimented with countless methods, and these are the ones that consistently deliver amazing results without breaking the bank.
Gathering Your Supplies: The Arsenal of Clean
Before we dive into the cleaning process, let’s make sure we have everything we need. Having the right tools makes a huge difference!
* Spray Bottles: You’ll need at least two – one for your cleaning solution and another for plain water.
* Microfiber Cloths: These are essential! Ditch the paper towels; microfiber cloths are lint-free and won’t leave streaks. Invest in a few good quality ones.
* Squeegee: A professional-grade squeegee is a game-changer for large surfaces like windows and shower doors.
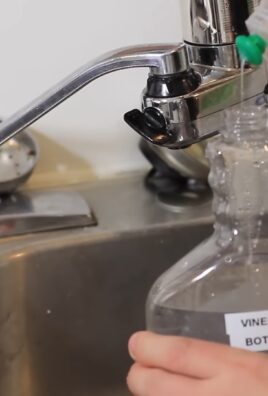
* White Vinegar: This is my go-to cleaning agent. It’s cheap, effective, and environmentally friendly.
* Dish Soap: A small amount of dish soap can help cut through grease and grime.
* Rubbing Alcohol (Isopropyl Alcohol): This is great for removing stubborn spots and adding extra shine.
* Cornstarch: Sounds weird, right? But a tiny bit of cornstarch can help absorb excess moisture and prevent streaks.
* Essential Oils (Optional): For a pleasant scent, add a few drops of your favorite essential oil, like lemon or lavender.
* Warm Water: The base for most of our cleaning solutions.
* Bucket (Optional): For larger cleaning projects, a bucket can be helpful.
* Ladder or Step Stool (If needed): For reaching high windows.
Hack #1: The Vinegar Powerhouse
This is my everyday go-to solution for general glass cleaning. It’s simple, effective, and uses ingredients you probably already have.
Step-by-Step Instructions:
1. Prepare the Vinegar Solution: In your spray bottle, mix equal parts white vinegar and warm water. For example, you could use 1 cup of vinegar and 1 cup of water.
2. Add a Touch of Dish Soap (Optional): If your glass is particularly dirty or greasy, add a single drop of dish soap to the solution. Be careful not to add too much, as it can cause streaks.
3. Shake Well: Gently shake the spray bottle to combine the ingredients.
4. Spray the Glass: Liberally spray the glass surface with the vinegar solution.
5. Wipe with a Microfiber Cloth: Using a clean, dry microfiber cloth, wipe the glass in overlapping strokes. Start at the top and work your way down.
6. Buff to a Shine: Use a second clean, dry microfiber cloth to buff the glass to a streak-free shine. This step is crucial!
Hack #2: The Alcohol Boost for Stubborn Spots
For those pesky spots and smudges that just won’t budge, rubbing alcohol is your friend.
Step-by-Step Instructions:
1. Prepare the Alcohol Solution: In your spray bottle, mix 1/4 cup of rubbing alcohol with 3/4 cup of warm water.
2. Spray the Affected Area: Spray the alcohol solution directly onto the stubborn spots or smudges.
3. Let it Sit (Briefly): Allow the solution to sit for a minute or two to loosen the grime.
4. Wipe with a Microfiber Cloth: Using a clean, dry microfiber cloth, wipe the area in a circular motion.
5. Follow Up with Vinegar Solution (Optional): For a final shine, you can follow up with the vinegar solution from Hack #1.
6. Buff to a Shine: Again, buff the glass with a clean, dry microfiber cloth.
Hack #3: The Cornstarch Secret for Ultimate Shine
This is my secret weapon for achieving that showroom-worthy shine. The cornstarch helps absorb any remaining moisture and prevents streaks.
Step-by-Step Instructions:
1. Prepare the Cornstarch Solution: In your spray bottle, mix 1 tablespoon of cornstarch with 1 cup of warm water.
2. Shake Vigorously: Shake the spray bottle very well to ensure the cornstarch is fully dissolved. It’s important to get rid of any clumps.
3. Spray Sparingly: Lightly spray the glass surface with the cornstarch solution. A little goes a long way!
4. Wipe Immediately: Immediately wipe the glass with a clean, dry microfiber cloth.
5. Buff to a Shine: Buff the glass vigorously with a second clean, dry microfiber cloth. You’ll be amazed at the shine!
Hack #4: The Squeegee Master for Large Surfaces
For large windows and shower doors, a squeegee is the most efficient way to achieve a streak-free finish.
Step-by-Step Instructions:
1. Prepare Your Cleaning Solution: Use either the vinegar solution from Hack #1 or a commercial glass cleaner.
2. Apply the Solution: Spray the glass surface liberally with your chosen cleaning solution.
3. Squeegee from Top to Bottom: Starting at the top corner of the glass, overlap each stroke slightly. Wipe the squeegee blade clean with a microfiber cloth after each stroke.
4. Overlap Each Stroke: Overlap each stroke by about an inch to ensure complete coverage.
5. Wipe the Edges: Use a clean, dry microfiber cloth to wipe any remaining water or solution from the edges of the glass.
6. Buff (If Needed): If you notice any streaks, buff the glass with a clean, dry microfiber cloth.
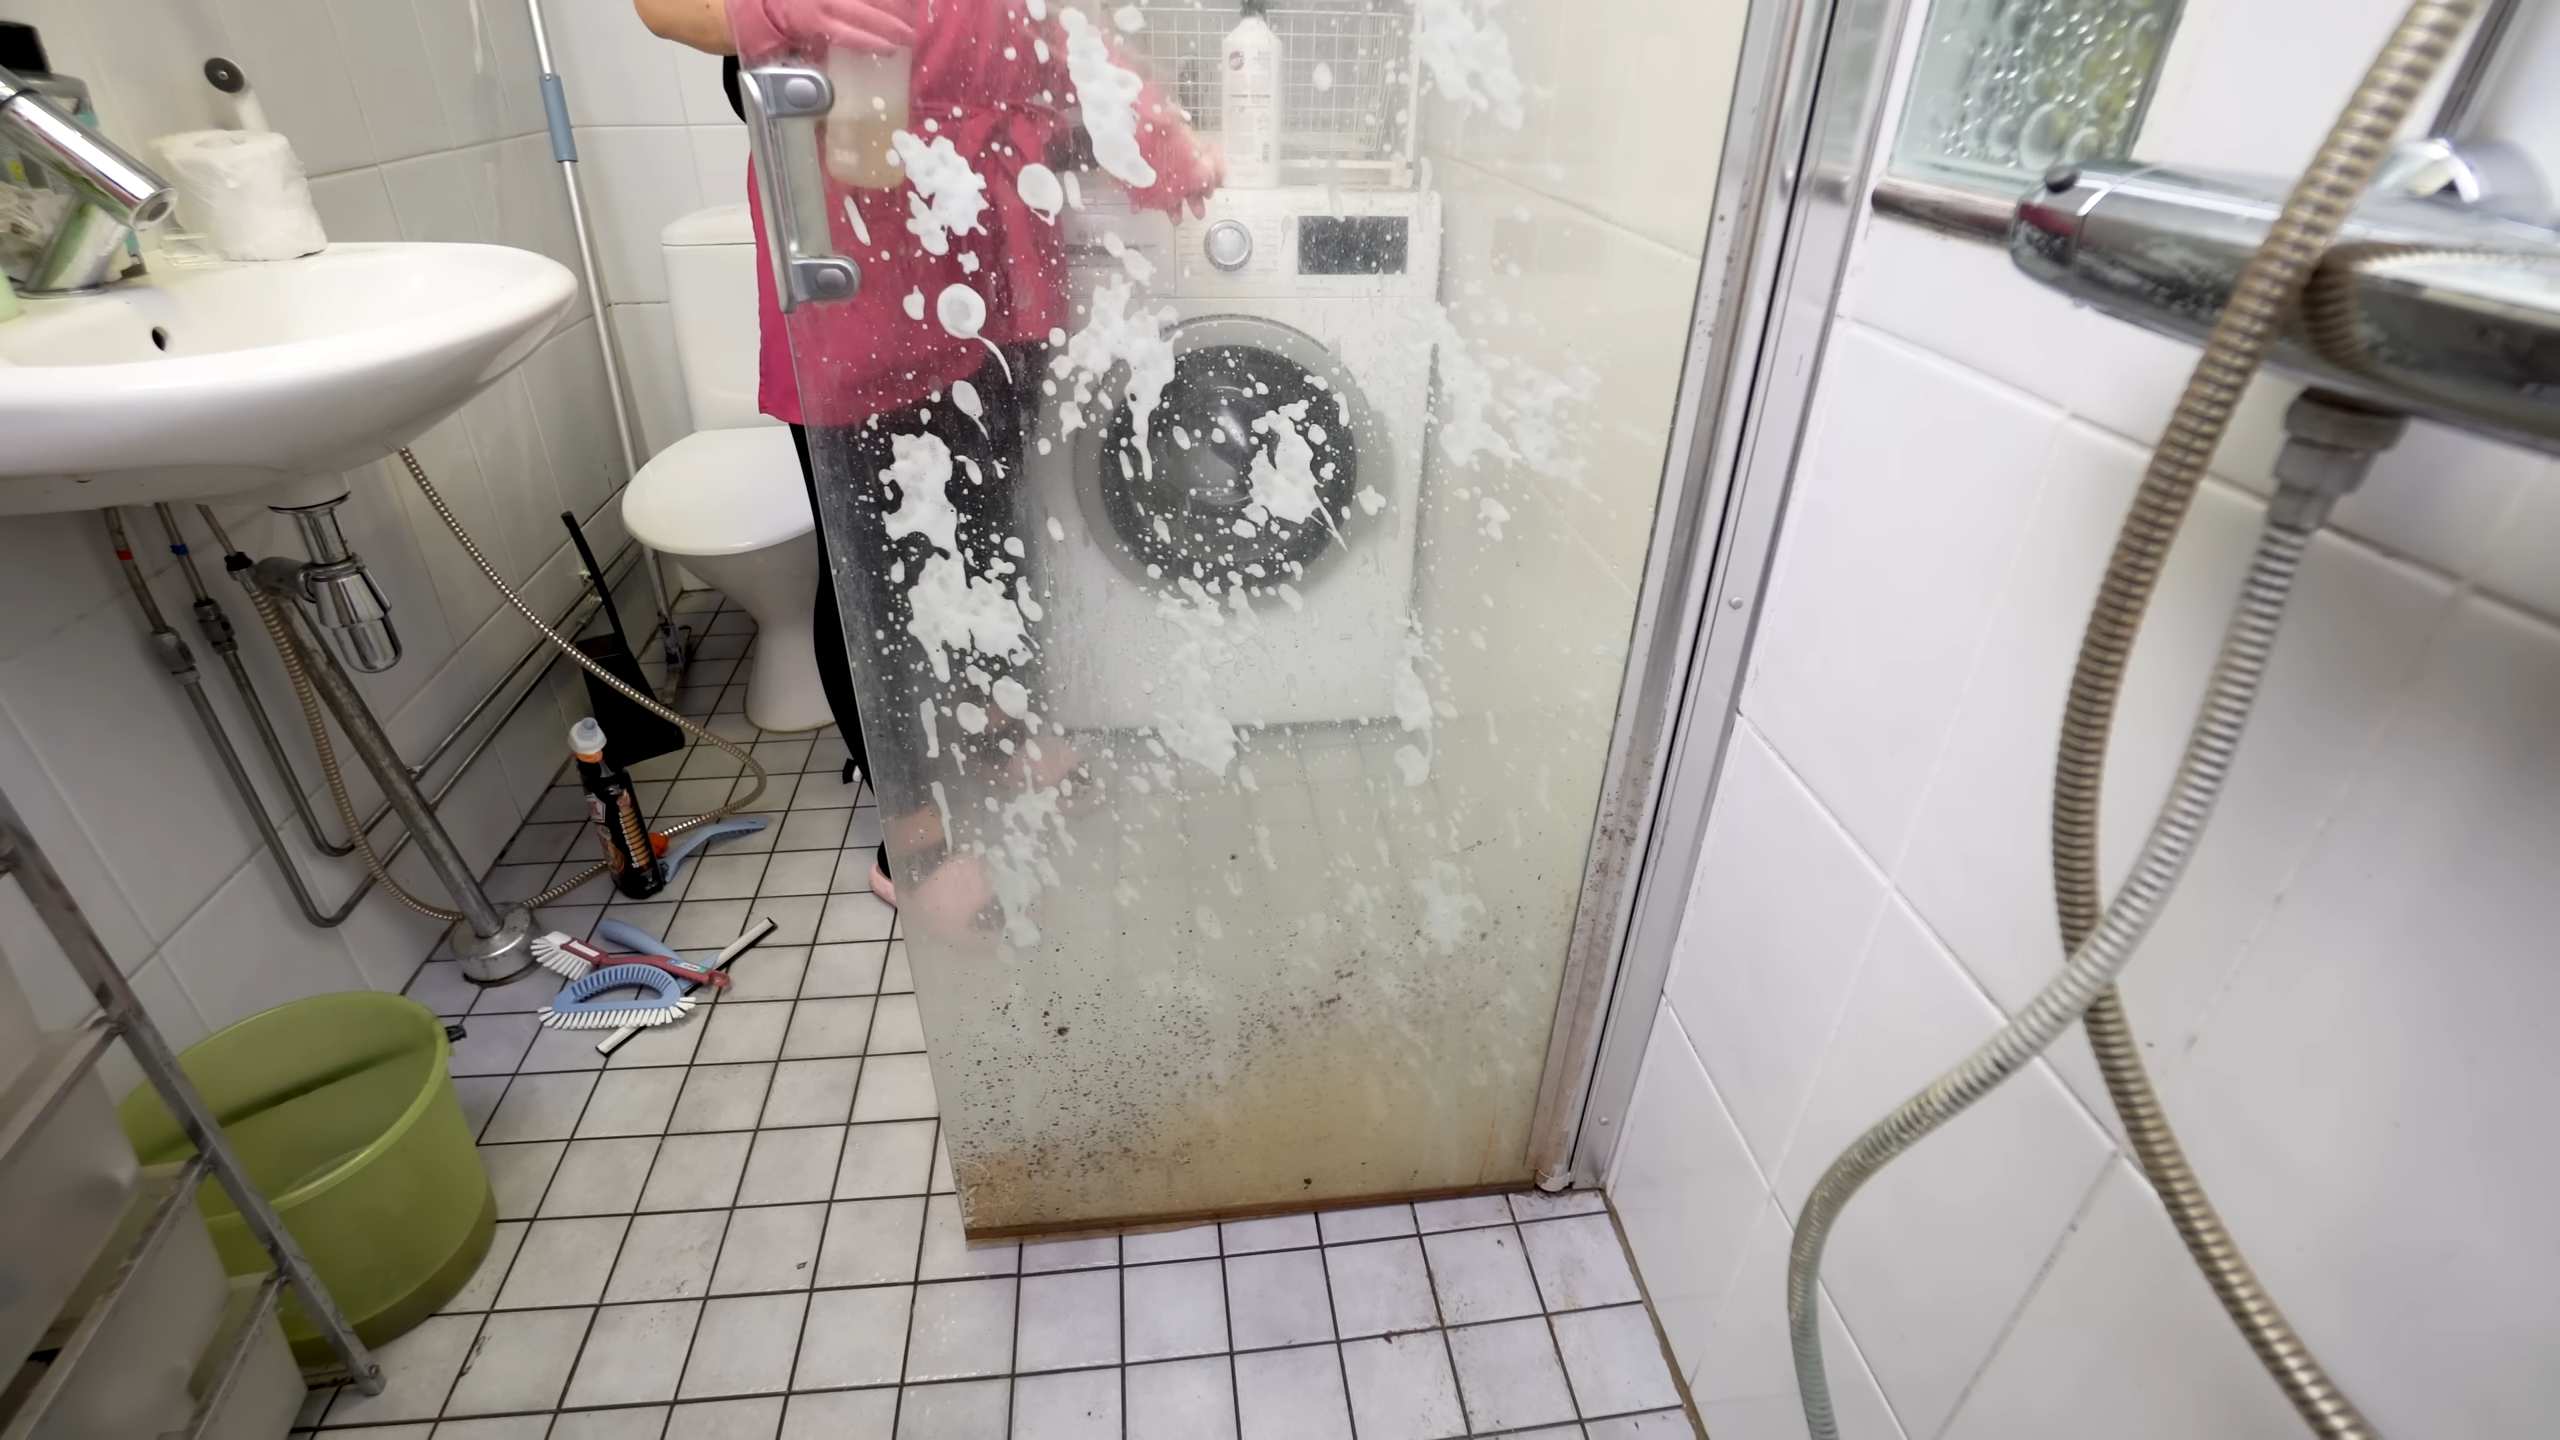
Hack #5: Cleaning Shower Doors Like a Pro
Shower doors can be particularly challenging due to soap scum and hard water stains. Here’s how I tackle them:
Step-by-Step Instructions:
1. Pre-Treat with Vinegar: Spray the shower door with undiluted white vinegar and let it sit for 15-20 minutes to loosen the soap scum.
2. Scrub with Baking Soda Paste (Optional): For stubborn stains, make a paste of baking soda and water and scrub the affected areas with a non-abrasive sponge.
3. Rinse Thoroughly: Rinse the shower door thoroughly with warm water.
4. Squeegee Dry: Use a squeegee to remove excess water from the shower door.
5. Apply a Water Repellent (Optional): To prevent future buildup, apply a water repellent product specifically designed for shower doors.
6. Wipe with a Microfiber Cloth: Finish by wiping the shower door with a clean, dry microfiber cloth.
Extra Tips and Tricks for Sparkling Glass
* Clean on a Cloudy Day: Avoid cleaning glass in direct sunlight, as the heat can cause the cleaning solution to dry too quickly and leave streaks.
* Use Distilled Water: If you have hard water, using distilled water in your cleaning solutions can help prevent mineral deposits and streaks.
* Wash Your Microfiber Cloths Regularly: Dirty microfiber cloths can actually spread dirt and grime, so be sure to wash them regularly. Avoid using fabric softener, as it can reduce their absorbency.
* Test in an Inconspicuous Area: Before applying any cleaning solution to a large surface, test it in a small, inconspicuous area to ensure it doesn’t damage the glass.
* Don’t Over-Saturate: Using too much cleaning solution can actually make it harder to achieve a streak-free finish. Start with a light spray and add more as needed.
* Replace Your Squeegee Blade: If your squeegee blade is damaged or worn, it won’t clean effectively. Replace it regularly for optimal results.
* Preventative Measures: To keep your glass cleaner for longer, wipe down shower doors after each use and regularly dust windowsills and frames.
* Essential Oil Power: Add a few drops of your favorite essential oil to your cleaning solution for a pleasant scent. Lemon, lavender, and tea tree oil are all great options. Tea tree oil also has antibacterial properties!
* The Newspaper Trick (Use with Caution): Some people swear by using crumpled newspaper to clean glass. While it can work, be careful, as some newspaper ink can transfer to the glass. If you try this, use black and white newspaper only and test in an inconspicuous area first.
* Clean Windows Inside and Out: For truly sparkling windows, don’t forget to clean both the inside and outside surfaces.
I hope these DIY glass cleaning hacks help you achieve the

Conclusion
So, there you have it! Ditching those expensive, chemical-laden glass cleaners and embracing this simple, effective DIY glass cleaning hack is a game-changer for anyone seeking sparkling, streak-free surfaces. We’ve walked you through the process, highlighting its ease, affordability, and eco-friendliness. But why is this a must-try?
Firstly, the results speak for themselves. Forget those frustrating streaks that seem to linger no matter how much you scrub. This DIY solution, with its carefully balanced ingredients, cuts through grime, fingerprints, and even stubborn water spots, leaving your windows, mirrors, and glass surfaces gleaming. You’ll be amazed at the difference!
Secondly, consider the cost savings. Commercial glass cleaners can be surprisingly expensive, especially if you’re cleaning multiple windows or glass surfaces regularly. This DIY version utilizes ingredients you likely already have in your pantry – white vinegar, water, and perhaps a touch of essential oil for a pleasant scent. The savings add up quickly, making it a budget-friendly alternative.
Thirdly, and perhaps most importantly, this DIY glass cleaning hack is a healthier and more environmentally conscious choice. Many commercial glass cleaners contain harsh chemicals that can be harmful to your health and the environment. By making your own cleaner, you’re eliminating these toxins from your home and reducing your environmental footprint.
But the beauty of this DIY approach lies in its versatility. Feel free to experiment with variations to suit your specific needs and preferences. For instance, if you have particularly stubborn grime, you can increase the amount of vinegar in the solution. Or, if you prefer a stronger scent, you can add a few more drops of your favorite essential oil. Lemon, lavender, and tea tree oil are all excellent choices, not only for their fragrance but also for their antibacterial properties.
Another variation involves using club soda instead of water for an extra boost of cleaning power. The carbonation in club soda helps to lift dirt and grime, leaving your glass surfaces even more sparkling. You can also try adding a small amount of rubbing alcohol to the solution for faster drying and even fewer streaks.
For those with hard water, consider using distilled water instead of tap water to prevent mineral deposits from forming on your glass surfaces. This will help to maintain the clarity and shine of your windows and mirrors.
Ultimately, the best way to discover the perfect DIY glass cleaning hack for you is to experiment and find what works best for your specific needs and preferences. Don’t be afraid to adjust the recipe and try different variations until you achieve the desired results.
We are confident that once you try this DIY glass cleaning hack, you’ll never go back to store-bought cleaners again. It’s simple, effective, affordable, and environmentally friendly – what’s not to love?
So, go ahead and give it a try! We encourage you to share your experiences with us. Let us know what variations you tried, what scents you used, and how well it worked for you. Your feedback will help other readers discover the best ways to achieve sparkling, streak-free glass surfaces with this amazing DIY trick. Share your before and after photos on social media using #DIYGlassCleaning and inspire others to ditch the chemicals and embrace a healthier, more sustainable way to clean their homes. We can’t wait to hear from you!
Frequently Asked Questions (FAQs)
Why is vinegar used in this DIY glass cleaner?
Vinegar is a natural cleaning agent due to its acidity. It effectively cuts through grease, grime, and hard water stains without leaving behind a residue. Its mild acidity helps to dissolve mineral deposits and soap scum, making it an ideal ingredient for cleaning glass surfaces. Plus, it’s a readily available and affordable option.
Will the vinegar smell linger after cleaning?
The vinegar smell will dissipate quickly after cleaning. The scent is most noticeable while you’re actively cleaning, but it typically fades away within minutes as the solution dries. Adding a few drops of essential oil, such as lemon or lavender, can help to mask the vinegar smell and leave behind a pleasant fragrance.
Can I use this DIY glass cleaner on tinted windows?
It’s generally safe to use this DIY glass cleaner on tinted windows, but it’s always a good idea to test it in an inconspicuous area first. Some window tints can be sensitive to acidic solutions, so it’s best to err on the side of caution. If you notice any discoloration or damage, discontinue use immediately.
What type of cloth is best for cleaning glass with this solution?
Microfiber cloths are the best choice for cleaning glass with this DIY solution. They are highly absorbent, lint-free, and won’t scratch the glass surface. Avoid using paper towels, as they can leave behind streaks and lint. You can also use a squeegee for larger surfaces like windows and shower doors.
How often should I clean my windows with this DIY solution?
The frequency of cleaning depends on the location of your windows and the amount of dirt and grime they accumulate. Generally, cleaning your windows every few months is sufficient. However, if you live in a dusty area or have pets, you may need to clean them more frequently.
Can I use this DIY glass cleaner on my car windows?
Yes, this DIY glass cleaner is safe to use on your car windows. However, be sure to avoid getting the solution on the car’s paint, as the vinegar could potentially damage the finish over time. It’s also a good idea to test the solution in an inconspicuous area first to ensure it doesn’t affect any aftermarket window tint.
What essential oils are best to use in this DIY glass cleaner?
Lemon, lavender, tea tree, and eucalyptus essential oils are all excellent choices for this DIY glass cleaner. Lemon oil has a refreshing scent and antibacterial properties, while lavender oil has a calming aroma and can help to repel insects. Tea tree oil is a natural disinfectant, and eucalyptus oil has a refreshing scent and can help to clear sinuses. Choose an essential oil that you enjoy the scent of and that offers the desired benefits.
Can I store the leftover DIY glass cleaner?
Yes, you can store the leftover DIY glass cleaner in a spray bottle for future use. Be sure to label the bottle clearly so you don’t accidentally mistake it for something else. The solution should last for several months if stored in a cool, dark place.
What if I don’t have white vinegar? Can I use apple cider vinegar?
While white vinegar is the preferred choice due to its clear color and neutral scent, you can use apple cider vinegar as a substitute in a pinch. However, apple cider vinegar may leave a slight residue on the glass, so you may need to rinse it with clean water afterward. Also, be aware that apple cider vinegar has a stronger scent than white vinegar.
Is this DIY glass cleaner safe for use around children and pets?
Yes, this DIY glass cleaner is generally safe for use around children and pets, as it doesn’t contain any harsh chemicals. However, it’s always a good idea to keep the spray bottle out of reach of children and pets to prevent accidental ingestion. If your child or pet does ingest the solution, contact a medical professional or veterinarian immediately.

Leave a Comment