
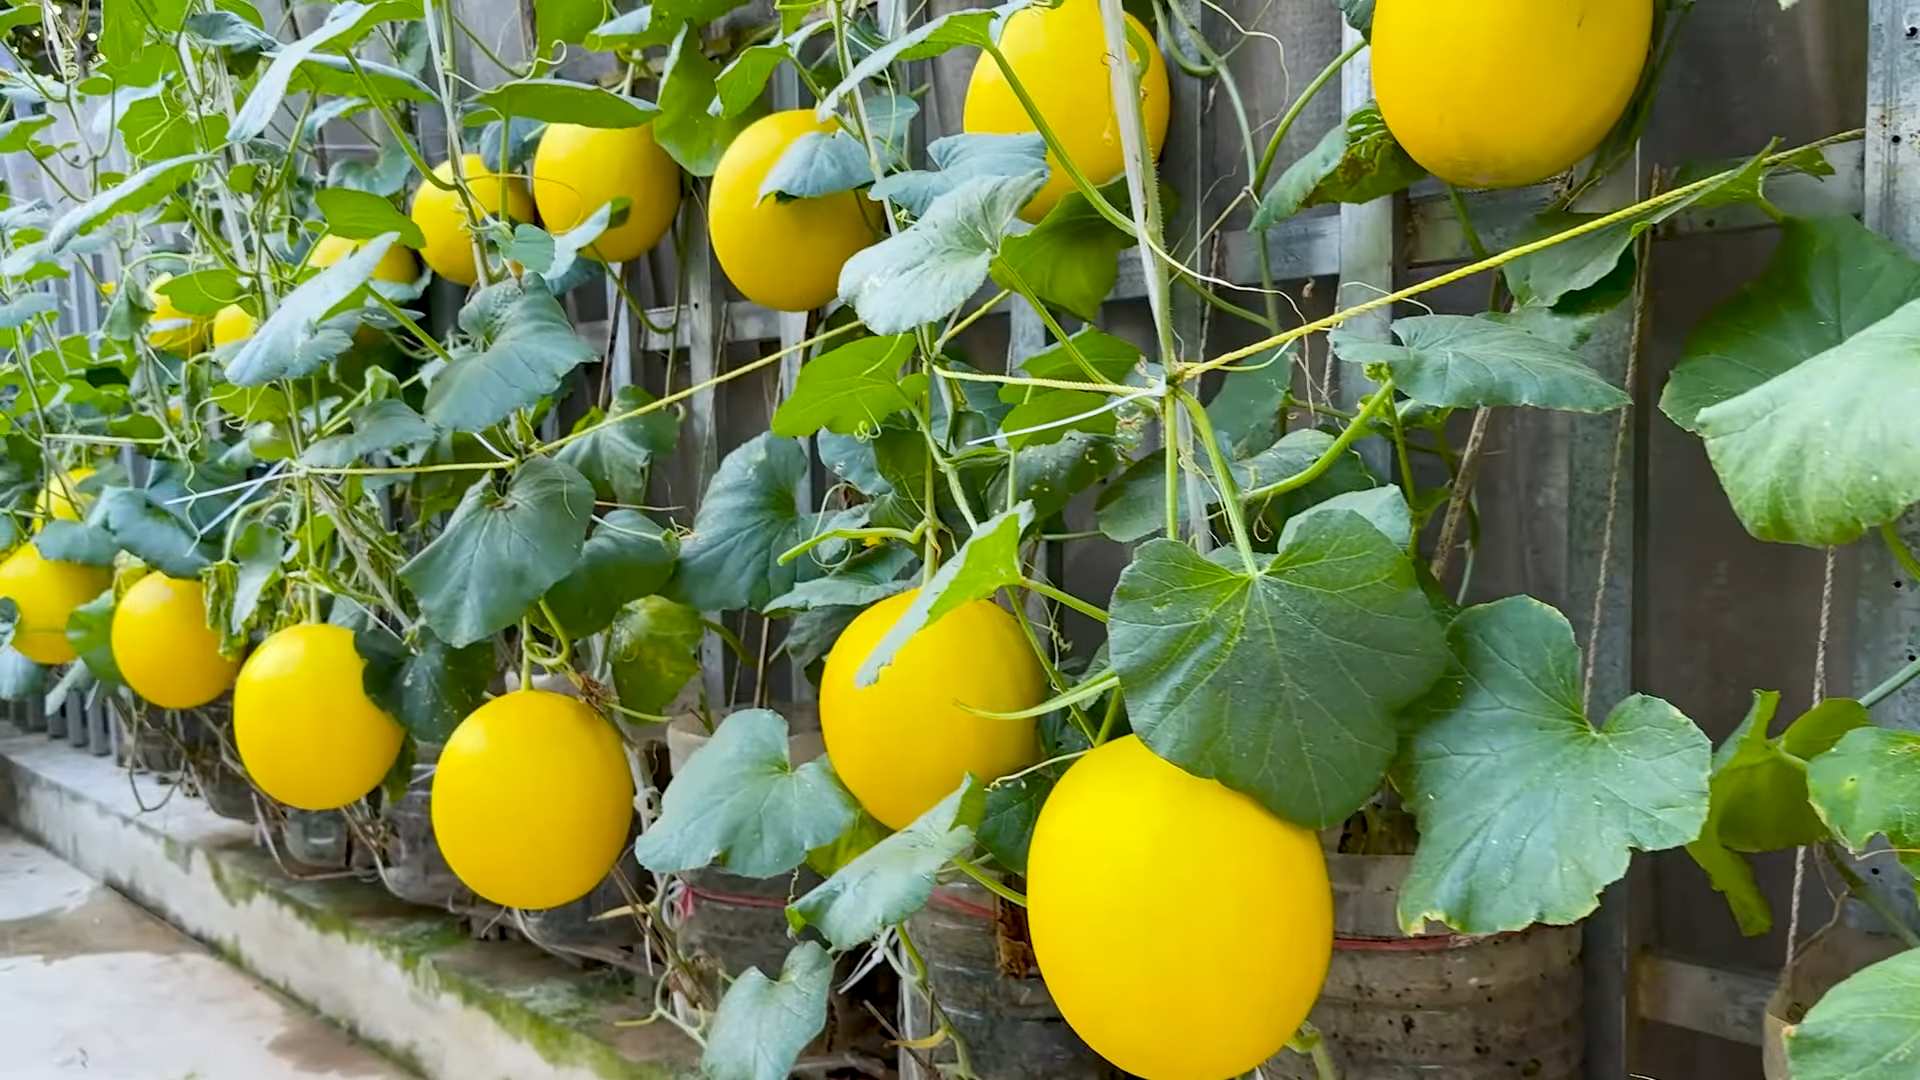
Grow Bigger Melons and impress your neighbors with your bountiful harvest! Have you ever dreamed of slicing into a juicy, extra-large melon grown right in your own backyard? I know I have! There’s something incredibly satisfying about nurturing a tiny seed into a magnificent fruit, especially when that fruit is a showstopper. For centuries, melons have been prized for their sweetness and refreshing qualities, gracing tables from ancient Egypt to modern-day picnics. In many cultures, they symbolize abundance and prosperity.
But let’s be honest, achieving melon-growing greatness can sometimes feel like a challenge. That’s where these DIY tricks and hacks come in! Many of us struggle with getting our melon plants to produce those impressively large fruits we see in magazines. Maybe your melons are small, bland, or simply not thriving. Don’t worry, you’re not alone! This article is packed with simple, effective, and budget-friendly techniques that will help you grow bigger melons than you ever thought possible. I’m going to share my favorite secrets to maximizing your melon yield and ensuring you enjoy the sweetest, most satisfying harvest yet. Get ready to roll up your sleeves and transform your garden into a melon paradise!
DIY: Supercharge Your Melon Patch for a Bumper Crop!
Okay, melon lovers, let’s talk about getting those prize-winning, juicy, and downright enormous melons you’ve always dreamed of. I’m going to share my secrets for maximizing your melon yield and size. It’s not rocket science, but it does require a little planning, effort, and a whole lot of love for your plants!
Choosing the Right Variety
Before we even get our hands dirty, it’s crucial to understand that genetics play a huge role. Some melon varieties are simply predisposed to be larger than others.
* Watermelons: Look for varieties like ‘Carolina Cross’ (known for its record-breaking size), ‘Charleston Gray’ (a classic for a reason), or ‘Black Diamond’ (dark, sweet, and impressive).
* Cantaloupes: ‘Athena’ and ‘Hales Best Jumbo’ are good choices if you’re aiming for larger cantaloupes.
* Honeydew: ‘Honeycrisp’ (not just for apples!) and ‘Temptation’ are known for producing sizable honeydews.
Preparing the Soil: The Foundation for Success
Melons are heavy feeders, meaning they need a lot of nutrients to grow big and strong. Soil preparation is absolutely key.
* Sunlight: Melons need at least 6-8 hours of direct sunlight per day. Choose a location that gets plenty of sunshine.
* Soil Type: Melons prefer well-drained, sandy loam soil. If your soil is heavy clay, you’ll need to amend it.
* Soil Testing: Get your soil tested! This will tell you exactly what nutrients are lacking and what you need to add. Your local agricultural extension office can usually help with this.
* Amending the Soil:
1. Compost: Add a generous amount of compost to your soil. Compost improves drainage, adds nutrients, and helps retain moisture. I usually aim for at least 4-6 inches of compost worked into the top 12 inches of soil.
2. Manure: Well-rotted manure is another excellent soil amendment. Be sure it’s well-rotted to avoid burning your plants. Chicken manure is particularly rich in nitrogen, but any well-composted manure will do.
3. Fertilizer: Based on your soil test results, add the appropriate fertilizer. A balanced fertilizer (e.g., 10-10-10) is a good starting point, but you may need to adjust the ratio based on your soil’s specific needs. I like to use a slow-release fertilizer to provide a steady supply of nutrients throughout the growing season.
4. pH: Melons prefer a slightly acidic soil pH of around 6.0-6.8. If your soil is too alkaline, you can lower the pH by adding sulfur. If it’s too acidic, you can raise the pH by adding lime.
Planting Your Melon Seeds or Transplants
Timing is everything! Melons are warm-season crops and are very sensitive to frost.
* Starting Seeds Indoors (Optional): You can start melon seeds indoors 4-6 weeks before the last expected frost. This gives them a head start and can result in earlier and larger melons. Use peat pots or biodegradable pots to avoid disturbing the roots when transplanting.
* Direct Sowing: If you’re direct sowing, wait until the soil has warmed up to at least 70°F (21°C).
* Spacing: Give your melon plants plenty of space to spread out. Watermelons typically need 4-6 feet between plants, while cantaloupes and honeydews need 2-3 feet.
* Planting Depth: Plant seeds about 1 inch deep.
* Watering: Water thoroughly after planting.
Watering and Feeding: Keeping Your Melons Hydrated and Nourished
Consistent watering and feeding are crucial for maximizing melon size.
* Watering:
1. Deep Watering: Water deeply and infrequently, rather than shallowly and frequently. This encourages deep root growth, which helps the plants access more nutrients and water.
2. Soaker Hoses or Drip Irrigation: Use soaker hoses or drip irrigation to deliver water directly to the roots, avoiding wetting the foliage. Wet foliage can lead to fungal diseases.
3. Watering Frequency: Water when the top inch of soil feels dry to the touch. During hot, dry weather, you may need to water daily.
4. Reduce Watering Before Harvest: About two weeks before harvest, reduce watering to concentrate the sugars in the fruit.
* Fertilizing:
1. Side-Dressing: Side-dress your melon plants with fertilizer every 2-3 weeks. Use a fertilizer that’s high in phosphorus and potassium, which are essential for fruit development. Bone meal and wood ash are good natural sources of phosphorus and potassium.
2. Foliar Feeding: You can also supplement with foliar feeding. This involves spraying a diluted fertilizer solution directly onto the leaves. This is a quick way to deliver nutrients to the plant.
3. Avoid Over-Fertilizing: Be careful not to over-fertilize, especially with nitrogen. Too much nitrogen can lead to excessive vine growth and reduced fruit production.
Pruning and Training: Directing the Plant’s Energy
Pruning and training can help direct the plant’s energy towards fruit production.
* Pruning Watermelons:
1. Remove Suckers: Remove suckers (small shoots that grow from the base of the plant) to encourage the main vine to grow stronger.
2. Limit Fruit: Limit the number of fruits per vine to 2-3. This will allow the plant to focus its energy on developing those fruits to their full potential.
3. Pinch Back Vines: Once the fruits have set, pinch back the ends of the vines to encourage the plant to put more energy into the fruits.
* Pruning Cantaloupes and Honeydews:
1. Pinch Back Vines: Pinch back the ends of the vines after the fruits have set.
2. Remove Excess Foliage: Remove any yellowing or diseased leaves to improve air circulation and prevent the spread of disease.
* Training:
1. Trellising: You can train melon vines to grow on a trellis. This can save space and improve air circulation. However, you’ll need to support the fruits with slings or netting as they grow larger.
2. Directing Vines: Gently direct the vines in the direction you want them to grow. This can help prevent them from sprawling all over your garden.
Pollination: Ensuring Fruit Set
Melons need to be pollinated in order to produce fruit.
* Attracting Pollinators: Plant flowers that attract pollinators, such as bees and butterflies, near your melon patch.
* Hand Pollination (If Necessary): If you’re not seeing enough pollinators, you can hand-pollinate your melon flowers.
1. Identify Male and Female Flowers: Male flowers have a long, thin stem, while female flowers have a small, immature fruit at the base.
2. Collect Pollen: Use a small brush to collect pollen from the male flower.
3. Transfer Pollen: Gently transfer the pollen to the stigma of the female flower.
4. Timing: The best time to hand-pollinate is in the morning, when the flowers are open.
Protecting Your Melons: Pest and Disease Control
Melons are susceptible to a variety of pests and diseases.
* Pests:
1. Squash Bugs: Squash bugs can be a major problem for melons. Hand-pick them off the plants or use insecticidal soap.
2. Cucumber Beetles: Cucumber beetles can spread diseases. Use row covers to protect young plants or spray with neem oil.
3. Aphids: Aphids can suck the sap from the plants. Spray with insecticidal soap or release ladybugs.
* Diseases:
1. Powdery Mildew: Powdery mildew is a fungal disease that can cause white, powdery spots on the leaves. Improve air circulation and spray with a fungicide.
2. Fusarium Wilt: Fusarium wilt is a soilborne disease that can cause the plants to wilt and die. Plant resistant varieties and practice crop rotation.
3. Anthracnose: Anthracnose is a fungal disease that can cause lesions on the leaves and fruits. Spray with a fungicide.
* General Tips:
1. Crop Rotation: Practice crop rotation to prevent the buildup of pests and diseases in the soil.
2. Good Air
Conclusion
So, there you have it! This simple, yet incredibly effective DIY trick to grow bigger melons is a game-changer for any gardener, whether you’re a seasoned pro or just starting out. We’ve walked you through the process, highlighting the science behind why it works and offering practical tips to ensure your success.
But why is this a must-try? Because it’s about more than just size. It’s about maximizing the potential of your plants, ensuring they receive the nutrients they need to produce the most delicious, juicy, and satisfying melons possible. Imagine biting into a watermelon so sweet and flavorful it bursts in your mouth, or sharing a cantaloupe so fragrant and succulent it becomes the highlight of your summer barbecue. This DIY method helps you achieve that.
Beyond the core technique, don’t be afraid to experiment! Consider these variations to tailor the method to your specific needs and growing conditions:
* Compost Tea Boost: Instead of plain water, use a diluted compost tea to further enrich the soil and provide an extra dose of beneficial microbes. This is especially helpful for plants grown in less-than-ideal soil.
* Epsom Salt Supplement: A small amount of Epsom salt (magnesium sulfate) can be added to the water to provide magnesium, which is crucial for chlorophyll production and overall plant health. Use sparingly, as too much can be detrimental.
* Different Melon Varieties: This technique isn’t limited to watermelons and cantaloupes. Try it with honeydew melons, Galia melons, or even smaller varieties like personal watermelons. Adjust the frequency and amount of feeding based on the size and needs of the specific melon.
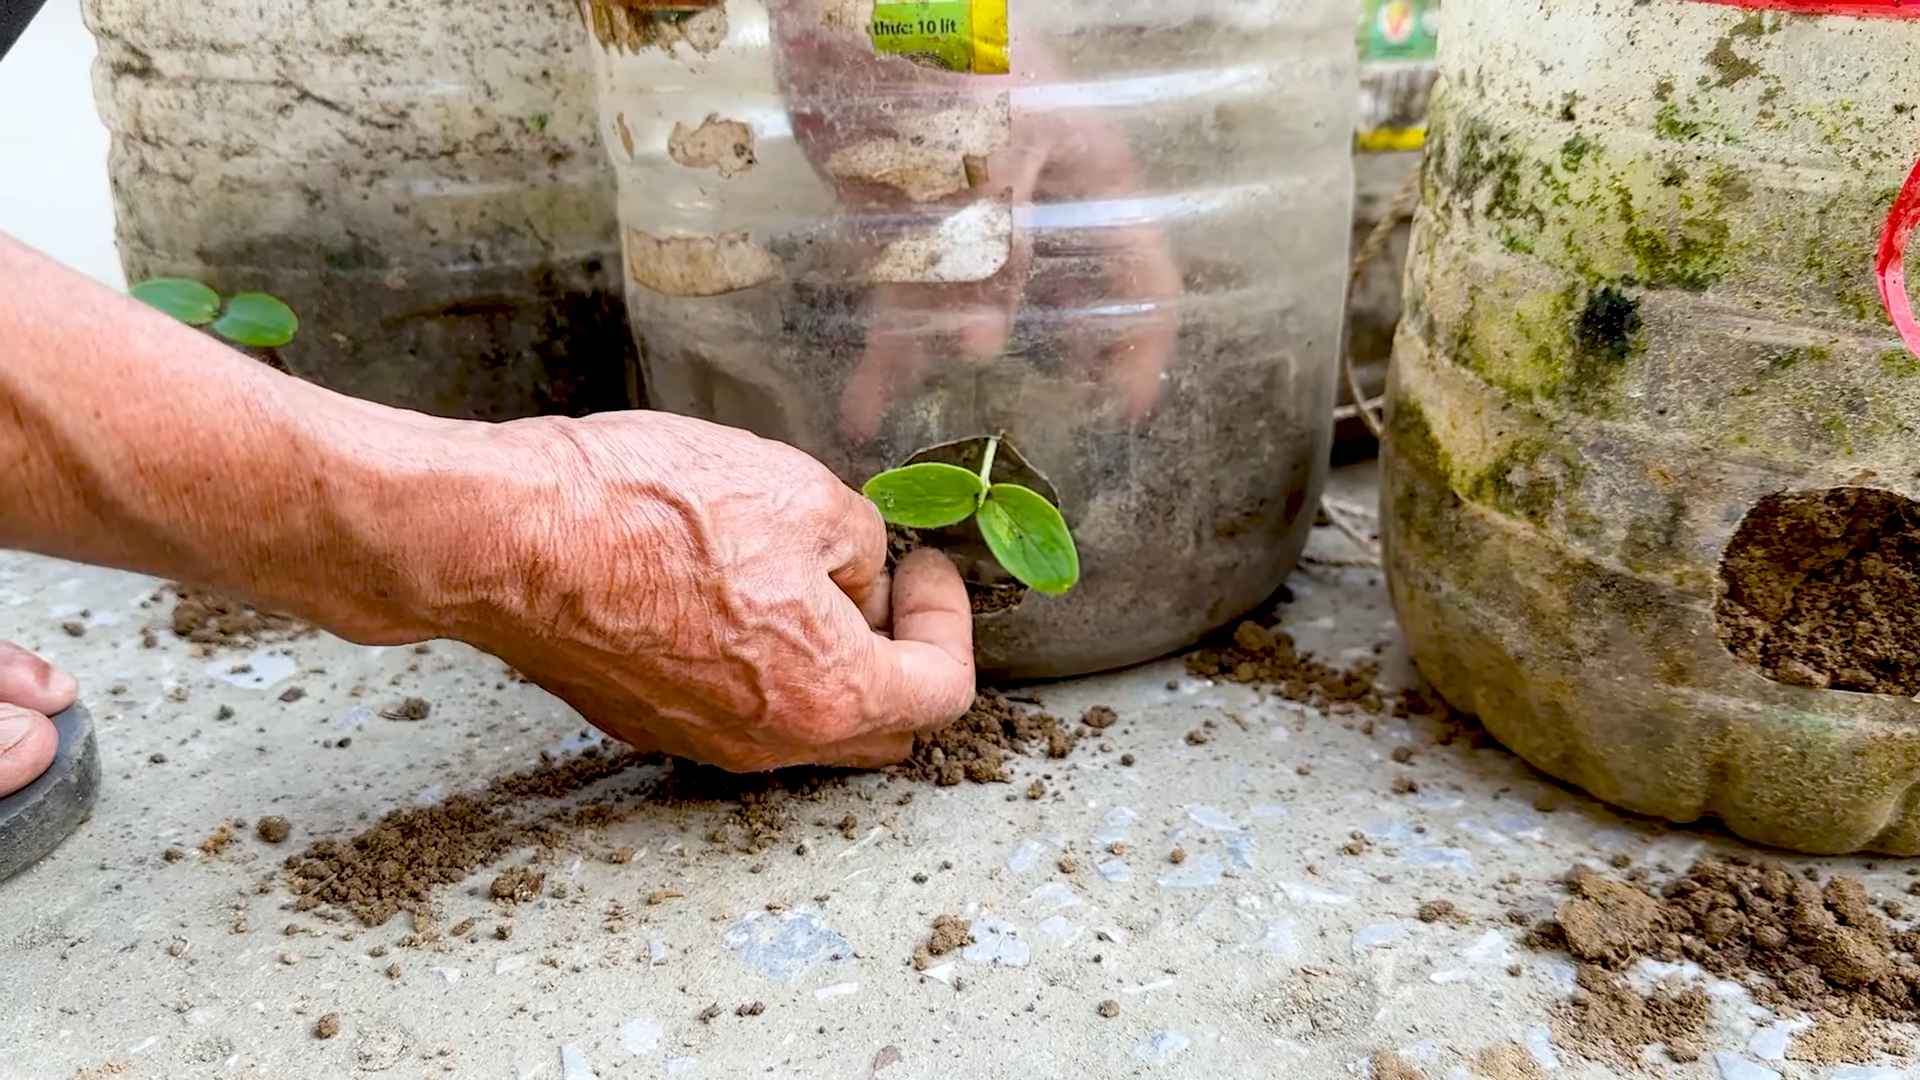
* Vertical Gardening Adaptation: If you’re growing melons vertically, ensure the support structure is strong enough to handle the increased weight of larger fruits. You may also need to provide additional support to the developing melons themselves, such as slings made from netting or fabric.
This DIY approach is not only cost-effective but also environmentally friendly, allowing you to control exactly what goes into your garden and avoid harsh chemicals. It’s a sustainable way to enhance your melon crop and enjoy the fruits (literally!) of your labor.
We are confident that by implementing this DIY trick, you’ll see a noticeable difference in the size, quality, and flavor of your melons. But don’t just take our word for it! We encourage you to try it out for yourself and witness the results firsthand.
And most importantly, we want to hear about your experience! Share your photos, tips, and stories in the comments section below. Let us know what worked for you, what challenges you faced, and any variations you tried. Your feedback will not only help other gardeners but also contribute to a collective understanding of how to best grow bigger melons in different environments. Let’s cultivate a community of melon-growing enthusiasts and share the joy of harvesting bountiful, delicious fruits!
Frequently Asked Questions (FAQ)
1. How often should I apply this DIY trick to my melon plants?
The frequency depends on several factors, including the type of melon, the age of the plant, the soil quality, and the weather conditions. As a general guideline, start applying the nutrient boost when the melons are about the size of a tennis ball. Apply it every 7-10 days. During periods of rapid growth or hot weather, you may need to increase the frequency to every 5-7 days. Observe your plants closely and adjust accordingly. If the leaves start to yellow or show signs of nutrient deficiency, increase the frequency. If the plants appear over-fertilized (e.g., excessive leaf growth, stunted fruit development), reduce the frequency.
2. What type of fertilizer should I use for this DIY trick?
A balanced, water-soluble fertilizer with an NPK ratio (nitrogen, phosphorus, potassium) of around 10-10-10 or 20-20-20 is a good starting point. However, as the melons develop, you may want to switch to a fertilizer with a higher potassium content, as potassium is essential for fruit development and sweetness. Look for fertilizers specifically formulated for fruits and vegetables. Organic options like fish emulsion or seaweed extract can also be used, but they may require more frequent applications. Always follow the instructions on the fertilizer label and dilute the fertilizer to the recommended concentration.
3. Can I use this DIY trick on other types of fruits and vegetables?
While this trick is specifically designed to enhance melon growth, the underlying principles can be applied to other fruits and vegetables as well. Plants like tomatoes, cucumbers, and squash can benefit from supplemental feeding during their fruiting stage. However, the specific nutrient requirements and application frequency may vary. Research the specific needs of the plant you’re growing and adjust the fertilizer type and application rate accordingly. For example, tomatoes benefit from calcium supplementation to prevent blossom-end rot.
4. What are the signs of over-fertilizing my melon plants?
Over-fertilizing can be detrimental to your melon plants, leading to various problems. Common signs of over-fertilization include:
* Excessive leaf growth: The plant may produce an abundance of leaves at the expense of fruit development.
* Stunted fruit development: The melons may be small, misshapen, or slow to ripen.
* Yellowing or browning of leaf edges: This is a sign of fertilizer burn.
* Salt buildup on the soil surface: This can inhibit water absorption and damage the roots.
* Wilting: Even with adequate watering, the plant may wilt due to the high salt concentration in the soil.
If you notice any of these signs, immediately stop fertilizing and flush the soil with plenty of water to remove excess nutrients.
5. What if I don’t see any results after trying this DIY trick?
Several factors can influence the success of this DIY trick. If you’re not seeing the desired results, consider the following:
* Soil quality: Ensure your soil is well-draining and rich in organic matter. Amend the soil with compost or other organic materials if necessary.
* Sunlight: Melons need at least 6-8 hours of direct sunlight per day.
* Watering: Water deeply and regularly, especially during hot weather. Avoid overwatering, which can lead to root rot.
* Pest and disease control: Protect your plants from pests and diseases, as they can weaken the plants and hinder fruit development.
* Pollination: Ensure your melon plants are properly pollinated. You may need to hand-pollinate the flowers if there are not enough bees or other pollinators in your area.
* Nutrient deficiencies: Conduct a soil test to identify any nutrient deficiencies and amend the soil accordingly.
* Variety: Some melon varieties are naturally smaller than others. Choose a variety known for producing larger fruits.
If you’ve addressed all these factors and still aren’t seeing results, it may be that your plants are simply not genetically predisposed to produce exceptionally large melons. However, even if you don’t achieve record-breaking sizes, this DIY trick can still improve the overall quality and flavor of your melons.
6. Is this DIY trick safe for organic gardening?
Yes, this DIY trick can be adapted for organic gardening by using organic fertilizers and soil amendments. Choose organic fertilizers like fish emulsion, seaweed extract, or compost tea. Amend the soil with compost, aged manure, or other organic materials. Avoid using synthetic fertilizers or pesticides, as they are not allowed in organic gardening. Always follow the instructions on the organic fertilizer label and dilute the fertilizer to the recommended concentration.
7. How does this DIY trick help grow bigger melons?
This DIY trick works by providing the melon plants with a concentrated dose of nutrients during the critical fruit development stage. When the melons are actively growing, they require a significant amount of energy and nutrients to support their rapid growth. By supplementing the soil with a water-soluble fertilizer, you ensure that the plants have access to the necessary nutrients to maximize fruit size and quality. The increased nutrient availability promotes cell division and expansion within the melon, leading to larger and heavier fruits. Additionally, the fertilizer helps to improve the overall health and vigor of the plant, making it more resilient to pests and diseases.


Leave a Comment