
Grow Bok Choy at Home, even if you think you don’t have a green thumb! Have you ever dreamt of stepping into your backyard and harvesting fresh, crisp bok choy for a delicious stir-fry? It’s easier than you think, and this DIY guide will show you how. For centuries, bok choy, also known as Chinese cabbage, has been a staple in Asian cuisine, revered not only for its nutritional value but also for its versatility in the kitchen.
But why should you bother learning to grow bok choy at home? Well, imagine bypassing the grocery store lines and enjoying organic, pesticide-free greens whenever you crave them. Plus, gardening is incredibly therapeutic! In today’s fast-paced world, taking a moment to connect with nature and nurture a plant from seed to harvest can be incredibly rewarding. I’m going to share some simple yet effective tricks and DIY hacks that will empower you to cultivate your own thriving bok choy patch, regardless of your gardening experience. Let’s get started and transform your backyard into a mini-vegetable garden!
Grow Your Own Delicious Bok Choy at Home: A Beginner’s Guide
Hey there, fellow gardening enthusiasts! Are you ready to add a crisp, healthy, and incredibly versatile vegetable to your homegrown bounty? Then let’s dive into the wonderful world of Bok Choy! Growing Bok Choy at home is surprisingly easy, even if you’re a complete newbie. I’m going to walk you through everything you need to know, from seed to harvest, so you can enjoy fresh, organic Bok Choy straight from your garden.
Choosing Your Bok Choy Variety
First things first, let’s talk about variety. Bok Choy comes in different shapes and sizes, so picking the right one is key. Here are a few popular options:
* Shanghai Bok Choy: This is probably the most common type. It has light green stems and spoon-shaped leaves. It’s known for its mild flavor and quick growth.
* Baby Bok Choy: As the name suggests, this is a smaller version of Shanghai Bok Choy. It’s perfect for single servings and has a slightly sweeter taste.
* Canton Bok Choy: This variety has darker green leaves and thicker, white stems. It has a slightly stronger flavor than Shanghai Bok Choy.
* Purple Lady Bok Choy: If you want to add some color to your garden (and your plate!), this is the one for you. It has beautiful purple leaves and a mild, sweet flavor.
I personally love growing Shanghai Bok Choy because it’s so reliable and versatile, but feel free to experiment and find your favorite!
Getting Started: Seeds vs. Transplants
You have two options for starting your Bok Choy: seeds or transplants.
* Seeds: Starting from seed is the most economical option, and it gives you more control over the entire growing process.
* Transplants: Transplants are a great choice if you’re short on time or want a head start. You can find them at most garden centers.
I usually prefer starting from seed because I find it more rewarding, but either way works just fine!
Planting Your Bok Choy
Now for the fun part: planting! Bok Choy is a cool-season crop, which means it thrives in cooler temperatures.
Timing is Everything
* Spring Planting: Plant your Bok Choy seeds or transplants in early spring, as soon as the soil is workable. Aim for about 4-6 weeks before the last expected frost.
* Fall Planting: You can also plant Bok Choy in the fall for a late-season harvest. Plant about 6-8 weeks before the first expected frost.
Preparing the Soil
Bok Choy loves rich, well-drained soil. Here’s how to prepare your planting area:
1. Choose a Sunny Spot: Bok Choy needs at least 6 hours of sunlight per day.
2. Amend the Soil: Mix in plenty of compost or well-rotted manure to improve drainage and fertility. I usually add a generous layer of compost to my garden beds before planting.
3. Loosen the Soil: Use a garden fork or tiller to loosen the soil to a depth of at least 12 inches.
4. Smooth the Surface: Rake the soil smooth to create a level planting surface.
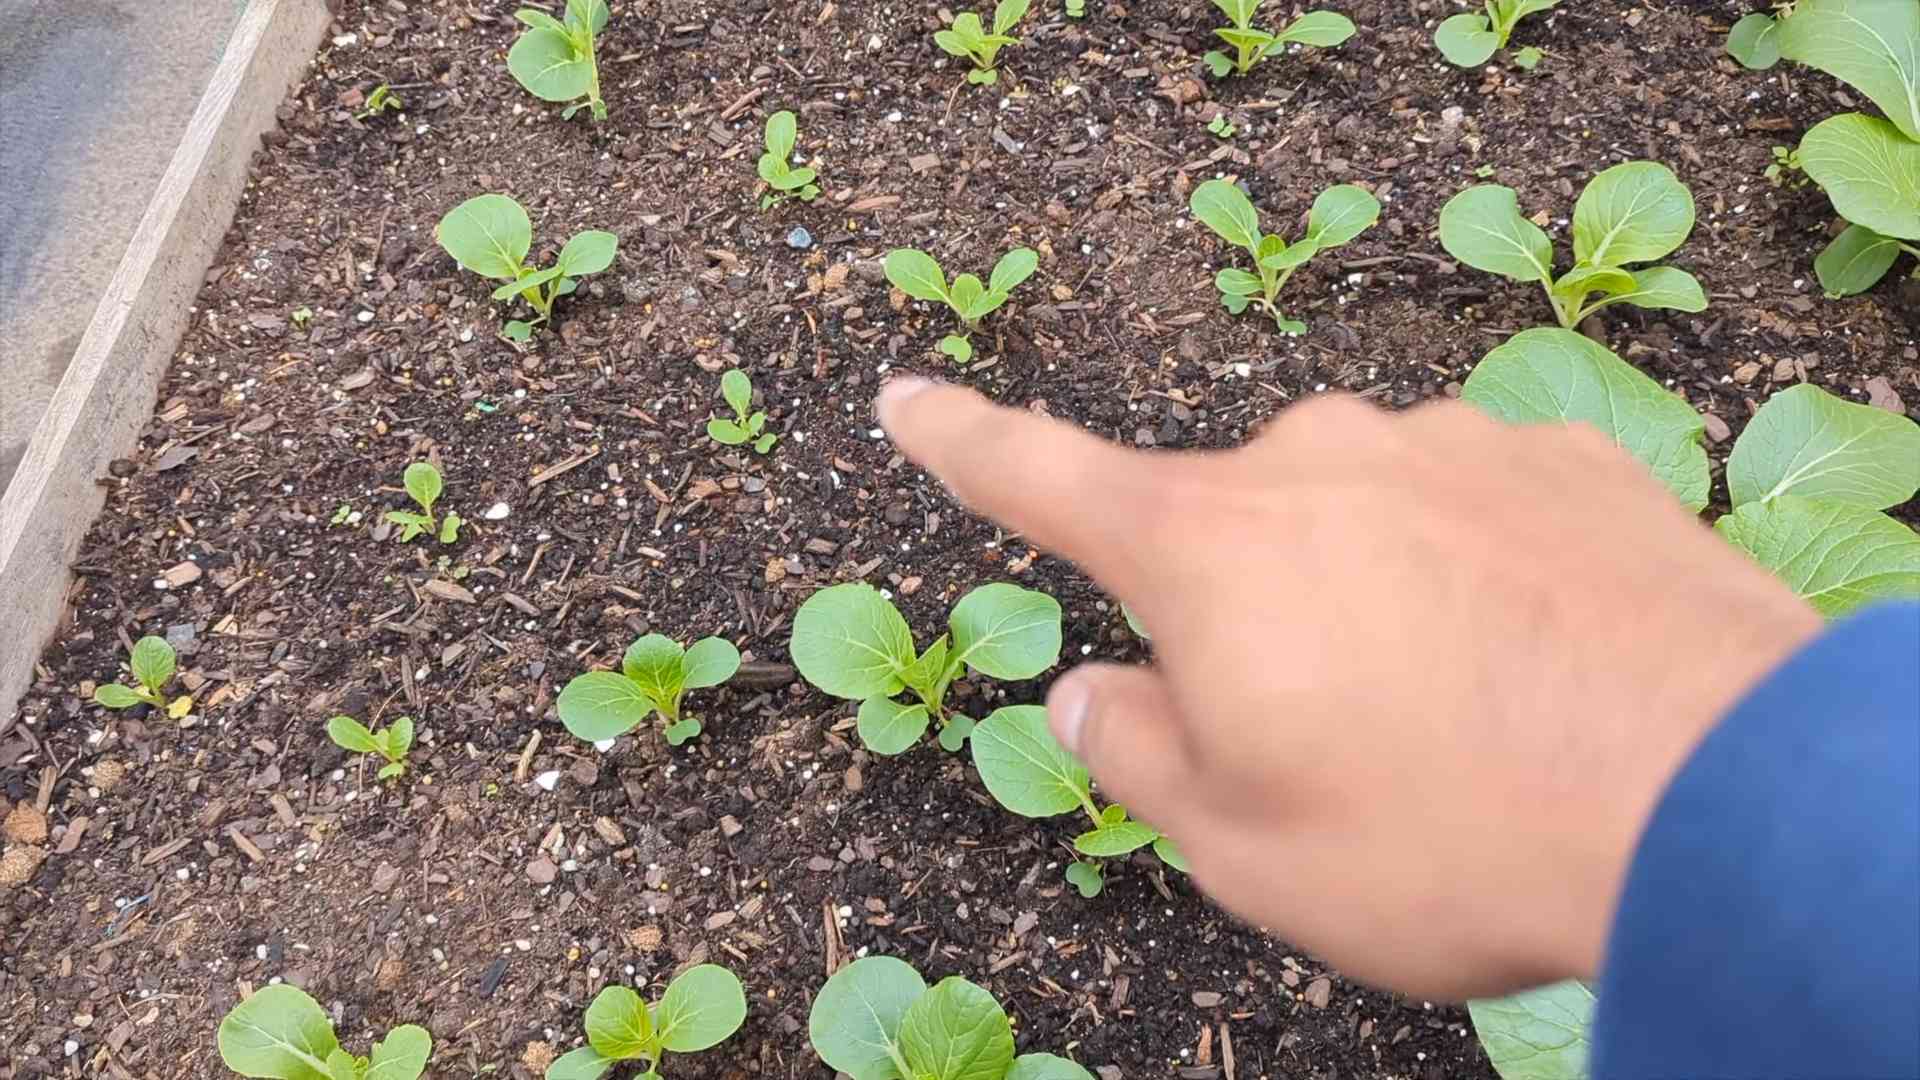
Planting Seeds
1. Sow Seeds: Sow seeds about 1/4 inch deep and 1 inch apart in rows.
2. Cover Seeds: Gently cover the seeds with soil and water thoroughly.
3. Thin Seedlings: Once the seedlings emerge, thin them to about 6-8 inches apart. This will give them enough room to grow.
Planting Transplants
1. Dig Holes: Dig holes that are slightly larger than the root ball of the transplants. Space the holes about 6-8 inches apart.
2. Remove Transplants: Gently remove the transplants from their containers.
3. Place Transplants: Place the transplants in the holes and backfill with soil.
4. Water Thoroughly: Water the transplants thoroughly to help them settle in.
Caring for Your Bok Choy
Once your Bok Choy is planted, it’s time to give it some TLC.
Watering
Bok Choy needs consistent moisture to thrive. Water deeply whenever the top inch of soil feels dry. Avoid overwatering, as this can lead to root rot. I usually water my Bok Choy every other day, depending on the weather.
Fertilizing
Bok Choy is a heavy feeder, so it benefits from regular fertilization.
* Initial Fertilization: When planting, mix a slow-release fertilizer into the soil.
* Side-Dressing: Side-dress your Bok Choy with a nitrogen-rich fertilizer every 2-3 weeks. I like to use fish emulsion or compost tea.
Weeding
Keep your Bok Choy patch free of weeds. Weeds compete with Bok Choy for nutrients and water. Hand-pull weeds regularly or use a hoe to cultivate the soil.
Pest Control
Bok Choy can be susceptible to a few pests, including:
* Aphids: These tiny insects suck the sap from plants. You can control them with insecticidal soap or a strong spray of water.
* Cabbage Worms: These green caterpillars chew holes in the leaves. You can hand-pick them off the plants or use Bacillus thuringiensis (Bt), a natural insecticide.
* Flea Beetles: These tiny beetles jump when disturbed and can damage the leaves. You can control them with row covers or insecticidal soap.
I’ve found that regular monitoring and prompt action are the best ways to keep pests under control.
Bolting Prevention
Bolting is when a plant prematurely flowers and goes to seed. This can happen when Bok Choy is exposed to hot weather. To prevent bolting:
* Plant at the Right Time: Plant Bok Choy in early spring or fall, when temperatures are cooler.
* Provide Shade: If you’re growing Bok Choy in a hot climate, provide some shade during the hottest part of the day.
* Water Regularly: Consistent watering can help prevent bolting.
Harvesting Your Bok Choy
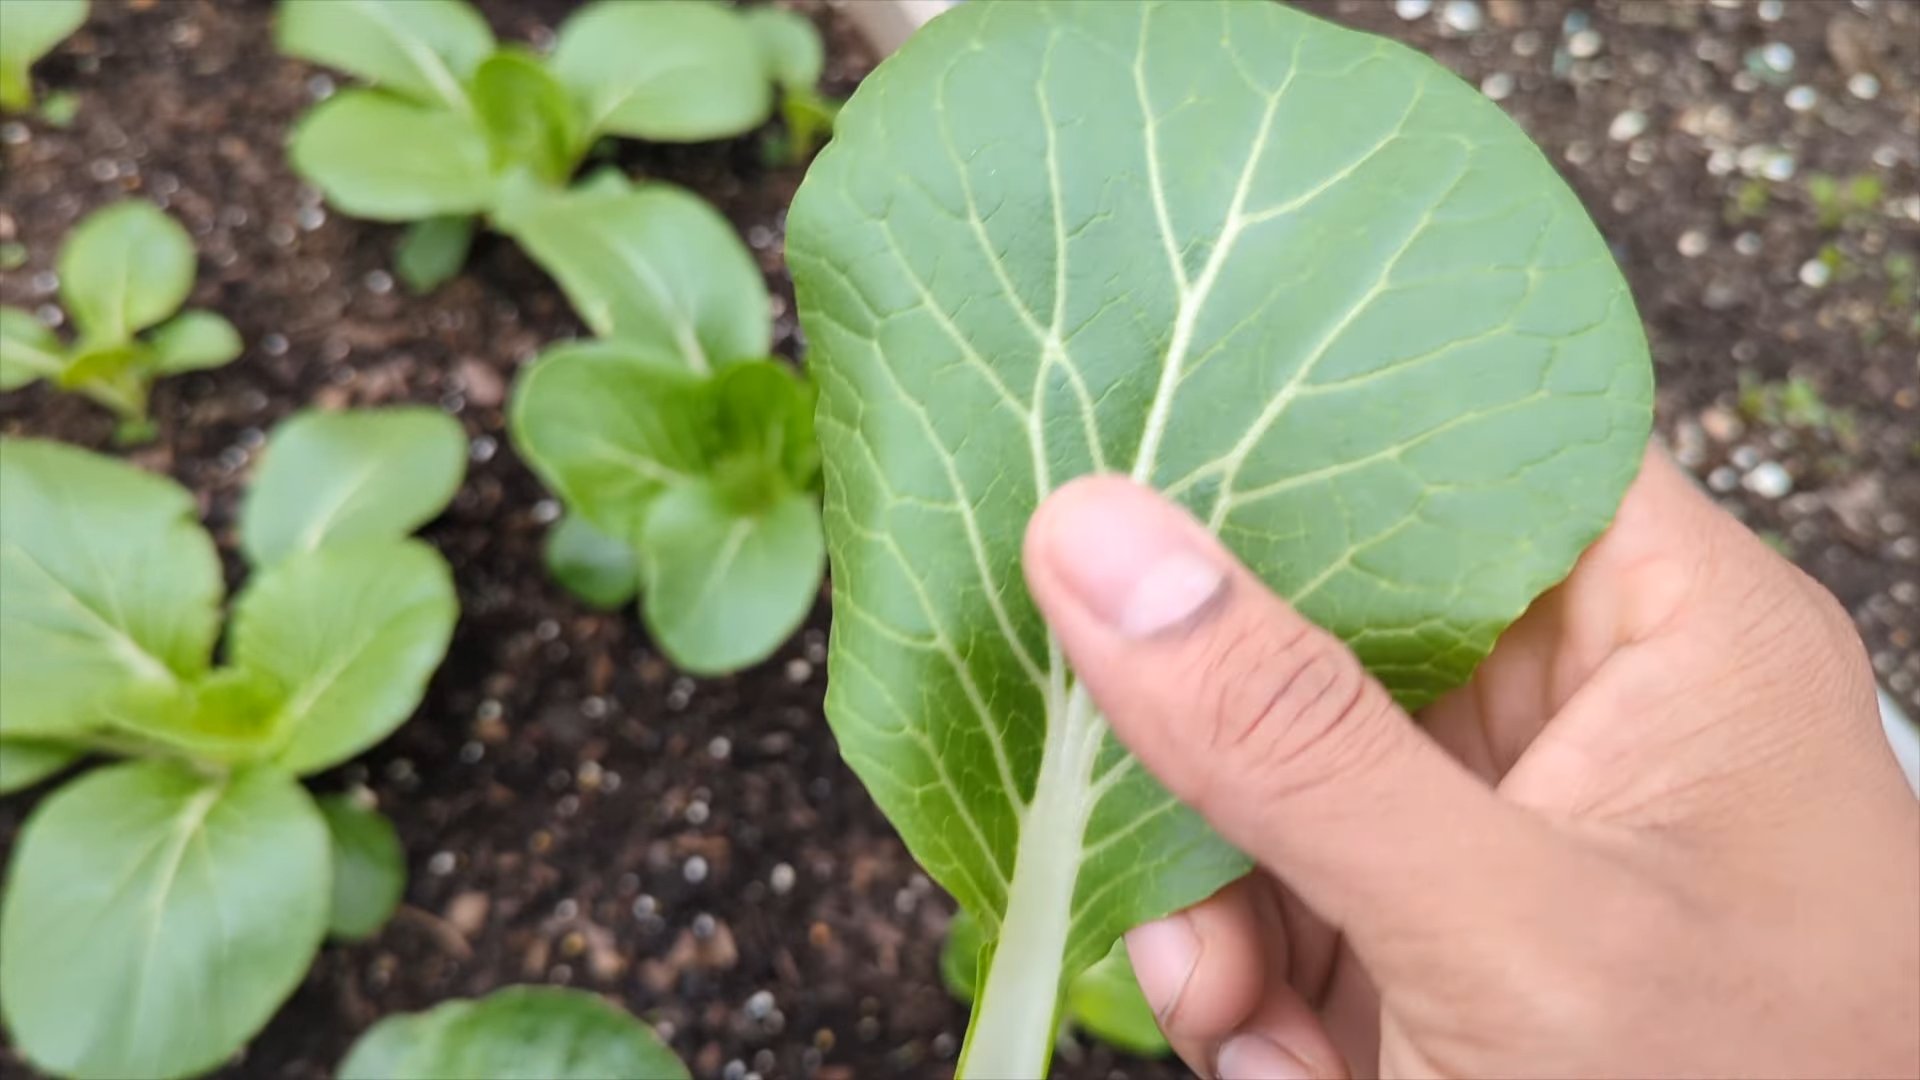
The moment you’ve been waiting for! Bok Choy is ready to harvest when the leaves are about 6-8 inches long.
1. Cut the Plant: Use a sharp knife to cut the plant at the base.
2. Harvest Individual Leaves: Alternatively, you can harvest individual leaves as needed, starting with the outer leaves. This will allow the plant to continue producing.
I usually harvest my Bok Choy in the morning, when the leaves are crisp and fresh.
Storing Your Bok Choy
To store your Bok Choy:
1. Rinse the Leaves: Rinse the leaves under cold water.
2. Dry the Leaves: Dry the leaves thoroughly with a paper towel or salad spinner.
3. Store in a Bag: Place the leaves in a plastic bag and store them in the refrigerator.
Bok Choy will keep in the refrigerator for about a week.
Enjoying Your Homegrown Bok Choy
Now for the best part: eating your homegrown Bok Choy! Bok Choy is incredibly versatile and can be used in a variety of dishes. Here are a few ideas:
* Stir-Fries: Bok Choy is a classic ingredient in stir-fries.
* Soups: Add Bok Choy to soups for a healthy and flavorful boost.
* Salads: Use baby Bok Choy in salads for a mild and crunchy texture.
* Steamed: Steam Bok Choy and serve it as a side dish.
* Grilled: Grill Bok Choy for a smoky and delicious flavor.
I personally love adding Bok Choy to my stir-fries and soups. It’s such a healthy and delicious addition to any meal!
Troubleshooting
Even with the best care, you might encounter a few problems while growing Bok Choy. Here are some common issues and how to fix them:
* Yellowing Leaves: This could be a sign of nutrient deficiency. Fertilize your Bok Choy with a nitrogen-rich fertilizer.
* Holes in Leaves: This is likely caused by pests. Inspect your plants regularly and take action to control pests.
* Bolting: This is caused by hot weather. Plant Bok Choy at the right time and provide shade during the hottest part of the day.
* Slow Growth: This could be due to poor soil or lack of sunlight. Amend the soil with compost and make sure your Bok Choy is getting enough sunlight.
Don’t be discouraged if you encounter a few challenges along the way. Gardening is all about learning and experimenting. With a little patience and effort, you’ll be enjoying fresh, homegrown Bok Choy in no time!
So there you have it! Everything you
Conclusion
So, there you have it! Growing your own bok choy at home is not only achievable, but it’s also incredibly rewarding. Forget those wilted, overpriced heads at the grocery store. Imagine stepping outside your door and harvesting crisp, vibrant bok choy whenever you need it. This DIY trick transforms your kitchen scraps into a continuous supply of fresh, nutritious greens.
Why is this a must-try? Because it’s sustainable, cost-effective, and surprisingly simple. You’re reducing food waste by regrowing the base of your bok choy, saving money on your grocery bill, and enjoying fresher, tastier produce than you can typically find in stores. Plus, there’s a certain satisfaction that comes from nurturing something from a discarded piece into a thriving plant. It’s a small act of self-sufficiency that connects you to the food you eat.
But don’t stop there! Experiment with different varieties of bok choy. Try growing baby bok choy for tender, bite-sized leaves, or explore more mature varieties for heartier dishes. You can also vary the growing medium. While water propagation is a great starting point, consider transplanting your regrown bok choy into soil for a more robust and long-lasting plant. Add some compost to the soil for extra nutrients and watch your bok choy flourish.
Another fun variation is to try growing your bok choy indoors under grow lights, especially if you live in a climate with harsh winters. This allows you to enjoy fresh bok choy year-round, regardless of the weather outside. You can also experiment with different containers, from repurposed plastic containers to decorative pots, to add a touch of personality to your indoor garden.
The possibilities are endless! The key is to start, experiment, and learn as you go. Growing bok choy at home is a journey, not just a destination.
We wholeheartedly encourage you to give this DIY trick a try. It’s a fantastic way to add fresh, healthy greens to your diet, reduce food waste, and connect with nature. And most importantly, have fun with it!
Once you’ve successfully grown your own bok choy, we’d love to hear about your experience. Share your tips, tricks, and photos in the comments below. Let’s build a community of bok choy enthusiasts and inspire others to embrace the joys of home gardening. What worked for you? What challenges did you face? What delicious dishes did you create with your homegrown bok choy? Your insights can help others succeed and discover the magic of growing their own food. So, get started today and experience the satisfaction of harvesting your own fresh, homegrown bok choy!
Frequently Asked Questions (FAQ)
What part of the bok choy do I need to start growing it?
You’ll need the base of the bok choy, the part where the stalks are connected. After using the leaves for cooking, leave about 2-3 inches of the base intact. This is where the magic happens! Make sure it’s a clean cut to prevent rotting.
How long does it take to see new growth?
You should start seeing new growth within a few days, typically 3-5 days. Small leaves will begin to sprout from the center of the base. Be patient, and make sure the base is consistently submerged in water. The speed of growth can also depend on the ambient temperature and light conditions. Warmer temperatures and ample sunlight will encourage faster growth.
What kind of water should I use?
Tap water is generally fine, but it’s best to let it sit out for a few hours to allow the chlorine to dissipate. Filtered water is also a good option. Avoid using distilled water, as it lacks the minerals that plants need to thrive. Change the water every 1-2 days to prevent bacterial growth and keep the water fresh.
How much sunlight does the bok choy need?
Bok choy thrives in bright, indirect sunlight. Place the container near a sunny window, but avoid direct sunlight, which can scorch the leaves. If you don’t have a sunny window, you can use a grow light to provide supplemental light. Aim for at least 6 hours of light per day.
When should I transplant the bok choy to soil?
Once the roots are about 2-3 inches long and you see significant new leaf growth, it’s time to transplant your bok choy to soil. This usually takes about 1-2 weeks. Choose a pot that’s at least 6 inches in diameter and fill it with well-draining potting mix. Gently remove the bok choy from the water and plant it in the soil, making sure to cover the roots completely.
What kind of soil should I use?
Use a well-draining potting mix that’s rich in organic matter. You can also add compost or other organic amendments to improve the soil’s fertility. Avoid using garden soil, as it can be too heavy and compact, which can hinder root growth.
How often should I water the bok choy after transplanting?
Water the bok choy regularly, keeping the soil consistently moist but not waterlogged. Check the soil moisture by sticking your finger into the soil. If the top inch of soil feels dry, it’s time to water. Avoid overwatering, which can lead to root rot.
Can I grow bok choy indoors year-round?
Yes, you can grow bok choy indoors year-round, especially if you use grow lights to supplement natural light. Maintain a consistent temperature and humidity level, and fertilize regularly to ensure healthy growth.
What kind of fertilizer should I use?
Use a balanced liquid fertilizer diluted to half strength. Fertilize every 2-3 weeks during the growing season. Avoid over-fertilizing, which can burn the roots.
Are there any pests or diseases that I should watch out for?
Bok choy can be susceptible to pests such as aphids, slugs, and cabbage worms. Inspect your plants regularly and take action if you see any signs of infestation. You can use insecticidal soap or neem oil to control pests. Bok choy can also be affected by diseases such as downy mildew and clubroot. Ensure good air circulation and avoid overwatering to prevent these diseases.
How long will the bok choy last after transplanting?
With proper care, your regrown bok choy can last for several weeks or even months after transplanting. However, it’s important to note that regrown bok choy may not be as large or as productive as bok choy grown from seed.
Can I harvest the leaves multiple times?
Yes, you can harvest the outer leaves of the bok choy as needed, allowing the inner leaves to continue growing. This is known as “cut-and-come-again” harvesting. Avoid harvesting more than one-third of the plant at a time to ensure continued growth.
What if the base starts to rot?
If the base starts to rot, it’s likely due to bacterial growth or poor water quality. Discard the base and start with a fresh one. Make sure to use clean water and change it regularly to prevent rotting.
Is growing bok choy at home worth the effort?
Absolutely! Growing bok choy at home is a rewarding experience that allows you to enjoy fresh, healthy greens while reducing food waste and saving money. It’s a simple and sustainable way to connect with nature and add a touch of green to your home. Give it a try and see for yourself!
Leave a Comment