
Grow Broccoli at Home Easily? Absolutely! Imagine stepping into your backyard and harvesting fresh, vibrant broccoli heads, ready to be steamed, roasted, or tossed into a delicious salad. It’s not just a dream; it’s an achievable reality with a few simple tricks and a little DIY spirit. For centuries, cultivating your own food has been a cornerstone of self-sufficiency and a connection to the earth. From ancient Roman gardens to the victory gardens of World War II, growing your own produce has always been a way to ensure fresh, healthy food for your family.
But let’s be honest, the thought of growing broccoli can be intimidating. Store-bought broccoli is readily available, so why bother with the hassle? Well, the truth is, homegrown broccoli tastes infinitely better! Plus, you have complete control over what goes into your food, avoiding harmful pesticides and ensuring maximum freshness. In this article, I’m going to share some easy-to-follow DIY hacks that will help you grow broccoli at home easily, even if you have limited space or gardening experience. We’ll cover everything from seed starting to pest control, ensuring you have a bountiful harvest of this nutritious and delicious vegetable. So, grab your gardening gloves, and let’s get started!
Growing Broccoli at Home: A Beginner’s Guide
Hey there, fellow gardening enthusiasts! I’m so excited to share my experiences and tips on growing broccoli right in your own backyard (or even in containers!). Broccoli might seem intimidating, but trust me, with a little patience and these simple steps, you’ll be harvesting delicious, homegrown broccoli in no time.
Choosing the Right Broccoli Variety
First things first, let’s talk about broccoli varieties. There are tons of options out there, each with its own characteristics. Choosing the right one for your climate and growing space is key. Here are a few of my favorites:
* ‘Waltham 29’: This is a classic, reliable variety that’s known for its good flavor and cold hardiness. It’s a great choice for beginners.
* ‘DiCicco’: This variety matures quickly and produces smaller, but plentiful, side shoots after the main head is harvested. It’s perfect if you want a continuous harvest.
* ‘Green Magic’: As the name suggests, this variety produces beautiful, dark green heads. It’s also heat-tolerant, making it a good option for warmer climates.
* ‘Romanesco’: If you’re feeling adventurous, try growing Romanesco broccoli! Its unique, fractal-like head is as beautiful as it is delicious.
Consider your local climate and the amount of space you have when making your choice. Seed packets usually provide helpful information about each variety’s specific needs.
Getting Started: Seeds vs. Transplants
You have two main options for starting your broccoli: seeds or transplants. Both have their pros and cons.
* Seeds: Starting from seed gives you more control over the entire growing process and is generally more economical. However, it requires more time and attention, especially in the early stages.
* Transplants: Buying transplants from a local nursery is a quicker and easier option, especially if you’re short on time or space. Just make sure to choose healthy-looking plants with sturdy stems and vibrant green leaves.
I personally prefer starting from seed, as I enjoy the whole process from beginning to end. But if you’re a beginner or just want a head start, transplants are a great option.
Timing is Everything: When to Plant
Broccoli is a cool-season crop, which means it thrives in cooler temperatures. The ideal time to plant broccoli depends on your climate.
* For a spring crop: Start seeds indoors 6-8 weeks before the last expected frost. Transplant seedlings outdoors 2-3 weeks before the last frost.
* For a fall crop: Start seeds indoors in mid-summer (July or August, depending on your location). Transplant seedlings outdoors in late summer or early fall.
Pay close attention to your local weather patterns and frost dates. You can also consult your local extension office for specific planting recommendations for your area.
Step-by-Step Guide to Growing Broccoli
Okay, let’s get down to the nitty-gritty! Here’s a step-by-step guide to growing broccoli at home:
1. Starting Seeds Indoors (Optional)
If you’re starting from seed, follow these steps:
1. Prepare your seed starting mix: Use a high-quality seed starting mix that’s lightweight and well-draining. Moisten the mix thoroughly before planting.
2. Sow the seeds: Sow the seeds about 1/4 inch deep in individual cells or small pots. I usually plant 2-3 seeds per cell and then thin them out later, keeping the strongest seedling.
3. Provide warmth and light: Place the seed trays in a warm location (around 70-75°F) and provide plenty of light. A heat mat can help speed up germination. Once the seedlings emerge, move them under grow lights or to a sunny windowsill.
4. Water regularly: Keep the soil consistently moist, but not soggy. Water from the bottom to avoid damping off, a fungal disease that can kill young seedlings.
5. Harden off the seedlings: Before transplanting outdoors, gradually acclimate the seedlings to outdoor conditions. This process, called hardening off, involves exposing them to increasing amounts of sunlight and wind over a period of 7-10 days.
2. Preparing the Garden Bed
Whether you’re using seeds or transplants, preparing the garden bed is crucial for success.
1. Choose a sunny location: Broccoli needs at least 6 hours of sunlight per day.
2. Amend the soil: Broccoli prefers well-drained, fertile soil with a pH of 6.0-7.0. Amend the soil with compost or other organic matter to improve drainage and fertility.
3. Remove weeds: Clear the area of any weeds or debris. Weeds compete with broccoli for nutrients and water.
4. Till or loosen the soil: Till the soil to a depth of 12 inches or loosen it with a garden fork. This will help the roots penetrate the soil easily.
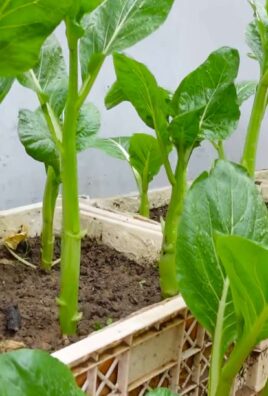
3. Transplanting Broccoli Seedlings
If you’re using transplants, follow these steps:
1. Dig holes: Dig holes that are slightly larger than the root balls of the transplants. Space the holes 18-24 inches apart.
2. Remove the transplants from their containers: Gently remove the transplants from their containers, being careful not to damage the roots.
3. Place the transplants in the holes: Place the transplants in the holes and backfill with soil. Make sure the top of the root ball is level with the surrounding soil.
4. Water thoroughly: Water the transplants thoroughly after planting. This will help settle the soil and encourage root growth.
4. Caring for Your Broccoli Plants
Once your broccoli plants are in the ground, it’s important to provide them with proper care.
1. Water regularly: Broccoli needs consistent moisture, especially during hot weather. Water deeply whenever the top inch of soil feels dry.
2. Fertilize: Fertilize your broccoli plants every 2-3 weeks with a balanced fertilizer. Follow the instructions on the fertilizer package. I like to use a liquid seaweed fertilizer, as it provides essential nutrients and helps improve plant health.
3. Mulch: Apply a layer of mulch around the plants to help retain moisture, suppress weeds, and regulate soil temperature. Straw, wood chips, or shredded leaves are all good options.
4. Control pests and diseases: Broccoli is susceptible to several pests and diseases, including cabbage worms, aphids, and clubroot. Inspect your plants regularly and take action if you notice any problems. I prefer using organic pest control methods, such as insecticidal soap or neem oil.
5. Weed regularly: Keep the area around your broccoli plants free of weeds. Weeds compete with broccoli for nutrients and water.
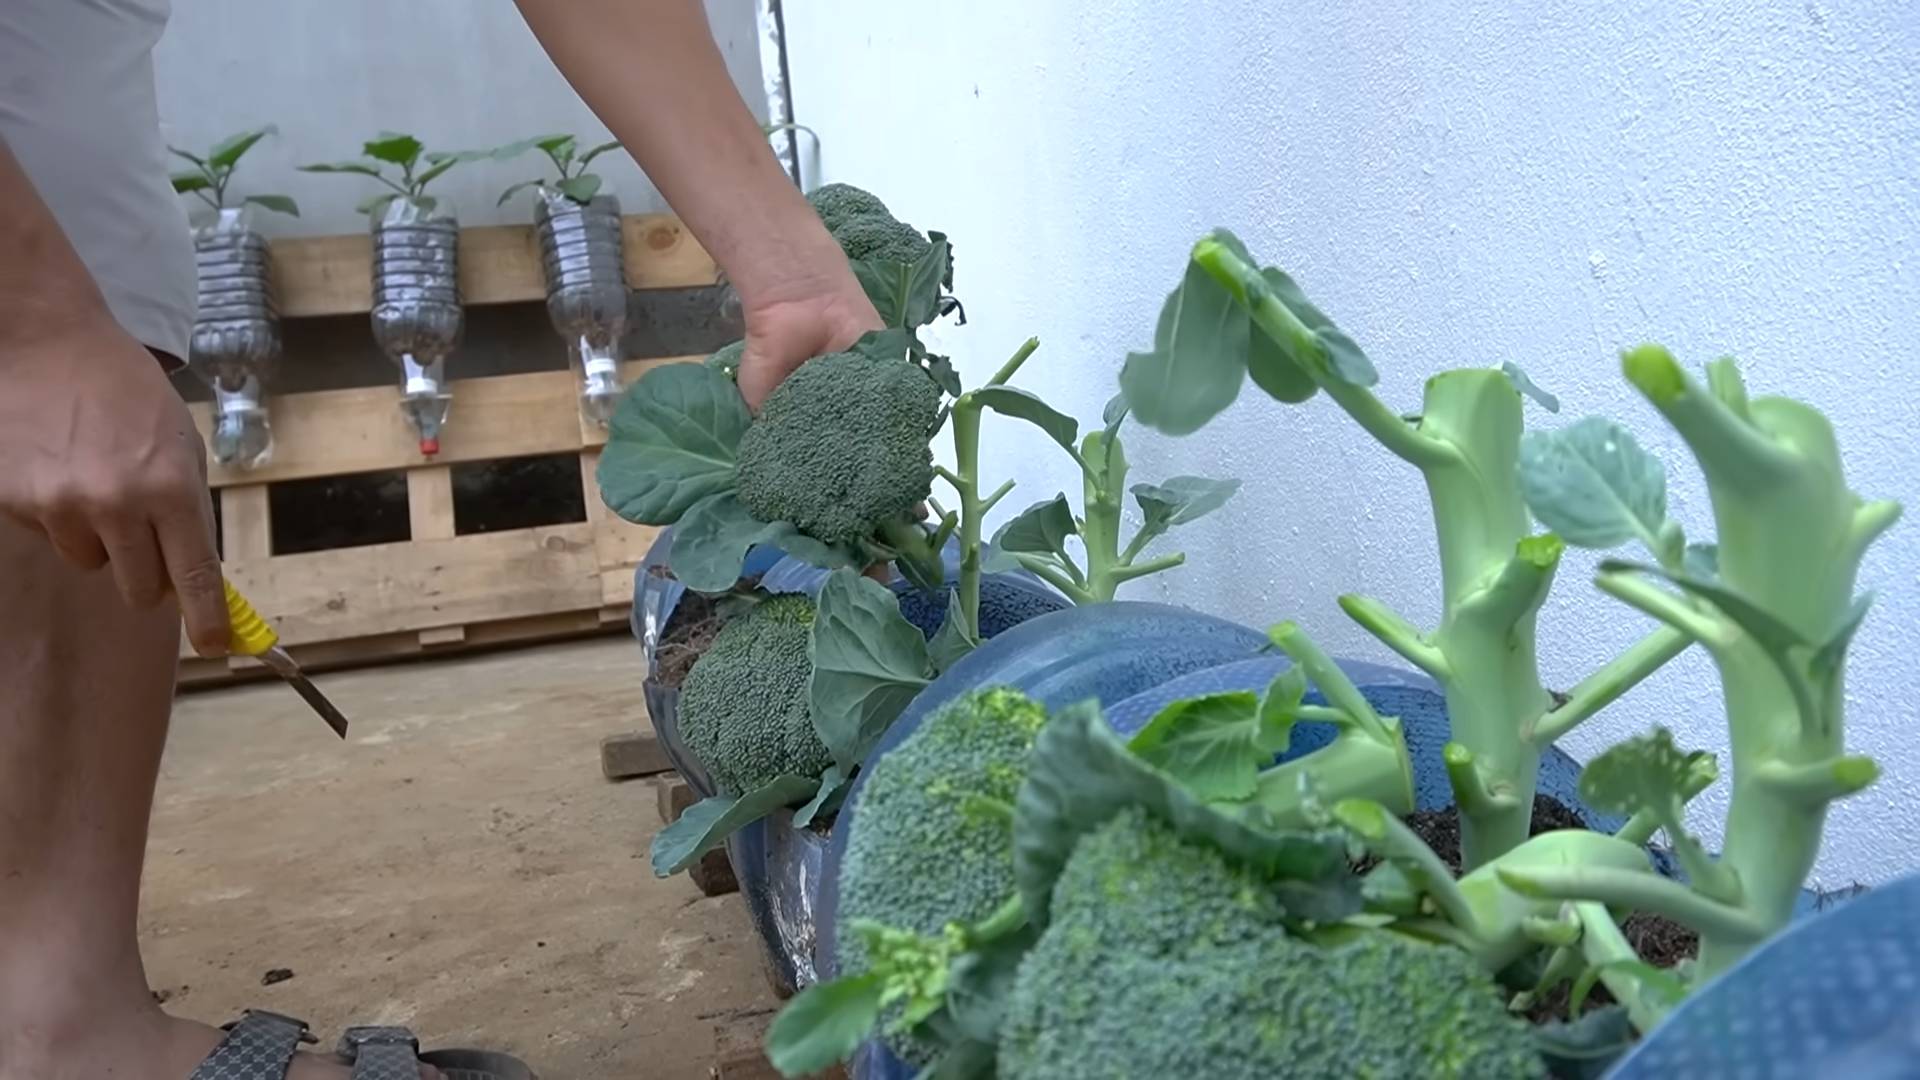
5. Harvesting Your Broccoli
The moment you’ve been waiting for! Harvesting your broccoli at the right time is crucial for getting the best flavor and texture.
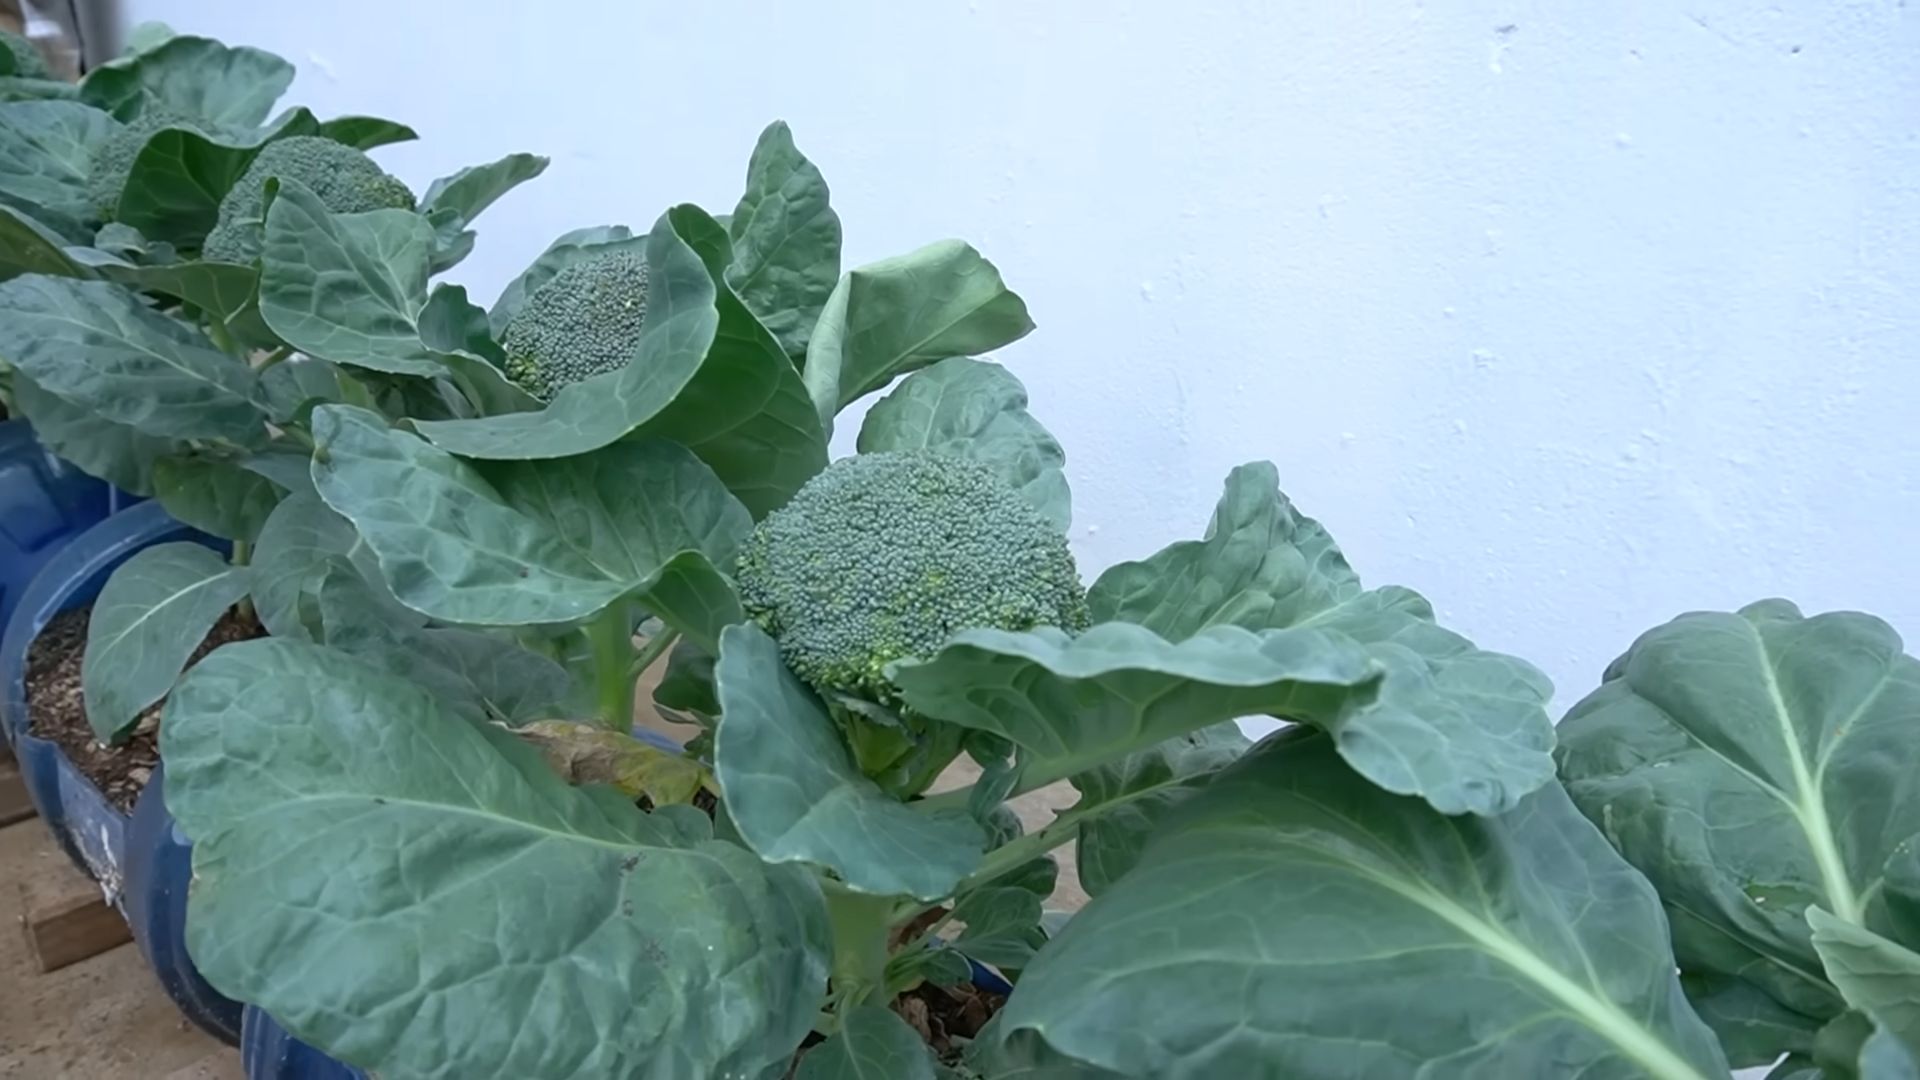
1. Harvest when the head is firm and tight: The main head of broccoli is ready to harvest when it’s firm, tight, and the flower buds are still closed. If the buds start to open and turn yellow, it’s time to harvest immediately.
2. Cut the head with a sharp knife: Cut the head off the plant with a sharp knife, leaving about 6 inches of stem.
3. Encourage side shoots: After harvesting the main head, the plant will often produce smaller side shoots. These can be harvested as they mature, providing you with a continuous supply of broccoli.
Troubleshooting Common Broccoli Problems
Even with the best care, you might encounter some problems while growing broccoli. Here are a few common issues and how to address them:
* Cabbage worms: These green caterpillars can quickly devour broccoli leaves. Handpick them off the plants or use Bacillus thuringiensis (Bt), a natural insecticide.
* Aphids: These tiny insects suck sap from the plants, causing them to weaken and become distorted. Spray them with insecticidal soap or neem oil.
* Clubroot: This fungal disease causes the roots to swell and become distorted, stunting the plant’s growth. Prevent clubroot by improving soil drainage and avoiding planting broccoli in the same spot year after year.
* Buttoning: This occurs when the broccoli head forms prematurely and remains small. It’s often caused by stress, such as lack of water or nutrients. Make sure to provide your plants with consistent moisture and fertilizer.
Enjoying Your Homegrown Broccoli
Congratulations! You’ve successfully grown broccoli at home. Now it’s time to enjoy the fruits (or rather, vegetables) of your labor.
Homegrown broccoli tastes so much better than store-bought broccoli. It’s sweeter, more tender, and packed with nutrients. You can eat it raw, steamed, roasted, stir-fried, or added to soups and stews. The possibilities are endless!
I hope this guide has inspired you to try growing broccoli at home. It’s a rewarding experience that will provide you with fresh, healthy vegetables for your table
Conclusion
So, there you have it! Growing broccoli at home isn’t just a gardening project; it’s an investment in your health, your taste buds, and your connection to the natural world. We’ve walked you through the essential steps, from selecting the right variety to warding off common pests, and hopefully, demystified the process along the way.
Why is this DIY trick a must-try? Because store-bought broccoli, while convenient, simply can’t compare to the vibrant flavor and nutritional punch of homegrown. Imagine the satisfaction of harvesting your own crisp, green heads, knowing exactly where they came from and what went into their cultivation. Plus, you’ll be reducing your carbon footprint by cutting down on transportation and packaging.
But the benefits extend beyond the practical. Gardening is therapeutic. It’s a chance to slow down, connect with the earth, and witness the miracle of growth firsthand. And when that growth results in a delicious and nutritious vegetable like broccoli, the rewards are even sweeter.
Don’t be afraid to experiment! Try different varieties of broccoli to find your favorite. Consider succession planting to extend your harvest season. And explore companion planting to naturally deter pests and improve soil health. For example, planting rosemary near your broccoli can help deter cabbage moths. You can also try growing broccoli in containers if you have limited space. Dwarf varieties are particularly well-suited for container gardening.
Growing broccoli at home is an incredibly rewarding experience, and we encourage you to give it a try. Don’t be discouraged if your first attempt isn’t perfect. Gardening is a learning process, and every season brings new opportunities to improve.
We’re confident that with a little patience and effort, you’ll be enjoying fresh, homegrown broccoli in no time. So, grab your seeds, get your hands dirty, and prepare to be amazed by the bounty of your own backyard.
And most importantly, we want to hear about your experiences! Share your tips, challenges, and successes in the comments below. Let’s build a community of home broccoli growers and learn from each other. What varieties did you try? What challenges did you face, and how did you overcome them? What are your favorite ways to prepare your homegrown broccoli? Your insights could be invaluable to other aspiring gardeners. Happy growing!
Frequently Asked Questions (FAQs)
Q: What is the best time of year to start growing broccoli at home?
A: The best time to start growing broccoli depends on your climate. Broccoli is a cool-season crop, so it thrives in temperatures between 60°F and 70°F (15°C and 21°C). In areas with mild winters, you can plant broccoli in the fall for a winter or early spring harvest. In colder climates, start seeds indoors 6-8 weeks before the last expected frost and transplant them outdoors in the spring. You can also plant a second crop in late summer for a fall harvest. Check your local frost dates to determine the optimal planting times for your region.
Q: How much sunlight does broccoli need?
A: Broccoli needs at least 6 hours of direct sunlight per day to thrive. Choose a location in your garden that receives plenty of sunlight throughout the day. If you’re growing broccoli in containers, make sure to place them in a sunny spot. Insufficient sunlight can result in leggy plants with small heads.
Q: What kind of soil is best for growing broccoli?
A: Broccoli prefers well-drained, fertile soil with a pH between 6.0 and 7.0. Amend your soil with compost or other organic matter to improve its drainage and fertility. Broccoli is a heavy feeder, so it’s important to provide it with plenty of nutrients. You can also add a slow-release fertilizer at planting time.
Q: How often should I water my broccoli plants?
A: Broccoli plants need consistent moisture, especially during head formation. Water deeply and regularly, aiming to keep the soil consistently moist but not waterlogged. Check the soil moisture regularly and water when the top inch feels dry. Mulching around your broccoli plants can help retain moisture and suppress weeds.
Q: What are some common pests and diseases that affect broccoli?
A: Broccoli is susceptible to several pests and diseases, including cabbage worms, aphids, flea beetles, clubroot, and downy mildew. Regularly inspect your plants for signs of pests or diseases. Use row covers to protect your plants from pests. Handpick cabbage worms and other pests as needed. Treat diseases with appropriate fungicides or organic solutions. Crop rotation can also help prevent soilborne diseases.
Q: How do I know when my broccoli is ready to harvest?
A: Broccoli is ready to harvest when the heads are firm, tight, and a deep green color. The individual florets should be tightly closed. If the florets start to open and turn yellow, it’s time to harvest immediately. Cut the main head off with a sharp knife, leaving a few inches of stem. Side shoots will often develop after the main head is harvested, providing you with additional broccoli over several weeks.
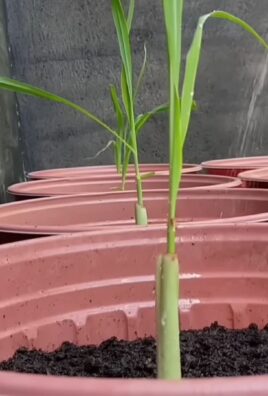
Q: Can I grow broccoli in containers?
A: Yes, you can grow broccoli in containers, especially dwarf varieties. Choose a container that is at least 12 inches in diameter and 12 inches deep. Use a high-quality potting mix and provide your plants with plenty of sunlight and water. Fertilize regularly to ensure they get the nutrients they need.
Q: What are some good companion plants for broccoli?
A: Several plants can benefit broccoli when planted nearby. These include:
* **Rosemary:** Deters cabbage moths.
* **Marigolds:** Repel nematodes and other pests.
* **Nasturtiums:** Attract aphids away from broccoli.
* **Dill:** Attracts beneficial insects that prey on pests.
* **Onions and Garlic:** Repel various pests.
Q: How can I prevent my broccoli from bolting (going to seed)?
A: Bolting is when a plant prematurely flowers and goes to seed, often due to stress from heat or lack of water. To prevent bolting, choose bolt-resistant varieties, plant at the appropriate time of year, provide consistent moisture, and protect your plants from extreme heat. Mulching can also help keep the soil cool and moist.
Q: My broccoli heads are small. What am I doing wrong?
A: Small broccoli heads can be caused by several factors, including insufficient sunlight, poor soil fertility, lack of water, or overcrowding. Make sure your plants are getting at least 6 hours of direct sunlight per day, amend your soil with compost or fertilizer, water regularly, and thin out your plants if they are too close together.
Q: Can I eat the broccoli leaves?
A: Yes, broccoli leaves are edible and nutritious! They can be cooked like kale or collard greens. They have a slightly bitter taste but are packed with vitamins and minerals.
Q: How do I store harvested broccoli?
A: Store harvested broccoli in the refrigerator. Wrap the heads loosely in a damp paper towel and place them in a plastic bag. Broccoli will keep for about 3-5 days in the refrigerator. You can also freeze broccoli for longer storage. Blanch the broccoli florets in boiling water for 3 minutes, then plunge them into ice water to stop the cooking process. Drain well and freeze in a single layer on a baking sheet before transferring them to a freezer bag.
Leave a Comment