
Grow Celery Backyard: Ever dreamt of snipping fresh, crisp celery stalks right from your own backyard for that perfect afternoon snack or a vibrant addition to your soup? I know I have! Forget those limp, store-bought bunches – imagine the satisfaction of nurturing your own celery from seed to table. This isn’t just about gardening; it’s about connecting with nature and enjoying the freshest produce imaginable.
Celery, with its origins tracing back to the Mediterranean, has been cultivated for centuries, initially for medicinal purposes before becoming a culinary staple. From ancient Greeks using it for wreaths to modern-day chefs incorporating it into countless dishes, celery has a rich and fascinating history. But let’s be honest, buying celery can be a gamble. It often wilts quickly, and the flavor can be underwhelming. That’s where the magic of growing your own comes in!
This DIY guide is your passport to a thriving celery patch, even if you’re a complete beginner. I’ll share simple, effective tricks and hacks that will help you grow celery backyard with confidence. We’ll cover everything from seed starting to harvesting, ensuring you have a bountiful supply of this crunchy, healthy vegetable. So, ditch the grocery store celery and let’s get our hands dirty! I promise, the taste of homegrown celery is an experience you won’t want to miss.
Growing Celery From Kitchen Scraps: A Beginner’s Guide
Hey there, fellow gardening enthusiasts! Have you ever looked at the celery stalks in your fridge and thought, “Hmm, I wonder if I could grow more of this?” Well, guess what? You absolutely can! Growing celery from kitchen scraps is a super fun and rewarding DIY project, and I’m here to guide you through every step. It’s easier than you might think, and it’s a fantastic way to reduce food waste and enjoy fresh, homegrown celery.
What You’ll Need
Before we dive in, let’s gather our supplies. This is a pretty low-cost project, which is always a win!
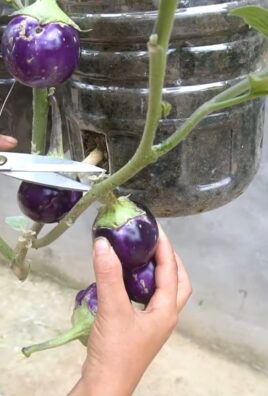
* Celery Stalk Base: The most important ingredient! Choose a healthy-looking celery stalk from the grocery store or your fridge. Make sure the base (the part where the stalks are connected) is intact and firm.
* Shallow Dish or Bowl: Something to hold water and the celery base.
* Water: Tap water is fine.
* Potting Soil: A good quality potting mix will provide the nutrients your celery needs.
* Pot with Drainage Holes: Choose a pot that’s at least 6-8 inches in diameter to give your celery room to grow.
* Spray Bottle (Optional): For misting the celery.
* Sunny Location: Celery loves sunshine!
Phase 1: Re-growing the Celery Base in Water
This is where the magic begins! We’re going to coax the celery base into sprouting new roots and leaves.
1. Prepare the Celery Base: Carefully cut off the celery stalks about 2 inches from the base. You can use these stalks for cooking or snacking – no waste here! You should be left with the celery base, which looks like a little stub.
2. Place the Base in Water: Put the celery base in your shallow dish or bowl. Add enough water to cover the bottom inch or so of the base. You don’t want to submerge the entire base, just the bottom part where the roots will emerge.
3. Find a Sunny Spot: Place the dish with the celery base in a bright, sunny location. A windowsill that gets plenty of sunlight is ideal.
4. Change the Water Regularly: This is crucial! Change the water every 1-2 days to prevent bacteria growth and keep the water fresh. This will encourage root development.
5. Observe and Wait: Over the next few days, you should start to see small roots emerging from the bottom of the celery base. You might also notice new leaves starting to sprout from the top. Be patient; it can take anywhere from 5-7 days (or even a bit longer) for significant root growth.
Phase 2: Planting the Celery in Soil
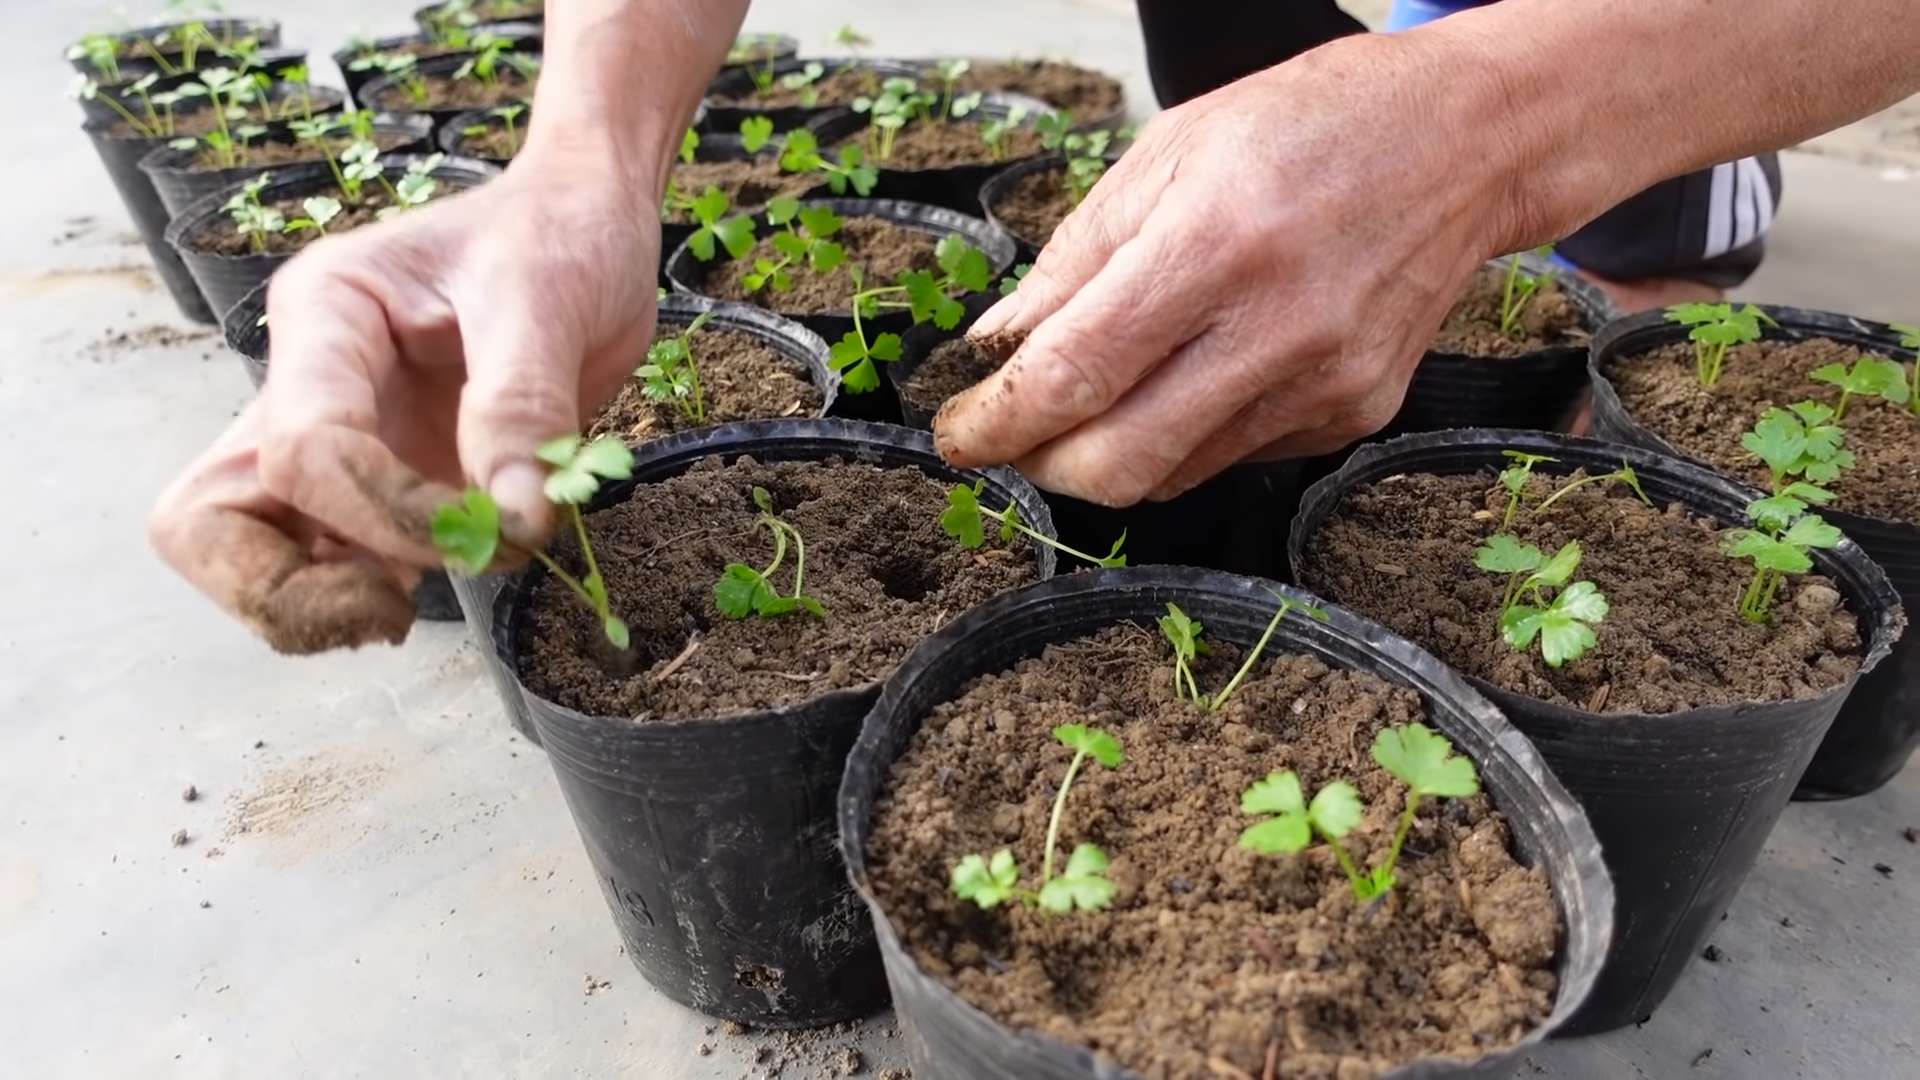
Once your celery base has developed a good network of roots (about an inch or two long), it’s time to move it to a pot with soil.
1. Prepare the Pot: Fill your pot with potting soil, leaving about an inch of space at the top. Gently pat down the soil to remove any air pockets.
2. Create a Hole: Make a hole in the center of the soil that’s large enough to accommodate the celery base and its roots.
3. Carefully Transplant the Celery: Gently remove the celery base from the water and carefully place it in the hole. Make sure the roots are spread out and not bunched together.
4. Cover the Roots with Soil: Fill the hole with soil, gently covering the roots. Leave the top of the celery base (where the new leaves are growing) exposed.
5. Water Thoroughly: Water the soil thoroughly until water drains out of the drainage holes at the bottom of the pot. This will help settle the soil around the roots.
Phase 3: Caring for Your Celery Plant
Now that your celery is planted, it’s time to provide it with the care it needs to thrive.
1. Sunlight: Celery needs at least 6 hours of sunlight per day. Place your pot in a sunny location, such as a windowsill or balcony. If you don’t have enough natural sunlight, you can supplement with a grow light.
2. Watering: Keep the soil consistently moist, but not soggy. Water when the top inch of soil feels dry to the touch. Avoid overwatering, as this can lead to root rot. I usually check the soil moisture every day or two.
3. Fertilizing: Celery is a heavy feeder, meaning it needs a good supply of nutrients. Fertilize your celery plant every 2-3 weeks with a balanced liquid fertilizer. Follow the instructions on the fertilizer package.
4. Misting (Optional): Celery loves humidity. If you live in a dry climate, you can mist your celery plant with water every day or two to increase humidity.
5. Pest Control: Keep an eye out for pests such as aphids and spider mites. If you notice any pests, you can treat them with insecticidal soap or neem oil. I prefer to use organic pest control methods whenever possible.
Phase 4: Harvesting Your Celery
The best part! Harvesting your homegrown celery.
1. When to Harvest: You can start harvesting your celery when the stalks are about 6-8 inches long. This usually takes about 2-3 months after planting.
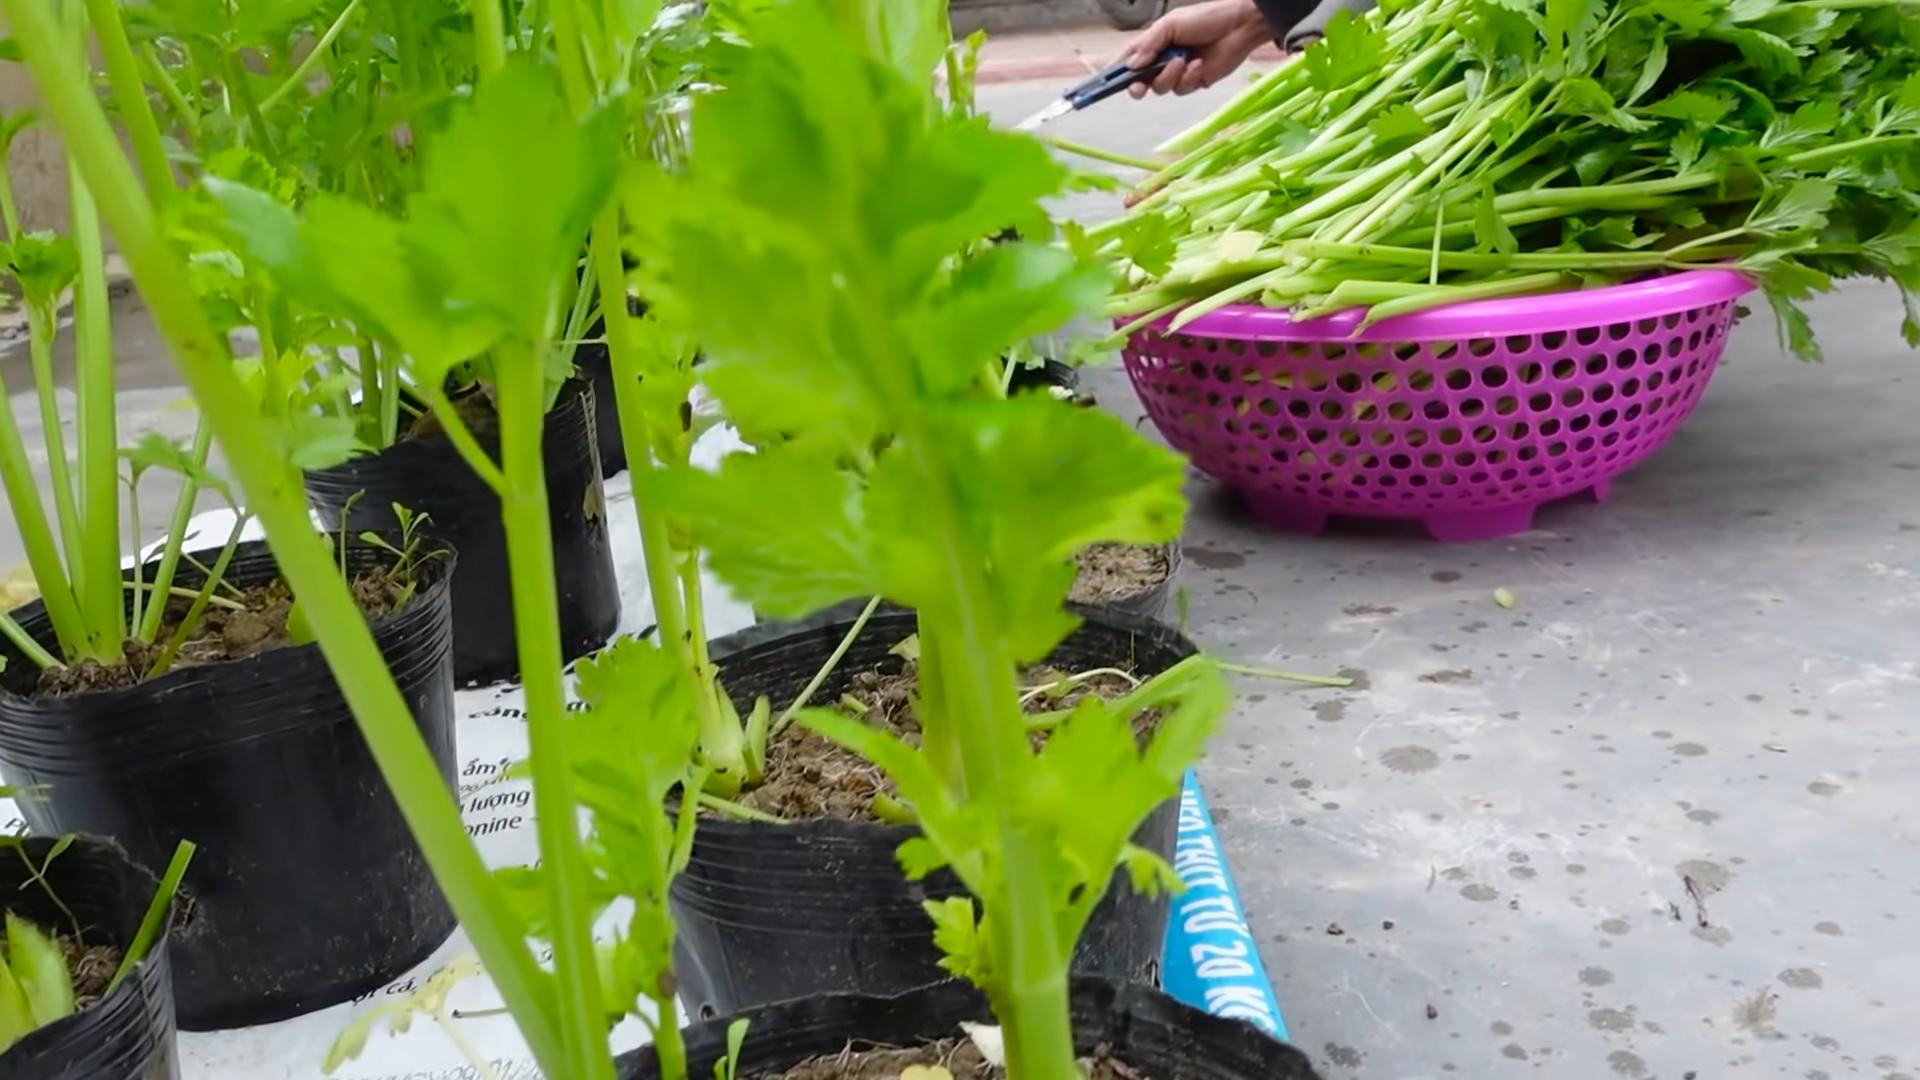
2. How to Harvest: You can harvest individual stalks as needed, or you can harvest the entire plant at once. To harvest individual stalks, simply cut them off at the base with a sharp knife. To harvest the entire plant, cut it off at the base.
3. Enjoy Your Harvest: Wash your harvested celery thoroughly and enjoy it in salads, soups, stews, or as a healthy snack. Homegrown celery tastes so much better than store-bought!
Troubleshooting Tips
Even with the best care, you might encounter a few challenges along the way. Here are some common problems and how to fix them:
* Yellowing Leaves: This could be a sign of overwatering, underwatering, or nutrient deficiency. Check the soil moisture and adjust your watering schedule accordingly. Fertilize your plant if it’s been a while since the last feeding.
* Slow Growth: This could be due to insufficient sunlight, poor soil, or lack of nutrients. Make sure your celery plant is getting enough sunlight and fertilize it regularly. You might also consider repotting it in fresh potting soil.
* Pests: As mentioned earlier, aphids and spider mites are common pests that can attack celery plants. Treat them with insecticidal soap or neem oil.
* Root Rot: This is caused by overwatering. Make sure your pot has drainage holes and avoid letting the soil stay soggy. If you suspect root rot, you can try repotting your celery plant in fresh soil.
Additional Tips for Success
* Choose the Right Celery: Not all celery is created equal. Look for celery stalks that are firm, crisp, and have a healthy green color. Avoid stalks that are wilted, yellowed, or have brown spots.
* Use Good Quality Potting Soil: The quality of your potting soil can make a big difference in the success of your celery growing project. Choose a potting mix that’s well-draining and rich in nutrients.
* Be Patient: Growing celery from kitchen scraps takes time and patience. Don’t get discouraged if you don’t see results immediately. Just keep providing your celery plant with the care it needs, and it will eventually reward you with fresh, homegrown celery.
* Experiment: Don’t be afraid to experiment with different techniques and methods. Gardening is all about learning and trying new things. You might discover a new trick or tip that works well for you.
* Enjoy the Process: Growing celery from kitchen scraps is a fun and rewarding experience. Take the time to enjoy the process and appreciate the miracle of nature.
Growing celery from kitchen scraps is a fantastic way to reduce food waste, save money, and enjoy fresh, homegrown produce. With a little bit of effort and patience, you can easily grow your own celery at home. So, grab a celery stalk, gather your supplies, and get started today! Happy gardening!
Conclusion
So, there you have it! Growing celery in your backyard, once perceived as a daunting task reserved for seasoned gardeners, is now entirely within your reach thanks to this simple yet effective DIY trick. We’ve demystified the process, breaking it down into manageable steps that anyone, regardless of their gardening experience, can follow.
Why is this a must-try? Because fresh, homegrown celery is simply incomparable to the store-bought variety. The flavor is brighter, crisper, and more intensely celery-like. Plus, you have the satisfaction of knowing exactly where your food comes from and that it’s free from harmful pesticides and chemicals. Imagine the vibrant crunch in your salads, the depth of flavor it adds to your soups and stews, and the healthy, refreshing snack it provides straight from your garden.
Beyond the superior taste and health benefits, this DIY method is also incredibly rewarding. Watching a humble celery stalk transform into a thriving plant, ready to provide you with a continuous supply of fresh produce, is an experience that connects you to nature and fosters a sense of accomplishment. It’s a sustainable way to enjoy one of your favorite vegetables, reducing your reliance on grocery stores and minimizing your environmental impact.
But the fun doesn’t stop there! Feel free to experiment with different celery varieties. Try growing ‘Utah Tall’ for its classic flavor and sturdy stalks, or ‘Golden Self-Blanching’ for a sweeter, milder taste. You can also adjust the growing conditions to influence the flavor and texture of your celery. For example, providing more shade can result in more tender stalks, while increasing the amount of sunlight can intensify the flavor.
Consider companion planting to further enhance your celery growing experience. Marigolds can help deter pests, while onions and garlic can improve the overall health of your celery plants. You can even interplant your celery with herbs like parsley and cilantro to create a mini herb garden right alongside your vegetables.
And don’t forget about the celery leaves! They are often discarded, but they are packed with flavor and nutrients. Use them to make pesto, add them to soups and stews, or dry them for use as a seasoning. Every part of the celery plant can be utilized, minimizing waste and maximizing your harvest.
We are confident that this DIY trick will revolutionize the way you think about growing celery. It’s easy, affordable, and incredibly rewarding. So, grab a celery stalk, follow our simple steps, and get ready to enjoy the freshest, most flavorful celery you’ve ever tasted.
We encourage you to try this DIY trick for growing celery in your backyard and share your experiences with us! Let us know how it goes, what challenges you faced, and what successes you achieved. Share your photos and tips on social media using #HomegrownCelery and #DIYGardening. We can’t wait to see your thriving celery gardens! Your feedback will not only inspire others to embark on their own celery-growing adventures but also help us refine and improve this method for future gardeners. Happy growing!
Frequently Asked Questions (FAQ)
What kind of celery stalk should I use for this DIY trick?
Ideally, you should use an organic celery stalk from the grocery store or farmer’s market. Organic celery is less likely to have been treated with chemicals that could inhibit regrowth. Look for a stalk that is firm, crisp, and has a healthy-looking base with visible root nodes. Avoid stalks that are wilted, discolored, or have signs of rot. The fresher the stalk, the better the chances of successful regrowth.
How long does it take for the celery to start regrowing?
You should start to see new growth within 5-7 days. The speed of regrowth depends on factors such as temperature, sunlight, and the overall health of the celery stalk. Keep the water fresh and change it every 1-2 days to prevent bacterial growth. Once you see significant root development and new leaves emerging, it’s time to transplant the celery into soil.
What kind of soil is best for growing celery?
Celery thrives in rich, well-draining soil that is high in organic matter. Amend your garden soil with compost, aged manure, or other organic materials to improve its fertility and drainage. A slightly acidic to neutral soil pH (around 6.0 to 7.0) is ideal. You can test your soil pH using a home testing kit or by sending a sample to a local agricultural extension office.
How much sunlight does celery need?
Celery needs at least 6 hours of sunlight per day to thrive. However, in hot climates, it can benefit from some afternoon shade to prevent the leaves from scorching. Choose a location in your garden that receives plenty of morning sun and is sheltered from strong winds. If you are growing celery indoors, place it near a sunny window or use grow lights to supplement natural light.
How often should I water my celery plants?
Celery needs consistent moisture to grow properly. Water your plants deeply and regularly, especially during hot, dry weather. Aim to keep the soil consistently moist but not waterlogged. Check the soil moisture regularly by sticking your finger into the soil. If the top inch feels dry, it’s time to water. Mulching around the plants can help retain moisture and suppress weeds.
What are some common pests and diseases that affect celery?
Celery can be susceptible to pests such as aphids, celery leaf tiers, and carrot rust flies. Diseases such as early blight, late blight, and pink rot can also affect celery plants. Monitor your plants regularly for signs of pests or diseases. Use organic pest control methods such as insecticidal soap or neem oil to control pests. Ensure good air circulation around your plants to prevent fungal diseases. Remove any infected leaves or plants promptly to prevent the spread of disease.
Can I grow celery in containers?
Yes, celery can be successfully grown in containers. Choose a large container that is at least 12 inches deep and wide to accommodate the celery’s root system. Use a well-draining potting mix that is rich in organic matter. Water regularly and fertilize every 2-3 weeks with a balanced liquid fertilizer. Place the container in a sunny location that receives at least 6 hours of sunlight per day.
How do I harvest celery?
You can harvest celery when the stalks are at least 6-8 inches long. To harvest, simply cut the stalks at the base of the plant with a sharp knife. You can harvest individual stalks as needed or harvest the entire plant at once. After harvesting, store the celery in the refrigerator in a plastic bag or container to keep it fresh.
Can I grow celery from seed?
Yes, you can grow celery from seed, but it requires more patience and effort than regrowing from a stalk. Celery seeds are very small and require light to germinate. Start the seeds indoors 10-12 weeks before the last expected frost. Sprinkle the seeds on the surface of a seed-starting mix and gently press them down. Keep the soil moist and provide plenty of light. Transplant the seedlings outdoors after the last frost when they are about 4-6 inches tall.
How can I blanch celery to make it milder?
Blanching celery involves excluding light from the stalks to reduce the production of chlorophyll, resulting in a milder flavor and more tender texture. You can blanch celery by hilling soil around the stalks, wrapping them with newspaper or cardboard, or using blanching collars. Start blanching about 2-3 weeks before harvest.
Leave a Comment