
Grow Celery Indoors? Absolutely! Imagine fresh, crisp celery stalks just steps away, ready to be snipped and added to your favorite soup, salad, or snack. No more wilted, store-bought celery! For centuries, cultivating vegetables at home has been a source of pride and sustenance. From the ancient hanging gardens of Babylon to the victory gardens of World War II, the ability to nurture our own food has been deeply ingrained in human history.
But let’s face it, not everyone has a sprawling garden. That’s where the magic of indoor gardening comes in! And that’s why I’m so excited to share these simple, yet effective DIY tricks to grow celery indoors. This guide will empower you to enjoy the satisfying experience of harvesting your own celery, regardless of your living space.
Why do you need this DIY trick? Because fresh celery from the grocery store can be expensive and often lacks the vibrant flavor of homegrown. Plus, knowing exactly where your food comes from and how it’s grown is incredibly rewarding. So, let’s ditch the store-bought blues and embark on this exciting journey of indoor celery cultivation together! Get ready to unleash your inner gardener and enjoy the crisp, refreshing taste of homegrown celery, all year round!
Growing Celery Indoors: A Beginner’s Guide
Hey there, fellow plant enthusiasts! Ever thought about growing your own celery indoors? It’s easier than you might think, and nothing beats the fresh, crisp taste of homegrown celery. I’m going to walk you through the whole process, from rescuing a celery stalk from the grocery store to harvesting your very own crunchy stalks. Let’s get started!
Choosing Your Celery and Preparing the Base
First things first, you need a celery stalk! Head to your local grocery store and pick one that looks healthy and vibrant. Look for a stalk with a firm base and fresh-looking leaves. Avoid any that are wilted, discolored, or have signs of rot.
* Selecting the Right Celery: Choose a celery stalk that is firm, green, and has a healthy-looking base.
* Checking for Rot: Make sure the base isn’t mushy or discolored, as this indicates rot.
* Leaf Condition: The leaves should be perky and green, not yellow or wilted.
Now, let’s prepare that celery base for its new life indoors!
1. Cut the Base: Using a sharp knife, carefully cut off the celery stalks about 2 inches from the base. You want to keep the base intact, as this is where the magic happens.
2. Prepare a Water Container: Find a small bowl or glass that’s wide enough to hold the celery base. Fill it with about an inch of water. Make sure the water level doesn’t completely submerge the base; you just want the bottom to be in contact with the water.
3. Place the Base in Water: Place the celery base cut-side up in the bowl of water.
4. Find a Sunny Spot: Place the bowl in a bright, sunny location. A windowsill that gets plenty of sunlight is ideal.
5. Change the Water Regularly: Change the water every day or two to prevent bacteria growth and keep the water fresh.
Watching it Grow: Sprouting and Root Development
This is the exciting part! Over the next few days, you should start to see new growth emerging from the center of the celery base. You’ll also notice roots starting to sprout from the bottom.
* New Growth: Look for small, green shoots appearing from the top of the celery base.
* Root Development: Check the bottom of the base for small, white roots emerging.
* Patience is Key: It might take a week or two for significant growth to appear, so be patient!
1. Observe Daily: Keep an eye on your celery base daily. Watch for any signs of mold or rot. If you see any, gently rinse the base and change the water more frequently.
2. Maintain Water Level: Ensure the water level remains consistent. The bottom of the celery base should always be in contact with the water.
3. Rotate the Base: Rotate the bowl occasionally to ensure all sides of the celery base receive equal sunlight.
4. Monitor Root Growth: As the roots grow longer, you’ll know it’s time to move your celery to soil.
Transplanting to Soil: Giving Your Celery a Home
Once the roots are about an inch or two long, it’s time to transplant your celery to soil. This will give it the nutrients it needs to grow into a full-fledged celery plant.
* Root Length: Wait until the roots are at least 1-2 inches long before transplanting.
* Choosing the Right Pot: Select a pot that is at least 6 inches in diameter and 6 inches deep.
* Soil Selection: Use a well-draining potting mix that is rich in organic matter.
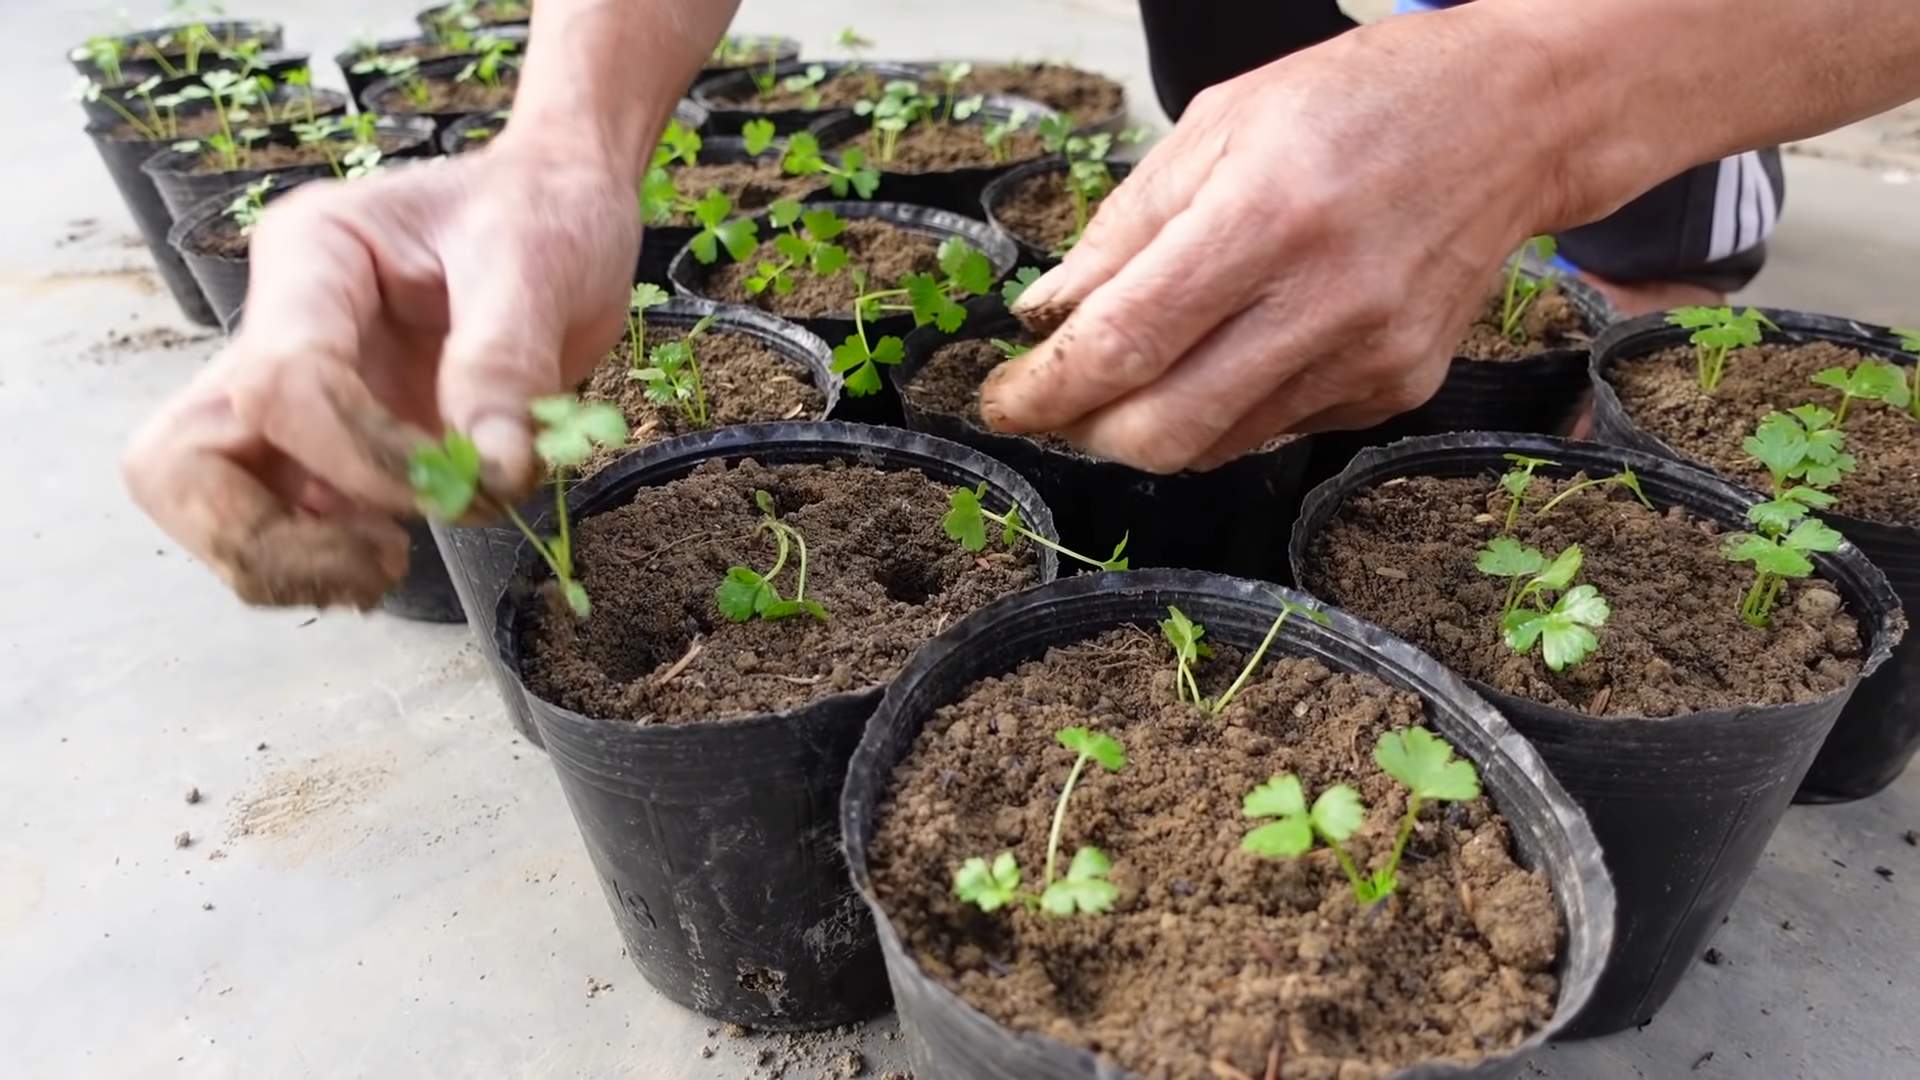
1. Prepare the Pot: Fill the pot with potting mix, leaving about an inch of space at the top.
2. Create a Hole: Make a small hole in the center of the soil, large enough to accommodate the celery base and its roots.
3. Carefully Remove the Celery: Gently remove the celery base from the water, being careful not to damage the roots.
4. Place in the Hole: Place the celery base in the hole, ensuring the roots are spread out and covered with soil.
5. Water Thoroughly: Water the soil thoroughly until water drains out of the bottom of the pot.
6. Return to Sunny Spot: Place the pot back in the sunny location.
Caring for Your Celery Plant: Watering, Fertilizing, and More
Now that your celery is in soil, it’s important to provide it with the right care to ensure it thrives.
* Watering: Keep the soil consistently moist, but not waterlogged.
* Fertilizing: Feed your celery plant with a balanced liquid fertilizer every two weeks.
* Sunlight: Ensure your celery plant receives at least 6 hours of sunlight per day.
1. Watering Schedule: Check the soil moisture daily. Water when the top inch of soil feels dry to the touch.
2. Fertilizing: Use a balanced liquid fertilizer diluted to half strength. Apply it every two weeks during the growing season.
3. Pest Control: Keep an eye out for pests like aphids or spider mites. If you spot any, treat them with insecticidal soap or neem oil.
4. Humidity: Celery prefers humid conditions. If your indoor environment is dry, consider using a humidifier or misting the plant regularly.
5. Support: As your celery plant grows taller, you may need to provide support to prevent it from falling over. You can use a stake or tomato cage.
6. Blanching (Optional): To get paler, more tender stalks, you can blanch your celery by wrapping the stalks with newspaper or cardboard a week or two before harvesting. This blocks sunlight and reduces chlorophyll production.
Harvesting Your Celery: Enjoying the Fruits (or Vegetables!) of Your Labor
After a few months of care, your celery plant should be ready to harvest. You can harvest individual stalks as needed, or harvest the entire plant at once.
* Harvest Time: Celery is typically ready to harvest about 80-100 days after planting.
* Stalk Size: Harvest stalks when they are at least 6-8 inches long.
* Harvesting Method: You can harvest individual stalks or the entire plant.
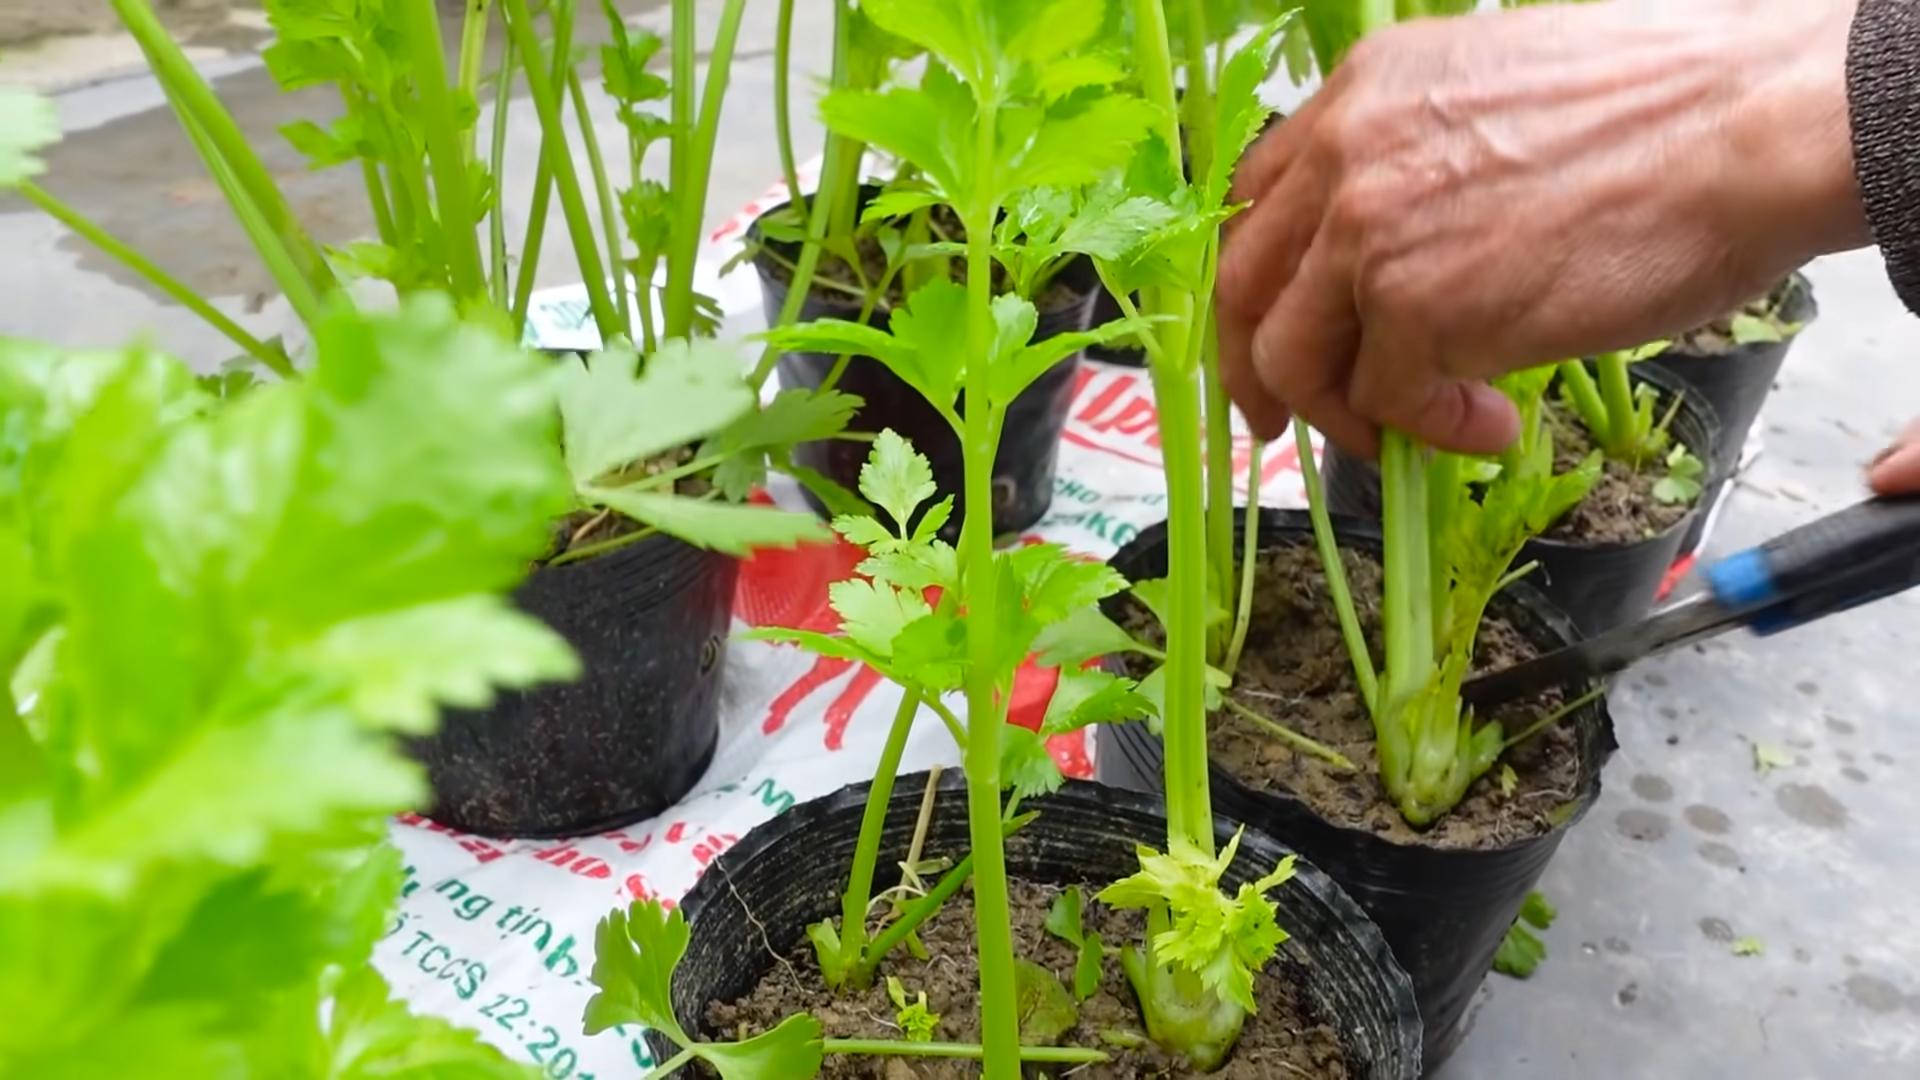
1. Harvesting Individual Stalks: Use a sharp knife to cut off the outer stalks near the base of the plant. This will allow the inner stalks to continue growing.
2. Harvesting the Entire Plant: If you want to harvest the entire plant, cut it off at the base with a sharp knife.
3. Cleaning and Storing: Rinse the harvested celery stalks with water and store them in the refrigerator in a plastic bag or container. They should stay fresh for up to a week.
4. Enjoy Your Harvest: Use your homegrown celery in salads, soups, stews, or as a healthy snack with your favorite dip.
Troubleshooting: Common Issues and Solutions
Even with the best care, you might encounter some issues while growing celery indoors. Here are some common problems and how to fix them:
* Yellowing Leaves: This could be due to overwatering, underwatering, or nutrient deficiency. Adjust your watering schedule and fertilize regularly.
* Leggy Growth: This is usually caused by insufficient sunlight. Move your celery plant to a brighter location.
* Pest Infestation: Treat pests with insecticidal soap or neem oil.
* Rotting Base: This is usually caused by overwatering or poor drainage. Ensure your pot has drainage holes and avoid overwatering.
1. Yellowing Leaves – Solution: Check the soil moisture. If it’s soggy, reduce watering. If it’s dry, water more frequently. Also, fertilize with a balanced liquid fertilizer.
2. Leggy Growth – Solution: Move your celery plant to a location that receives at least 6 hours of direct sunlight per day. If that’s not possible, consider using a grow light.
3. Pest Infestation – Solution: Regularly inspect your plant for pests. If you find any, treat them with insecticidal soap or neem oil according to the product instructions.
4. Rotting Base – Solution: Ensure your pot has drainage holes and that the soil is well-draining. Avoid overwatering. If the base is severely rotted, it might be too late to save the plant.
Tips for Success: Making Your Celery Thrive
Here are a few extra tips to help you grow the best celery possible indoors:
* Choose the Right Variety: Some celery varieties are better suited for indoor growing than others. Look for compact varieties like ‘Golden Self-Blanching’ or ‘Utah Improved’.
* Provide Adequate Sunlight: Celery needs plenty of sunlight to thrive. If you don
Conclusion
So, there you have it! Growing celery indoors from scraps isn’t just a fun experiment; it’s a practical way to reduce food waste, enjoy fresh celery, and add a touch of green to your home, even during the colder months. It’s a sustainable practice that connects you more deeply with your food source. The process is surprisingly simple, requiring minimal effort and resources, making it an accessible project for gardeners of all skill levels, from seasoned pros to absolute beginners.
Why is this DIY trick a must-try? Because it offers a multitude of benefits. First and foremost, it’s incredibly satisfying to watch something you would normally discard regenerate into a new plant. It’s a tangible demonstration of nature’s resilience and a rewarding experience in itself. Secondly, it provides a continuous supply of fresh celery, perfect for adding a crisp, refreshing crunch to salads, soups, smoothies, and countless other dishes. Imagine the convenience of snipping off a few stalks whenever you need them, knowing they’re fresh, organic, and grown right in your own home. Finally, it’s an environmentally friendly practice that reduces food waste and promotes sustainability. By regrowing celery from scraps, you’re actively contributing to a more eco-conscious lifestyle.
Looking to take your indoor celery growing to the next level? Consider these variations and suggestions:
* Experiment with different celery varieties: While standard celery is a great starting point, try regrowing other varieties like red celery or Chinese celery for unique flavors and textures.
* Hydroponic celery: For a more advanced approach, explore hydroponic celery growing. This method involves growing celery in nutrient-rich water without soil, which can lead to faster growth and higher yields.
* Companion planting: Consider planting your celery alongside other herbs like parsley or basil. These herbs can help deter pests and enhance the flavor of your celery.
* Celery juice boost: If you’re a fan of celery juice, growing your own celery ensures you have a constant supply of fresh, organic stalks for juicing.
* Get the kids involved: This is a fantastic educational project for children, teaching them about plant life cycles, sustainability, and the importance of reducing food waste.
Don’t just take our word for it – give this DIY trick a try and experience the joy of growing your own celery indoors! We’re confident that you’ll be amazed by how easy and rewarding it is. Once you’ve successfully regrown your celery, we encourage you to share your experience with us and the wider community. Post photos of your celery plants on social media using the hashtag #IndoorCeleryGarden, or leave a comment below sharing your tips and tricks. Let’s inspire others to embrace this sustainable and delicious way to grow celery indoors!
Frequently Asked Questions (FAQ)
How long does it take to regrow celery from a base?
The initial regrowth phase, where you see new leaves sprouting from the celery base, typically takes about 1-2 weeks. This is when the base is submerged in water. After transplanting to soil, it can take several months (2-4) to grow a full-sized celery stalk. However, you can start harvesting individual stalks as soon as they are large enough to use. The growth rate depends on factors like sunlight, temperature, and nutrient availability.
What kind of water should I use to regrow celery?
Tap water is generally fine, but it’s best to let it sit out for a few hours to allow chlorine to dissipate. Filtered water or rainwater are also excellent options. Avoid using distilled water, as it lacks the minerals that plants need to thrive. Change the water every 1-2 days to prevent bacterial growth and keep the celery base healthy.
How much sunlight does regrown celery need?
Celery needs at least 6 hours of sunlight per day to thrive. Place your celery plant near a sunny window, preferably one that faces south or west. If you don’t have enough natural light, you can supplement with a grow light. Rotate the plant regularly to ensure even growth on all sides.
What kind of soil is best for growing celery indoors?
Celery prefers well-draining, nutrient-rich soil. A good potting mix specifically formulated for vegetables is ideal. You can also amend your potting mix with compost or other organic matter to improve its fertility and drainage. Ensure the pot has drainage holes to prevent waterlogging, which can lead to root rot.
How often should I water my regrown celery plant?
Keep the soil consistently moist, but not waterlogged. Water when the top inch of soil feels dry to the touch. Avoid letting the soil dry out completely, as this can stress the plant. Water deeply, ensuring that the water drains out of the drainage holes. Reduce watering during the winter months when the plant’s growth slows down.
How do I fertilize my regrown celery plant?
Celery is a heavy feeder, so it benefits from regular fertilization. Use a balanced liquid fertilizer diluted to half strength every 2-3 weeks during the growing season (spring and summer). Alternatively, you can use a slow-release fertilizer at the time of planting. Avoid over-fertilizing, as this can burn the roots.
Can I grow celery indoors year-round?
Yes, you can grow celery indoors year-round, provided you provide adequate light, water, and nutrients. During the winter months, you may need to supplement with a grow light to ensure the plant receives enough sunlight. Maintain a consistent temperature and humidity level to promote healthy growth.
How do I harvest celery from my regrown plant?
You can harvest individual stalks as soon as they are large enough to use. Simply cut them off at the base of the plant with a sharp knife or scissors. Avoid harvesting too many stalks at once, as this can weaken the plant. You can also harvest the leaves for use in salads or soups.
Why is my regrown celery plant turning yellow?
Yellowing leaves can be a sign of several problems, including overwatering, underwatering, nutrient deficiency, or pest infestation. Check the soil moisture level and adjust your watering accordingly. Fertilize the plant with a balanced fertilizer to address any nutrient deficiencies. Inspect the plant for pests and treat accordingly. Ensure the plant is receiving enough sunlight.
What pests and diseases affect indoor celery plants?
Common pests that can affect indoor celery plants include aphids, spider mites, and whiteflies. Inspect your plants regularly for signs of infestation and treat accordingly with insecticidal soap or neem oil. Diseases that can affect celery include fungal diseases like powdery mildew and root rot. Ensure good air circulation and avoid overwatering to prevent these diseases.
Can I regrow celery from the same base multiple times?
While it’s possible to get a second or even third regrowth from the same base, the subsequent growths tend to be weaker and less productive. It’s generally best to start with a fresh celery base for each new plant to ensure optimal growth and yield.
Is regrowing celery from scraps organic?
If you start with organic celery and use organic potting mix and fertilizer, then yes, your regrown celery will be organic. However, if you start with non-organic celery or use non-organic products, then your regrown celery will not be considered organic.
What if my celery base rots instead of regrowing?
Rotting is usually caused by overwatering or poor drainage. Make sure the water level in the initial regrowth phase is only covering the very bottom of the base. Change the water frequently. When transplanting to soil, ensure the pot has drainage holes and avoid overwatering.
How can I improve the flavor of my regrown celery?
The flavor of your regrown celery can be influenced by several factors, including sunlight, soil quality, and nutrient availability. Ensure the plant receives plenty of sunlight and is grown in nutrient-rich soil. You can also add compost or other organic matter to the soil to improve its flavor. Some gardeners believe that stressing the plant slightly by withholding water for a short period before harvesting can also enhance the flavor.


Leave a Comment