
Grow chili peppers easily, even if you think you have a black thumb! Have you ever dreamt of adding a fiery kick to your meals with homegrown chili peppers, but felt intimidated by the process? I get it! Many people believe that cultivating these spicy delights requires expert gardening skills, but I’m here to tell you that’s simply not true.
Chili peppers have a rich history, dating back thousands of years in South America, where they were not only a food source but also held cultural and medicinal significance. From ancient Aztec rituals to modern-day culinary traditions, chili peppers have always played a vital role. Now, you can easily bring that vibrant history into your own backyard!
In today’s world, where we’re increasingly conscious of where our food comes from, growing your own chili peppers offers a fantastic way to control the quality and freshness of your ingredients. Plus, let’s be honest, there’s nothing quite like the satisfaction of harvesting your own produce. This DIY guide is packed with simple, effective tricks and hacks to help you grow chili peppers easily, regardless of your gardening experience. I’ll share my secrets to ensure you have a bountiful harvest, from selecting the right varieties to troubleshooting common problems. Get ready to spice up your life, one chili pepper at a time!
Growing Chili Peppers Like a Pro: My Foolproof DIY Guide
Okay, chili pepper enthusiasts, gather ’round! I’m about to share my secrets to growing a bumper crop of fiery peppers, even if you think you have a “brown thumb.” This isn’t just about throwing some seeds in the ground and hoping for the best. We’re going to dive deep into creating the perfect environment for your chili plants to thrive. Trust me, with a little effort and these tips, you’ll be swimming in peppers before you know it!
Choosing Your Chili Pepper Variety
Before we get our hands dirty, let’s talk about choosing the right chili pepper for you. There are literally hundreds of varieties, ranging from mild bell peppers to scorching habaneros and ghost peppers. Consider these factors:
* Heat Level: This is the most obvious factor! Use the Scoville Heat Unit (SHU) scale as a guide. Bell peppers are 0 SHU, jalapeños are around 2,500-8,000 SHU, habaneros are 100,000-350,000 SHU, and ghost peppers can reach over 1 million SHU. Start with milder varieties if you’re new to chili growing.
* Climate: Some chili peppers are better suited to certain climates. Research which varieties thrive in your region. Generally, hotter climates are better for most chili peppers.
* Size and Shape: Do you want small, compact plants for containers, or larger plants for your garden? Consider the size and shape of the peppers themselves.
* Use: How do you plan to use your chili peppers? Different varieties are better suited for different purposes, such as drying, pickling, making sauces, or eating fresh.
Some popular and relatively easy-to-grow varieties include:
* Jalapeño
* Serrano
* Cayenne
* Anaheim
* Poblano
Once you’ve chosen your variety, it’s time to get started!
Starting Your Chili Pepper Seeds Indoors
Starting your seeds indoors gives you a head start on the growing season, especially if you live in a cooler climate. I usually start my seeds about 6-8 weeks before the last expected frost.
Materials You’ll Need:
* Chili pepper seeds
* Seed starting trays or small pots
* Seed starting mix (a light, well-draining mix)
* Spray bottle
* Heat mat (optional, but highly recommended)
* Grow light (optional, but highly recommended)
* Clear plastic dome or plastic wrap
Step-by-Step Instructions:
1. Prepare Your Seed Starting Trays: Fill your seed starting trays or small pots with seed starting mix. Gently tap the trays to settle the mix.
2. Sow Your Seeds: Make a small indentation (about 1/4 inch deep) in the center of each cell or pot. Place 2-3 seeds in each indentation. This increases your chances of at least one seed germinating.
3. Cover the Seeds: Gently cover the seeds with seed starting mix.
4. Water the Seeds: Use a spray bottle to lightly mist the soil. You want the soil to be moist, but not soggy.
5. Provide Warmth: Place your seed starting trays on a heat mat. Chili pepper seeds germinate best in warm temperatures (around 80-85°F).
6. Provide Light: Place your seed starting trays under a grow light. If you don’t have a grow light, you can place them in a sunny window, but a grow light will provide more consistent and reliable light.
7. Cover with a Dome: Cover the seed starting trays with a clear plastic dome or plastic wrap. This will help to retain moisture and humidity.
8. Monitor and Water: Check the soil moisture daily. Keep the soil consistently moist, but not soggy. Mist with a spray bottle as needed.
9. Remove the Dome: Once the seeds have germinated (usually within 7-14 days), remove the plastic dome or plastic wrap.
10. Thin Seedlings: Once the seedlings have developed their first true leaves (the second set of leaves), thin them out by snipping off the weaker seedlings at the soil line. Leave only the strongest seedling in each cell or pot.
11. Continue Growing: Continue to grow the seedlings under the grow light or in a sunny window until they are ready to be transplanted outdoors.
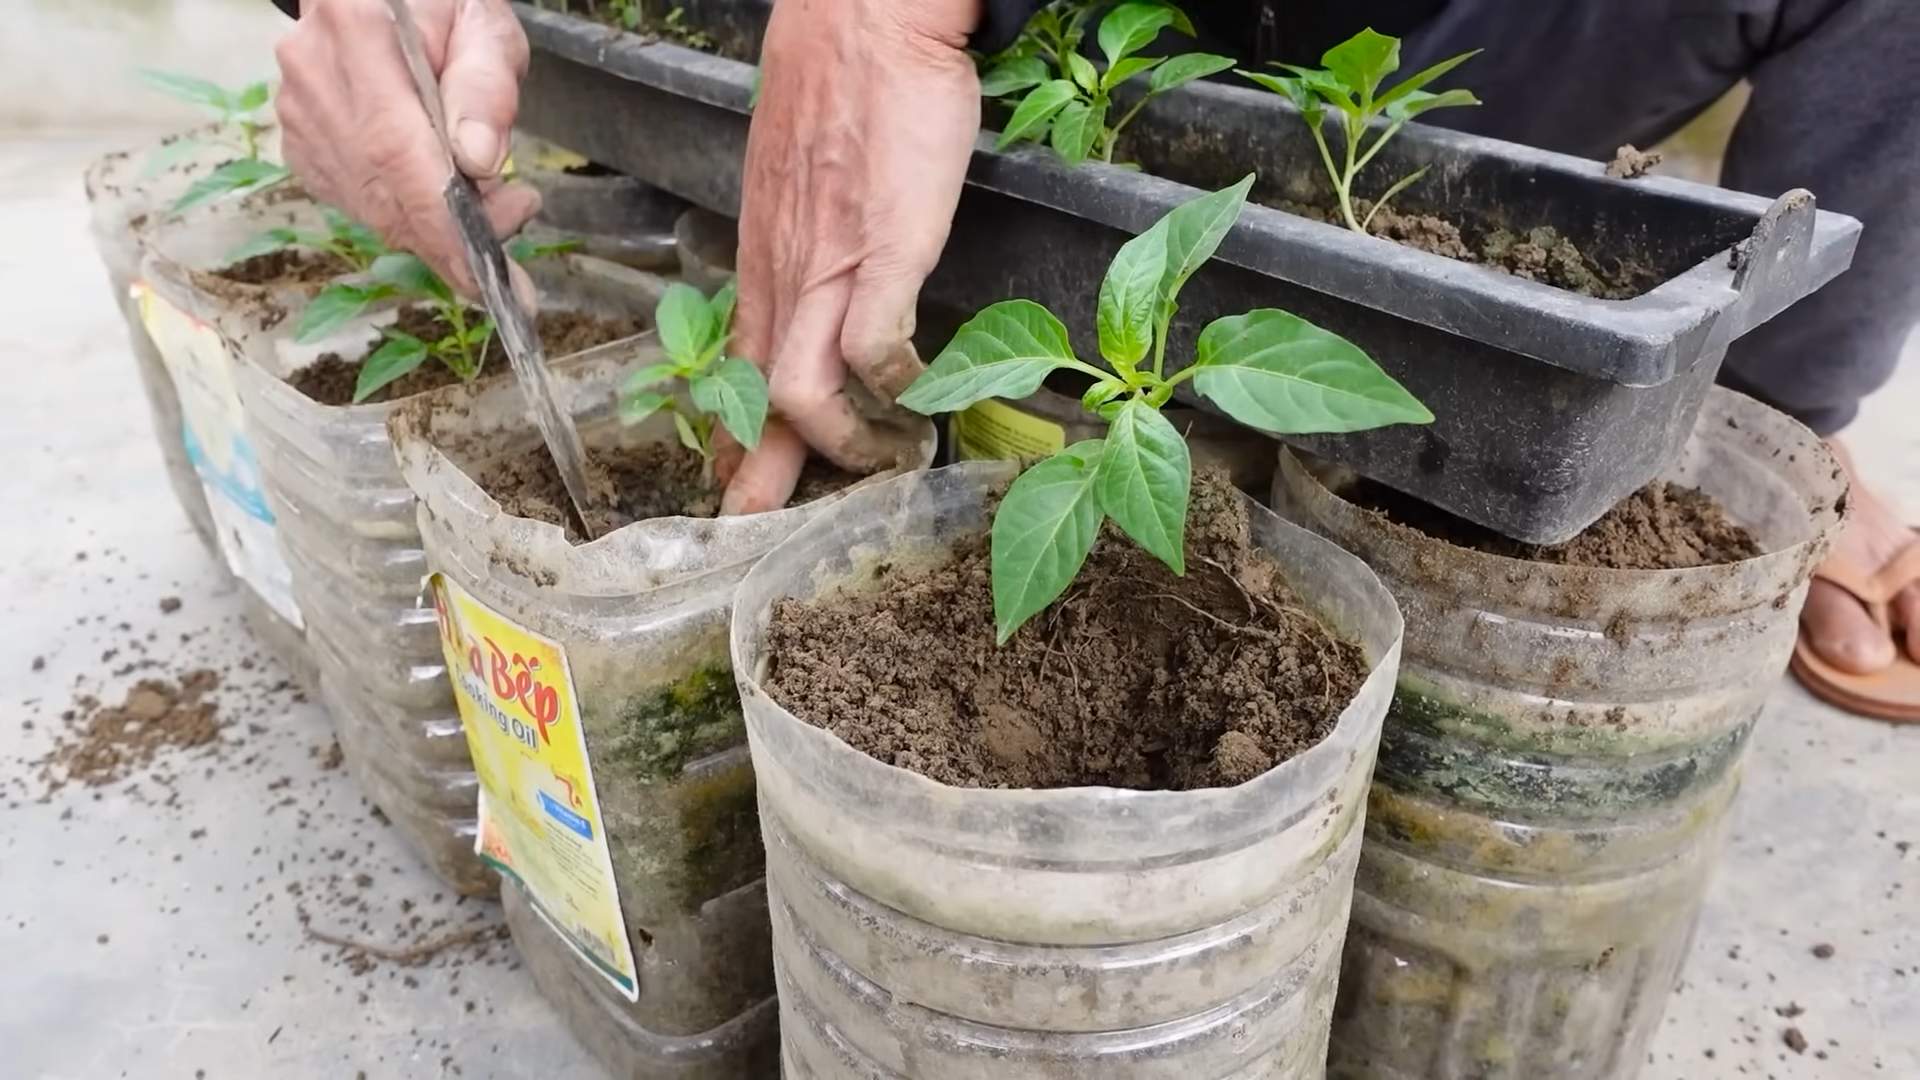
Transplanting Your Chili Pepper Seedlings Outdoors
Once the danger of frost has passed and the soil has warmed up, it’s time to transplant your chili pepper seedlings outdoors.
Materials You’ll Need:
* Your chili pepper seedlings
* Gardening gloves
* Trowel or shovel
* Well-draining soil
* Compost or other organic matter
* Watering can or hose
* Mulch (optional)
* Fertilizer (optional)
Step-by-Step Instructions:
1. Harden Off Your Seedlings: Before transplanting your seedlings outdoors, you need to “harden them off.” This means gradually exposing them to outdoor conditions over a period of 7-10 days. Start by placing them outdoors in a sheltered location for a few hours each day, gradually increasing the amount of time they spend outdoors. This will help them to acclimate to the sun, wind, and temperature changes.
2. Choose a Sunny Location: Chili peppers need at least 6-8 hours of sunlight per day. Choose a location in your garden that receives plenty of sunlight.
3. Prepare the Soil: Chili peppers prefer well-draining soil that is rich in organic matter. Amend your soil with compost or other organic matter before planting.
4. Dig Holes: Dig holes that are slightly larger than the root balls of your seedlings. Space the holes about 18-24 inches apart.
5. Remove Seedlings from Pots: Gently remove the seedlings from their pots. If the roots are tightly bound, gently loosen them with your fingers.
6. Plant the Seedlings: Place the seedlings in the holes and backfill with soil. Gently firm the soil around the base of the plants.
7. Water Thoroughly: Water the seedlings thoroughly after planting.
8. Mulch (Optional): Apply a layer of mulch around the base of the plants. Mulch will help to retain moisture, suppress weeds, and regulate soil temperature.
9. Fertilize (Optional): Fertilize your chili pepper plants with a balanced fertilizer according to the package directions. I like to use a fertilizer that is high in phosphorus, which promotes flowering and fruiting.
Caring for Your Chili Pepper Plants
Once your chili pepper plants are in the ground, it’s important to provide them with the proper care to ensure a bountiful harvest.
* Watering: Water your chili pepper plants regularly, especially during hot, dry weather. Water deeply and less frequently, rather than shallowly and more often. Allow the soil to dry out slightly between waterings.
* Fertilizing: Fertilize your chili pepper plants every 2-3 weeks with a balanced fertilizer. You can also use a foliar spray to provide them with additional nutrients.
* Pruning: Pruning your chili pepper plants can help to improve air circulation and promote bushier growth. Remove any dead or yellowing leaves. You can also pinch off the tips of the branches to encourage branching.
* Pest and Disease Control: Chili pepper plants can be susceptible to pests and diseases. Monitor your plants regularly for signs of problems. Common pests include aphids, spider mites, and whiteflies. Common diseases include fungal diseases and blossom end rot. Treat any problems promptly with appropriate insecticides or fungicides. I prefer to use organic methods whenever possible.
* Support: As your chili pepper plants grow, they may need support to prevent them from falling over. You can use stakes, cages, or trellises to support the plants.
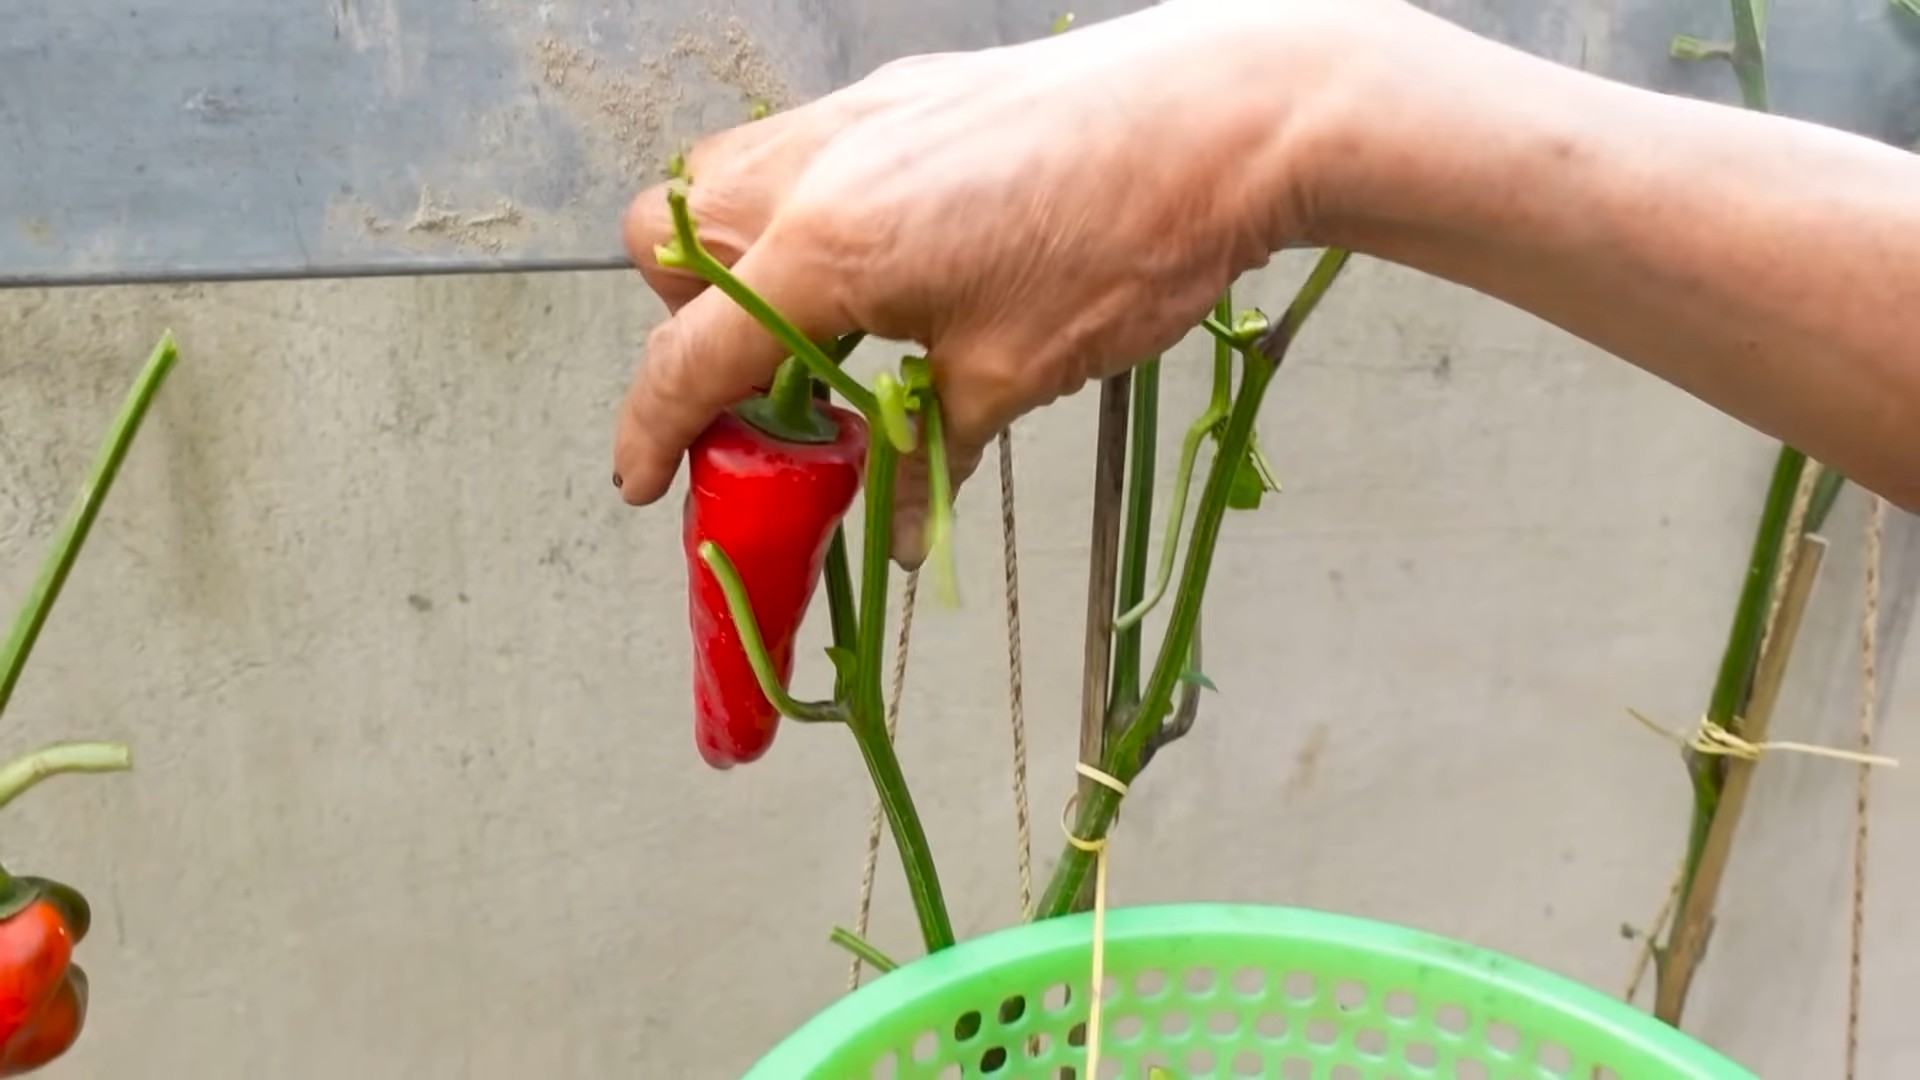
Harvesting Your Chili Peppers
The time it takes for your chili peppers to mature will depend on the variety. Generally, chili peppers are ready to harvest when they have reached their mature size and color.
* Harvesting Tips: Use pruning shears or scissors to harvest your chili peppers. Cut the peppers from the plant, leaving a small stem attached.
* Handling Hot Peppers: Be careful when handling hot peppers! Wear gloves to protect your skin from the oils that can cause burning. Avoid touching your eyes or face after handling hot peppers.
* Storage: You can store your chili peppers in the refrigerator for several weeks. You can also dry them, pickle them, or freeze them for longer storage.
Troubleshooting Common Problems
Even with the best care, you may encounter some problems when growing chili peppers. Here are some common problems and how to fix them:
* Blossom End Rot: This is a common problem that is caused by a calcium deficiency. The bottom of the pepper
Conclusion
So, there you have it! Growing chili peppers easily doesn’t have to be a daunting task reserved for seasoned gardeners. With this simple DIY trick, you can transform your kitchen scraps into a thriving chili pepper patch, bringing a fiery kick to your culinary creations. This method not only saves you money but also reduces waste, making it a win-win for your wallet and the environment.
Why is this a must-try? Because it’s incredibly simple, cost-effective, and yields impressive results. Imagine the satisfaction of harvesting your own vibrant chili peppers, knowing they started from something you would have otherwise thrown away. The flavor of homegrown chilies is unmatched, offering a depth and complexity that store-bought varieties often lack. Plus, it’s a fantastic way to connect with nature and learn more about the growing process.
But don’t stop there! Experiment with different varieties of chili peppers. From the mild poblano to the scorching habanero, the possibilities are endless. You can also adjust the growing medium to suit your specific climate and preferences. Some gardeners prefer a mix of compost, perlite, and vermiculite for optimal drainage and aeration, while others find success with simple potting soil. Consider adding a slow-release fertilizer to provide your chili peppers with the nutrients they need to thrive.
Furthermore, think about the presentation. Plant your chili peppers in decorative pots to add a touch of personality to your garden or balcony. You can even create a vertical garden using recycled pallets or hanging planters. The options are only limited by your imagination.
We’re confident that this DIY trick will revolutionize your approach to growing chili peppers. It’s a fun, rewarding, and sustainable way to add spice to your life. So, grab your chili pepper scraps, follow our simple steps, and get ready to harvest a bountiful crop of fiery goodness.
Don’t just take our word for it – try it yourself! We encourage you to embark on this chili pepper growing adventure and share your experiences with us. Post photos of your thriving plants, share your tips and tricks, and let us know what varieties you’re growing. Together, we can create a community of chili pepper enthusiasts, sharing our knowledge and passion for all things spicy. Let’s make growing chili peppers easily accessible to everyone!
Frequently Asked Questions (FAQ)
What kind of chili pepper scraps can I use?
You can use seeds from almost any type of chili pepper you find at the grocery store or farmer’s market. However, keep in mind that hybrid varieties may not produce offspring that are exactly like the parent plant. For the most predictable results, opt for open-pollinated or heirloom varieties. The best scraps are those that are fresh and haven’t been sitting around for too long. Avoid using seeds from peppers that are moldy or rotten.
How long does it take for chili pepper seeds to germinate?
Germination time can vary depending on the variety of chili pepper, the temperature, and the moisture levels. Generally, you can expect to see sprouts within 7-21 days. To speed up the germination process, you can soak the seeds in warm water for 24 hours before planting. Maintaining a consistent temperature of around 80-85°F (27-29°C) will also help. Using a heat mat can be beneficial, especially in cooler climates.
What kind of soil is best for growing chili peppers?
Chili peppers thrive in well-draining soil that is rich in organic matter. A good potting mix should contain a blend of peat moss, perlite, and vermiculite. You can also amend your soil with compost or aged manure to improve its fertility. Avoid using heavy clay soils, as they can retain too much moisture and lead to root rot. The ideal pH level for chili peppers is between 6.0 and 7.0.
How much sunlight do chili peppers need?
Chili peppers need at least 6-8 hours of direct sunlight per day to produce a bountiful harvest. If you’re growing your chili peppers indoors, you’ll need to supplement with artificial lighting. Grow lights are a great option, providing the full spectrum of light that chili peppers need to thrive. Position the lights a few inches above the plants and adjust them as the plants grow.
How often should I water my chili peppers?
Water your chili peppers regularly, keeping the soil consistently moist but not waterlogged. The frequency of watering will depend on the weather conditions, the type of soil, and the size of the pot. Check the soil moisture by sticking your finger about an inch into the soil. If it feels dry, it’s time to water. Avoid overwatering, as this can lead to root rot.
What kind of fertilizer should I use for chili peppers?
Chili peppers benefit from regular fertilization, especially during the growing season. Use a balanced fertilizer with an NPK ratio of 10-10-10 or 14-14-14. You can also use a fertilizer that is specifically formulated for tomatoes or peppers. Apply the fertilizer according to the instructions on the label. Avoid over-fertilizing, as this can burn the roots.
How do I prevent pests and diseases from attacking my chili peppers?
To prevent pests and diseases, start by using healthy, disease-free seeds. Provide your chili peppers with adequate sunlight, water, and nutrients. Monitor your plants regularly for signs of pests or diseases. Common pests that attack chili peppers include aphids, spider mites, and whiteflies. You can control these pests with insecticidal soap or neem oil. Common diseases include powdery mildew and blossom end rot. You can prevent these diseases by providing good air circulation and avoiding overwatering.
When should I harvest my chili peppers?
The time to harvest your chili peppers will depend on the variety and your personal preference. Generally, chili peppers are ready to harvest when they have reached their mature size and color. The color will vary depending on the variety, but it’s usually red, yellow, orange, or green. You can also harvest chili peppers when they are still green, but they will be less spicy. Use scissors or pruning shears to cut the peppers from the plant, leaving a small stem attached.
Can I grow chili peppers indoors?
Yes, you can absolutely grow chili peppers indoors! In fact, many people find that growing chili peppers indoors is easier than growing them outdoors, as it allows you to control the environment more effectively. Just make sure to provide your chili peppers with plenty of sunlight or artificial lighting, and water them regularly.
What are some variations I can try with this DIY trick?
Consider experimenting with different growing mediums. Instead of traditional potting soil, try using coco coir or hydroponics. You can also try different methods of starting the seeds, such as using a paper towel method or a seed starting tray. Another variation is to graft different varieties of chili peppers onto a single plant. This can allow you to grow multiple types of chili peppers in a small space. Finally, consider adding companion plants to your chili pepper garden. Companion plants can help to attract beneficial insects, repel pests, and improve the overall health of your plants. Basil, marigolds, and garlic are all good companion plants for chili peppers.
Leave a Comment