
Grow Chives Indoors? Absolutely! Imagine snipping fresh, flavorful chives right from your kitchen windowsill, adding a burst of oniony goodness to your meals year-round. No more sad, wilted herbs from the grocery store 鈥?just vibrant, homegrown flavor at your fingertips. For centuries, chives have been a staple in cuisines around the world, from European sauces to Asian stir-fries, prized for their delicate taste and versatility.
But let’s be honest, not everyone has a sprawling garden or the perfect outdoor climate to cultivate these culinary gems. That’s where this DIY guide comes in! I’m going to show you how incredibly easy it is to grow chives indoors, even if you’re a complete beginner. We’ll cover everything from choosing the right container and soil to providing the perfect amount of light and water.
Why is this DIY trick so essential? Because fresh herbs elevate any dish, and having a constant supply of chives readily available will transform your cooking. Plus, it’s a fun, rewarding, and surprisingly low-maintenance project that brings a touch of green into your home. Get ready to unleash your inner gardener and enjoy the delicious rewards of growing your own chives indoors!
Growing Chives Indoors: A Beginner’s Guide
Hey there, fellow plant enthusiasts! Ever dreamt of snipping fresh chives right from your kitchen windowsill? Well, dream no more! Growing chives indoors is surprisingly easy, rewarding, and adds a touch of green (and deliciousness!) to your home. I’m going to walk you through everything you need to know, from choosing the right pot to harvesting your flavorful bounty. Let’s get started!
What You’ll Need
Before we dive in, let’s gather our supplies. You probably have some of these lying around already, which is a bonus!
- Chive Seeds or a Chive Plant: You can start from seeds or purchase a small chive plant from a local nursery. I personally prefer starting from seeds, it’s more rewarding to watch them sprout!
- Pot with Drainage Holes: Drainage is crucial! Chives don’t like soggy roots. A pot that’s at least 6 inches in diameter is a good starting point.
- Potting Mix: Use a good quality potting mix, not garden soil. Potting mix is lighter and provides better drainage.
- Watering Can or Spray Bottle: For gentle watering.
- Sunny Windowsill or Grow Light: Chives need plenty of light.
- Optional: Fertilizer (a balanced liquid fertilizer works well)
Starting from Seeds: The Patient Gardener’s Route
If you’re like me and enjoy the satisfaction of watching tiny seeds transform into thriving plants, this is the method for you!
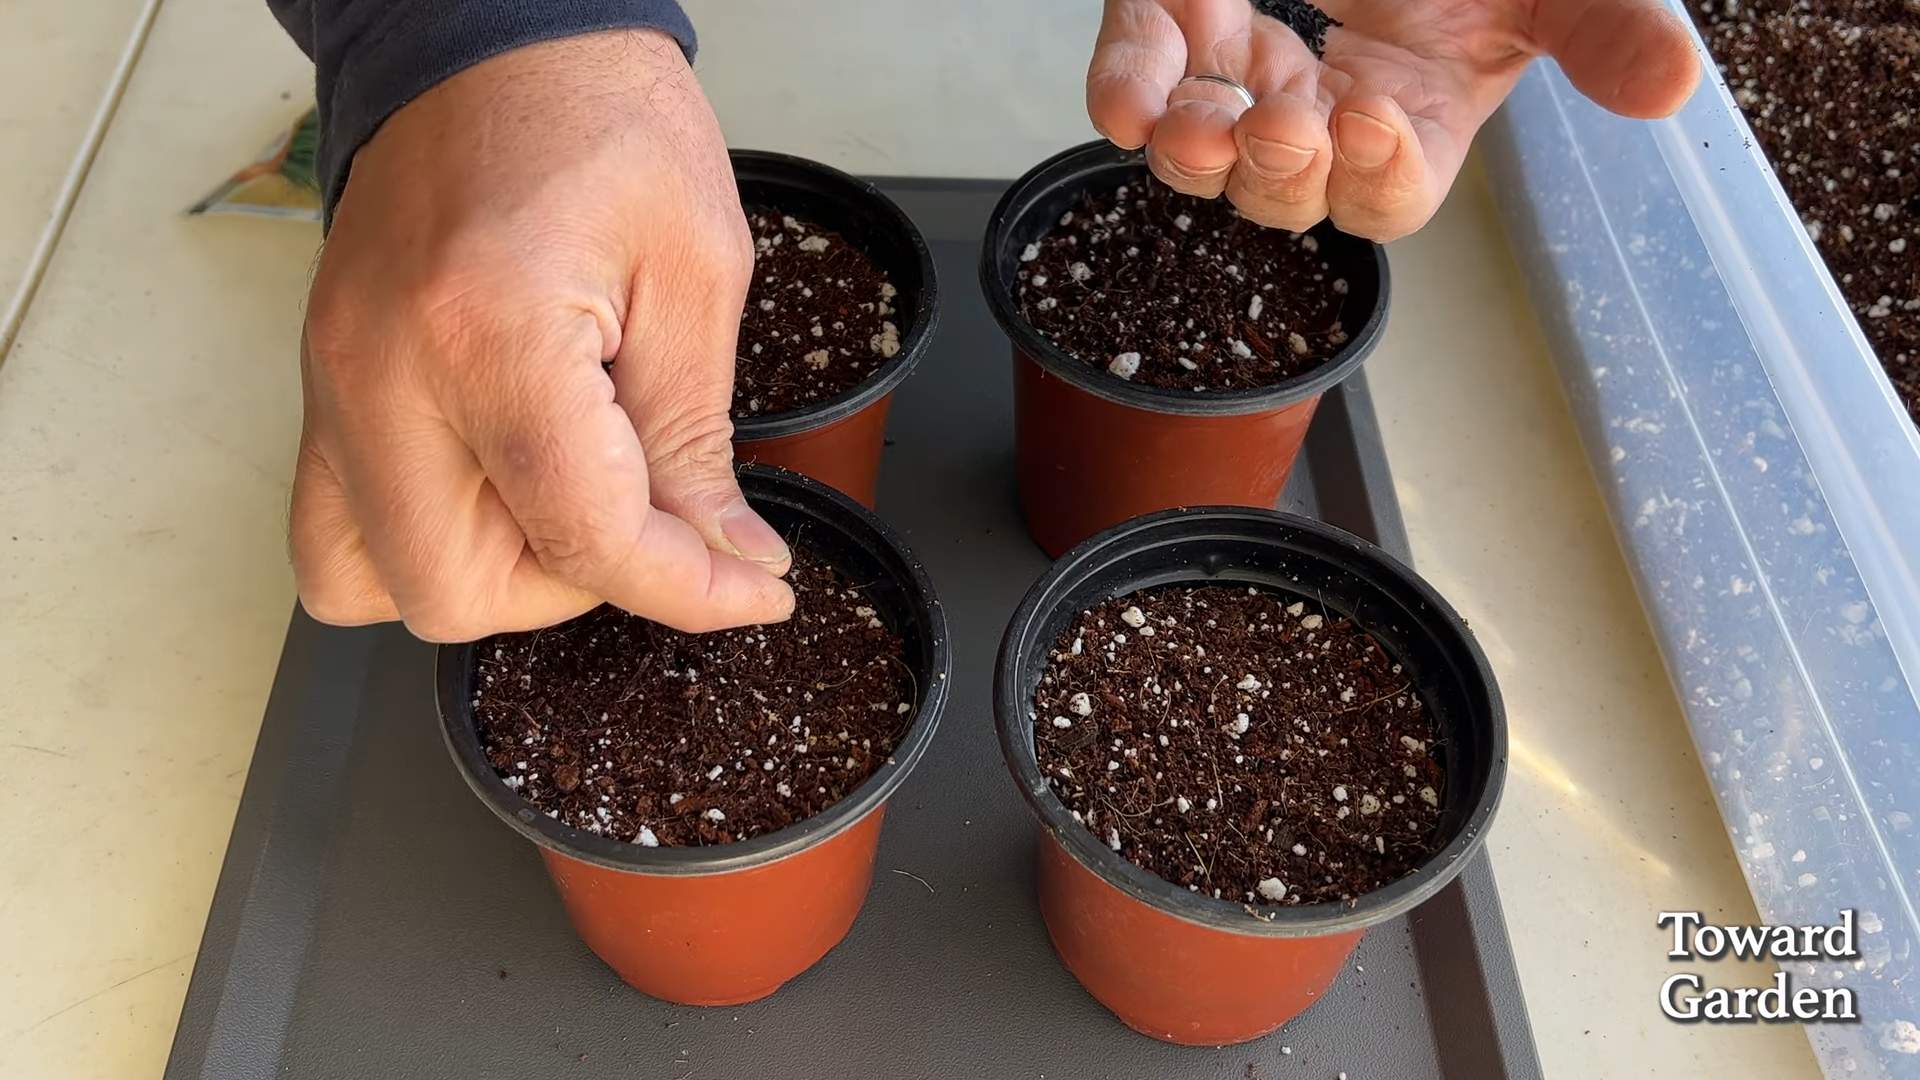
- Sowing the Seeds: Fill your pot with potting mix, leaving about an inch of space at the top. Moisten the soil gently. Sprinkle the chive seeds evenly over the surface. You don’t need to bury them too deep; a light covering of about 1/4 inch of soil is sufficient.
- Creating a Humid Environment: Cover the pot with plastic wrap or a plastic bag to create a mini-greenhouse. This helps retain moisture and encourages germination. Place the pot in a warm location.
- Germination Time: Be patient! Chive seeds typically germinate in 10-14 days. Keep the soil consistently moist, but not waterlogged. Remove the plastic wrap once you see seedlings emerge.
- Thinning the Seedlings: Once the seedlings are a couple of inches tall, thin them out so that they are about an inch apart. This gives them enough room to grow and prevents overcrowding. Don’t be afraid to snip off the weaker ones; it’s for the greater good of the chive colony!
Transplanting a Chive Plant: The Quick Start
If you’re eager to have chives right away, buying a small plant is the way to go.
- Preparing the Pot: Fill your pot with potting mix, leaving about an inch of space at the top. Make a small hole in the center, large enough to accommodate the root ball of your chive plant.
- Removing the Plant from its Container: Gently remove the chive plant from its original container. Loosen the roots slightly if they are tightly packed.
- Planting the Chives: Place the chive plant in the hole you created. Make sure the top of the root ball is level with the surrounding soil. Fill in the remaining space with potting mix and gently pat down the soil.
- Watering Thoroughly: Water the plant thoroughly after transplanting. This helps settle the soil and encourages the roots to establish themselves.
Caring for Your Indoor Chives: The Nurturing Phase
Now that your chives are planted, it’s time to provide them with the care they need to thrive.
Light
Chives need at least 6 hours of sunlight per day. A south-facing windowsill is ideal. If you don’t have enough natural light, consider using a grow light. I’ve found that LED grow lights work really well and don’t use too much energy.
Watering
Water your chives when the top inch of soil feels dry to the touch. Avoid overwatering, as this can lead to root rot. Make sure the pot has good drainage so excess water can escape. I usually water mine every 2-3 days, but it depends on the humidity and temperature in my apartment.
Fertilizing
Chives aren’t heavy feeders, but they will benefit from occasional fertilization. Use a balanced liquid fertilizer diluted to half strength every 2-4 weeks during the growing season (spring and summer). I like to use a fertilizer specifically formulated for herbs.
Temperature
Chives prefer temperatures between 60-70掳F (15-21掳C). Avoid placing them near drafts or extreme temperature fluctuations.
Pruning
Regular pruning is essential for keeping your chives healthy and productive. Snip off the flower buds as they appear. Flowering can weaken the plant and reduce leaf production. Plus, the leaves taste better before the plant flowers.
Harvesting Your Chives: The Rewarding Part
This is the moment you’ve been waiting for! Harvesting your own homegrown chives is incredibly satisfying.
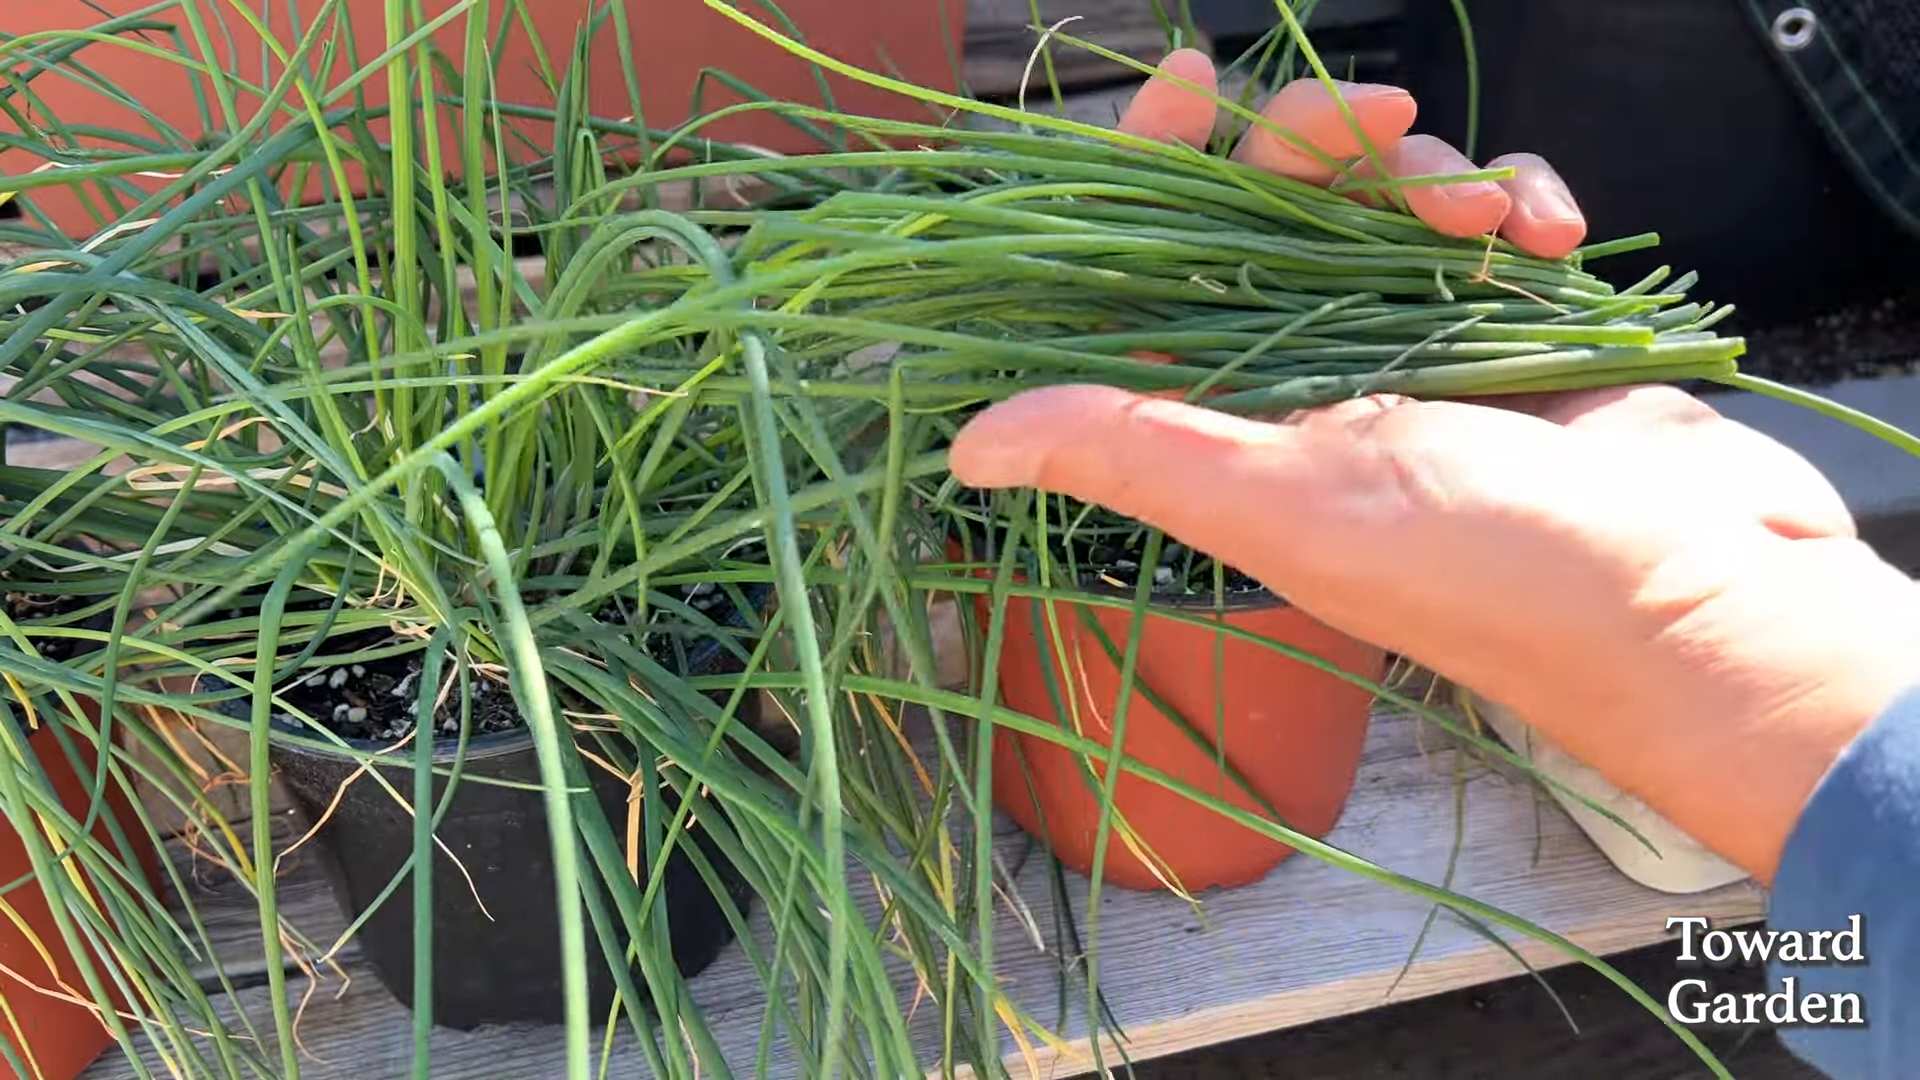
- When to Harvest: You can start harvesting chives when they are about 6 inches tall.
- How to Harvest: Use scissors or kitchen shears to snip off the chives about an inch above the soil level. Avoid cutting off all the leaves at once, as this can stress the plant.
- Using Your Harvest: Freshly harvested chives are best used immediately. You can add them to salads, soups, omelets, dips, and countless other dishes. They add a delicate oniony flavor that’s simply irresistible!
- Storing Your Harvest: If you have more chives than you can use right away, you can store them in the refrigerator. Wrap them in a damp paper towel and place them in a plastic bag. They should last for about a week. You can also freeze chives for longer storage. Chop them up and freeze them in ice cube trays filled with water or oil.
Troubleshooting: Common Issues and Solutions
Even with the best care, you might encounter a few challenges along the way. Here are some common issues and how to address them:
- Yellowing Leaves: This could be a sign of overwatering, underwatering, or nutrient deficiency. Check the soil moisture and adjust your watering accordingly. If the soil is consistently moist, allow it to dry out slightly before watering again. If the leaves are pale green or yellow, fertilize with a balanced liquid fertilizer.
- Leggy Growth: This usually indicates insufficient light. Move your chives to a sunnier location or supplement with a grow light.
- Pests: Chives are generally pest-resistant, but occasionally they can be affected by aphids or spider mites. If you notice any pests, try spraying the plants with a strong stream of water. You can also use insecticidal soap or neem oil.
- Slow Growth: This could be due to a number of factors, including insufficient light, poor soil, or lack of nutrients. Make sure your chives are getting enough light and that the soil is well-draining. Fertilize regularly during the growing season.
Dividing Your Chives: Expanding Your Green Empire
After a year or two, your chive plant may become overcrowded. This is a good time to divide it and create new plants.
- When to Divide: The best time to divide chives is in the spring or fall.
- How to Divide: Gently dig up the entire plant. Use your hands or a sharp knife to separate the clump into smaller sections, each with its own roots and leaves.
- Replanting: Replant the divisions in separate pots filled with fresh potting mix. Water thoroughly.
And there you have it! With a little bit of care and attention, you can enjoy fresh, flavorful chives year-round, right from your own kitchen. Happy gardening!
Conclusion
So, there you have it! Growing chives indoors is not only achievable but also incredibly rewarding. Imagine having fresh, flavorful chives at your fingertips, ready to elevate your culinary creations any time of year. No more sad, wilted bunches from the grocery store; just vibrant, aromatic chives bursting with flavor. This DIY trick is a must-try for anyone who loves to cook, appreciates fresh herbs, or simply enjoys the satisfaction of nurturing something green.
Why is this a must-try? Because it’s easy, cost-effective, and incredibly convenient. You don’t need a green thumb or a sprawling garden to enjoy the benefits of homegrown chives. A sunny windowsill, a pot, and a little bit of care are all it takes to embark on this flavorful adventure. Plus, growing your own chives reduces your reliance on store-bought herbs, saving you money and reducing food waste.
But the benefits don’t stop there. Growing chives indoors adds a touch of greenery to your home, creating a more inviting and vibrant atmosphere. It’s a simple way to bring a little bit of nature indoors, even in the dead of winter. And let’s not forget the sheer joy of watching your chives sprout and flourish, knowing that you played a part in their growth.
Looking for variations? Consider experimenting with different types of chives. Garlic chives, with their subtle garlic flavor, are a fantastic addition to stir-fries and Asian-inspired dishes. Or, try growing Siberian chives, which are known for their larger size and more robust flavor. You can also experiment with different potting mixes to see which one works best for your growing conditions. Some gardeners prefer a mix of potting soil, perlite, and vermiculite for optimal drainage and aeration. Others swear by using compost as a natural fertilizer.
Another fun variation is to create a chive “garden” by planting multiple varieties in a single container. This allows you to enjoy a wider range of flavors and textures, and it also adds visual interest to your indoor herb garden. You can even add other complementary herbs like parsley, oregano, or thyme to create a miniature culinary oasis.
Don’t be afraid to get creative with your chive-growing setup. Use repurposed containers like old teacups, mason jars, or even plastic bottles. Just make sure that your chosen container has adequate drainage holes to prevent waterlogging. You can also decorate your containers to add a personal touch to your indoor herb garden.
Growing chives indoors is a simple yet transformative experience that can enhance your cooking, beautify your home, and bring a little bit of joy into your life. So, what are you waiting for? Grab a pot, some soil, and some chive seeds or seedlings, and get started today!
We’re confident that you’ll love the results. And once you’ve experienced the satisfaction of growing your own chives, we encourage you to share your experience with us. Post photos of your chive garden on social media, tag us in your posts, and let us know what you’ve learned along the way. We’re always eager to hear from our readers and learn from their experiences. Your tips and tricks could help other aspiring indoor gardeners achieve success.
So go ahead, embrace the joy of growing your own chives indoors. You won’t regret it!
Frequently Asked Questions (FAQ)
What kind of pot should I use for growing chives indoors?
The best pot for growing chives indoors is one that is at least 6 inches in diameter and has good drainage. Chives don’t have incredibly deep root systems, but they do appreciate having enough space to spread out a bit. Terracotta pots are a good choice because they allow the soil to breathe, which helps prevent overwatering. Plastic pots are also fine, but be sure to monitor the moisture levels more closely. Regardless of the material, ensure the pot has drainage holes at the bottom to allow excess water to escape. Without proper drainage, the roots can rot, which will kill your chives. You can also use self-watering pots, which can be helpful if you tend to forget to water your plants regularly.
How much sunlight do chives need when grown indoors?
Chives thrive in bright, indirect sunlight. Ideally, they should receive at least 6 hours of sunlight per day. A south-facing window is usually the best option, but an east- or west-facing window can also work. If you don’t have a window that provides enough sunlight, you can supplement with a grow light. Place the grow light a few inches above the chives and leave it on for 12-14 hours per day. Insufficient sunlight can lead to leggy growth and a lack of flavor in the chives. If you notice your chives are stretching towards the light, it’s a sign that they need more sunlight. Rotate the pot regularly to ensure that all sides of the plant receive equal exposure to light.
How often should I water my indoor chives?
Water your indoor chives when the top inch of soil feels dry to the touch. Avoid overwatering, as this can lead to root rot. When you water, water thoroughly until water drains out of the drainage holes at the bottom of the pot. Allow the excess water to drain away completely. The frequency of watering will depend on factors such as the size of the pot, the type of soil, and the humidity levels in your home. In general, you’ll need to water more frequently during the warmer months and less frequently during the cooler months. Check the soil moisture regularly to ensure that your chives are getting the right amount of water.
What kind of soil is best for growing chives indoors?
A well-draining potting mix is essential for growing chives indoors. A good mix will retain enough moisture to keep the chives hydrated but will also allow excess water to drain away quickly. You can use a commercially available potting mix or make your own by combining equal parts potting soil, perlite, and vermiculite. Perlite and vermiculite help to improve drainage and aeration. Avoid using garden soil, as it can be too heavy and may contain pests or diseases. You can also add some compost to the potting mix to provide additional nutrients.
Do I need to fertilize my indoor chives?
Yes, fertilizing your indoor chives will help them to grow strong and healthy. Use a balanced liquid fertilizer diluted to half strength every 2-4 weeks during the growing season (spring and summer). Avoid over-fertilizing, as this can burn the roots. You can also use a slow-release fertilizer at the time of planting. Follow the instructions on the fertilizer packaging for proper application. Organic fertilizers, such as compost tea or fish emulsion, are also good options.
How do I harvest chives from my indoor plant?
Harvest chives by snipping them off with scissors about an inch above the soil line. This will encourage new growth. You can harvest chives regularly throughout the growing season. Avoid cutting off more than one-third of the plant at a time, as this can stress the plant. The more you harvest, the more the plant will produce. Freshly cut chives are best used immediately, but they can also be stored in the refrigerator for a few days.
How do I prevent pests and diseases from affecting my indoor chives?
To prevent pests and diseases from affecting your indoor chives, start with healthy plants and use a clean potting mix. Inspect your plants regularly for signs of pests or diseases. If you notice any problems, take action immediately. Common pests that can affect chives include aphids, spider mites, and whiteflies. You can control these pests by spraying the plants with insecticidal soap or neem oil. Diseases are less common in indoor chives, but they can occur if the plants are overwatered or if the humidity is too high. Ensure good air circulation around the plants and avoid overwatering to prevent diseases.
Can I grow chives from seed indoors?
Yes, you can grow chives from seed indoors. Start the seeds indoors 6-8 weeks before the last expected frost. Sow the seeds in a seed-starting tray filled with a seed-starting mix. Keep the soil moist but not soggy. The seeds should germinate in 7-14 days. Once the seedlings have developed a few sets of true leaves, transplant them into individual pots.
My chives are flowering. Should I cut off the flowers?
Yes, it’s generally recommended to cut off the flowers of your chives. While the flowers are edible and can be used as a garnish, they can also divert energy away from leaf production. Cutting off the flowers will encourage the plant to produce more leaves, which are the part of the plant that is most commonly used in cooking.
How long will my indoor chive plant last?
With proper care, an indoor chive plant can last for several years. Chives are perennials, which means that they will come back year after year. To ensure that your chive plant lasts for a long time, repot it every year or two into a larger pot with fresh potting mix. You can also divide the plant if it becomes too crowded.

Leave a Comment