
Grow Cucumber Plants like a pro, even if you think you have a “brown thumb”! Have you ever dreamt of biting into a crisp, refreshing cucumber, freshly picked from your own backyard? I know I have! It’s a feeling of pure satisfaction, knowing you nurtured that little seed into a delicious, healthy treat. But let’s be honest, the thought of growing cucumbers can sometimes feel a little daunting, right?
Cucumbers have a rich history, dating back thousands of years to India, where they were first cultivated. From ancient civilizations to modern-day gardens, these versatile veggies have been a staple in diets worldwide. But getting them to thrive can be tricky. That’s where these DIY tricks and hacks come in!
In this article, I’m going to share some simple, yet effective, DIY methods to help you grow cucumber plants successfully, regardless of your gardening experience. We’ll cover everything from soil preparation and seed starting to pest control and harvesting. These aren’t just random tips; they’re tried-and-true techniques that I’ve personally used to achieve bountiful cucumber harvests year after year. So, ditch the store-bought cucumbers and get ready to enjoy the taste of homegrown goodness! Let’s get started and unlock the secrets to a thriving cucumber patch!
DIY: From Seed to Salad – Growing Cucumbers Like a Pro!
Hey there, fellow gardening enthusiasts! I’m so excited to share my tried-and-true method for growing delicious, crisp cucumbers right in your own backyard. Forget those bland, store-bought cukes – nothing beats the taste of a homegrown cucumber, especially when you’ve nurtured it from a tiny seed. This guide will walk you through every step, from choosing the right variety to harvesting your bounty. Let’s get our hands dirty!
Choosing Your Cucumber Champion
Before we even think about planting, we need to decide what kind of cucumber we want to grow. There are two main types: slicing cucumbers and pickling cucumbers.
* **Slicing Cucumbers:** These are your classic cucumbers, perfect for salads, sandwiches, and snacking. They tend to be longer and have smoother skin. Some popular varieties include ‘Marketmore 76’, ‘Straight Eight’, and ‘English Telegraph’.
* **Pickling Cucumbers:** These are smaller and have bumpy skin, making them ideal for pickling. ‘National Pickling’ and ‘Boston Pickling’ are excellent choices.
* **Bush Varieties:** If you’re short on space, consider bush varieties like ‘Spacemaster’ or ‘Bush Champion’. These are compact and perfect for container gardening.
* Consider Disease Resistance: Look for varieties labeled as resistant to common cucumber diseases like powdery mildew and downy mildew. This will save you a lot of headaches later on.
I personally love growing ‘Marketmore 76’ for slicing and ‘National Pickling’ for, well, pickling! They’ve always been reliable producers for me.
Starting Your Cucumber Seeds (Indoors or Out?)
You have two options here: starting your seeds indoors or directly sowing them in the garden.
* **Starting Indoors:** This gives you a head start, especially if you live in a cooler climate with a shorter growing season. Start your seeds about 3-4 weeks before the last expected frost.
* **Direct Sowing:** This is simpler, but you’ll need to wait until the soil has warmed up to at least 60°F (15°C).
I usually start my seeds indoors because I’m impatient and want cucumbers as early as possible!
Step-by-Step: Starting Cucumber Seeds Indoors
1. **Gather Your Supplies:** You’ll need seed starting trays or small pots, seed starting mix (not regular potting soil!), cucumber seeds, and a spray bottle.
2. **Fill Your Trays/Pots:** Moisten the seed starting mix and fill your trays or pots, leaving about half an inch of space at the top.
3. **Sow the Seeds:** Plant two or three seeds per cell or pot, about half an inch deep.
4. **Cover and Water:** Gently cover the seeds with more seed starting mix and lightly water with a spray bottle. You don’t want to soak them, just moisten the soil.
5. **Provide Warmth and Light:** Place the trays or pots in a warm location (around 70-80°F or 21-27°C) and provide plenty of light. A sunny windowsill or a grow light works well.
6. **Keep the Soil Moist:** Check the soil daily and water as needed to keep it consistently moist, but not soggy.
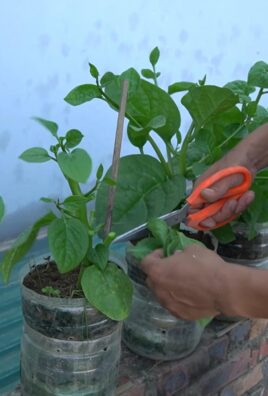
7. **Thin the Seedlings:** Once the seedlings have emerged and have a couple of true leaves (the first set of leaves are called cotyledons), thin them to one strong seedling per cell or pot. Just snip off the weaker seedlings at the soil line with scissors. Don’t pull them out, as this can disturb the roots of the remaining seedling.
Preparing Your Garden Bed
Cucumbers are heavy feeders, so preparing your garden bed properly is crucial for a successful harvest.
* **Choose a Sunny Spot:** Cucumbers need at least 6-8 hours of sunlight per day.
* **Improve the Soil:** Amend your soil with plenty of compost or well-rotted manure. This will improve drainage, fertility, and water retention.
* **Check the Soil pH:** Cucumbers prefer a slightly acidic soil pH of around 6.0-6.8. You can test your soil with a soil testing kit and amend it accordingly.
* **Consider a Trellis:** Vining cucumber varieties need support to climb. A trellis, fence, or even a sturdy tomato cage will work. This will also improve air circulation and reduce the risk of disease.
I always add a generous amount of compost to my cucumber bed. It makes a huge difference!
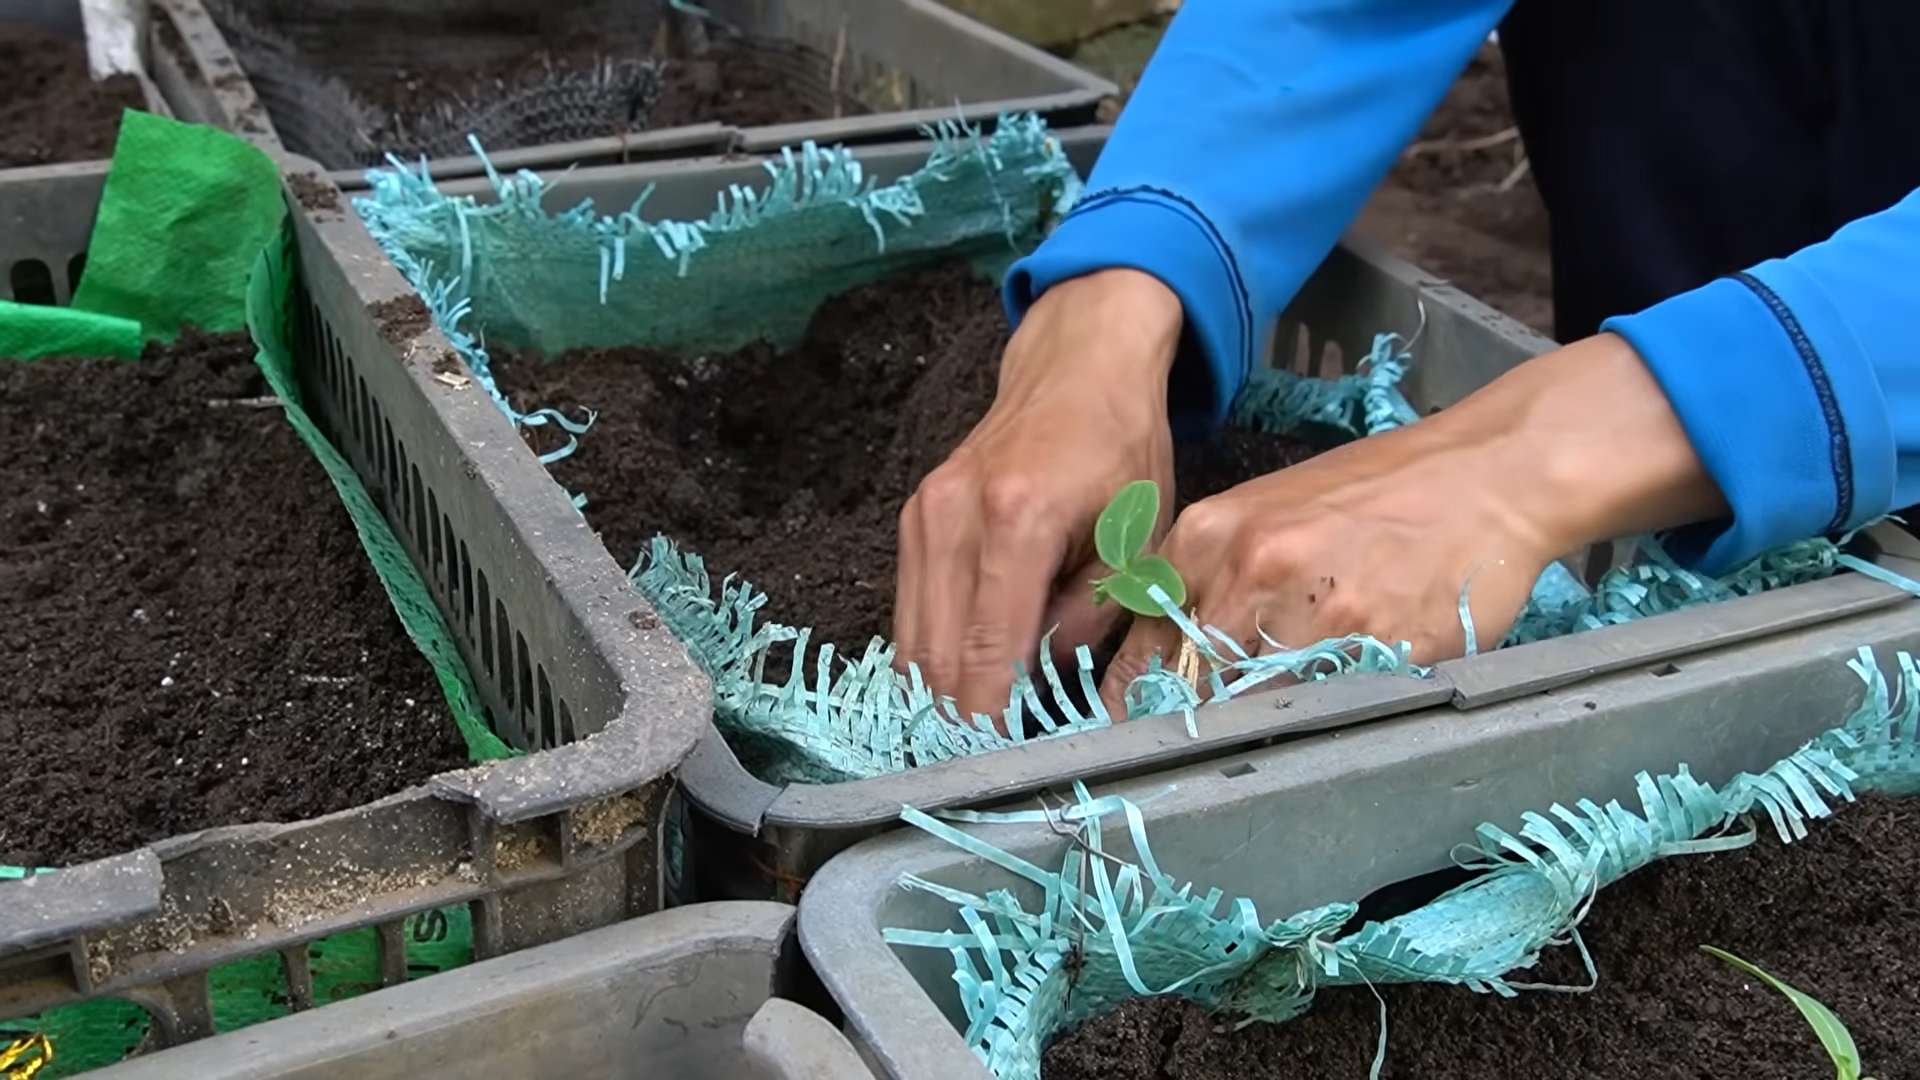
Transplanting Your Cucumber Seedlings (or Direct Sowing)
Once the danger of frost has passed and the soil has warmed up, it’s time to transplant your cucumber seedlings (or direct sow your seeds).
1. **Harden Off Your Seedlings:** If you started your seeds indoors, you’ll need to harden them off before transplanting them. This means gradually exposing them to outdoor conditions over a period of about a week. Start by placing them in a sheltered spot outdoors for a few hours each day, gradually increasing the amount of time they spend outside.
2. **Prepare the Planting Holes:** Dig holes that are slightly larger than the root balls of your seedlings. Space the holes about 18-24 inches apart for vining varieties and 12-18 inches apart for bush varieties.
3. **Gently Remove the Seedlings:** Carefully remove the seedlings from their trays or pots, being careful not to damage the roots.
4. **Plant the Seedlings:** Place the seedlings in the holes and gently backfill with soil. Water thoroughly.
5. **Direct Sowing (Alternative):** If you’re direct sowing, plant the seeds about an inch deep and space them according to the variety’s recommendations. Water gently.
Caring for Your Cucumber Plants
Now that your cucumber plants are in the ground, it’s time to provide them with the care they need to thrive.
* **Watering:** Cucumbers need consistent moisture, especially during hot weather. Water deeply and regularly, aiming for about an inch of water per week. Avoid overhead watering, as this can promote fungal diseases. Drip irrigation or soaker hoses are ideal.
* **Fertilizing:** Feed your cucumber plants every 2-3 weeks with a balanced fertilizer. You can also side-dress them with compost or well-rotted manure.
* **Weeding:** Keep the area around your cucumber plants free of weeds. Weeds compete with your plants for water and nutrients.
* **Pest Control:** Keep an eye out for common cucumber pests like cucumber beetles, squash bugs, and aphids. You can control these pests with insecticidal soap, neem oil, or by handpicking them off the plants.
* **Disease Prevention:** To prevent fungal diseases, provide good air circulation, avoid overhead watering, and remove any infected leaves. You can also spray your plants with a fungicide if necessary.
* **Training Your Vines:** If you’re growing vining cucumbers, train them to climb your trellis or fence. This will help to keep the fruits off the ground and improve air circulation.
I like to use a layer of mulch around my cucumber plants to help retain moisture and suppress weeds. Straw, wood chips, or shredded leaves work well.
Harvesting Your Cucumber Bounty
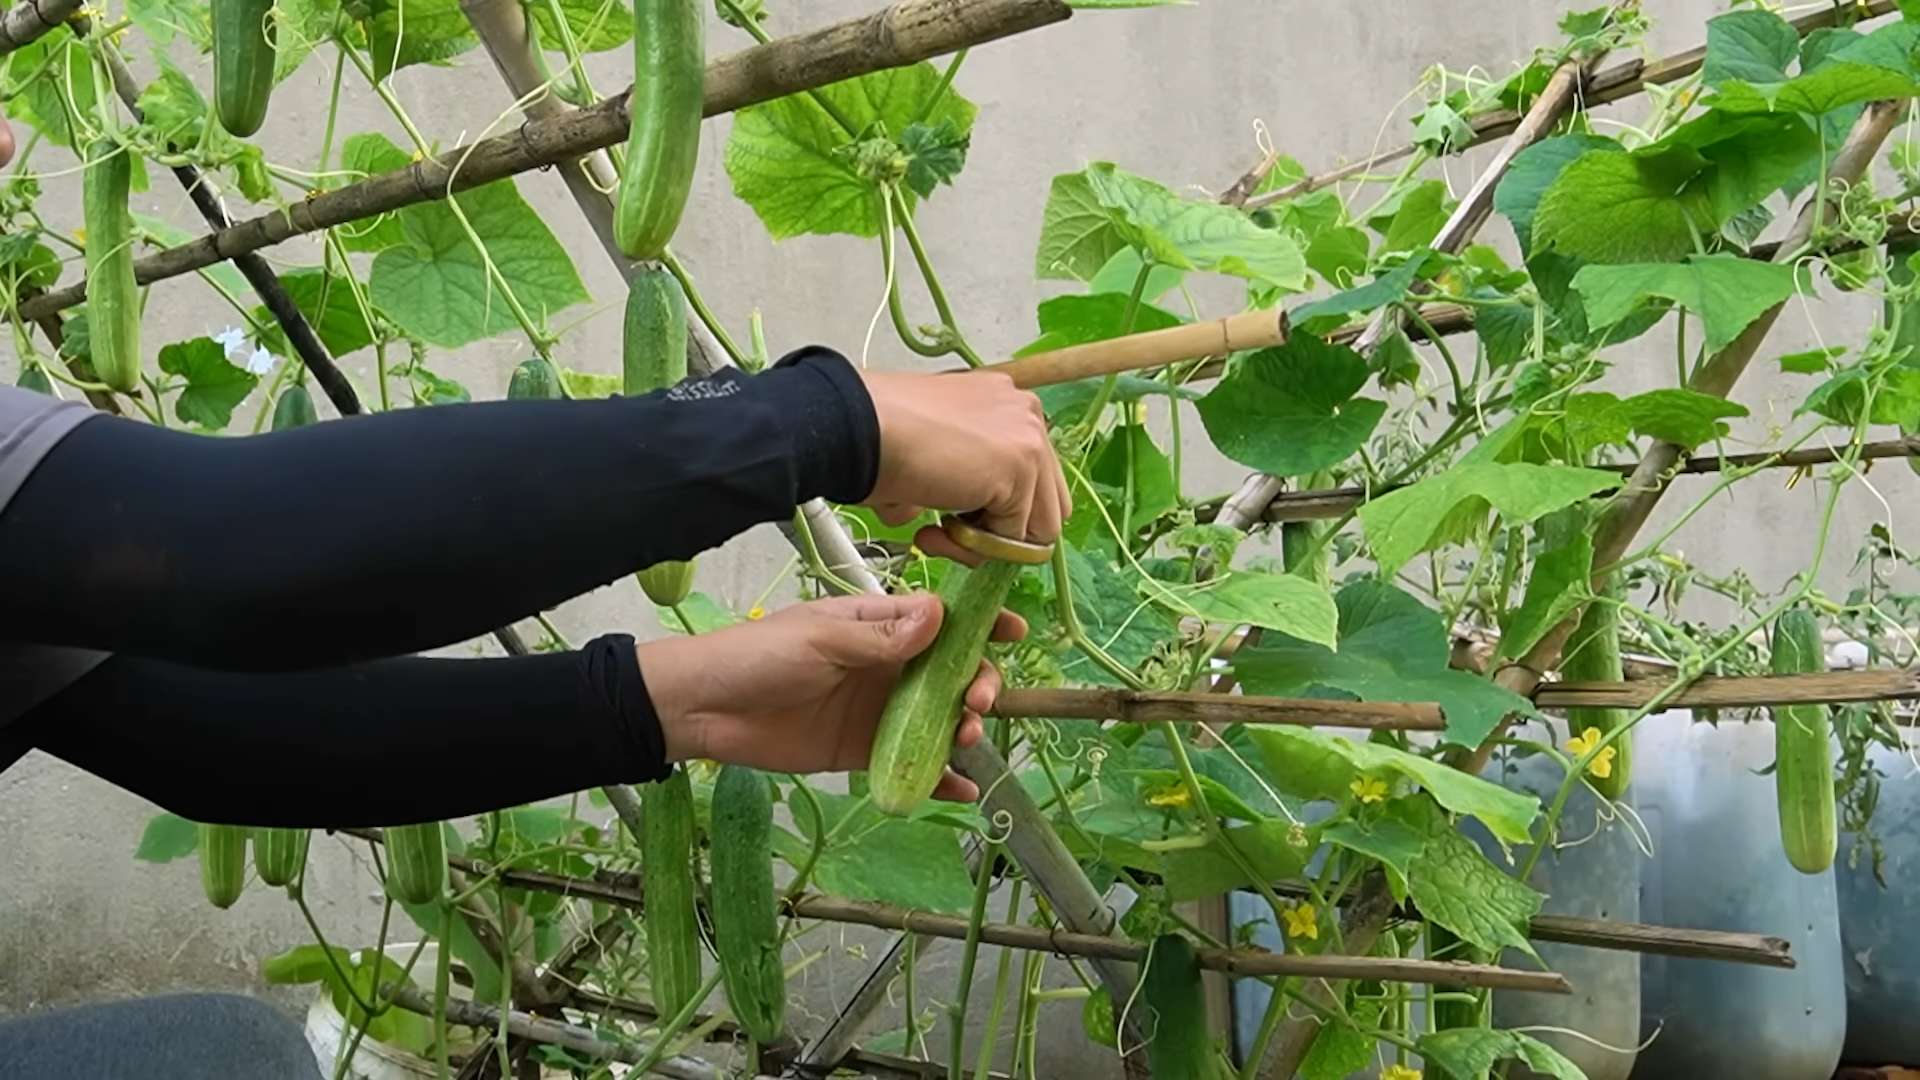
The moment we’ve all been waiting for! Harvesting your cucumbers at the right time is key to getting the best flavor and texture.
* **Harvesting Time:** Cucumbers are typically ready to harvest about 50-70 days after planting, depending on the variety.
* **Size Matters:** Harvest slicing cucumbers when they are about 6-8 inches long and pickling cucumbers when they are about 3-4 inches long.
* **Check the Color:** The skin should be a deep green color. Avoid harvesting cucumbers that are yellow or have soft spots.
* **Cut, Don’t Pull:** Use a sharp knife or pruning shears to cut the cucumbers from the vine. Pulling them can damage the plant.
* **Harvest Regularly:** Harvest your cucumbers regularly to encourage the plant to produce more fruits. Overripe cucumbers can become bitter and seedy.
I love to harvest my cucumbers in the morning when they are still cool and crisp.
Troubleshooting Common Cucumber Problems
Even with the best care, you may encounter some problems while growing cucumbers. Here are a few common issues and how to address them:
* **Yellowing Leaves:** This can be caused by a variety of factors, including nutrient deficiencies, overwatering, or fungal diseases. Check the soil drainage, fertilize your plants, and treat any diseases as needed.
* **Bitter Cucumbers:** This can be caused by stress, such as inconsistent watering or high temperatures. Provide consistent moisture and shade your plants during the hottest part of the day.
* **Misshapen Cucumbers:** This can be caused by poor pollination or nutrient deficiencies. Ensure that your plants are getting enough sunlight and nutrients, and consider hand-pollinating the flowers if necessary.
* **Powdery Mildew:** This is a common fungal disease that causes a white, powdery coating on the leaves. Improve air circulation, avoid overhead watering, and spray your plants
Conclusion
So, there you have it! Growing cucumber plants doesn’t have to be an expensive or complicated endeavor. This simple DIY trick, using readily available materials and a little bit of ingenuity, can significantly boost your cucumber yield and overall plant health. We’ve walked you through the process, highlighting the benefits of improved drainage, enhanced aeration, and reduced risk of soilborne diseases – all crucial factors in cultivating thriving cucumber vines.
Think about the satisfaction of harvesting crisp, juicy cucumbers from your own garden, knowing you nurtured them from seedling to fruit using a method that’s both cost-effective and environmentally friendly. Imagine the delicious salads, pickles, and refreshing cucumber water you can create with your homegrown bounty! This isn’t just about saving money; it’s about connecting with nature, understanding the growing process, and enjoying the fruits (or rather, vegetables!) of your labor.
But don’t just take our word for it. The real magic happens when you try it yourself. Experiment with different variations to see what works best for your specific climate and garden conditions. For example, if you live in a particularly hot climate, consider using a lighter-colored material for your DIY cucumber supports to reflect sunlight and prevent overheating. Alternatively, if you’re dealing with heavy clay soil, you might want to add some extra compost or peat moss to the planting mix to further improve drainage. You can also explore different trellising methods to maximize vertical space and airflow. Consider using cattle panels, netting, or even repurposed ladders to support your growing cucumber vines.
This DIY trick for growing cucumber plants is a game-changer for both novice and experienced gardeners. It’s a sustainable, budget-friendly way to ensure a healthy and productive cucumber harvest.
We’re confident that once you try this method, you’ll be amazed by the results. So, grab your supplies, get your hands dirty, and prepare to be rewarded with an abundance of delicious cucumbers. Don’t forget to document your progress and share your experiences with us! We’d love to hear about your successes, challenges, and any modifications you make to the process. Share your photos and stories on our social media pages using #DIYCucumberGarden – let’s build a community of thriving cucumber growers! We are eager to learn from your experiences and see how this simple trick helps you achieve your gardening goals. Happy growing!
Frequently Asked Questions (FAQs)
Q: What are the main benefits of using this DIY trick for growing cucumber plants?
A: The primary benefits include improved drainage, enhanced aeration around the roots, reduced risk of soilborne diseases, and better overall plant health. By elevating the plants and providing a well-draining growing medium, you create an environment that is less susceptible to fungal infections and root rot, common problems when growing cucumbers directly in the ground. This leads to stronger, healthier plants and a more abundant harvest. Furthermore, the DIY aspect makes it a cost-effective and sustainable gardening solution.
Q: What kind of materials can I use for the DIY cucumber supports?
A: The beauty of this DIY trick is its versatility. You can use a wide range of materials depending on what you have available. Some popular options include:
* Plastic crates or containers: These are readily available, durable, and provide excellent drainage.
* Wooden pallets: Repurposed pallets can be easily transformed into raised beds or supports. Just make sure the wood is untreated and safe for gardening.
* Large pots or containers: Choose pots that are at least 12 inches in diameter to provide enough space for the cucumber roots to grow.
* Recycled tires: While some gardeners have concerns about using tires, they can be a cost-effective option if properly cleaned and prepared.
* Woven bags: These are a great option for a more natural look.
The key is to choose materials that are sturdy, well-draining, and large enough to accommodate the growing cucumber plants.
Q: What type of soil mix should I use for growing cucumber plants in these DIY supports?
A: A well-draining and nutrient-rich soil mix is crucial for successful cucumber cultivation. A good starting point is a mix of equal parts:
* Potting soil: Provides a good base for drainage and aeration.
* Compost: Adds essential nutrients and improves soil structure.
* Peat moss or coco coir: Helps retain moisture and further improves drainage.
You can also add some slow-release fertilizer to provide a steady supply of nutrients throughout the growing season. Avoid using heavy clay soil, as it can become waterlogged and suffocate the roots.
Q: How often should I water my cucumber plants grown using this DIY method?
A: Cucumber plants need consistent moisture, especially during hot weather. Water deeply and regularly, aiming to keep the soil consistently moist but not waterlogged. Check the soil moisture level daily by sticking your finger about an inch into the soil. If it feels dry, it’s time to water. The frequency of watering will depend on factors such as the weather, the type of soil mix you’re using, and the size of your containers. Generally, you’ll need to water more frequently during hot, dry periods.
Q: How do I trellis my cucumber plants when using this DIY method?
A: Trellising is essential for supporting cucumber vines and maximizing space. There are several trellising options you can use with this DIY method:
* Vertical trellis: Attach a trellis to the back of your DIY support or container. This is a simple and effective way to train the vines upwards.
* A-frame trellis: Create an A-frame trellis using wooden stakes or bamboo poles. This provides a sturdy and attractive support for your cucumber plants.
* Cattle panel trellis: Bend a cattle panel into an arch and secure it to the ground. This is a durable and long-lasting option.
* Netting: Drape netting over your DIY support to provide a climbing surface for the cucumber vines.
Choose a trellising method that suits your space and aesthetic preferences. The key is to provide adequate support for the growing vines and allow for good airflow.
Q: Can I use this DIY trick for other vegetables besides cucumbers?
A: Absolutely! This DIY method can be adapted for growing a variety of other vegetables, particularly those that benefit from improved drainage and aeration. Some good candidates include:
* Tomatoes
* Peppers
* Eggplant
* Zucchini
* Squash
* Beans
The principles remain the same: provide a well-draining growing medium, elevate the plants, and provide adequate support.
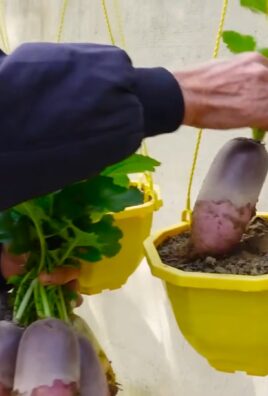
Q: What if I don’t have a lot of space for a traditional garden? Can I still use this DIY trick?
A: Yes! This DIY method is perfect for small spaces, such as balconies, patios, or even rooftops. The containers or supports can be easily moved around to maximize sunlight exposure. You can also choose compact or bush varieties of cucumbers that are well-suited for container gardening. This allows you to enjoy fresh, homegrown cucumbers even if you don’t have a large garden.
Q: How do I deal with pests and diseases when growing cucumber plants using this DIY method?
A: While this DIY method helps reduce the risk of soilborne diseases, it’s still important to monitor your plants for pests and other problems. Some common cucumber pests include aphids, cucumber beetles, and squash bugs. You can control these pests using organic methods such as:
* Handpicking: Remove pests by hand and dispose of them properly.
* Insecticidal soap: Spray plants with insecticidal soap to kill aphids and other soft-bodied insects.
* Neem oil: Apply neem oil to control a wide range of pests and diseases.
* Companion planting: Plant herbs like basil or marigolds near your cucumbers to repel pests.
For diseases, ensure good airflow around the plants and avoid overwatering. If you notice any signs of disease, remove the affected leaves or plants immediately.
Q: How long does it take to grow cucumbers using this DIY method?
A: The time it takes to grow cucumbers from seed to harvest varies depending on the variety, climate, and growing conditions. Generally, it takes about 50-70 days to harvest cucumbers after planting seeds. You can speed up the process by starting seeds indoors a few weeks before the last frost. Be sure to provide adequate sunlight, water, and nutrients to ensure healthy growth and a bountiful harvest.
Leave a Comment