
Grow Kale in Soil Bags: Unlock a bountiful harvest with this surprisingly simple and space-saving gardening technique! Are you dreaming of fresh, homegrown kale but lack the sprawling garden space? Or perhaps you’re tired of battling weeds and pests in traditional garden beds? Well, you’re in luck! This DIY guide will show you how to grow kale in soil bags, a method that’s not only incredibly easy but also yields impressive results.
The concept of container gardening, including using bags, has been around for centuries, with evidence suggesting its use in ancient civilizations. Today, it’s experiencing a resurgence as urban dwellers and gardening enthusiasts alike seek innovative ways to cultivate their own food. I’ve found that growing kale in soil bags is particularly beneficial because it allows for excellent drainage, warms the soil quickly in the spring, and is incredibly portable.
Imagine stepping outside your door and harvesting vibrant, nutrient-rich kale for your salads, smoothies, or stir-fries. No more trips to the grocery store for wilted greens! This method is perfect for beginners and experienced gardeners alike. I’m excited to share this easy and effective way to grow kale in soil bags, transforming even the smallest spaces into thriving green havens. Let’s get started and unlock the secrets to a flourishing kale harvest!
Grow Kale Like a Pro: A DIY Soil Bag Garden Guide
Hey there, fellow gardening enthusiasts! I’m super excited to share one of my favorite gardening hacks with you: growing kale directly in soil bags. It’s a fantastic way to maximize space, minimize weeding, and have fresh, delicious kale right at your fingertips. Trust me, once you try this, you’ll be hooked!
Why Grow Kale in Soil Bags?
Before we dive into the how-to, let’s talk about why this method is so awesome:
* Space Saver: Perfect for balconies, patios, or small yards. You don’t need a traditional garden bed!
* Easy Weeding: The enclosed environment significantly reduces weed growth. Hallelujah!
* Mobility: You can move the bags around to chase the sun or protect them from harsh weather.
* Excellent Drainage: Soil bags naturally provide good drainage, preventing root rot.
* Cost-Effective: It’s a budget-friendly way to grow a lot of kale.
* Fun and Easy: Seriously, it’s a super satisfying project!
What You’ll Need
Alright, let’s gather our supplies. Here’s what you’ll need to get started:
* Soil Bags: Choose high-quality potting mix in bags. I usually go for bags that are around 20-40 pounds. Look for bags that are sturdy and won’t tear easily.
* Kale Seeds or Seedlings: You can start from seed or buy seedlings from your local nursery. I prefer seedlings because they give you a head start.
* Utility Knife or Scissors: For cutting into the soil bags.
* Trowel or Small Shovel: For planting the kale.
* Watering Can or Hose: For watering your kale.
* Fertilizer (Optional): A balanced, slow-release fertilizer can give your kale a boost.
* Gloves (Optional): To keep your hands clean.
Step-by-Step Guide: Planting Your Kale
Okay, let’s get our hands dirty! Here’s how to plant your kale in soil bags:
1. Prepare the Soil Bag
1. Choose Your Location: Select a sunny spot that gets at least 6 hours of sunlight per day. Kale loves the sun!
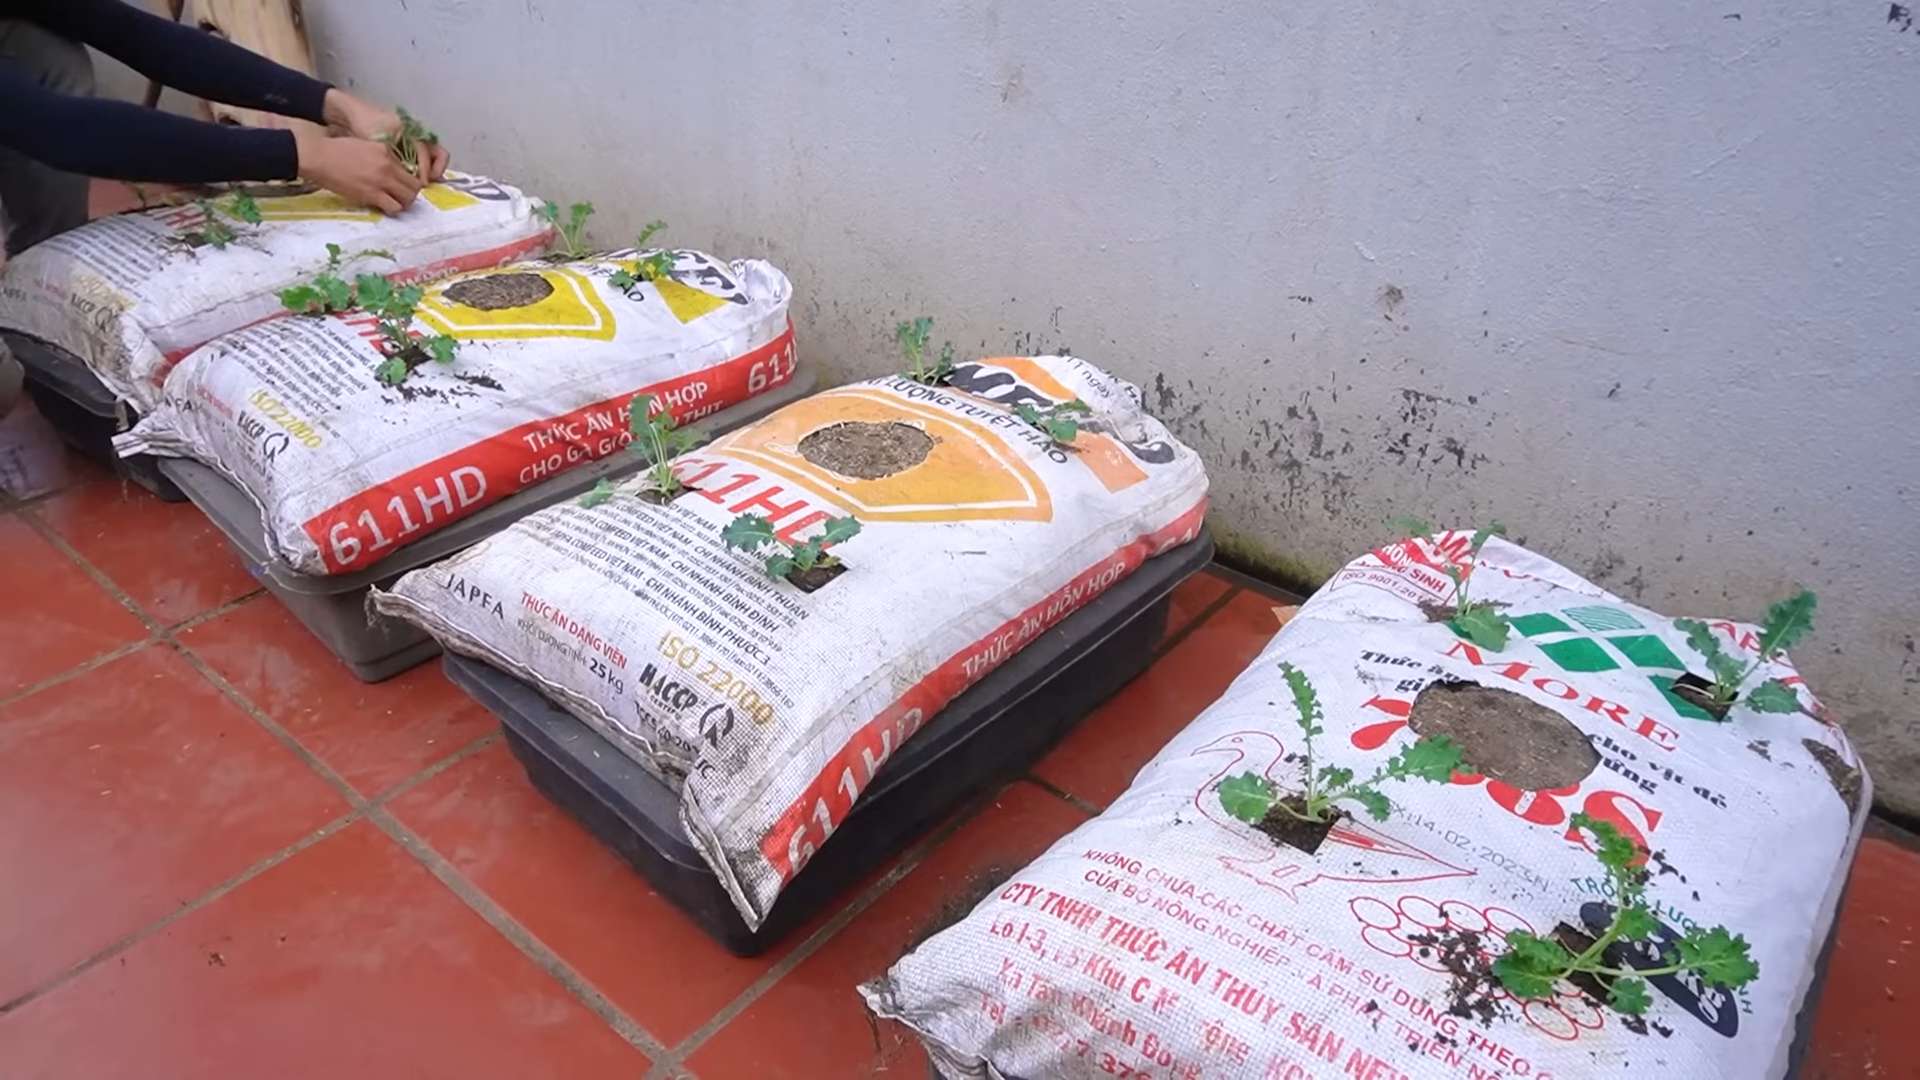
2. Lay the Bag Flat: Place the soil bag flat on the ground, with the printed side facing up.
3. Create Drainage Holes: This is crucial! Using your utility knife or scissors, carefully poke several drainage holes in the bottom of the bag. Space them about 6-8 inches apart. This will prevent water from pooling and rotting the roots.
4. Cut Planting Holes: Now, we’ll create the holes where you’ll plant the kale. On the top side of the bag, cut circular or square holes. The size of the holes will depend on whether you’re using seeds or seedlings. For seedlings, make the holes large enough to accommodate the root ball. I usually space the holes about 8-12 inches apart to give the kale plants room to grow.
5. Loosen the Soil: Gently loosen the soil inside the bag around the holes you’ve cut. This will make it easier to plant the kale.
2. Planting Kale Seeds (If Starting from Seed)
1. Sow the Seeds: Sprinkle a few kale seeds into each hole. Don’t overcrowd them!
2. Cover the Seeds: Gently cover the seeds with a thin layer of soil from the bag.
3. Water Gently: Use a watering can to gently water the soil. Keep the soil consistently moist, but not soggy.
4. Thin Seedlings (If Necessary): Once the seedlings emerge and have a few true leaves, thin them out, leaving only the strongest seedling in each hole.
3. Planting Kale Seedlings
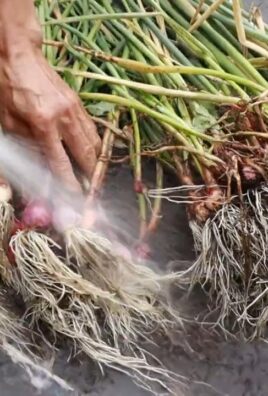
1. Prepare the Seedlings: Gently remove the kale seedlings from their containers. If the roots are tightly bound, gently loosen them with your fingers.
2. Plant the Seedlings: Carefully place each seedling into a planting hole. Make sure the top of the root ball is level with the soil surface.
3. Fill in the Gaps: Fill in any gaps around the seedlings with soil from the bag.
4. Water Thoroughly: Water the seedlings thoroughly after planting. This will help settle the soil and encourage root growth.
4. Caring for Your Kale
1. Watering: Kale needs consistent moisture, especially during hot weather. Water deeply whenever the top inch of soil feels dry to the touch. Avoid overwatering, as this can lead to root rot.
2. Fertilizing (Optional): If you want to give your kale a boost, you can fertilize it every few weeks with a balanced, slow-release fertilizer. Follow the instructions on the fertilizer package.
3. Sunlight: Make sure your kale gets at least 6 hours of sunlight per day. If you live in a very hot climate, you may need to provide some afternoon shade to prevent the leaves from scorching.
4. Pest Control: Keep an eye out for pests like aphids, cabbage worms, and slugs. You can control these pests with organic methods like hand-picking, insecticidal soap, or diatomaceous earth.
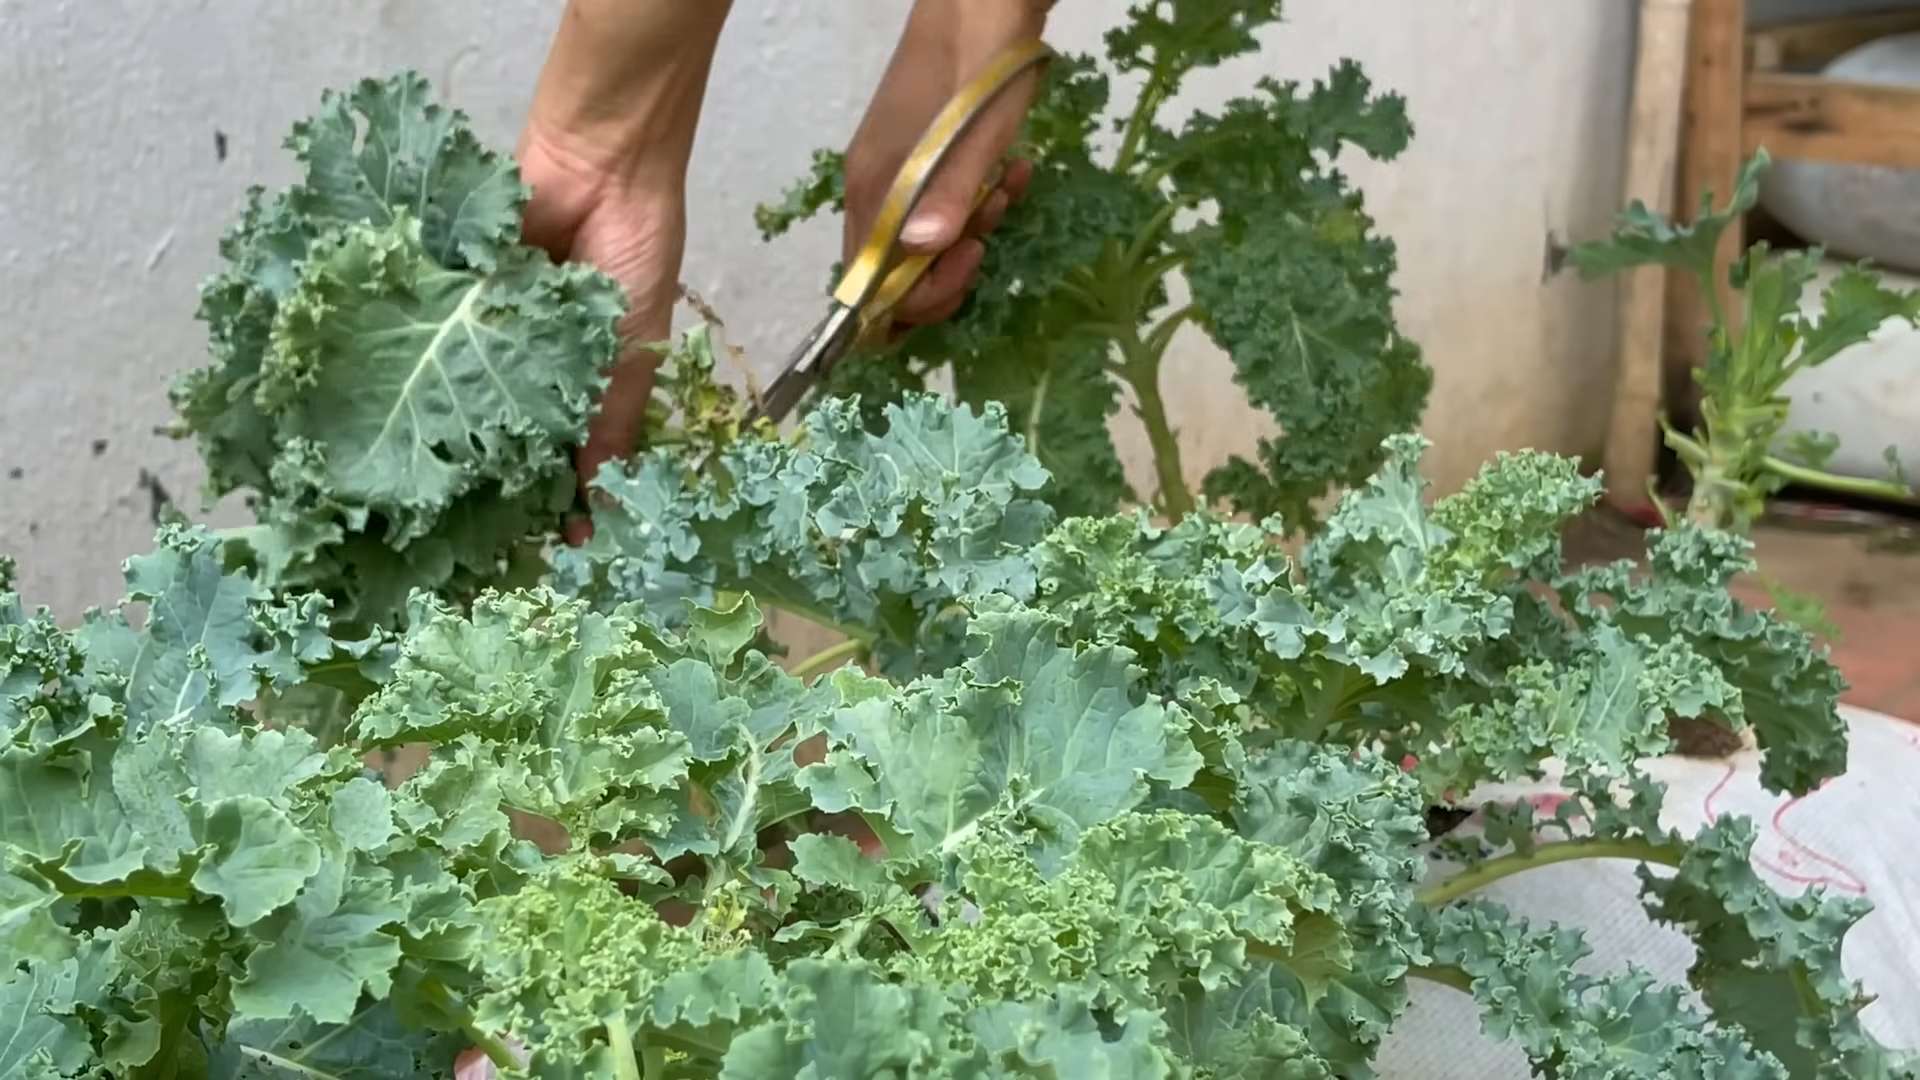
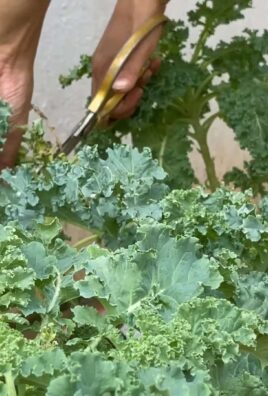
5. Harvesting: You can start harvesting kale leaves once they are about 4-6 inches long. Simply cut off the outer leaves, leaving the inner leaves to continue growing. This will encourage the plant to produce more leaves.
Troubleshooting
Even with the best planning, sometimes things don’t go exactly as expected. Here are a few common issues you might encounter and how to address them:
* Yellowing Leaves: This could be a sign of overwatering, underwatering, or nutrient deficiency. Check the soil moisture and adjust your watering accordingly. If the soil seems healthy, try fertilizing with a balanced fertilizer.
* Pest Infestation: As mentioned earlier, keep an eye out for pests. Early detection is key! Use organic pest control methods to keep them at bay.
* Slow Growth: This could be due to lack of sunlight, poor soil, or nutrient deficiency. Make sure your kale is getting enough sunlight and consider fertilizing it.
* Leggy Plants: If your kale plants are tall and spindly, they may not be getting enough sunlight. Try moving the soil bag to a sunnier location.
Tips and Tricks for Success
Here are a few extra tips to help you grow the best kale ever:
* Choose the Right Variety: There are many different varieties of kale to choose from, each with its own unique flavor and texture. Experiment to find your favorites! Some popular varieties include Lacinato (Dinosaur) kale, Curly kale, and Red Russian kale.
* Succession Planting: To ensure a continuous harvest, plant new kale seeds or seedlings every few weeks.
* Companion Planting: Plant kale alongside other vegetables that can benefit each other. For example, planting marigolds near kale can help deter pests.
* Mulching: Adding a layer of mulch around the base of the kale plants can help retain moisture and suppress weeds.
* Harvest Regularly: The more you harvest, the more the plant will produce!
Enjoy Your Homegrown Kale!
And there you have it! Growing kale in soil bags is a simple, rewarding, and delicious way to enjoy fresh, homegrown greens. I hope this guide has inspired you to give it a try. Happy gardening!
Conclusion
So, there you have it! Growing kale in soil bags is not just a gardening hack; it’s a game-changer for anyone looking to enjoy fresh, nutritious greens with minimal effort and maximum yield. We’ve walked you through the simple steps, highlighting the benefits of this method – from its space-saving nature and excellent drainage to its ability to deter common kale pests.
Why is this a must-try? Because it democratizes gardening. You don’t need acres of land or a green thumb passed down through generations. All you need is a soil bag, some kale seeds or seedlings, a sunny spot, and a little bit of enthusiasm. The convenience factor alone makes it worthwhile. Imagine stepping outside your door and harvesting fresh kale for your morning smoothie, lunchtime salad, or evening stir-fry. The taste is unparalleled – vibrant, slightly earthy, and bursting with vitamins and minerals. Store-bought kale simply can’t compare.
But the advantages extend beyond convenience and taste. Growing your own kale is an empowering experience. It connects you to the natural world, fosters a sense of accomplishment, and reduces your reliance on commercial agriculture. Plus, it’s incredibly rewarding to watch those tiny seeds sprout and transform into lush, leafy greens.
Looking for variations? Absolutely! Consider these options to personalize your soil bag kale garden:
* Companion Planting: Plant herbs like rosemary, thyme, or sage alongside your kale. These herbs can help deter pests and attract beneficial insects. Marigolds are another excellent choice for pest control.
* Succession Planting: Stagger your planting schedule to ensure a continuous harvest throughout the growing season. Plant a new batch of kale every few weeks to avoid a glut of greens all at once.
* Different Kale Varieties: Experiment with different types of kale, such as Lacinato (dinosaur kale), Red Russian kale, or Curly kale. Each variety offers a unique flavor and texture.
* Vertical Gardening: If space is truly limited, consider creating a vertical kale garden by stacking soil bags or hanging them from a fence or balcony.
* Organic Amendments: Enhance the soil’s fertility by adding organic amendments like compost, worm castings, or bone meal. These amendments will provide essential nutrients for healthy kale growth.
We are confident that once you try growing kale in soil bags, you’ll be hooked. It’s an easy, affordable, and incredibly satisfying way to enjoy fresh, healthy greens. Don’t be intimidated – even if you’ve never gardened before, you can succeed with this method.
So, grab a soil bag, some kale seeds, and get started today! We encourage you to document your journey, share your successes (and even your challenges!), and inspire others to embrace the joy of homegrown kale. Share your photos and stories on social media using #SoilBagKale and let’s create a community of thriving soil bag gardeners! We can’t wait to see what you grow! Remember, the key to successful gardening, especially when you grow kale in soil bags, is observation and adaptation. Pay attention to your plants, adjust your watering and feeding as needed, and don’t be afraid to experiment. Happy gardening!
Frequently Asked Questions (FAQ)
What type of soil bag should I use?
Ideally, you should use a high-quality potting mix specifically formulated for vegetables. Avoid using garden soil directly in the bag, as it can become compacted and poorly drained. Look for a potting mix that contains ingredients like peat moss, perlite, and vermiculite to provide good aeration and drainage. You can also amend the potting mix with compost or other organic matter to boost its fertility. The size of the bag depends on how many kale plants you want to grow. A standard 20-30 gallon bag is usually sufficient for 3-4 kale plants.
How often should I water my kale plants in soil bags?
Watering frequency depends on several factors, including the weather, the size of the bag, and the stage of growth of your kale plants. Generally, you should water when the top inch of soil feels dry to the touch. During hot, dry weather, you may need to water daily. In cooler, wetter weather, you may only need to water every few days. Be sure to water thoroughly, allowing the water to drain out of the bottom of the bag. Avoid overwatering, as this can lead to root rot. A good way to check is to stick your finger about an inch into the soil. If it feels dry, it’s time to water.
What kind of fertilizer should I use for kale grown in soil bags?
Kale is a heavy feeder, so it’s important to provide it with adequate nutrients. You can use a balanced organic fertilizer, such as a 10-10-10 or 5-5-5 formulation. Alternatively, you can use a liquid fertilizer, such as fish emulsion or seaweed extract, diluted according to the package instructions. Apply fertilizer every 2-3 weeks during the growing season. Be careful not to over-fertilize, as this can burn the roots of your plants.
How do I protect my kale plants from pests and diseases?
Kale is susceptible to several pests and diseases, including aphids, cabbage worms, flea beetles, and downy mildew. To protect your plants, you can use a variety of organic pest control methods. For aphids, try spraying your plants with a strong stream of water or using insecticidal soap. For cabbage worms, handpick them off the plants or use Bacillus thuringiensis (Bt), a natural bacteria that kills caterpillars. For flea beetles, cover your plants with row covers or use diatomaceous earth. To prevent downy mildew, ensure good air circulation around your plants and avoid overhead watering. Regularly inspect your plants for signs of pests or diseases and take action promptly.
How do I harvest kale from soil bags?
You can start harvesting kale leaves when they are about 6-8 inches long. Harvest the outer leaves first, leaving the inner leaves to continue growing. To harvest, simply cut the leaves off at the base of the stem with a sharp knife or scissors. Avoid tearing the leaves, as this can damage the plant. You can harvest kale leaves continuously throughout the growing season.
Can I grow kale in soil bags during the winter?
Yes, you can grow kale in soil bags during the winter, especially in milder climates. Kale is a cold-hardy vegetable that can tolerate temperatures down to 20°F (-6°C). To protect your plants from frost, you can cover them with row covers or move the soil bags to a sheltered location, such as a greenhouse or garage. You may also need to reduce watering frequency during the winter months.
What do I do with the soil bag after the growing season is over?
After the growing season is over, you can reuse the soil bag for other plants or compost the soil. If you choose to reuse the bag, be sure to amend the soil with fresh compost or other organic matter to replenish its nutrients. If you choose to compost the soil, remove any plant debris and add it to your compost pile. The soil bag itself can also be recycled or reused for other purposes.
How much sunlight does kale need when grown in soil bags?
Kale thrives in full sun, requiring at least 6 hours of direct sunlight per day. However, it can tolerate partial shade, especially in hotter climates. If you’re growing kale in a location that receives less than 6 hours of sunlight per day, you may need to supplement with artificial light.
Is it better to start kale from seed or seedlings in soil bags?
Both seeds and seedlings can be used successfully in soil bags. Starting from seed is more economical, but it requires more time and effort. Seedlings offer a head start and are generally easier to establish. If you’re a beginner gardener, starting with seedlings may be a better option.
Can I grow other vegetables in soil bags besides kale?
Yes, soil bags are a versatile growing medium that can be used for a variety of vegetables, including tomatoes, peppers, lettuce, spinach, and herbs. The key is to choose vegetables that are well-suited to the size of the bag and the growing conditions in your area.

Leave a Comment